

DIY Plastic Garden: Ever dreamt of transforming those piles of discarded plastic bottles into a thriving oasis of green? I know I have! It might sound like something out of a futuristic eco-novel, but trust me, creating a beautiful and functional garden using recycled plastic is not only possible, it’s incredibly rewarding.
For centuries, humans have sought innovative ways to cultivate plants, adapting to diverse environments and limited resources. While the concept of repurposing materials might seem modern, the spirit of resourcefulness is deeply ingrained in our history. Think about the ancient hanging gardens of Babylon, a testament to human ingenuity in creating verdant spaces where they seemed impossible. Today, we face a different challenge: managing waste. That’s where the DIY Plastic Garden comes in!
Let’s face it, plastic waste is a huge problem. Landfills are overflowing, and our oceans are choking. But what if we could turn some of that waste into something beautiful and useful? That’s precisely what this article is all about. I’m going to share some fantastic DIY tricks and hacks that will show you how to build your own stunning plastic garden, whether you have a sprawling backyard or just a tiny balcony. Not only will you be reducing your environmental footprint, but you’ll also be saving money and creating a unique and eye-catching garden that’s sure to impress. So, grab those plastic bottles, and let’s get started on this exciting journey of sustainable gardening!
Creating Your Own Upcycled Plastic Bottle Garden
Hey there, fellow garden enthusiasts! Are you looking for a fun, eco-friendly, and budget-conscious way to add some greenery to your life? Well, look no further! I’m going to walk you through how to create a fantastic garden using recycled plastic bottles. It’s a project that’s not only good for the environment but also incredibly rewarding. Trust me, seeing those little seedlings sprout in your upcycled containers is a feeling like no other!
Materials You’ll Need
Before we dive in, let’s gather our supplies. The beauty of this project is that you probably already have most of these items lying around!
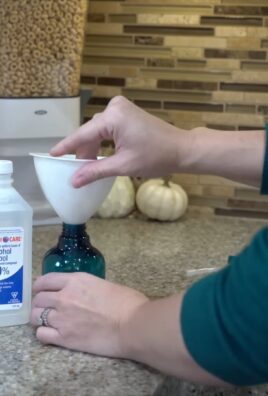
* Plastic Bottles: This is the star of the show! Soda bottles, water bottles, juice bottles – anything works. Aim for a variety of sizes for visual interest. Make sure they are clean and dry.
* Scissors or a Utility Knife: For cutting the bottles. Be careful! A sharp utility knife is efficient, but scissors work well too, especially for thicker plastic.
* Soil: Use a good quality potting mix. This is crucial for healthy plant growth.
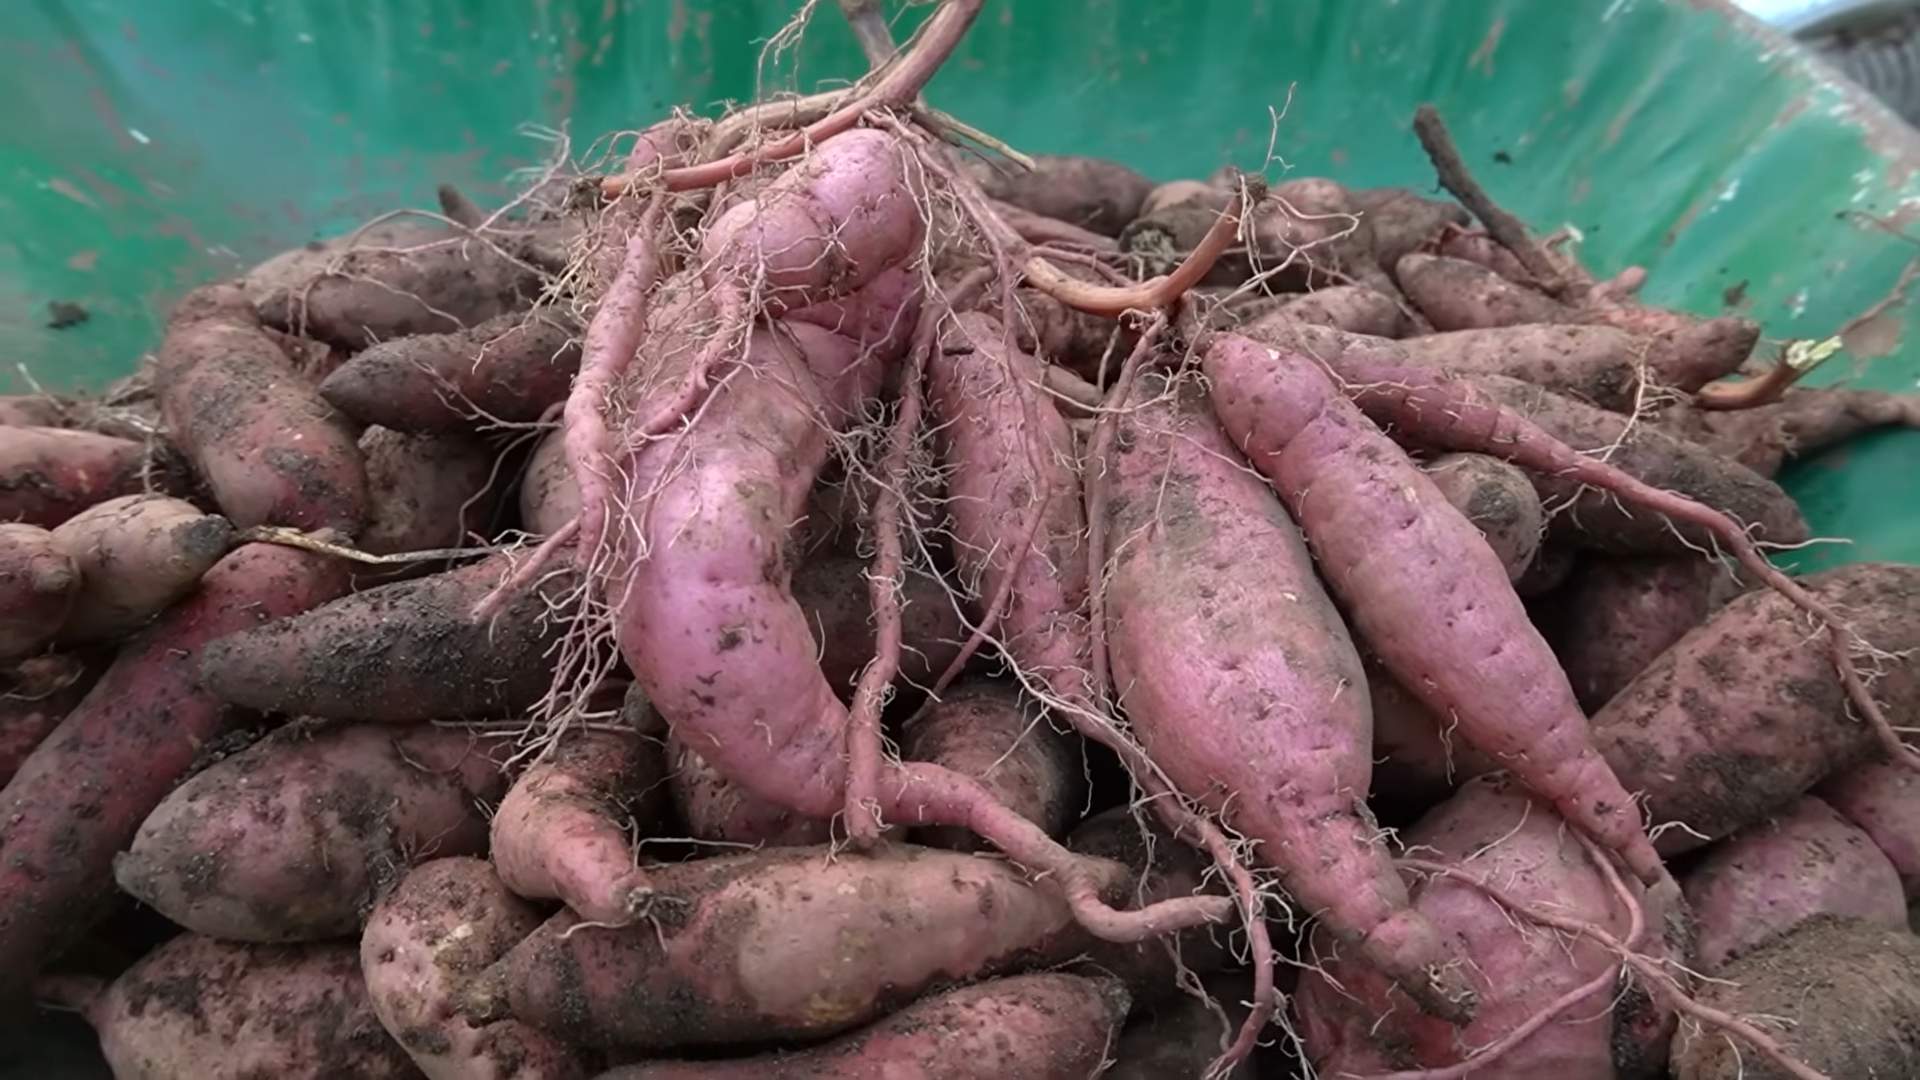
* Seeds or Seedlings: Choose plants that are suitable for container gardening. Herbs, succulents, strawberries, and small vegetables like lettuce and spinach are great options.
* Water: For watering your plants, of course!
* Optional: Paint and Markers: To decorate your bottles and add some personality to your garden. Acrylic paint works best.
* Optional: Twine or Rope: If you want to create a hanging garden.
* Optional: Sand or Gravel: For drainage at the bottom of the bottles.
* Optional: Drill or Nail: To create drainage holes (if your bottle design doesn’t already provide them).
* Gloves: To protect your hands, especially when using a utility knife.
Preparing the Plastic Bottles
This is where the transformation begins! We’re turning trash into treasure, one bottle at a time.
1. Clean the Bottles: Wash the bottles thoroughly with soap and water to remove any residue. Let them dry completely. This helps prevent mold and mildew growth later on.
2. Decide on Your Design: There are several ways to cut the bottles, depending on the type of garden you want to create. Here are a few ideas:
* Horizontal Planters: Cut the bottle in half horizontally. You can use the bottom half as a planter and discard the top, or you can invert the top half into the bottom to create a self-watering planter (more on that later!).
* Vertical Planters: Cut a rectangular opening in the side of the bottle, leaving the top and bottom intact. This is ideal for hanging gardens.
* Stacked Planters: Cut the bottom off several bottles and stack them on top of each other, creating a tiered garden. You’ll need to secure them together somehow, perhaps with glue or wire.
* Self-Watering Planters: Cut the bottle in half horizontally. Drill a small hole in the bottle cap. Invert the top half into the bottom half. The bottle cap will act as a wick, drawing water from the bottom reservoir to the soil in the top half.
3. Cut the Bottles: Using your scissors or utility knife, carefully cut the bottles according to your chosen design. If using a utility knife, place the bottle on a cutting board and use a sawing motion. Be extremely careful not to cut yourself! I always recommend wearing gloves for extra protection.
4. Smooth the Edges: Once you’ve cut the bottles, smooth the edges with sandpaper or a lighter (carefully!). This will prevent you from accidentally cutting yourself on the sharp plastic. If using a lighter, quickly run the flame along the edge to melt and smooth it. Don’t hold the flame in one spot for too long, or you’ll melt the plastic too much.
5. Create Drainage Holes (If Necessary): If your bottle design doesn’t naturally provide drainage, you’ll need to create some holes in the bottom. You can use a drill, a nail, or even the tip of your scissors. Make sure the holes are large enough to allow water to drain freely, but not so large that the soil will fall out.
Decorating Your Bottles (Optional)
This is where you can let your creativity shine! Decorating your bottles is a fun way to personalize your garden and make it a true reflection of your style.
1. Choose Your Paint: Acrylic paint is the best option for painting plastic bottles. It adheres well and is water-resistant. You can also use spray paint, but make sure it’s designed for plastic.
2. Prime the Bottles (Optional): If you want your paint to adhere even better, you can prime the bottles first with a plastic primer. This will create a better surface for the paint to grip onto.
3. Paint the Bottles: Apply the paint in thin, even coats. Let each coat dry completely before applying the next. You can use different colors, patterns, and designs to create a unique look.
4. Add Details with Markers: Once the paint is dry, you can add details with permanent markers. Draw patterns, write plant names, or create fun characters.
5. Seal the Paint (Optional): To protect your paint from fading or chipping, you can seal it with a clear acrylic sealant. This will also make the bottles easier to clean.
Planting Your Garden
Now for the exciting part – planting your seeds or seedlings!
1. Add Drainage Material (Optional): If you’re concerned about drainage, you can add a layer of sand or gravel to the bottom of the bottles before adding the soil. This will help prevent the roots from sitting in water and rotting.
2. Fill with Soil: Fill the bottles with a good quality potting mix. Leave about an inch of space at the top.
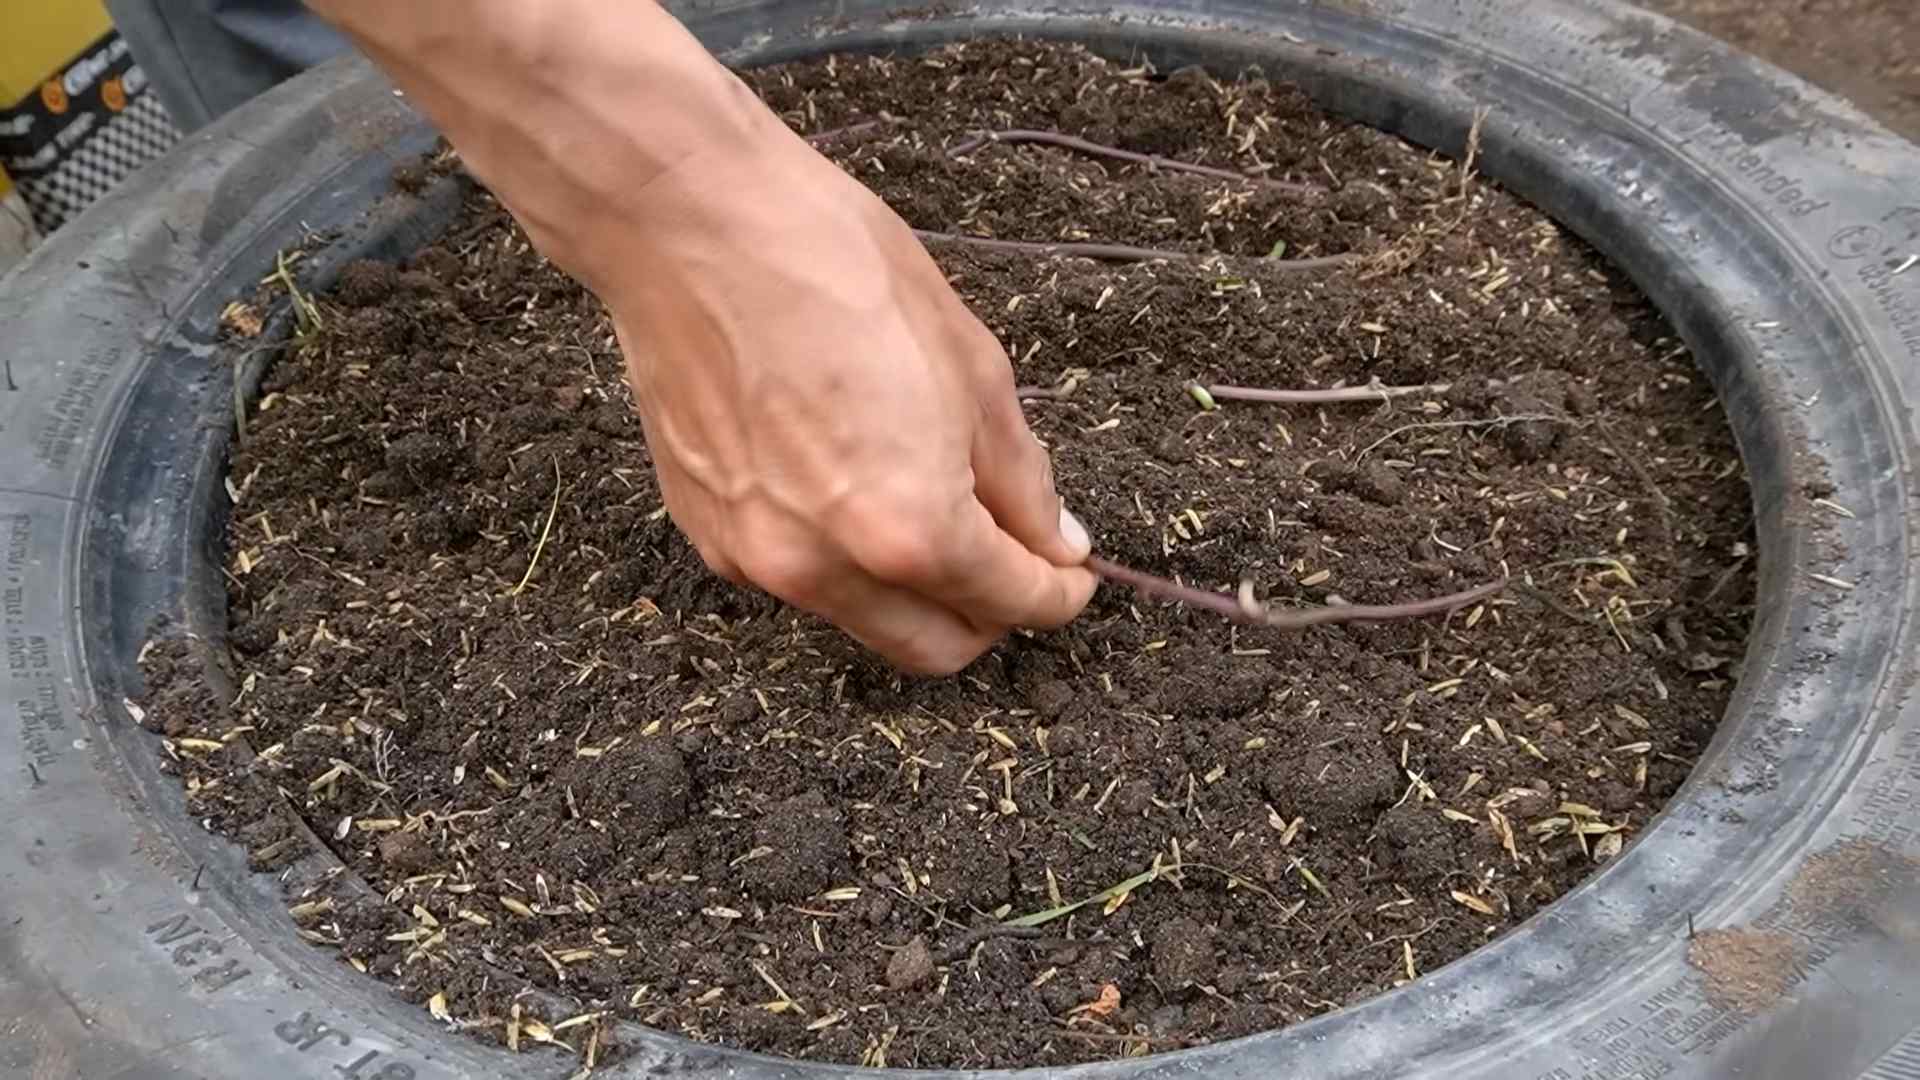
3. Plant Your Seeds or Seedlings: Follow the instructions on the seed packet or seedling label for planting depth and spacing. Gently place the seeds or seedlings into the soil and cover them with more soil.
4. Water Thoroughly: Water the soil thoroughly until water drains out of the drainage holes.
5. Place in a Sunny Location: Place your plastic bottle garden in a sunny location that receives at least six hours of sunlight per day.
Creating a Hanging Garden (Optional)
If you want to create a hanging garden, here’s how:
1. Prepare the Bottles: Use the vertical planter design described earlier. Cut a rectangular opening in the side of the bottle, leaving the top and bottom intact.
2. Drill Holes for Hanging: Drill two small holes near the top of the bottle, on opposite sides.
3. Thread Twine or Rope: Thread twine or rope through the holes and tie a knot to secure it.
4. Hang Your Garden: Hang your plastic bottle garden from a fence, balcony, or any other suitable location.
Maintaining Your Garden
Once your garden is planted, it’s important to maintain it properly to ensure healthy plant growth.
1. Water Regularly: Water your plants regularly, especially during hot weather. Check the soil moisture by sticking your finger into the soil. If the soil feels dry, it’s time to water.
2. Fertilize: Fertilize your plants every few weeks with a balanced liquid fertilizer. Follow the instructions on the fertilizer label.
3. Prune: Prune your plants regularly to encourage bushier growth and remove any dead or dying leaves.
4. Pest Control: Keep an eye out for pests and diseases. If you notice any problems, take action immediately to prevent them from spreading. You can use organic pest control methods, such as insecticidal soap or neem oil.
5. Repot (If Necessary): As your plants grow, they may outgrow their plastic bottle containers. If this happens, you’ll need to repot them into larger containers.
Tips for Success
Here are a few extra tips to help you succeed with your plastic bottle garden:
* Choose the Right Plants: Select plants that are well-suited for container gardening and your local climate.
* Use Good Quality Soil: Don’t skimp on the soil! Use a good quality potting mix that provides adequate drainage and nutrients.
* Don’t Overwater: Overwatering is a common mistake that can lead to root rot. Make sure the soil is well-draining and only water when the soil feels dry.
* Provide Adequate Sunlight: Most plants need at least six hours of sunlight per day. Place your garden in a sunny location.
* Be Patient: Growing plants takes time and patience. Don’t get discouraged if your plants don’t grow as quickly as you expect. Just keep watering, fertilizing, and pruning, and they’ll eventually thrive.
* Experiment: Don’t be afraid to experiment with different bottle designs, plant varieties, and growing techniques. The best way
Conclusion
So, there you have it! Transforming discarded plastic into a thriving garden isn’t just a whimsical idea; it’s a practical, eco-conscious solution that benefits both your wallet and the planet. We’ve explored how to repurpose everything from plastic bottles and containers to create raised beds, vertical gardens, and even self-watering planters. The possibilities are truly endless, limited only by your imagination and the amount of plastic you’re willing to rescue from the landfill.
This DIY plastic garden project is more than just a trendy craft; it’s a statement. It’s a declaration that you’re committed to reducing waste, embracing sustainability, and creating a beautiful, productive space in your own backyard. The satisfaction of nurturing plants in containers you’ve personally crafted from recycled materials is unparalleled. It’s a tangible reminder that small actions can have a significant impact.
But the benefits extend beyond environmental responsibility. A DIY plastic garden is incredibly cost-effective. Think about it: you’re essentially getting free gardening containers! This is especially appealing for budget-conscious gardeners or those just starting out. Plus, the lightweight nature of plastic makes these gardens easily movable, allowing you to chase the sun or protect your plants from harsh weather.
Why is this a must-try? Because it’s a win-win-win. You’re reducing waste, saving money, and creating a beautiful garden. What’s not to love?
Now, let’s talk about variations. Feel free to experiment with different types of plastic. Yogurt containers make excellent seedling starters, while larger buckets can house tomato plants or herbs. Get creative with your designs! Paint your plastic containers to add a splash of color, or use different sizes and shapes to create visually appealing arrangements. Consider adding drainage holes to the bottom of your containers to prevent waterlogging, and always use high-quality potting soil to ensure your plants thrive.
Another fantastic variation is to create a vertical garden using plastic bottles. Simply cut bottles in half, attach them to a wall or fence, and fill them with soil. This is a great way to maximize space in small gardens or balconies. You can even create a self-watering system by connecting the bottles with tubing.
Don’t be afraid to personalize your DIY plastic garden. Add labels to your containers, decorate them with paint or markers, or even incorporate other recycled materials like old tires or wooden pallets. The goal is to create a garden that reflects your unique style and personality.
We’ve covered a lot of ground, but the most important thing is to just get started! Gather your plastic, grab your tools, and let your creativity flow. You might be surprised at what you can create.
We are incredibly excited to see what you come up with! We encourage you to try this DIY plastic garden project and share your experiences with us. Post photos of your creations on social media using #DIYPlasticGarden and tag us so we can admire your ingenuity. Let’s inspire others to embrace sustainable gardening practices and transform waste into something beautiful and productive. Your journey to a greener, more sustainable garden starts now!
FAQ
What types of plastic are safe to use for gardening?
This is a crucial question! Not all plastics are created equal, and some can leach harmful chemicals into the soil. Ideally, you want to use food-grade plastics, which are generally considered safe for growing edible plants. Look for plastics labeled with recycling codes 1 (PET or PETE), 2 (HDPE), 4 (LDPE), and 5 (PP). These are generally considered safer options. Avoid plastics labeled with recycling codes 3 (PVC) and 6 (PS), as they may contain harmful chemicals. Always thoroughly clean any plastic container before using it for gardening, regardless of the recycling code. If you’re concerned about leaching, consider lining the inside of the container with a layer of landscape fabric or using a food-grade plastic liner.
How do I ensure proper drainage in my DIY plastic containers?
Drainage is essential for healthy plant growth. Without proper drainage, the soil can become waterlogged, leading to root rot and other problems. The easiest way to ensure drainage is to drill holes in the bottom of your plastic containers. The number and size of the holes will depend on the size of the container and the type of plants you’re growing. For smaller containers, a few small holes (about 1/4 inch in diameter) should suffice. For larger containers, you may need to drill more holes or use larger holes (about 1/2 inch in diameter). You can also add a layer of gravel or pebbles to the bottom of the container to improve drainage. Another option is to use a self-watering planter design, which allows excess water to drain into a reservoir at the bottom of the container.
What kind of soil should I use in my DIY plastic garden?
The type of soil you use will depend on the type of plants you’re growing. However, in general, you’ll want to use a high-quality potting mix that is well-draining and rich in nutrients. Avoid using garden soil in containers, as it can become compacted and doesn’t drain well. You can also amend your potting mix with compost or other organic matter to improve its fertility. For plants that prefer acidic soil, such as blueberries or azaleas, you can add peat moss or sulfur to the potting mix. Be sure to research the specific soil requirements of the plants you’re growing to ensure they thrive in your DIY plastic garden.
How do I protect my DIY plastic garden from the elements?
Plastic containers can be susceptible to damage from the sun, wind, and extreme temperatures. To protect your garden from the sun, consider placing it in a location that receives partial shade during the hottest part of the day. You can also paint your plastic containers with a light-colored paint to reflect sunlight and prevent them from overheating. To protect your garden from the wind, consider placing it in a sheltered location or using windbreaks, such as fences or shrubs. In areas with extreme temperatures, you may need to move your plastic containers indoors during the winter or provide them with extra insulation. You can also use row covers or cold frames to protect your plants from frost.
Can I grow vegetables in plastic containers?
Absolutely! Many vegetables thrive in plastic containers, especially those with limited space. Tomatoes, peppers, cucumbers, lettuce, spinach, and herbs are all excellent choices for container gardening. When growing vegetables in plastic containers, be sure to choose containers that are large enough to accommodate the mature size of the plants. Also, be sure to provide your plants with plenty of sunlight, water, and fertilizer. Consider using a fertilizer specifically formulated for vegetables to ensure they receive the nutrients they need to produce a bountiful harvest. Remember to choose food-grade plastics whenever possible when growing edible plants.
How do I clean my plastic containers after the growing season?
Cleaning your plastic containers after the growing season is important to prevent the spread of diseases and pests. Start by removing all of the old soil and plant debris from the containers. Then, wash the containers with a solution of warm water and soap. You can also add a small amount of bleach to the solution to disinfect the containers. Be sure to rinse the containers thoroughly with clean water to remove any soap or bleach residue. Allow the containers to dry completely before storing them. You can also store them outdoors during the winter to allow them to be exposed to the elements, which can help to kill any remaining pathogens.
What are some creative ideas for decorating my DIY plastic garden?
The possibilities are endless! You can paint your plastic containers with bright colors, add stencils or decals, or even cover them with mosaic tiles. You can also use natural materials, such as twigs, stones, or shells, to decorate your containers. Consider adding labels to your containers to identify the plants you’re growing. You can also use different sizes and shapes of containers to create visually appealing arrangements. Get creative and have fun with it! Your DIY plastic garden should reflect your unique style and personality. Remember to use weather-resistant materials when decorating your containers to ensure they last for years to come.
Leave a Comment