

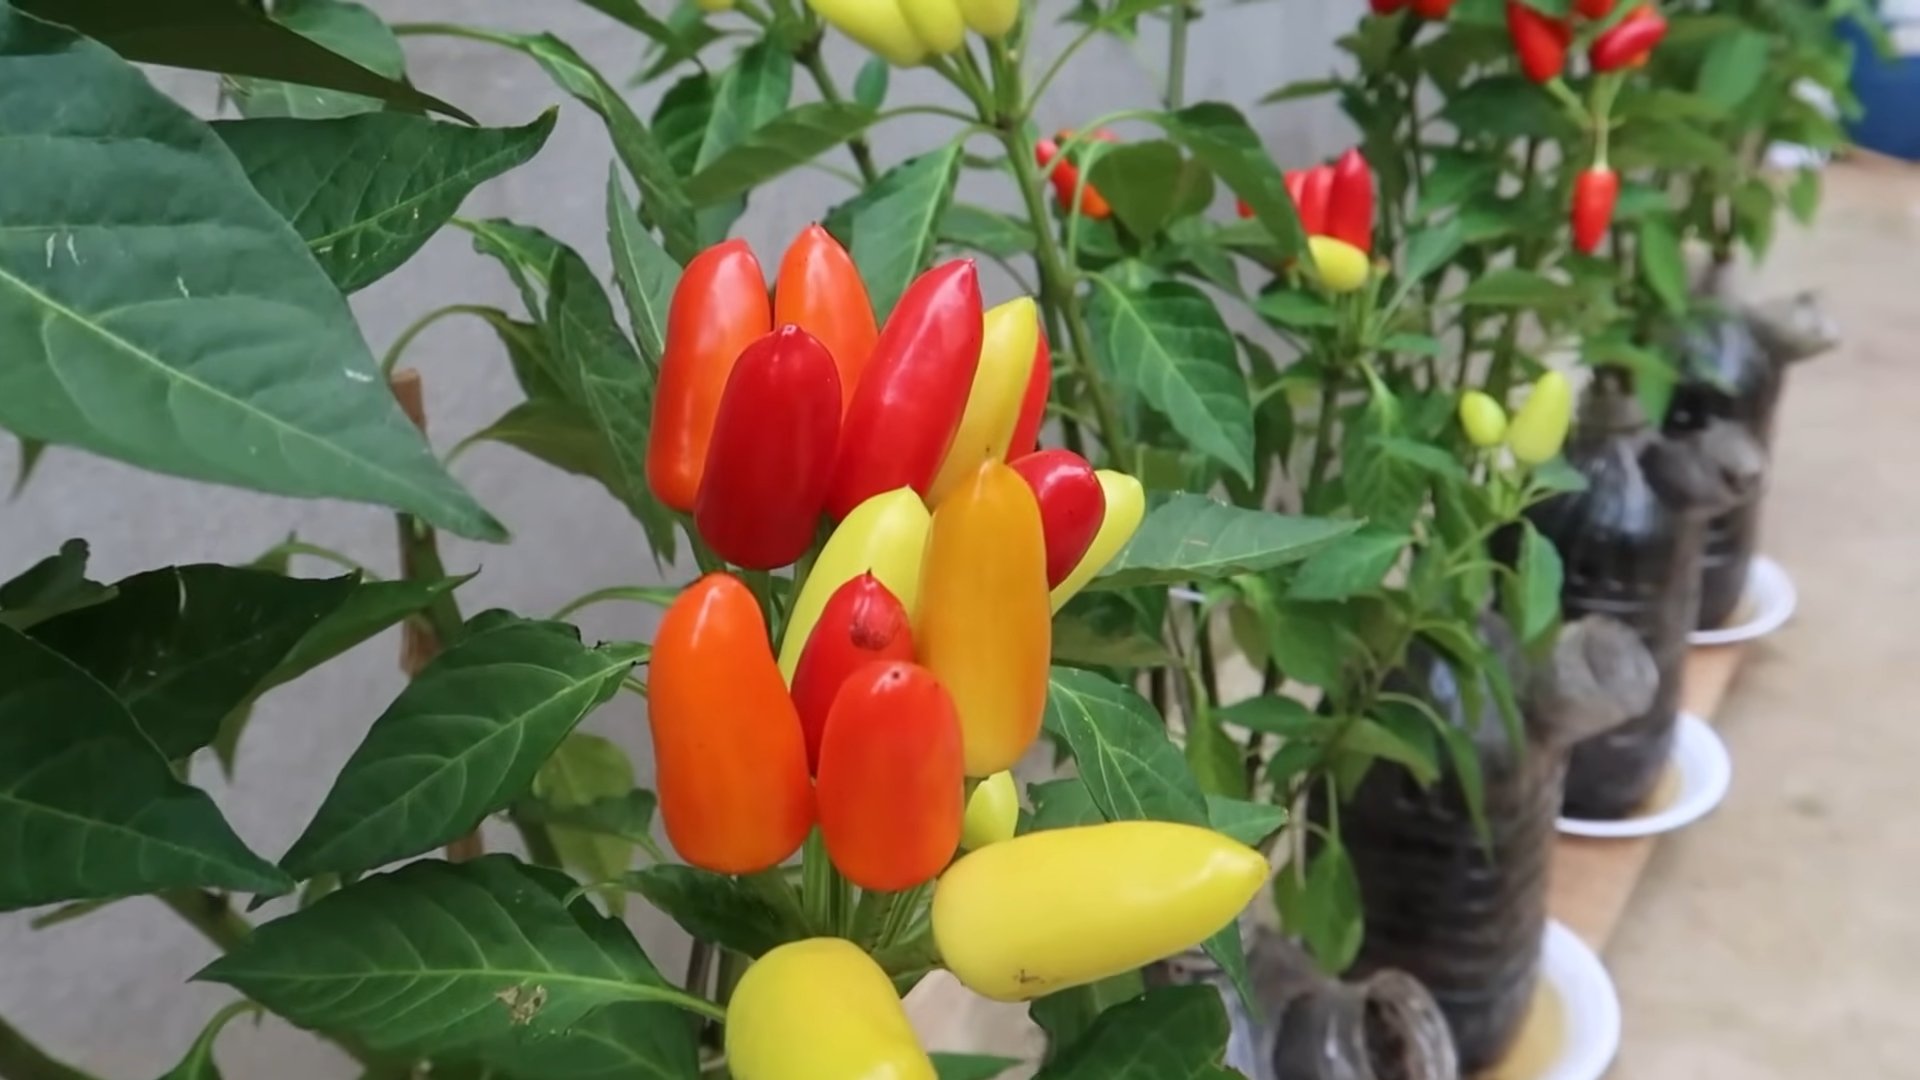
Recycled bottle pepper gardening: sounds intriguing, right? I’m so excited to share this incredibly fun and resourceful DIY project with you! Forget those expensive gardening supplies – we’re diving headfirst into upcycling and growing delicious peppers using something you probably already have lying around: plastic bottles!
Humans have been cultivating peppers for thousands of years, tracing back to ancient civilizations in South America. From fiery chilis to sweet bell peppers, they’ve added flavor and vibrancy to cuisines worldwide. But what if I told you that you could connect with this rich history in a sustainable and budget-friendly way, right in your own backyard (or even on your balcony)?
Let’s face it, gardening can sometimes feel intimidating. The cost of pots, soil, and other equipment can quickly add up. Plus, space can be a real constraint, especially if you live in an apartment or have a small yard. That’s where this recycled bottle pepper gardening trick comes in! It’s a fantastic solution for anyone looking to grow their own food without breaking the bank or needing a ton of space. I’ll show you how to transform those discarded plastic bottles into mini pepper paradises, bringing a touch of green and a whole lot of flavor into your life. Get ready to unleash your inner gardener and create something amazing!
DIY Self-Watering Pepper Planter from Recycled Bottles
Hey there, fellow gardening enthusiasts! I’m always looking for ways to be more eco-friendly and save a few bucks, and this DIY project ticks all the boxes. We’re going to transform those empty plastic bottles into self-watering planters perfect for growing peppers (or any other small plant, really!). This is a fantastic project for beginners, and it’s a great way to teach kids about recycling and gardening. Let’s get started!
What You’ll Need
Before we dive in, let’s gather our supplies. Don’t worry, you probably already have most of these lying around!
* Two plastic bottles (2-liter soda bottles work great, but any similar size will do). Make sure they are clean!
* Scissors or a craft knife (be careful!).
* Potting soil (choose a good quality mix for peppers).
* A piece of cotton cloth, felt, or an old t-shirt (about 4×4 inches).
* Water.
* Pepper seedlings (or seeds, if you’re feeling patient!).
* Optional: Decorative paint, markers, or stickers to personalize your planter.
* Optional: Small pebbles or gravel.
Preparing the Bottles
This is where we turn trash into treasure! We’ll be cutting and modifying the bottles to create the self-watering system.
1. Cutting the First Bottle: Take one of your bottles and carefully cut it in half. You want to cut it around the middle, but slightly higher up on the bottle (closer to the cap end). This will be the top part of our planter, holding the soil and plant.
2. Creating the Wick Hole: Now, take the bottle cap of the bottle you just cut. If the cap is solid, you’ll need to create a hole in the center. You can do this with a drill (carefully!) or by heating a small nail or screwdriver and melting a hole through it. The hole should be large enough to thread your cotton wick through, but not so large that the wick falls out easily.
3. Preparing the Wick: Take your piece of cotton cloth, felt, or t-shirt scrap. Cut it into a strip about 4 inches long and 1 inch wide. Twist or fold the strip to create a wick. The wick will draw water from the bottom reservoir up to the soil, keeping your pepper plant hydrated.
4. Inserting the Wick: Thread one end of the wick through the hole you made in the bottle cap. Pull it through so that about 2 inches of the wick are sticking out from the cap. The rest of the wick should be inside the bottle.
5. Assembling the Top Part: Screw the bottle cap (with the wick attached) back onto the top half of the bottle you cut earlier. Make sure it’s on tight!
6. Cutting the Second Bottle: Take your second bottle and cut it in half. This time, cut it lower down on the bottle (closer to the bottom). This will be the water reservoir. You only need the bottom half of this bottle.
Assembling the Self-Watering Planter
Now for the fun part – putting everything together!
1. Adding Drainage (Optional): If you live in a very humid area or are concerned about overwatering, you can add a layer of small pebbles or gravel to the bottom of the top half of the bottle (the part with the wick). This will help improve drainage and prevent the soil from becoming waterlogged.
2. Adding Soil: Fill the top half of the bottle with your potting soil. Leave about an inch of space at the top. Gently pat down the soil to remove any air pockets.
3. Planting Your Pepper Seedling: Carefully dig a small hole in the center of the soil and plant your pepper seedling. Make sure the roots are covered with soil. If you’re starting from seeds, follow the instructions on the seed packet for planting depth and spacing.
4. Watering Initially: Water the soil from the top until it’s thoroughly moistened. This will help the wick start drawing water up from the reservoir.
5. Placing the Top Part into the Reservoir: Carefully place the top half of the bottle (with the soil and pepper plant) into the bottom half of the second bottle (the water reservoir). The wick should be submerged in the water when you add it.
6. Adding Water to the Reservoir: Pour water into the bottom half of the bottle (the reservoir) until it reaches about an inch below the bottom of the top half of the bottle. Be careful not to overfill it!
Maintaining Your Pepper Planter
Now that your self-watering pepper planter is assembled, here are a few tips to keep your plant happy and healthy:
1. Check the Water Level Regularly: Monitor the water level in the reservoir and refill it as needed. How often you need to refill it will depend on the size of your plant, the weather, and the type of soil you’re using.
2. Sunlight: Peppers need plenty of sunlight to thrive. Place your planter in a sunny spot that gets at least 6-8 hours of direct sunlight per day.
3. Fertilizing: Peppers are heavy feeders, so you’ll need to fertilize them regularly. Use a balanced fertilizer specifically formulated for vegetables. Follow the instructions on the fertilizer package for application rates and frequency.
4. Pruning: Prune your pepper plant regularly to encourage bushier growth and more peppers. Remove any dead or yellowing leaves.
5. Pest Control: Keep an eye out for pests like aphids, whiteflies, and spider mites. If you spot any pests, treat them with an appropriate insecticide or organic pest control method.
6. Rotating Crops: If you’re planning on using these planters for multiple seasons, it’s a good idea to rotate your crops. This will help prevent soilborne diseases and nutrient depletion.
Troubleshooting
Sometimes things don’t go exactly as planned. Here are a few common problems you might encounter and how to fix them:
* Soil is too dry: If the soil is dry, it could mean that the wick isn’t working properly. Make sure the wick is making good contact with the soil and the water in the reservoir. You may need to adjust the wick or try a different type of material. Also, ensure the soil was thoroughly watered from the top initially.
* Soil is too wet: If the soil is constantly soggy, it could mean that the wick is drawing up too much water. Try using a smaller wick or adding a layer of gravel to the bottom of the top half of the bottle to improve drainage.
* Plant is not growing: If your pepper plant isn’t growing, it could be due to a lack of sunlight, nutrients, or water. Make sure your plant is getting enough sunlight, fertilize it regularly, and check the water level in the reservoir.
* Plant is wilting: Wilting can be caused by a variety of factors, including underwatering, overwatering, heat stress, or disease. Check the soil moisture and water as needed. If the plant is wilting due to heat stress, move it to a shadier location.
Personalizing Your Planter
One of the best things about this DIY project is that you can personalize your planter to match your style. Here are a few ideas:
* Paint: Paint the bottles with acrylic paint in your favorite colors. You can create patterns, designs, or even paint a picture of a pepper on the planter.
* Markers: Use permanent markers to draw designs or write inspirational messages on the planter.
* Stickers: Decorate the planter with stickers. You can find stickers with all sorts of designs, from flowers to animals to geometric patterns.
* Ribbon or Twine: Wrap ribbon or twine around the planter to add a touch of rustic charm.
* Labels: Create labels for your planter to identify the type of pepper you’re growing.
Why This Works
The magic behind this self-watering system lies in capillary action. The cotton wick acts as a bridge, drawing water from the reservoir up into the soil. This keeps the soil consistently moist, providing your pepper plant with a steady supply of water. It’s a simple yet effective way to water your plants, especially if you’re prone to forgetting or if you’re going on vacation.
Beyond Peppers
While I’ve focused on peppers in this guide, this self-watering system works well for other small plants too! Try it with herbs like basil, mint, or oregano. You can also use it for flowers like petunias or pansies. Just make sure to choose plants that have similar watering needs.
Final Thoughts
I hope you enjoyed this DIY project! It’s a fun, easy, and eco-friendly way to grow your own peppers (or other plants). Plus, it’s a great conversation starter! So, grab those empty bottles, get your hands dirty, and start gardening! Happy growing!
Conclusion
So, there you have it! Transforming a simple recycled bottle into a thriving pepper garden is not just a fun project; it’s a sustainable and incredibly rewarding way to grow your own fresh produce. We’ve walked you through the process, highlighting the ease and affordability of this DIY trick. But why is this method a must-try?
Firstly, it’s incredibly space-efficient. Whether you have a sprawling backyard or a tiny balcony, these bottle gardens can be easily accommodated. They’re perfect for urban dwellers or anyone with limited gardening space. Secondly, it’s a fantastic way to reduce waste. Instead of tossing those plastic bottles into the recycling bin (or worse, the trash), you’re giving them a new lease on life, contributing to a more sustainable lifestyle. Thirdly, it’s a budget-friendly option. The materials required are minimal and often readily available around your home. You’re saving money on buying peppers from the store and reducing your environmental footprint simultaneously.
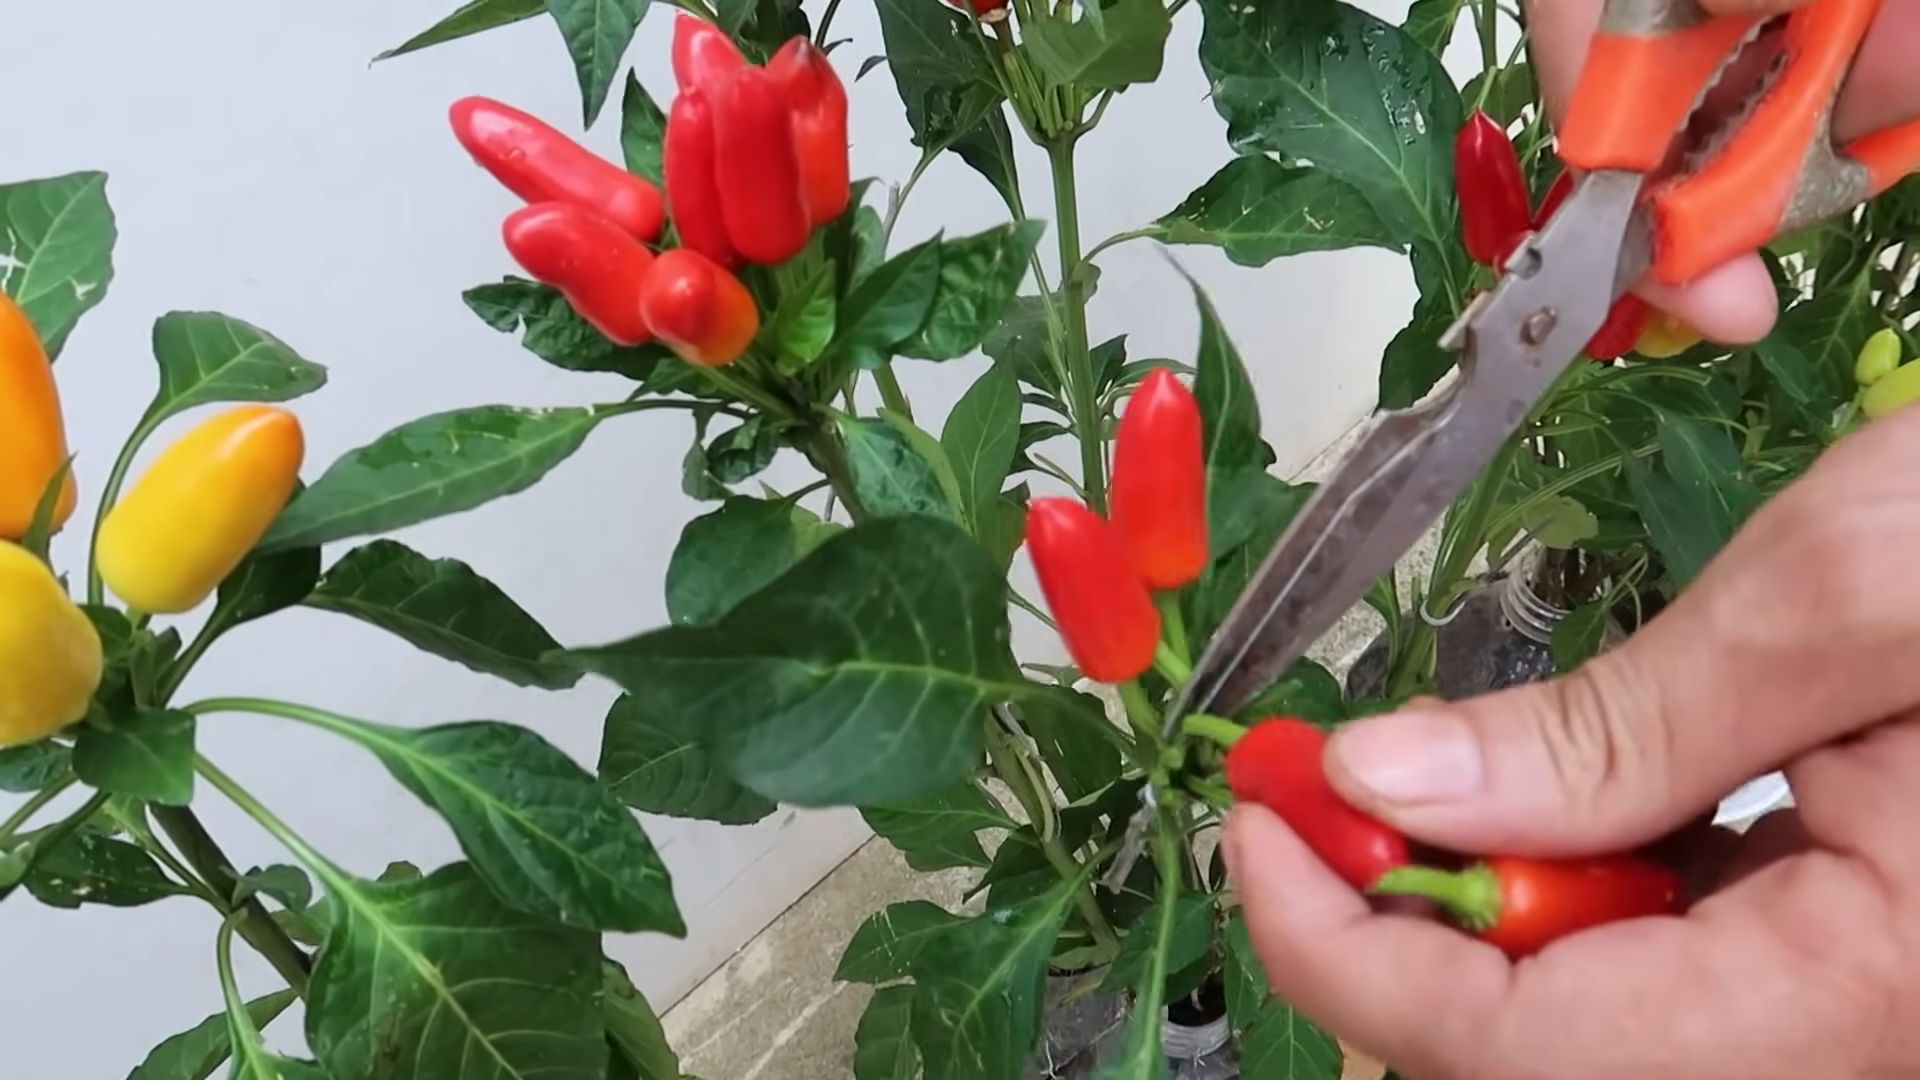
But the benefits don’t stop there. Growing your own peppers allows you to control the entire process, from the soil you use to the fertilizers you apply (or don’t apply!). This means you can ensure your peppers are organic and free from harmful chemicals. Plus, there’s nothing quite like the satisfaction of harvesting peppers you’ve nurtured from seed to fruit.
Now, let’s talk about variations. While we’ve focused on peppers, this method can be adapted for other small vegetables and herbs. Think cherry tomatoes, strawberries, lettuce, basil, or mint. Experiment with different bottle sizes and shapes to create a visually appealing and functional garden. You can even paint the bottles to add a splash of color to your space. Consider using different types of soil mixes depending on the specific needs of the plants you’re growing. For example, peppers thrive in well-draining soil, so adding perlite or vermiculite to your potting mix is a good idea.
Another variation is to create a vertical garden by hanging multiple bottle gardens from a wall or fence. This is a great way to maximize space and create a stunning visual display. You can also use different types of bottles, such as wine bottles or glass jars, for a more rustic or elegant look. Just be sure to handle glass carefully and provide adequate drainage.
Don’t be afraid to experiment and personalize your bottle garden to suit your own preferences and needs. The possibilities are endless!
We wholeheartedly encourage you to try this DIY recycled bottle pepper gardening trick. It’s a simple, sustainable, and satisfying way to grow your own food. Once you’ve given it a go, we’d love to hear about your experience. Share your photos, tips, and challenges in the comments below. Let’s build a community of bottle gardeners and inspire others to embrace sustainable living! What pepper varieties did you try? What challenges did you face, and how did you overcome them? Your insights could be invaluable to other aspiring gardeners. Happy gardening!
Frequently Asked Questions (FAQ)
What type of plastic bottle is best for this project?
Ideally, you should use PET (Polyethylene Terephthalate) plastic bottles, which are commonly used for water and soda. These bottles are generally considered food-safe and durable enough to withstand the elements. Avoid using bottles made from PVC (Polyvinyl Chloride), as they can leach harmful chemicals into the soil. Look for the recycling symbol with the number “1” inside the triangle, which indicates PET plastic. Make sure to thoroughly clean the bottles before use to remove any residue from previous contents.
How often should I water my bottle pepper garden?
The watering frequency will depend on several factors, including the climate, the type of soil you’re using, and the size of the bottle. As a general rule, check the soil moisture level daily. If the top inch of soil feels dry to the touch, it’s time to water. Water thoroughly until excess water drains out of the drainage holes. Avoid overwatering, as this can lead to root rot. During hot and dry weather, you may need to water more frequently. Consider using a self-watering system, such as a wick system, to help maintain consistent moisture levels.
What type of soil should I use for growing peppers in bottles?
Peppers thrive in well-draining soil that is rich in organic matter. A good potting mix specifically formulated for vegetables is a great option. You can also create your own soil mix by combining equal parts of potting soil, compost, and perlite or vermiculite. The compost will provide essential nutrients, while the perlite or vermiculite will improve drainage and aeration. Avoid using garden soil, as it can be too heavy and compact, which can hinder root growth.
How much sunlight do pepper plants need in a bottle garden?
Pepper plants need at least 6-8 hours of direct sunlight per day to thrive. Place your bottle garden in a sunny location, such as a south-facing window or balcony. If you don’t have access to enough natural sunlight, you can supplement with grow lights. LED grow lights are a good option, as they are energy-efficient and provide the full spectrum of light that plants need. Rotate the bottles regularly to ensure that all sides of the plants receive adequate sunlight.
What kind of fertilizer should I use for my bottle pepper plants?
Use a balanced fertilizer specifically formulated for vegetables. Look for a fertilizer with an NPK ratio (Nitrogen, Phosphorus, Potassium) of around 10-10-10 or 5-5-5. You can use either a liquid fertilizer or a slow-release granular fertilizer. Follow the instructions on the fertilizer packaging for proper application rates. Avoid over-fertilizing, as this can burn the roots of the plants. You can also supplement with organic fertilizers, such as compost tea or fish emulsion.
How do I prevent pests and diseases in my bottle pepper garden?
Regularly inspect your plants for signs of pests or diseases. Common pests that affect pepper plants include aphids, whiteflies, and spider mites. You can control these pests by spraying the plants with insecticidal soap or neem oil. Diseases such as powdery mildew and blossom end rot can also affect pepper plants. To prevent these diseases, ensure good air circulation around the plants and avoid overwatering. Remove any infected leaves or fruits promptly.
Can I grow different varieties of peppers in bottle gardens?
Yes, you can grow different varieties of peppers in bottle gardens. However, it’s important to choose varieties that are well-suited for container gardening. Smaller pepper varieties, such as bell peppers, jalapenos, and chili peppers, are generally a good choice. Be sure to provide adequate spacing between plants to allow for proper growth. You can also grow different varieties of peppers in separate bottles to prevent cross-pollination.
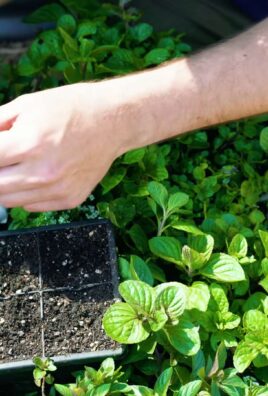
How do I transplant pepper seedlings into the recycled bottles?
Carefully remove the pepper seedlings from their original containers, being gentle with the roots. Create a hole in the soil in the recycled bottle that is large enough to accommodate the root ball. Place the seedling in the hole and gently pat the soil around the base of the plant. Water thoroughly after transplanting. It’s best to transplant seedlings in the early morning or late evening to avoid stressing the plants during the hottest part of the day.
What do I do if my pepper plant outgrows the bottle?
If your pepper plant outgrows the bottle, you can either transplant it into a larger container or prune the roots to restrict growth. To prune the roots, carefully remove the plant from the bottle and trim away about one-third of the roots. Repot the plant in the same bottle with fresh soil. Pruning the roots will help to control the size of the plant and prevent it from becoming root-bound.
How long does it take for peppers to grow in a bottle garden?
The time it takes for peppers to grow in a bottle garden will depend on the variety of pepper, the growing conditions, and the climate. Generally, it takes about 60-90 days from transplanting seedlings to harvesting mature peppers. Be patient and provide your plants with the proper care, and you’ll be rewarded with a bountiful harvest of fresh, homegrown peppers.

Leave a Comment