

Grow vegetables at home, even if you think you don’t have a green thumb! Have you ever dreamed of stepping into your backyard and harvesting fresh, juicy tomatoes for a summer salad, or snipping fragrant herbs to elevate your weeknight dinner? It’s more achievable than you might think, and this DIY guide is your passport to a bountiful home garden.
For centuries, cultivating our own food has been a cornerstone of human civilization. From ancient Egyptians tending their plots along the Nile to the “Victory Gardens” of World War II, growing your own produce connects us to a rich history of self-sufficiency and resourcefulness. But in today’s fast-paced world, the art of home gardening can feel daunting.
That’s where these simple, yet effective, DIY tricks and hacks come in. I understand that not everyone has acres of land or hours to dedicate to gardening. That’s why I’ve compiled these easy-to-follow tips that will help you grow vegetables at home, regardless of your space or experience level. Imagine the satisfaction of knowing exactly where your food comes from, reducing your carbon footprint, and enjoying the unparalleled taste of homegrown goodness. Let’s get started and transform your space into a thriving edible oasis!
Propagating Plants Like a Pro in June: Your Ultimate DIY Guide
Hey plant lovers! June is prime time for plant propagation, and I’m so excited to share my favorite techniques with you. It’s like magic – turning one plant into many! This guide will walk you through everything you need to know to successfully propagate your plants this month. Let’s get started!
Understanding Plant Propagation
Before we dive into the how-to, let’s quickly cover the basics. Plant propagation is essentially creating new plants from existing ones. There are several methods, but we’ll focus on the most common and effective ones for June: stem cuttings, leaf cuttings, and division.
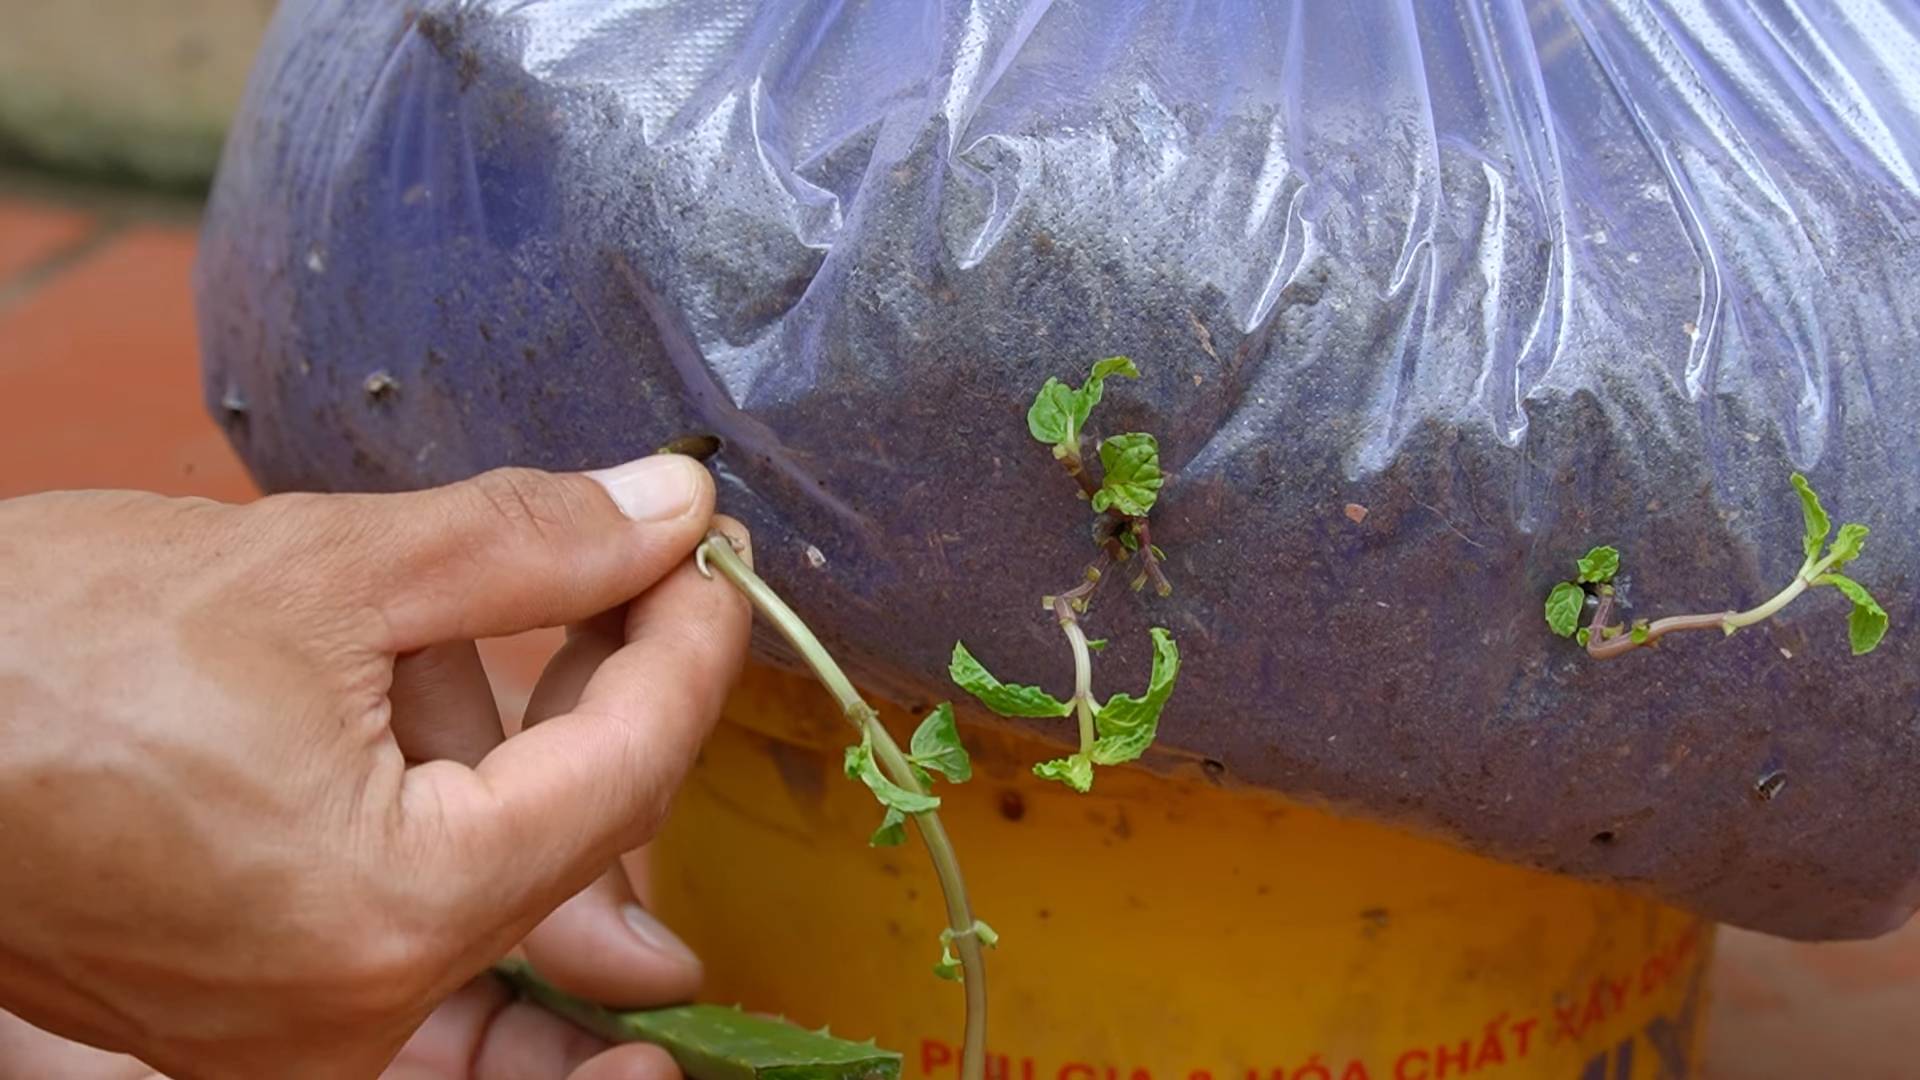
* Stem Cuttings: This involves taking a piece of a stem and encouraging it to grow roots. It’s super effective for plants like pothos, succulents, and herbs.
* Leaf Cuttings: Some plants, like snake plants and African violets, can be propagated from just a single leaf!
* Division: This method is perfect for plants that grow in clumps, like hostas or ferns. You simply separate the plant into smaller sections, each with its own roots.
Tools and Materials You’ll Need
Having the right tools makes all the difference. Here’s what I recommend:
* Sharp, Clean Pruning Shears or Knife: This is crucial for making clean cuts that prevent disease. I always sterilize mine with rubbing alcohol before and after each use.
* Rooting Hormone (Optional but Recommended): This powder or gel encourages root growth and can significantly increase your success rate.
* Potting Mix: Use a well-draining mix specifically designed for starting seeds or cuttings.
* Small Pots or Containers: Choose pots that are appropriately sized for your cuttings or divisions.
* Clear Plastic Bags or a Humidity Dome: These help create a humid environment, which is essential for root development.
* Spray Bottle: For misting your cuttings to keep them hydrated.
* Water: Filtered or distilled water is best to avoid mineral buildup.
* Labels: Don’t forget to label your cuttings with the plant name and date! Trust me, you’ll thank yourself later.
Propagating from Stem Cuttings
This is my go-to method for many plants! It’s relatively easy and yields great results.
1. Select a Healthy Stem: Choose a stem that is healthy, vigorous, and free from pests or diseases. Look for stems with several leaves or nodes (the points where leaves emerge).
2. Make the Cut: Using your sterilized pruning shears or knife, make a clean cut just below a node. The cutting should be about 4-6 inches long.
3. Remove Lower Leaves: Remove the leaves from the bottom 1-2 inches of the cutting. This prevents them from rotting when they’re buried in the soil.
4. Apply Rooting Hormone (Optional): Dip the cut end of the stem into rooting hormone powder or gel. This step isn’t always necessary, but it can significantly improve your chances of success, especially with plants that are difficult to root.
5. Plant the Cutting: Fill a small pot with well-draining potting mix. Use a pencil or your finger to create a hole in the soil, and then gently insert the cutting. Make sure the node where you removed the leaves is buried in the soil.
6. Water and Cover: Water the cutting thoroughly, allowing excess water to drain out. Then, cover the pot with a clear plastic bag or place it in a humidity dome. This will help create a humid environment that encourages root growth.
7. Provide Indirect Light: Place the cutting in a location with bright, indirect light. Avoid direct sunlight, which can scorch the leaves.
8. Maintain Humidity: Mist the cutting regularly to keep the humidity high. If you’re using a plastic bag, open it every few days to allow for air circulation and prevent mold growth.
9. Check for Roots: After a few weeks, gently tug on the cutting to see if it has rooted. If you feel resistance, it means roots have formed! You can also gently dig around the base of the cutting to check for roots.
10. Pot Up: Once the cutting has developed a good root system, you can transplant it into a larger pot with fresh potting mix.
Propagating from Leaf Cuttings
This method is perfect for plants like snake plants, succulents, and African violets.
1. Select a Healthy Leaf: Choose a healthy, mature leaf that is free from blemishes or damage.
2. Make the Cut: Depending on the plant, you may need to cut the leaf into sections. For snake plants, I usually cut the leaf into 2-3 inch sections. For African violets, you can use the entire leaf.
3. Allow the Cut End to Callus: This is an important step! Let the cut end of the leaf dry out and form a callus for a few days. This helps prevent rot.
4. Plant the Leaf: Fill a small pot with well-draining potting mix. Insert the calloused end of the leaf into the soil, burying it about 1 inch deep.
5. Water and Cover: Water the leaf cutting thoroughly, allowing excess water to drain out. Then, cover the pot with a clear plastic bag or place it in a humidity dome.
6. Provide Indirect Light: Place the cutting in a location with bright, indirect light.
7. Maintain Humidity: Mist the cutting regularly to keep the humidity high.
8. Be Patient: Leaf cuttings can take longer to root than stem cuttings. Be patient and continue to provide the right conditions.
9. Check for Roots and New Growth: After several weeks or even months, you should start to see new growth emerging from the base of the leaf. This indicates that roots have formed.
10. Pot Up: Once the new plant is large enough, you can transplant it into a larger pot.
Propagating by Division
This is a great way to multiply plants that grow in clumps, like hostas, ferns, and peace lilies.
1. Choose the Right Plant: Select a mature plant that has multiple stems or clumps.
2. Prepare the Plant: Water the plant thoroughly a day or two before you plan to divide it. This will help loosen the soil and make it easier to separate the roots.
3. Remove the Plant from the Pot: Gently remove the plant from its pot. If the roots are tightly bound, you may need to use a knife or trowel to loosen them.
4. Divide the Plant: Carefully separate the plant into smaller sections, each with its own roots and stems. You can use your hands or a sharp knife to divide the root ball. Make sure each division has a healthy amount of roots.
5. Pot Up the Divisions: Plant each division in its own pot with fresh potting mix.
6. Water Thoroughly: Water the newly potted divisions thoroughly, allowing excess water to drain out.
7. Provide Shade: Place the divisions in a shady location for a few days to help them recover from the stress of being divided.
8. Gradually Acclimate to Sunlight: After a few days, gradually acclimate the divisions to more sunlight.
Tips for Success
Here are a few extra tips to help you succeed with plant propagation:
* Sterilize Your Tools: This is crucial for preventing the spread of diseases.
* Use Fresh Potting Mix: Old potting mix can harbor pests and diseases.
* Don’t Overwater: Overwatering can lead to root rot.
* Be Patient: Plant propagation takes time. Don’t get discouraged if your cuttings don’t root right away.
* Experiment: Try different methods and see what works best for you and your plants.
* Research Your Plants: Different plants have different propagation requirements. Do some research to find out the best method for your specific plants.
Troubleshooting Common Problems
Even with the best efforts, sometimes things don’t go as planned. Here are some common problems and how to fix them:
* Cuttings Rotting: This is usually caused by overwatering or poor drainage. Make sure your potting mix is well-draining and avoid overwatering.
* Cuttings Not Rooting: This could be due to a number of factors, including low humidity, insufficient light, or lack of rooting hormone. Try increasing the humidity, providing more light, or using rooting hormone.
* Pests and Diseases: Keep an eye out for pests and diseases. Treat any infestations promptly with an appropriate insecticide or fungicide.
Specific Plants to Propagate in June
June is a fantastic month for propagating a wide variety of plants. Here are a few of my favorites:
* Pothos: These are super easy to propagate from stem cuttings.
*
Conclusion
So, there you have it! Taking the leap and growing vegetables at home is more than just a trend; it’s a rewarding journey that connects you to your food, saves you money, and provides you with the freshest, most flavorful ingredients imaginable. We’ve explored a simple yet effective DIY trick that can significantly boost your success, even if you’re a complete beginner. This isn’t about complicated gardening techniques or expensive equipment; it’s about leveraging a readily available resource to create a thriving environment for your plants.
Why is this DIY trick a must-try? Because it addresses one of the most common challenges faced by home gardeners: providing consistent moisture and nutrients to young seedlings. By creating a self-watering system using recycled materials, you’re ensuring that your plants receive the hydration they need without the risk of overwatering or underwatering. This translates to stronger, healthier plants that are better equipped to withstand pests and diseases, ultimately leading to a more abundant harvest.
But the beauty of this DIY approach lies in its adaptability. Feel free to experiment with different materials and techniques to find what works best for you and your garden. For example, if you’re growing larger vegetables like tomatoes or peppers, you might consider using larger containers and adjusting the size of the wicking material accordingly. You could also incorporate organic fertilizers into the water reservoir to provide your plants with an extra boost of nutrients. Another variation is to use different types of wicking material. Some gardeners swear by cotton rope, while others prefer strips of old t-shirts or even nylon stockings. The key is to find a material that effectively draws water from the reservoir to the soil.
Don’t be afraid to get creative and personalize your DIY self-watering system to suit your specific needs and preferences. Consider adding a layer of mulch to the top of the soil to help retain moisture and suppress weeds. You could also build a small trellis or support structure to help your plants grow vertically, maximizing space in your garden.
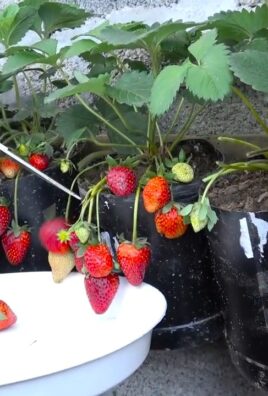
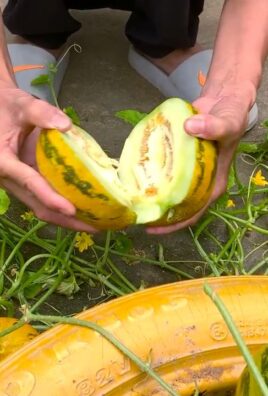
Growing vegetables at home is an incredibly satisfying experience, and this DIY trick is a fantastic way to make it even easier and more successful. Imagine the joy of harvesting your own fresh tomatoes, crisp lettuce, or flavorful herbs, knowing that you grew them yourself with your own two hands. It’s a feeling that’s hard to beat.
We wholeheartedly encourage you to give this DIY trick a try. It’s simple, affordable, and incredibly effective. And most importantly, it’s a fun and rewarding way to connect with nature and enjoy the fruits (and vegetables!) of your labor.
Once you’ve tried it, we’d love to hear about your experience. Share your photos, tips, and variations in the comments below. Let’s build a community of home gardeners who are passionate about growing their own food and sharing their knowledge with others. Together, we can create a more sustainable and delicious future, one vegetable garden at a time. So, grab your tools, gather your materials, and get ready to embark on a rewarding journey of growing vegetables at home!
Frequently Asked Questions (FAQ)
What types of vegetables are best suited for this DIY self-watering system?
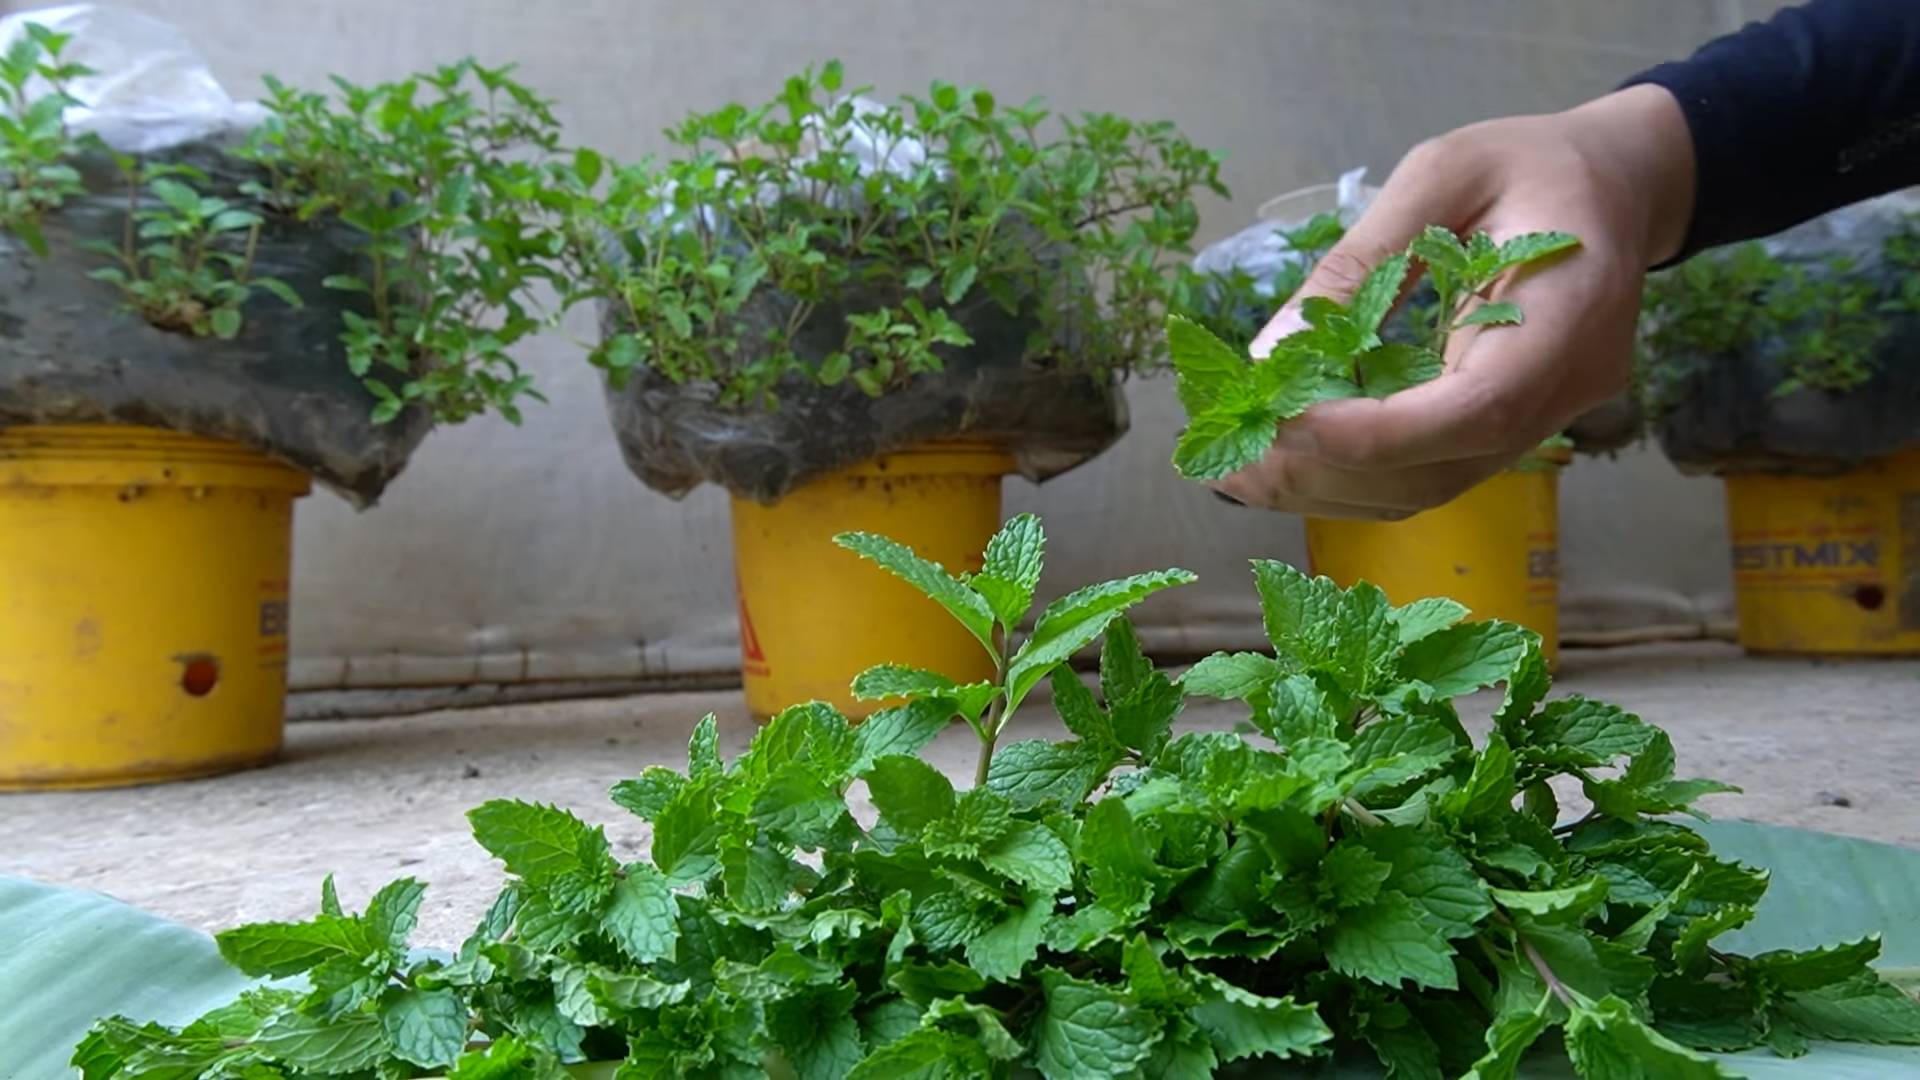
This DIY self-watering system is incredibly versatile and can be used for a wide variety of vegetables. It’s particularly well-suited for plants that require consistent moisture, such as tomatoes, peppers, cucumbers, lettuce, spinach, and herbs like basil and mint. However, it can also be used for other vegetables like beans, peas, and even root vegetables like carrots and radishes, although you may need to adjust the size of the container and the frequency of watering depending on the specific needs of the plant. Remember to research the specific needs of each vegetable you plan to grow to ensure optimal results.
How often do I need to refill the water reservoir?
The frequency with which you need to refill the water reservoir will depend on several factors, including the size of the container, the type of vegetables you’re growing, the weather conditions, and the type of soil you’re using. In general, you should check the water level in the reservoir every day or two, especially during hot and dry weather. If the reservoir is empty or nearly empty, it’s time to refill it. Over time, you’ll develop a better understanding of how quickly your plants are using water and you’ll be able to adjust your watering schedule accordingly. A good rule of thumb is to err on the side of caution and refill the reservoir before it completely empties.
What type of soil should I use for this DIY self-watering system?
The best type of soil for this DIY self-watering system is a well-draining potting mix that is specifically formulated for container gardening. Avoid using garden soil, as it can become compacted and prevent proper drainage. Look for a potting mix that contains a blend of peat moss, perlite, and vermiculite. These ingredients help to retain moisture while also providing good aeration for the roots. You can also add compost to the potting mix to provide your plants with an extra boost of nutrients. A slightly acidic soil pH (around 6.0 to 6.5) is ideal for most vegetables.
Can I use this DIY self-watering system indoors?
Yes, this DIY self-watering system is perfectly suitable for indoor gardening. In fact, it can be especially beneficial for indoor plants, as it helps to provide consistent moisture and prevent overwatering, which is a common problem for indoor gardeners. When using this system indoors, be sure to place your plants in a location that receives adequate sunlight. You may also need to supplement with artificial lighting, especially during the winter months. Also, consider placing a tray underneath the container to catch any spills or leaks.
What if the wicking material doesn’t seem to be drawing water up to the soil?
If you notice that the wicking material isn’t effectively drawing water up to the soil, there are a few things you can try. First, make sure that the wicking material is in direct contact with both the water in the reservoir and the soil in the container. You may need to adjust the position of the wicking material to ensure proper contact. Second, try using a different type of wicking material. Some materials, such as cotton rope, are more effective at wicking water than others. Third, make sure that the soil is not too compacted. Compacted soil can prevent water from wicking up properly. You can loosen the soil by gently aerating it with a fork or trowel. Finally, you can try adding a small amount of water directly to the top of the soil to help get the wicking process started.
How do I prevent algae growth in the water reservoir?
Algae growth in the water reservoir is a common problem, especially when the reservoir is exposed to sunlight. To prevent algae growth, you can try a few different methods. First, use an opaque container for the reservoir to block out sunlight. Second, add a small amount of hydrogen peroxide to the water reservoir. Hydrogen peroxide is a natural algaecide that is safe for plants. Third, clean the reservoir regularly to remove any algae that may have accumulated. You can also add a copper penny to the reservoir, as copper has algaecidal properties. However, be careful not to add too much copper, as it can be toxic to plants in high concentrations.
Can I use fertilizer with this DIY self-watering system?
Yes, you can definitely use fertilizer with this DIY self-watering system. In fact, it’s a great way to provide your plants with the nutrients they need to thrive. When using fertilizer, be sure to use a water-soluble fertilizer that is specifically formulated for vegetables. Follow the instructions on the fertilizer package carefully and dilute the fertilizer to the recommended concentration. You can add the fertilizer directly to the water reservoir, but be sure to stir it well to ensure that it is evenly distributed. Avoid using granular fertilizers, as they can clog the wicking material.
What do I do if my plants start to show signs of nutrient deficiency?
If your plants start to show signs of nutrient deficiency, such as yellowing leaves, stunted growth, or poor fruit production, it’s important to address the problem quickly. First, check the pH of your soil. An improper pH can prevent plants from absorbing nutrients properly. You can test the pH of your soil using a soil testing kit. If the pH is too high or too low, you can amend the soil with lime or sulfur to adjust it to the proper range. Second, make sure that you are providing your plants with adequate fertilizer. Use a balanced fertilizer that contains all of the essential nutrients that plants need, including nitrogen, phosphorus, and potassium. Third, check for pests or diseases that may be affecting your plants’ ability to absorb nutrients. Treat any infestations or diseases promptly.
Is this DIY trick suitable for all climates?
This DIY trick is generally suitable for most climates, but you may need to make some adjustments depending on your specific climate conditions. In hot and dry climates, you may need to refill the water reservoir more frequently and provide your plants with some shade during the hottest part of the day. In cold climates, you may need to protect your plants from frost and freezing temperatures. You can do this by moving them indoors or covering them with a frost blanket. In areas with heavy rainfall, you may need to provide your plants with some drainage to prevent them from becoming waterlogged.
How long will this DIY self-watering system last?
The lifespan of this DIY self-watering system will depend on the materials you use and how

Leave a Comment