

Cleaning Tricks That Work: Who doesn’t love a sparkling clean home? But let’s be honest, the thought of spending hours scrubbing and scouring isn’t exactly thrilling. I get it! We all lead busy lives, and sometimes, keeping our homes clean feels like a never-ending battle. But what if I told you there are simple, effective, and even fun ways to conquer the clutter and grime?
For centuries, people have been developing clever cleaning hacks, passing them down through generations. Think about it – our grandmothers knew a thing or two about making things shine with natural ingredients and elbow grease! These time-tested methods, combined with some modern innovations, can transform your cleaning routine from a chore into a breeze.
That’s why I’m so excited to share these cleaning tricks that work! This isn’t just about surface-level tidiness; it’s about creating a healthier, happier, and more inviting living space for you and your loved ones. Imagine spending less time cleaning and more time enjoying your beautifully maintained home. From tackling stubborn stains to organizing clutter, these DIY solutions will save you time, money, and a whole lot of frustration. So, grab your gloves (or don’t – many of these are all-natural!), and let’s dive into the world of easy and effective cleaning!
DIY Cleaning Power: Unleash the Magic with These Simple Hacks!
Okay, friends, let’s dive into some seriously effective cleaning hacks that will transform your home from “meh” to “marvelous” without breaking the bank. I’m all about saving time and money, and these tricks do exactly that. Get ready to be amazed!
Hack 1: Sparkling Clean Microwave with Lemon Power
Microwaves are notorious for splatters and lingering odors. This hack uses the natural cleaning power of lemon to steam clean and deodorize.
What you’ll need:
* 1 Lemon
* 1 Microwave-safe bowl
* 1 Cup of water
Step-by-step instructions:
1. Prepare the lemon: Cut the lemon in half. Squeeze the juice from both halves into the microwave-safe bowl. Then, drop the lemon halves into the bowl as well.
2. Add water: Pour one cup of water into the bowl with the lemon juice and lemon halves.
3. Microwave the mixture: Place the bowl in the microwave and heat on high for 3-5 minutes. You want the water to boil and create steam.
4. Let it steam: After microwaving, don’t open the door immediately! Let the steam sit inside the microwave for another 5-10 minutes. This allows the steam to loosen the grime and soften any dried-on food particles.
5. Wipe it clean: Carefully remove the bowl (it will be hot!). Use a clean cloth or sponge to wipe down the inside of the microwave. The grime should come off easily. For stubborn spots, you can use the lemon halves to scrub gently.
6. Enjoy the fresh scent: Your microwave will not only be sparkling clean but also smell wonderfully fresh!
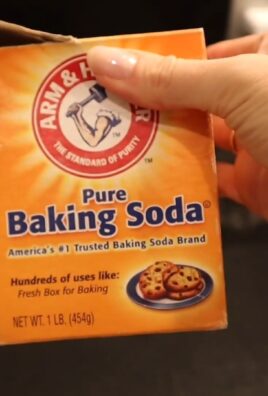
Hack 2: Unclogging Drains with Baking Soda and Vinegar
Clogged drains are a common household problem. This natural solution is a safe and effective alternative to harsh chemical drain cleaners.
What you’ll need:
* 1 Cup of baking soda
* 2 Cups of white vinegar
* Hot water
Step-by-step instructions:
1. Pour in the baking soda: Carefully pour one cup of baking soda down the clogged drain. Try to get as much of it down the drain as possible.
2. Add the vinegar: Immediately follow the baking soda with two cups of white vinegar.
3. Let it fizz: You’ll hear a fizzing sound as the baking soda and vinegar react. This is good! The reaction helps to break down the clog. Let the mixture sit for at least 30 minutes, or even better, overnight.
4. Flush with hot water: After the waiting period, flush the drain with hot water for several minutes. This will help to clear away the loosened debris.
5. Repeat if necessary: If the drain is still clogged, repeat the process. For particularly stubborn clogs, you might need to use a plunger after the baking soda and vinegar treatment.
Hack 3: Cleaning Grout with Baking Soda Paste
Dirty grout can make even the cleanest tiles look dingy. This baking soda paste is a powerful and natural grout cleaner.
What you’ll need:
* Baking soda
* Water
* Old toothbrush or grout brush
Step-by-step instructions:
1. Make the paste: In a small bowl, mix baking soda with enough water to form a thick paste. The consistency should be similar to toothpaste.
2. Apply the paste: Apply the baking soda paste to the grout lines. You can use your fingers or a small spatula to spread it evenly.
3. Scrub the grout: Use an old toothbrush or a grout brush to scrub the grout lines. Apply some pressure and scrub in a back-and-forth motion.
4. Let it sit: Allow the baking soda paste to sit on the grout for 10-15 minutes. This gives it time to penetrate and loosen the dirt and grime.
5. Rinse thoroughly: Rinse the grout lines thoroughly with water. You can use a sponge or a damp cloth to wipe away the remaining baking soda paste.
6. Dry the area: Dry the area with a clean towel. You’ll be amazed at how much brighter and cleaner your grout looks!
Hack 4: Polishing Stainless Steel with Olive Oil
Stainless steel appliances can easily show fingerprints and smudges. This simple hack uses olive oil to polish and protect your stainless steel.
What you’ll need:
* Olive oil
* Clean, soft cloth (microfiber is best)
Step-by-step instructions:
1. Clean the surface: First, clean the stainless steel surface with a damp cloth to remove any loose dirt or debris.
2. Apply olive oil: Pour a small amount of olive oil onto a clean, soft cloth. You don’t need much!
3. Wipe the surface: Wipe the stainless steel surface with the olive oil, following the grain of the metal.
4. Buff the surface: Use a clean, dry cloth to buff the surface. This will remove any excess oil and leave a beautiful shine.
5. Enjoy the shine: Your stainless steel appliances will look polished and new! The olive oil also helps to protect the surface from fingerprints and smudges.
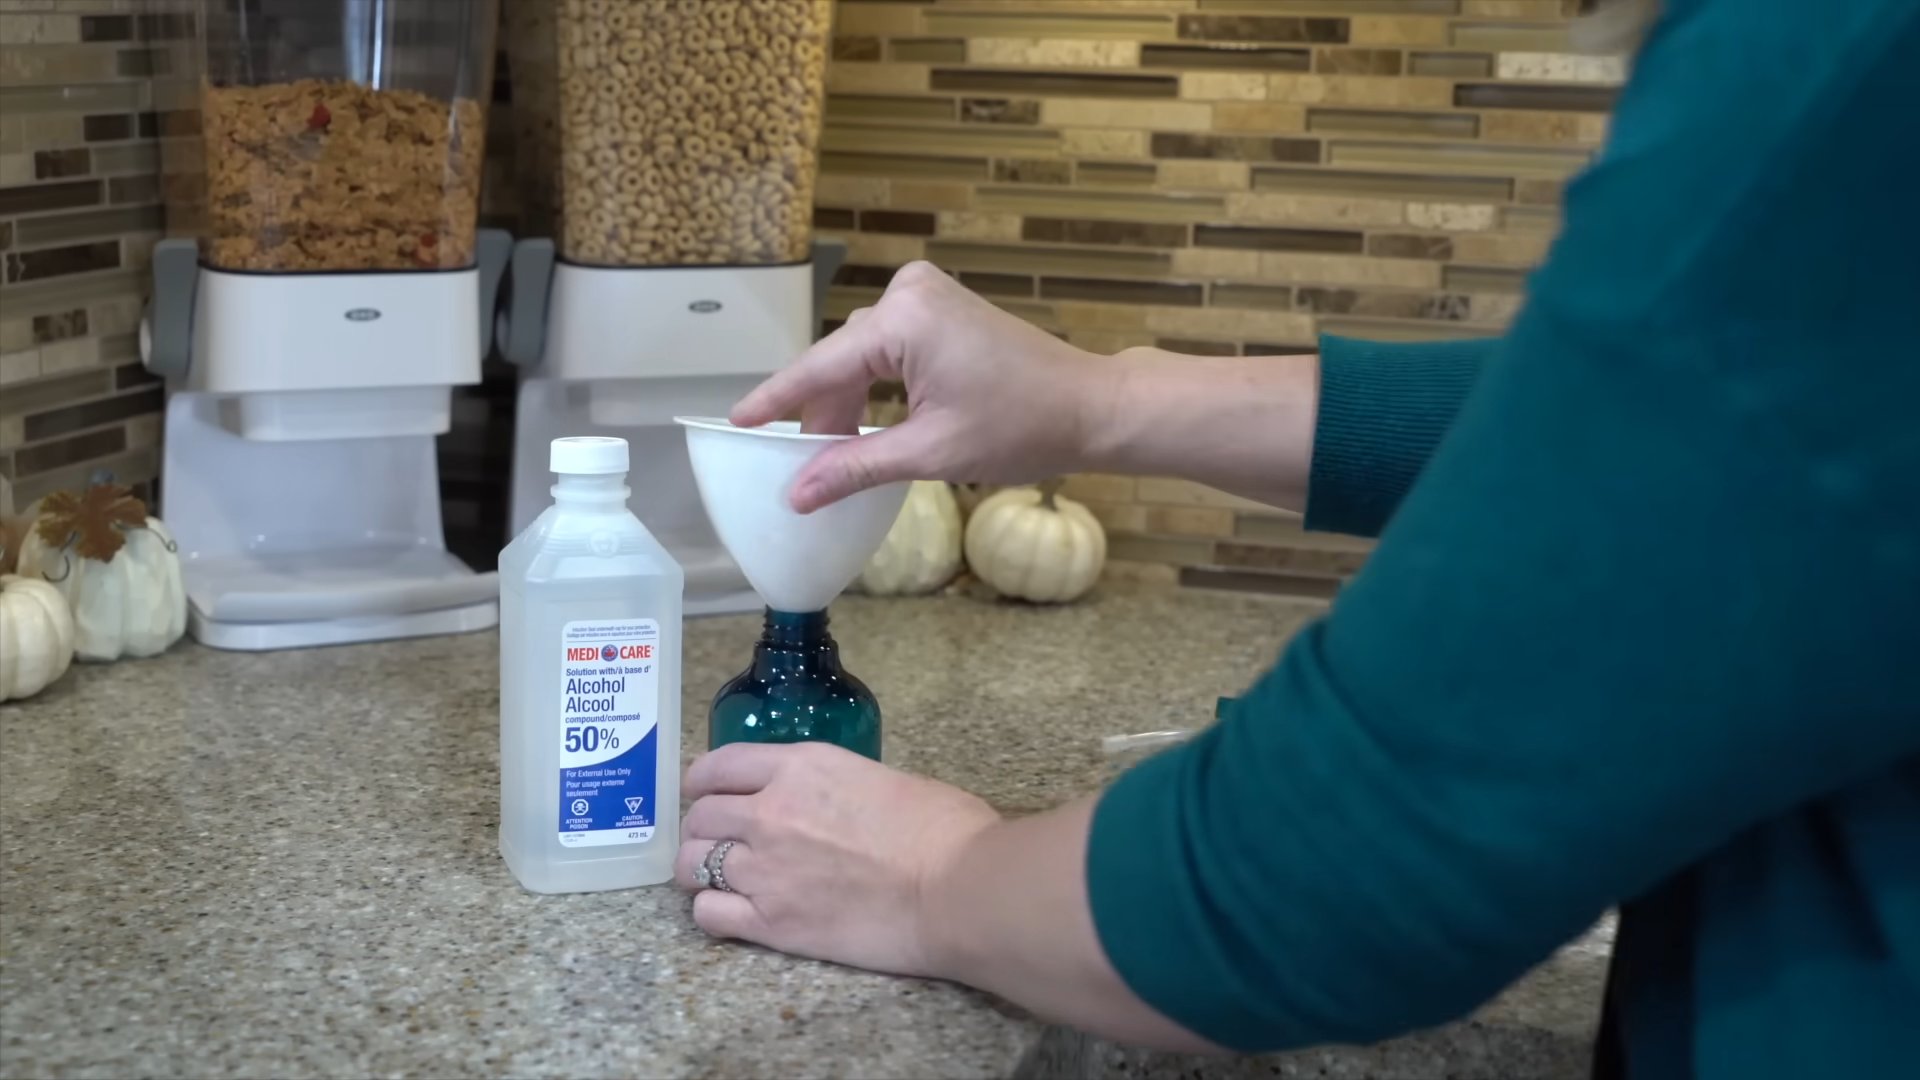
Hack 5: Cleaning a Showerhead with Vinegar
Mineral buildup can clog showerheads and reduce water pressure. This vinegar soak will dissolve the buildup and restore your showerhead’s performance.
What you’ll need:
* White vinegar
* Plastic bag
* Rubber band or twist tie
Step-by-step instructions:
1. Fill the bag with vinegar: Pour enough white vinegar into a plastic bag to completely submerge the showerhead.
2. Attach the bag to the showerhead: Carefully place the bag over the showerhead, ensuring that the showerhead is fully submerged in the vinegar.
3. Secure the bag: Use a rubber band or twist tie to secure the bag to the showerhead. Make sure the bag is tightly sealed to prevent leaks.
4. Soak overnight: Let the showerhead soak in the vinegar overnight. This will give the vinegar enough time to dissolve the mineral buildup.
5. Remove the bag: In the morning, remove the bag and discard the vinegar.
6. Rinse the showerhead: Run the shower for a few minutes to flush out any remaining vinegar and loosened debris.
7. Wipe clean: Wipe the showerhead clean with a damp cloth. Your showerhead should now be free of mineral buildup and have improved water pressure.
Hack 6: Freshening Carpets with Baking Soda
Carpets can trap odors and dirt over time. This baking soda treatment will freshen your carpets and eliminate unpleasant smells.
What you’ll need:
* Baking soda
* Essential oil (optional)
* Vacuum cleaner
Step-by-step instructions:
1. Prepare the baking soda: In a bowl, mix baking soda with a few drops of your favorite essential oil (optional). Lavender, lemon, and tea tree oil are all great choices. The essential oil will add a pleasant scent to your carpets.
2. Sprinkle the baking soda: Sprinkle the baking soda evenly over the carpet. Be generous, especially in areas with high traffic or strong odors.
3. Let it sit: Allow the baking soda to sit on the carpet for at least 30 minutes, or even better, for several hours or overnight. This will give the baking soda time to absorb odors and loosen dirt.
4. Vacuum thoroughly: Vacuum the carpet thoroughly to remove all of the baking soda. Use a strong vacuum cleaner with good suction.
5. Enjoy the fresh scent: Your carpets will be refreshed and smell wonderful!
Hack 7: Cleaning Blinds with a Sock
Cleaning blinds can be a tedious task. This simple hack uses an old sock to make the job easier and faster.
What you’ll need:
* Old sock
* White vinegar or all-purpose cleaner
* Bowl of water
Step-by-step instructions:
1. Prepare the sock: Turn the sock inside out and slip it onto your hand like a glove.
2. Dampen the sock: Dip the sock-covered hand into a bowl of water mixed with a little white vinegar or all-purpose cleaner. Wring out any excess liquid.
3. Clean the blinds: Use the sock-covered hand to wipe down the blinds, one slat at a time. The sock will easily pick up dust and dirt.
4. Rinse the sock: Rinse the sock in the bowl of water as needed to remove accumulated dirt.
5. Dry the blinds: Use a clean, dry sock to wipe down the blinds and dry them.
6
Conclusion
So, there you have it! These cleaning tricks aren’t just about making your home sparkle; they’re about reclaiming your time, saving money, and creating a healthier, happier living space. We’ve explored some truly effective methods, from banishing stubborn stains with natural ingredients to streamlining your cleaning routine for maximum efficiency. But the real magic lies in the simplicity and accessibility of these techniques. You don’t need a cabinet full of expensive, harsh chemicals to achieve a pristine environment. Often, the most powerful solutions are already lurking in your pantry.
Why is this a must-try? Because these cleaning tricks are a game-changer. They empower you to take control of your cleaning process, offering a sustainable and budget-friendly alternative to conventional methods. Imagine the satisfaction of knowing you’re using safe, natural ingredients while achieving results that rival, or even surpass, those of commercial cleaners. Think of the money you’ll save by ditching those pricey products and embracing DIY solutions. And consider the peace of mind that comes with knowing you’re creating a healthier environment for yourself, your family, and even your pets.
But don’t just take our word for it. The beauty of these cleaning tricks lies in their adaptability. Feel free to experiment with variations to suit your specific needs and preferences. For instance, if you’re tackling a particularly stubborn stain, try pre-treating it with a paste of baking soda and water before applying your chosen cleaning solution. Or, if you prefer a more fragrant cleaning experience, add a few drops of your favorite essential oil to your homemade cleaning spray. Lavender, lemon, and tea tree oil are all excellent choices for their antibacterial and aromatic properties.
Another variation to consider is the type of vinegar you use. While white vinegar is a versatile and effective cleaning agent, apple cider vinegar can also be used for certain tasks, particularly those involving delicate surfaces. Just be sure to test any new cleaning solution on an inconspicuous area first to ensure it doesn’t cause any damage or discoloration.
Furthermore, remember that consistency is key. While these cleaning tricks are incredibly effective, they work best when incorporated into a regular cleaning routine. Don’t wait until your home is in complete disarray before reaching for your homemade cleaning supplies. Instead, aim to tackle small cleaning tasks on a daily or weekly basis to prevent dirt and grime from building up in the first place. This will not only make your cleaning efforts more manageable but also help to maintain a consistently clean and healthy living environment.
We are confident that once you experience the transformative power of these cleaning tricks, you’ll never go back to conventional cleaning methods. So, roll up your sleeves, gather your supplies, and get ready to transform your home into a sparkling sanctuary.
Now, we want to hear from you! We encourage you to try these DIY cleaning tricks and share your experiences with us. What worked best for you? Did you discover any new variations or adaptations? We’re eager to learn from your insights and build a community of like-minded individuals who are passionate about creating clean, healthy, and sustainable homes. Share your tips, tricks, and before-and-after photos on social media using our hashtag [Insert Hashtag Here]. Let’s inspire each other to embrace the power of DIY cleaning and create a brighter, cleaner future for ourselves and our planet. Remember, a clean home is a happy home, and with these cleaning tricks, you’re well on your way to achieving both.
Frequently Asked Questions (FAQ)
What are the benefits of using DIY cleaning solutions compared to store-bought ones?
DIY cleaning solutions offer a multitude of benefits. Firstly, they are often significantly cheaper than store-bought alternatives. You’re using ingredients you likely already have in your pantry, such as vinegar, baking soda, and lemon juice. Secondly, they are generally safer and healthier for you, your family, and your pets. You avoid the harsh chemicals, artificial fragrances, and potential allergens found in many commercial cleaners. Thirdly, they are more environmentally friendly. You reduce your reliance on plastic packaging and minimize the release of harmful chemicals into the environment. Finally, you have complete control over the ingredients, allowing you to customize your cleaning solutions to suit your specific needs and preferences.
Are DIY cleaning solutions as effective as store-bought cleaners?
In many cases, yes! DIY cleaning solutions can be just as effective, if not more so, than store-bought cleaners. Vinegar, for example, is a powerful disinfectant and degreaser, while baking soda is an excellent abrasive cleaner and deodorizer. Lemon juice is a natural brightener and stain remover. The key is to use the right ingredients for the right task and to follow the instructions carefully. For particularly stubborn stains or messes, you may need to experiment with different combinations of ingredients or pre-treat the area before cleaning.
What are some essential ingredients to have on hand for DIY cleaning?
A well-stocked DIY cleaning arsenal should include the following essential ingredients:
* **White vinegar:** A versatile disinfectant, degreaser, and deodorizer.
* **Baking soda:** An abrasive cleaner, deodorizer, and pH regulator.
* **Lemon juice:** A natural brightener, stain remover, and disinfectant.
* **Castile soap:** A gentle and effective all-purpose cleaner.
* **Essential oils:** For added fragrance and antibacterial properties (e.g., lavender, lemon, tea tree).
* **Borax:** A natural mineral with cleaning, disinfecting, and deodorizing properties (use with caution and keep away from children and pets).
* **Hydrogen peroxide:** A powerful disinfectant and stain remover.
Are there any surfaces or materials that I should avoid using DIY cleaning solutions on?
While DIY cleaning solutions are generally safe and effective, there are certain surfaces and materials that you should avoid using them on. These include:
* **Marble and granite:** Acidic cleaners like vinegar and lemon juice can etch and damage these surfaces.
* **Waxed wood:** Water-based cleaners can damage the wax finish.
* **Electronics:** Avoid spraying any liquids directly onto electronic devices.
* **Certain fabrics:** Test any new cleaning solution on an inconspicuous area of the fabric first to ensure it doesn’t cause any discoloration or damage.
How should I store my DIY cleaning solutions?
Store your DIY cleaning solutions in clean, airtight containers, preferably glass or BPA-free plastic. Label each container clearly with the name of the solution and the date it was made. Store them in a cool, dark place away from direct sunlight and heat. Keep them out of reach of children and pets.
How long do DIY cleaning solutions last?
The shelf life of DIY cleaning solutions varies depending on the ingredients. Solutions containing water or other perishable ingredients may only last for a few weeks, while those made with vinegar or baking soda can last for several months. It’s always best to make small batches of cleaning solutions and use them within a reasonable timeframe. If you notice any changes in color, odor, or consistency, discard the solution.
Can I mix different DIY cleaning ingredients together?
It’s generally not recommended to mix different DIY cleaning ingredients together, as some combinations can create harmful or even dangerous reactions. For example, never mix vinegar and bleach, as this can produce toxic chlorine gas. Always use caution and research any potential interactions before combining different ingredients.
What if I have allergies or sensitivities to certain ingredients?
If you have allergies or sensitivities to certain ingredients, be sure to avoid using them in your DIY cleaning solutions. There are often alternative ingredients that you can use instead. For example, if you’re allergic to citrus, you can use vinegar or hydrogen peroxide instead of lemon juice. Always read the labels carefully and consult with a doctor or allergist if you have any concerns.
How can I make my DIY cleaning routine more sustainable?
There are several ways to make your DIY cleaning routine more sustainable. Use reusable cleaning cloths and sponges instead of disposable paper towels. Refill your cleaning solution bottles instead of buying new ones. Compost food scraps and other organic waste to reduce your reliance on chemical fertilizers. Choose eco-friendly ingredients whenever possible. And most importantly, be mindful of your consumption and reduce your overall waste.

Leave a Comment