

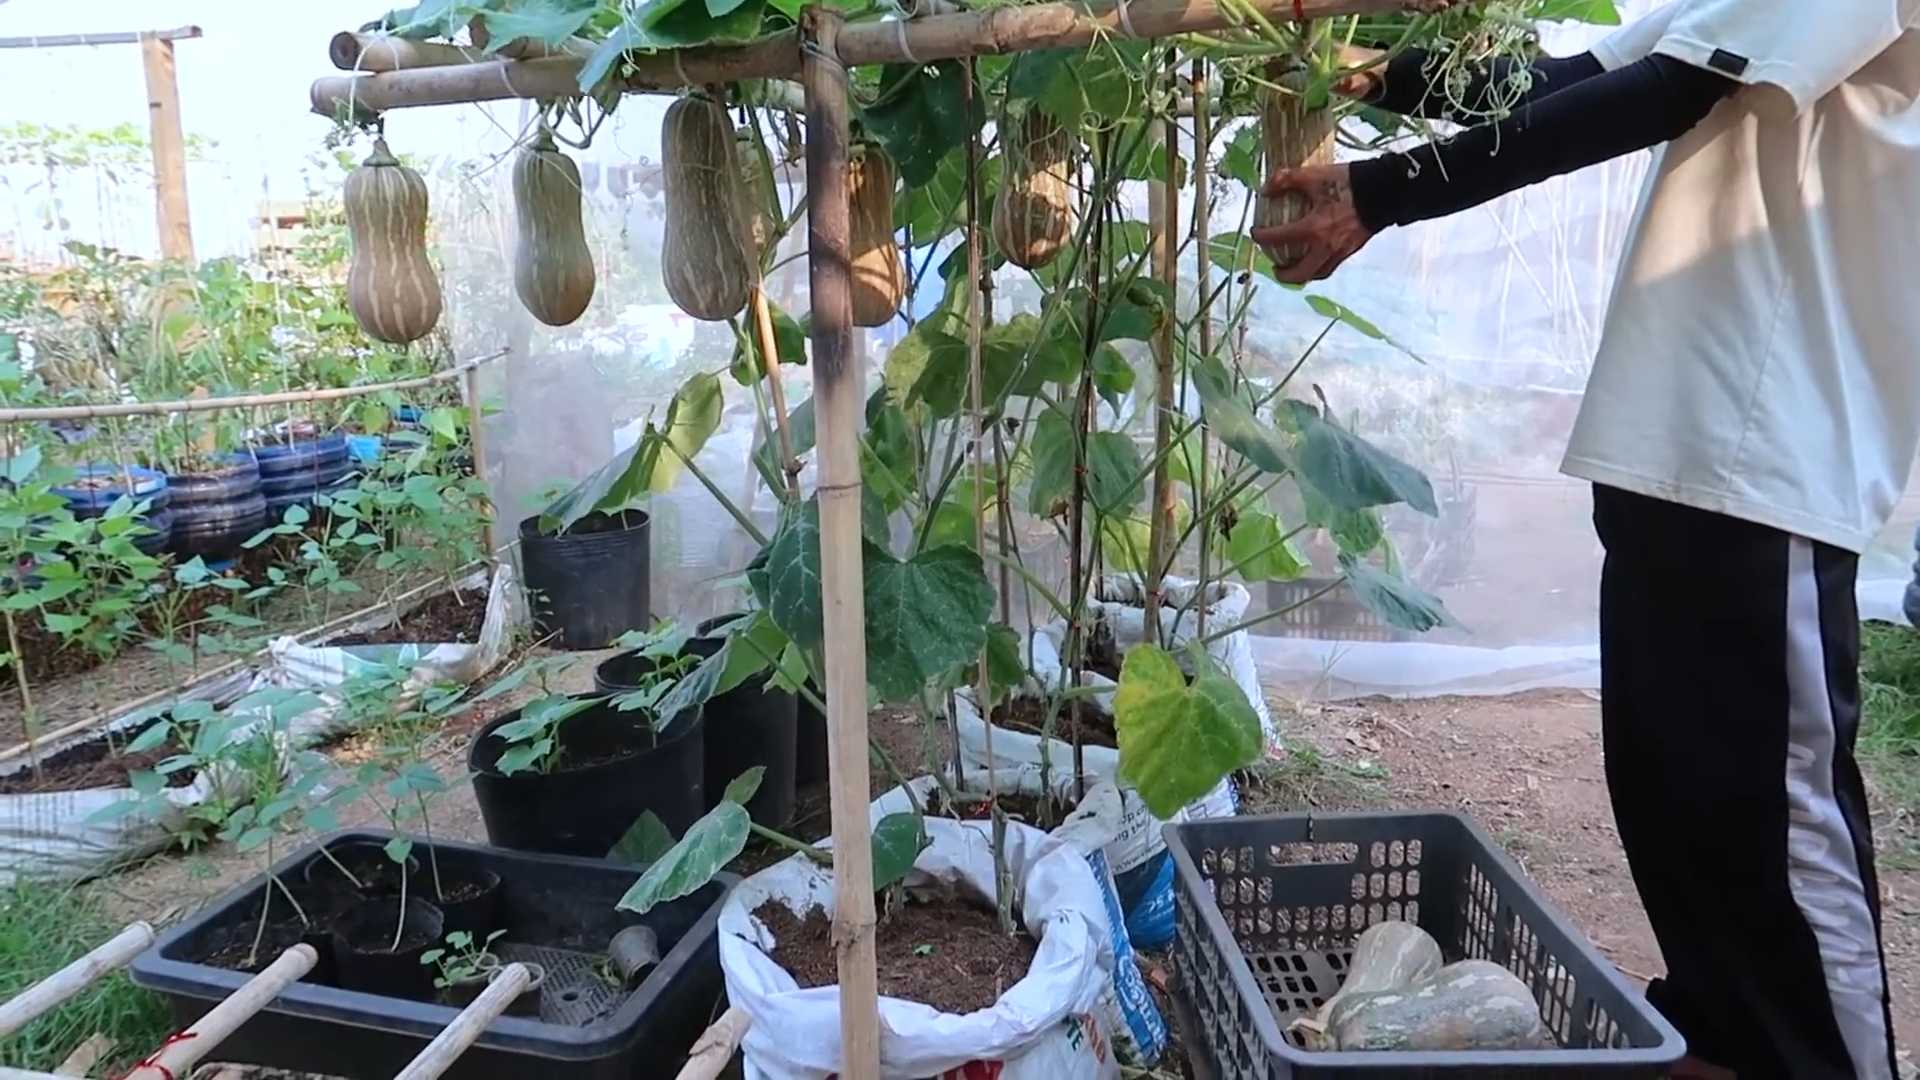
Grow Butternut Squash at Home? Absolutely! Imagine stepping into your backyard and harvesting your own vibrant, sweet butternut squash, ready to be transformed into a comforting soup, a delicious roasted side dish, or even a decadent pie. It’s easier than you think, and this DIY guide is your ticket to a bountiful harvest, even if you’re a beginner gardener.
Butternut squash, with its rich history tracing back to Central and South America, has been a staple in indigenous diets for centuries. Its versatility and nutritional value quickly made it a beloved ingredient worldwide. Today, we’re bringing this culinary treasure closer to home, right to your garden!
Why should you learn to grow butternut squash at home? Well, for starters, homegrown produce simply tastes better! Plus, you’ll know exactly what went into growing your squash – no harmful pesticides or mystery ingredients. In today’s world, where we’re all striving for healthier, more sustainable lifestyles, cultivating your own food is a rewarding and empowering experience. This DIY guide will provide you with simple, effective tricks and hacks to ensure a successful harvest, regardless of your gardening experience. I’m excited to share these tips with you, so let’s get started and transform your garden into a butternut squash haven!
Supercharge Your Scrub Daddy: Genius Cleaning Hacks You Need to Know!
Hey there, fellow cleaning enthusiasts! I’m always on the lookout for ways to make chores easier and more effective, and let me tell you, the Scrub Daddy is a total game-changer. But did you know you can unlock even MORE cleaning power with a few simple hacks? I’m going to share some of my favorite tips and tricks to help you get the most out of your smiley-faced friend. Get ready to revolutionize your cleaning routine!
Hack #1: The Oven Rack Rescue Mission
Oven racks. Ugh. They’re the bane of every cleaner’s existence. But fear not! The Scrub Daddy, with its unique texture, is surprisingly effective at tackling baked-on grime.
What You’ll Need:
* Scrub Daddy
* Hot water
* Dish soap (Dawn is my go-to!)
* Large trash bag or old bathtub
* Baking soda (optional, for extra stubborn messes)
Step-by-Step Instructions:
1. Soak Those Racks: Fill your trash bag (or bathtub) with hot water and a generous squirt of dish soap. If your racks are seriously caked with grime, add about a cup of baking soda. Submerge the oven racks completely in the soapy water. Let them soak for at least 2-4 hours, or even overnight for really tough messes. This soaking process is crucial for loosening the baked-on food.
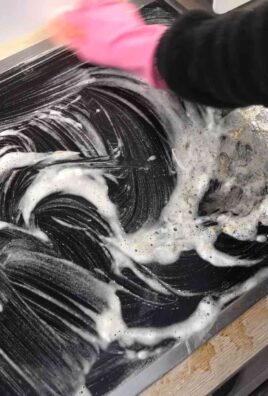
2. Scrub-a-Dub-Dub: After soaking, put on some gloves (optional, but recommended!) and grab your Scrub Daddy. Start scrubbing the racks, focusing on the areas with the most buildup. The Scrub Daddy’s FlexTexture material will help you get into all the nooks and crannies. Remember to rinse the Scrub Daddy frequently under hot water to remove the loosened grime.
3. The Stubborn Spot Solution: For any stubborn spots that refuse to budge, make a paste of baking soda and water. Apply the paste to the affected areas and let it sit for a few minutes before scrubbing again with your Scrub Daddy. The baking soda acts as a gentle abrasive, helping to lift the remaining grime.
4. Rinse and Repeat (If Necessary): Rinse the oven racks thoroughly with clean water. If you still see any lingering grime, repeat steps 2 and 3. Sometimes, it takes a couple of rounds of scrubbing to get them completely clean.
5. Dry and Admire: Once the racks are clean, dry them completely with a clean towel before placing them back in your oven. Stand back and admire your sparkling clean oven racks! You’ve earned it!
Hack #2: Revive Your Grout with Scrub Daddy Power
Grout can be a real pain to clean. It’s porous and easily absorbs dirt and grime. But with the right technique and your trusty Scrub Daddy, you can bring your grout back to life!
What You’ll Need:
* Scrub Daddy
* Grout cleaner (store-bought or homemade)
* Spray bottle (if using a homemade cleaner)
* Old toothbrush (optional, for extra-narrow grout lines)
* Clean water
* Dry towel
Step-by-Step Instructions:
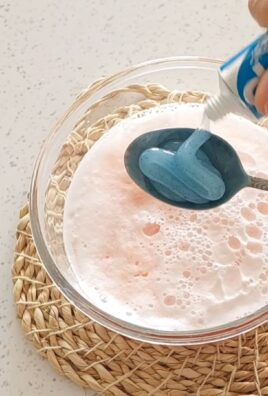
1. Choose Your Weapon (Cleaner): You have a couple of options for grout cleaner. You can use a commercially available grout cleaner, following the instructions on the bottle. Or, you can make your own! A simple and effective homemade grout cleaner is a mixture of equal parts white vinegar and water. For tougher stains, you can add a little baking soda to the mixture.
2. Apply the Cleaner: If you’re using a store-bought cleaner, apply it directly to the grout lines according to the product instructions. If you’re using a homemade cleaner, pour it into a spray bottle and spray it liberally onto the grout lines. Let the cleaner sit on the grout for about 5-10 minutes to loosen the dirt and grime.
3. Scrub-a-Dub-Dub (Grout Edition): Now it’s time to get scrubbing! Use your Scrub Daddy to scrub the grout lines, applying firm pressure. The Scrub Daddy’s texture will help to lift the dirt and grime from the porous grout. For extra-narrow grout lines, you can use an old toothbrush to get into those hard-to-reach areas.
4. Rinse Thoroughly: After scrubbing, rinse the grout lines thoroughly with clean water. Make sure to remove all traces of the cleaner. You can use a sponge or a damp cloth to wipe away the excess water.
5. Dry and Admire (Again!): Dry the grout lines with a clean towel. This will help to prevent water spots and mildew growth. Step back and admire your revitalized grout! It’s amazing what a little elbow grease and a Scrub Daddy can do.
Hack #3: The Stainless Steel Savior
Stainless steel appliances are beautiful, but they’re also notorious for showing fingerprints and smudges. The Scrub Daddy can help you keep your stainless steel looking its best.
What You’ll Need:
* Scrub Daddy (damp, not soaking wet)
* Microfiber cloth
* Stainless steel cleaner (optional, for extra shine)
Step-by-Step Instructions:
1. Dampen Your Daddy: Lightly dampen your Scrub Daddy with water. Make sure it’s not soaking wet, as you don’t want to leave water streaks on your stainless steel.
2. Wipe with the Grain: Gently wipe the stainless steel surface with the damp Scrub Daddy, following the grain of the metal. This will help to prevent scratches. The Scrub Daddy’s texture will help to remove fingerprints, smudges, and other surface dirt.
3. Buff to a Shine: Immediately after wiping with the Scrub Daddy, buff the stainless steel surface with a clean, dry microfiber cloth. This will remove any remaining water streaks and leave your stainless steel looking shiny and new.
4. Optional: Stainless Steel Cleaner: For an extra boost of shine, you can use a stainless steel cleaner. Spray the cleaner onto the microfiber cloth (not directly onto the appliance) and buff the surface until it shines.
5. Admire Your Reflection: Stand back and admire your sparkling clean stainless steel appliances! You’ll be amazed at how easily the Scrub Daddy can remove fingerprints and smudges.
Hack #4: The Non-Stick Pan Protector
Non-stick pans are essential in any kitchen, but they require special care to avoid scratching the surface. The Scrub Daddy is safe to use on non-stick surfaces, but you need to use it correctly.
What You’ll Need:
* Scrub Daddy (warm water makes it softer)
* Dish soap
* Warm water
Step-by-Step Instructions:
1. Soften Your Daddy: Run your Scrub Daddy under warm water. This will make it softer and more gentle on your non-stick surface. Remember, the warmer the water, the softer the Scrub Daddy becomes.
2. Apply Soap and Scrub Gently: Apply a small amount of dish soap to the Scrub Daddy and gently scrub the non-stick pan. Avoid using excessive pressure, as this can still scratch the surface over time. Focus on removing any food residue or grease.
3. Rinse Thoroughly: Rinse the pan thoroughly with warm water to remove all traces of soap.
4. Dry Carefully: Dry the pan with a soft cloth or allow it to air dry completely. Avoid using abrasive materials or scouring pads, as these can damage the non-stick coating.
Important Note: While the Scrub Daddy is generally safe for non-stick surfaces when used gently, it’s always a good idea to test it in an inconspicuous area first to ensure it doesn’t cause any damage.
Hack #5: The Shower Scum Slayer
Shower scum can be a real nuisance, but the Scrub Daddy can help you keep your shower sparkling clean.
What You’ll Need:
* Scrub Daddy
* Shower cleaner (store-bought or homemade)
* Spray bottle (if using a homemade cleaner)
* Clean water
Step-by-Step Instructions:
1. Choose Your Weapon (Shower Cleaner): You can use a commercially available shower cleaner, following the instructions on the bottle. Or, you can make your own! A simple and effective homemade shower cleaner is a mixture of equal parts white vinegar and dish soap.
2. Apply the Cleaner: If you’re using a store-bought cleaner, apply it directly to the shower surfaces according to the product instructions. If you’re using a homemade cleaner, pour it into a spray bottle and spray it liberally onto the shower walls, floor, and fixtures. Let the cleaner sit on the surfaces for about 5-10 minutes to loosen the soap scum and grime.
3. Scrub-a-Dub-Dub (Shower Edition): Now it’s time to get scrubbing! Use your Scrub Daddy to scrub the shower surfaces, applying firm pressure. The Scrub Daddy’s texture will help

Conclusion
So, there you have it! Growing butternut squash at home is not only achievable, but it’s also incredibly rewarding. From the satisfaction of nurturing a tiny seed into a sprawling vine laden with delicious, homegrown squash, to the sheer joy of serving a meal featuring produce you cultivated yourself, the benefits are numerous. This isn’t just about saving a few dollars at the grocery store; it’s about connecting with nature, understanding the growing process, and enjoying the unparalleled flavor of freshly harvested vegetables.
We’ve walked you through the entire process, from selecting the right seeds and preparing your soil to nurturing your seedlings and harvesting your bounty. Remember, patience is key. Butternut squash requires time and attention, but the results are well worth the effort. Imagine the vibrant orange flesh, the sweet, nutty flavor, and the versatility it offers in countless recipes.
But don’t stop there! Experiment with different varieties of butternut squash. Consider trying ‘Waltham Butternut’ for its classic flavor and reliable yields, or perhaps ‘Honeynut’ for a smaller, sweeter option. You can also explore different growing techniques. Try vertical gardening to save space, or companion planting to deter pests and improve pollination. Consider adding marigolds around your squash plants to deter squash bugs, or nasturtiums to attract beneficial insects.
And speaking of recipes, the possibilities are endless! Roast your butternut squash with herbs and spices for a simple side dish, puree it into a creamy soup, or use it as a filling for ravioli or lasagna. You can even bake it into a pie or muffins for a delicious fall treat. Don’t be afraid to get creative in the kitchen and explore the many ways to enjoy your homegrown butternut squash.
The key takeaway here is that growing your own food, especially something as versatile and delicious as butternut squash, is an empowering experience. It’s a chance to learn new skills, connect with the natural world, and enjoy the fruits (or rather, vegetables) of your labor.
We encourage you to give it a try. Start small, learn as you go, and don’t be discouraged by setbacks. Gardening is a journey, and every season brings new lessons and opportunities. And most importantly, share your experiences with us! We’d love to hear about your successes, your challenges, and your favorite ways to enjoy your homegrown butternut squash. Post pictures of your plants, share your recipes, and let us know what you’ve learned along the way. Together, we can create a community of passionate gardeners who are dedicated to growing their own food and enjoying the many benefits it offers. So, grab your seeds, get your hands dirty, and start growing your own butternut squash today! You won’t regret it.
Frequently Asked Questions (FAQ)
Q: How much space does a butternut squash plant need?
A: Butternut squash vines can be quite sprawling, so they require a significant amount of space. Ideally, each plant should have at least 4-6 feet of space in all directions. If you’re short on space, consider growing them vertically on a trellis or fence. This will not only save space but also improve air circulation and reduce the risk of fungal diseases. Remember to provide support for the developing squash if you choose to grow them vertically, as they can become quite heavy.
Q: How long does it take for butternut squash to mature?
A: Butternut squash typically takes between 90 and 100 days to mature from seed. This can vary depending on the variety, climate, and growing conditions. Be patient and monitor your plants closely. The squash is ready to harvest when the skin is hard and a deep tan color, and the stem is dry and tough. You can also test for ripeness by pressing your fingernail into the skin; if it’s difficult to puncture, the squash is likely ready.
Q: What are some common pests and diseases that affect butternut squash?
A: Butternut squash can be susceptible to several pests and diseases, including squash bugs, squash vine borers, powdery mildew, and downy mildew. Squash bugs can be controlled by handpicking them off the plants or using insecticidal soap. Squash vine borers can be more challenging to manage, but you can try wrapping the base of the stems with aluminum foil to prevent them from laying their eggs. Powdery mildew and downy mildew can be prevented by ensuring good air circulation, avoiding overhead watering, and using a fungicide if necessary. Regularly inspect your plants for signs of pests and diseases and take action promptly to prevent them from spreading.
Q: Can I grow butternut squash in containers?
A: While it’s possible to grow butternut squash in containers, it’s not ideal. Butternut squash plants are large and require a lot of space and nutrients. If you do choose to grow them in containers, select a large container (at least 20 gallons) and use a high-quality potting mix. Be sure to provide adequate support for the vines and water and fertilize regularly. Dwarf or bush varieties of butternut squash are better suited for container gardening.
Q: How do I store butternut squash after harvesting?
A: Proper storage is crucial for extending the shelf life of your butternut squash. After harvesting, cure the squash in a warm, dry place for about two weeks. This will help to harden the skin and improve its storage quality. Store the cured squash in a cool, dry, and well-ventilated place, such as a basement or pantry. Avoid storing them in the refrigerator, as this can cause them to rot. Properly stored butternut squash can last for several months.
Q: What are some good companion plants for butternut squash?
A: Companion planting can be beneficial for butternut squash, as it can help to deter pests, attract pollinators, and improve soil health. Some good companion plants for butternut squash include marigolds, nasturtiums, basil, oregano, and thyme. Marigolds and nasturtiums help to deter squash bugs, while basil, oregano, and thyme can help to repel other pests. Planting flowers like zinnias and sunflowers can attract pollinators, which are essential for fruit production.
Q: How often should I water my butternut squash plants?
A: Butternut squash plants need consistent moisture, especially during hot, dry weather. Water deeply and regularly, aiming to keep the soil consistently moist but not waterlogged. Avoid overhead watering, as this can promote fungal diseases. Mulching around the plants can help to retain moisture and suppress weeds. Check the soil moisture regularly and adjust your watering schedule accordingly.
Q: What kind of fertilizer should I use for butternut squash?
A: Butternut squash plants are heavy feeders and require a nutrient-rich soil. Before planting, amend the soil with compost or well-rotted manure. During the growing season, fertilize regularly with a balanced fertilizer or a fertilizer specifically formulated for vegetables. Avoid over-fertilizing, as this can lead to excessive foliage growth and reduced fruit production. Follow the instructions on the fertilizer label carefully.
Q: Can I save seeds from my butternut squash to plant next year?
A: Yes, you can save seeds from your butternut squash to plant next year, but there are a few things to keep in mind. If you grew a hybrid variety of butternut squash, the seeds may not produce plants that are true to type. This means that the offspring may not have the same characteristics as the parent plant. If you grew an open-pollinated variety, the seeds are more likely to produce plants that are true to type. To save seeds, allow the squash to fully mature on the vine. Then, scoop out the seeds, rinse them thoroughly, and dry them completely before storing them in an airtight container in a cool, dry place.

Leave a Comment