

Clorox cleaning faster – who doesn’t want that? Let’s face it, cleaning isn’t usually anyone’s favorite pastime. We all crave a sparkling home, but the time and effort it takes can feel overwhelming. For generations, people have sought quicker, more efficient ways to tackle household chores, and the desire for speed and effectiveness has only intensified in our busy modern lives.
Think back to your grandmother’s cleaning rituals. While some methods were time-consuming, they often involved clever hacks passed down through families. Today, we’re building on that legacy, combining time-tested techniques with modern solutions like Clorox to achieve a deeper clean in less time.
This article is your ultimate guide to mastering Clorox cleaning faster. I’m going to share my favorite DIY tricks and hacks that will revolutionize your cleaning routine. Imagine spending less time scrubbing and more time enjoying your sparkling, fresh-smelling home. From tackling stubborn stains to disinfecting surfaces in a flash, these tips will empower you to conquer your cleaning challenges with ease. So, grab your Clorox and let’s get started!
DIY Clorox Cleaning Hacks: Speed Cleaning Like a Pro!
Okay, let’s be honest, cleaning isn’t exactly anyone’s favorite pastime. But what if I told you there were ways to make it faster and more efficient using good old Clorox bleach? I’ve experimented with these hacks for years, and they’ve seriously cut down my cleaning time. So, grab your gloves and let’s dive into some Clorox cleaning magic!
Understanding Clorox: Safety First!
Before we get started, a quick but super important reminder: Clorox is powerful stuff. Always, always, always wear gloves and eye protection. Make sure you’re working in a well-ventilated area. And never, ever mix bleach with ammonia or other household cleaners – that creates toxic fumes. Safety first, friends!
Hack #1: The Clorox Toilet Bowl Blitz
Tired of scrubbing your toilet bowl for ages? This hack is a game-changer.
What you’ll need:
* Clorox bleach
* Toilet brush
* Toilet bowl cleaner (optional, for extra cleaning power)
Step-by-step instructions:
1. Flush the toilet: Get rid of any… you know… debris.
2. Pour in the bleach: Carefully pour about 1 cup of Clorox bleach directly into the toilet bowl.
3. Let it sit: This is the key! Let the bleach sit for at least 15-20 minutes. For really tough stains, you can even let it sit overnight. The bleach will work its magic, breaking down stains and killing germs.
4. Scrub (if needed): After the soaking time, give the bowl a quick scrub with your toilet brush. You’ll be amazed at how easily the stains come off. If you want an extra boost, add a squirt of toilet bowl cleaner before scrubbing.
5. Flush again: Flush the toilet to rinse away the bleach and any loosened debris. Voila! A sparkling clean toilet bowl with minimal effort.
Hack #2: The Clorox Shower Spray: No-Scrub Shower Cleaning
This is my absolute favorite hack. Say goodbye to endless scrubbing of soap scum and mildew!
What you’ll need:
* Spray bottle
* Clorox bleach
* Water
* Gloves
* Eye protection
Step-by-step instructions:
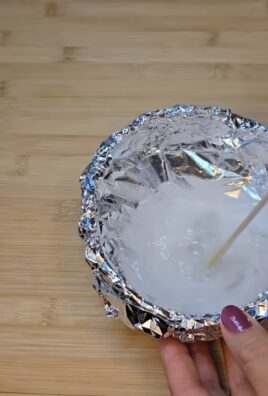
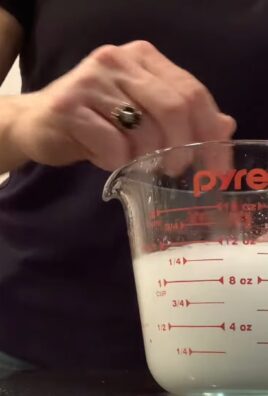
1. Prepare the solution: In your spray bottle, mix 1 part Clorox bleach with 10 parts water. For example, if you’re using a 32-ounce spray bottle, use about 3 ounces of bleach and fill the rest with water. Important: Always add the bleach to the water, never the other way around. This helps prevent splashing and potential chemical reactions.
2. Spray the shower: Put on your gloves and eye protection. Spray the bleach solution liberally all over your shower walls, floor, and fixtures. Make sure to get into all the nooks and crannies where mildew loves to hide.
3. Let it sit: Let the solution sit for about 5-10 minutes. Don’t let it dry completely.
4. Rinse thoroughly: Rinse the shower thoroughly with water. Make sure to remove all traces of the bleach solution.
5. Ventilate: Open a window or turn on the exhaust fan to ventilate the bathroom.
Pro Tip: For stubborn mildew stains, you can use a slightly stronger solution (1 part bleach to 5 parts water), but be extra careful and rinse very thoroughly.
Hack #3: The Clorox Sink Sanitizer: Quick Kitchen Clean-Up
Your kitchen sink can be a breeding ground for bacteria. This quick hack will keep it clean and sanitized.
What you’ll need:
* Clorox bleach
* Water
* Spray bottle or sponge
* Gloves
Step-by-step instructions:
1. Clear the sink: Remove any dishes, food scraps, or other items from the sink.
2. Rinse the sink: Rinse the sink with water to remove any loose debris.
3. Prepare the solution: In a spray bottle, mix 1 tablespoon of Clorox bleach with 1 gallon of water. Alternatively, you can mix the solution in a bucket and use a sponge to apply it.
4. Apply the solution: Spray or wipe the bleach solution all over the sink, including the faucet, drain, and any other surfaces.
5. Let it sit: Let the solution sit for about 1 minute to sanitize the sink.
6. Rinse thoroughly: Rinse the sink thoroughly with water.
7. Dry the sink: Dry the sink with a clean cloth or paper towel.
Hack #4: The Clorox Cutting Board Cleaner: Food-Safe Sanitizing
Cutting boards can harbor bacteria, especially after cutting raw meat or poultry. This hack will help keep them clean and safe.
What you’ll need:
* Clorox bleach
* Water
* Spray bottle or sponge
* Gloves
Step-by-step instructions:
1. Wash the cutting board: Wash the cutting board thoroughly with soap and water to remove any food particles.
2. Prepare the solution: In a spray bottle, mix 1 tablespoon of Clorox bleach with 1 gallon of water. Alternatively, you can mix the solution in a bucket and use a sponge to apply it.
3. Apply the solution: Spray or wipe the bleach solution all over the cutting board.
4. Let it sit: Let the solution sit for about 2 minutes to sanitize the cutting board.
5. Rinse thoroughly: Rinse the cutting board thoroughly with water.
6. Air dry: Allow the cutting board to air dry completely.
Important: This method is safe for plastic and glass cutting boards. For wooden cutting boards, use a more diluted solution (1 teaspoon of bleach per gallon of water) and rinse very thoroughly.
Hack #5: The Clorox Laundry Booster: Brighter Whites and Cleaner Clothes
Clorox bleach can be a great laundry booster for white clothes, but it’s important to use it correctly.
What you’ll need:
* Clorox bleach
* Laundry detergent
* Washing machine
Step-by-step instructions:
1. Sort your laundry: Separate your white clothes from your colored clothes. Never use bleach on colored clothes unless you want to fade them!
2. Load the washing machine: Load your white clothes into the washing machine.
3. Add detergent: Add your regular laundry detergent to the dispenser.
4. Add bleach: Add Clorox bleach to the bleach dispenser, following the instructions on the bleach bottle. Do not pour bleach directly onto your clothes, as this can cause discoloration.
5. Start the wash cycle: Start the washing machine on a normal cycle with hot water.
Important: Always follow the instructions on the Clorox bleach bottle and your washing machine. Do not use bleach on delicate fabrics or clothes that are not colorfast.
Hack #6: The Clorox Outdoor Furniture Cleaner: Refresh Your Patio
Give your outdoor furniture a refresh with this simple cleaning hack.
What you’ll need:
* Clorox bleach
* Water
* Spray bottle or bucket
* Scrub brush
* Gloves
* Eye protection
Step-by-step instructions:
1. Prepare the solution: In a spray bottle or bucket, mix 1/2 cup of Clorox bleach with 1 gallon of water.
2. Apply the solution: Spray or wipe the bleach solution all over the outdoor furniture.
3. Let it sit: Let the solution sit for about 5-10 minutes.
4. Scrub: Use a scrub brush to scrub the furniture, paying attention to any areas with dirt or mildew.
5. Rinse thoroughly: Rinse the furniture thoroughly with water.
6. Air dry: Allow the furniture to air dry completely.
Important: Test the bleach solution on a small, inconspicuous area of the furniture first to make sure it doesn’t damage the finish.
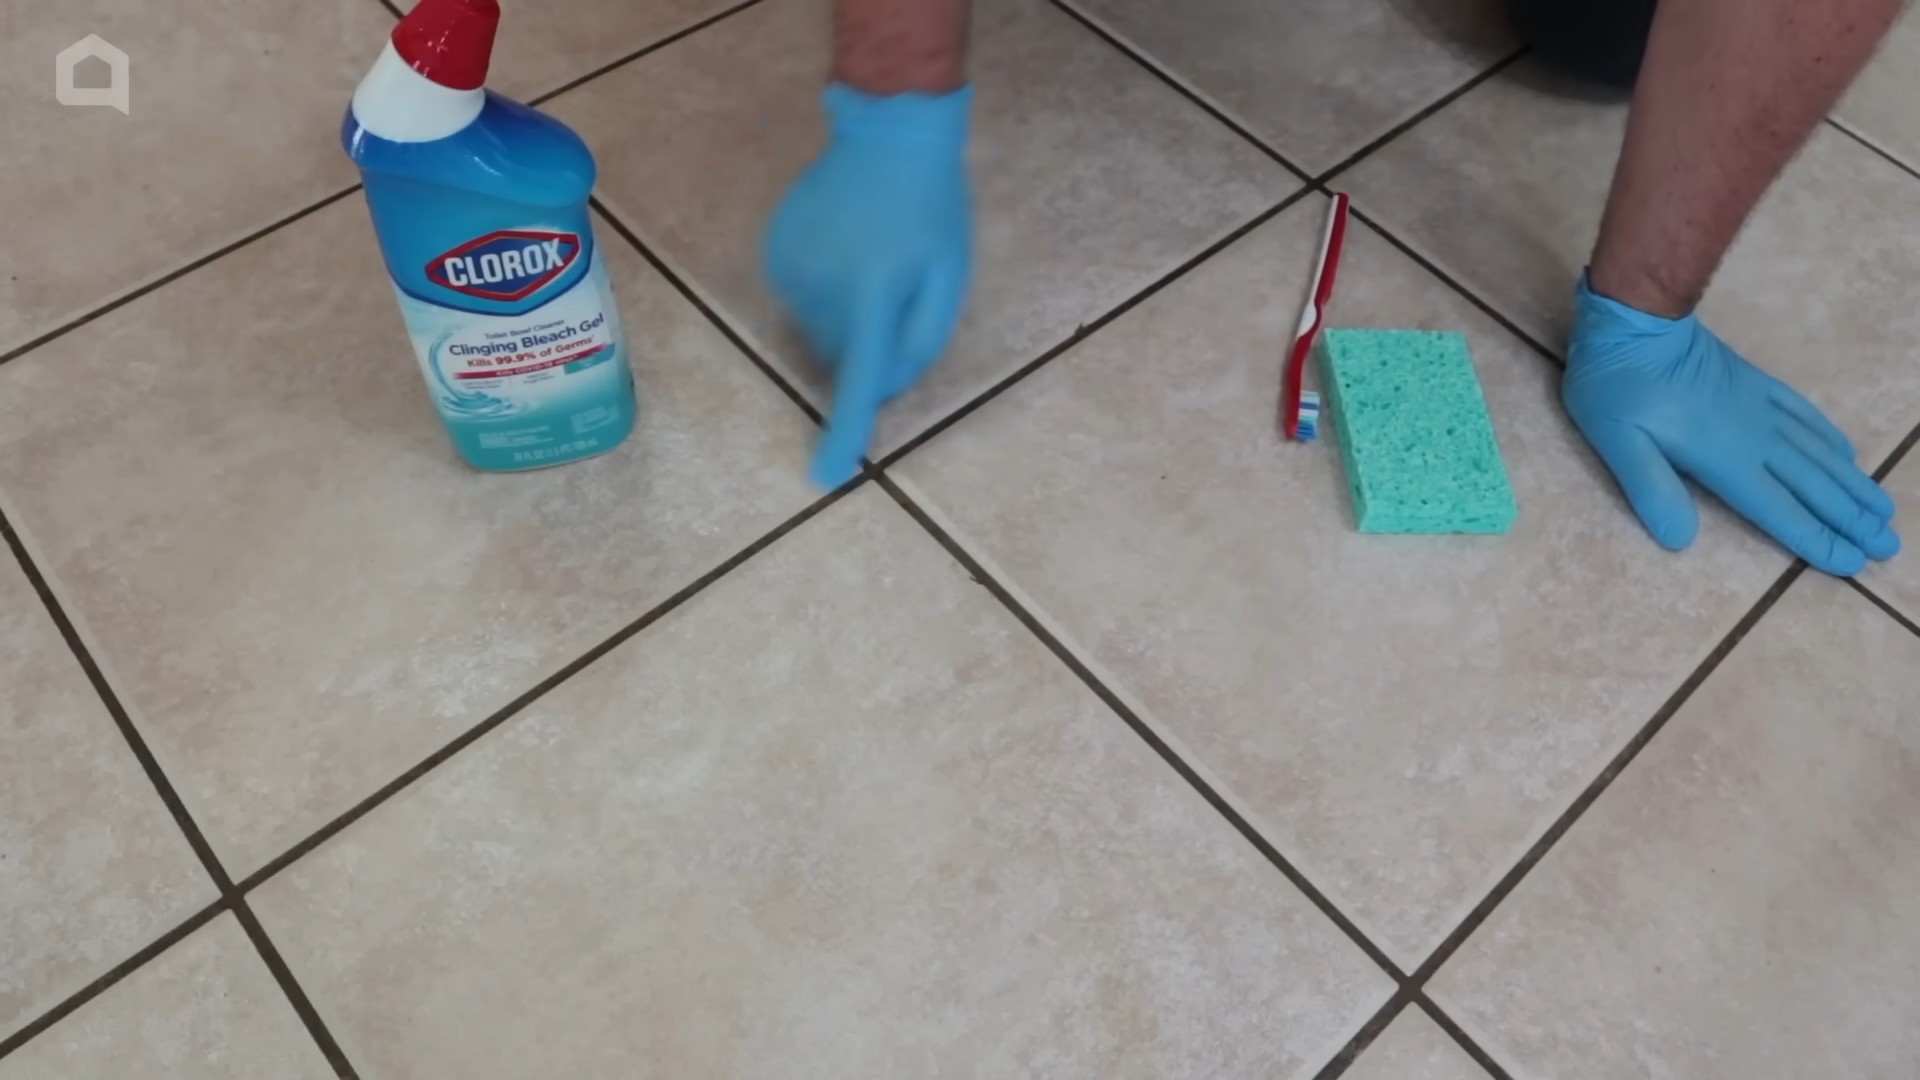
Hack #7: The Clorox Mold and Mildew Remover (For Walls and Ceilings)
Mold and mildew can be a real problem, especially in damp areas. This hack can help you get rid of it.
What you’ll need:
* Clorox bleach
* Water
* Spray bottle or sponge
* Gloves
* Eye protection
* Old toothbrush (for tight spots)
Step-by-step instructions:
1. Prepare the solution: In a spray bottle, mix 1 part Clor
Conclusion
So, there you have it! This simple yet incredibly effective DIY Clorox cleaning hack is a game-changer for anyone looking to streamline their cleaning routine and achieve sparkling results with minimal effort. We’ve shown you how to harness the power of Clorox in a new and efficient way, saving you time and energy while maximizing its cleaning potential.
Why is this a must-try? Because it’s not just about cleaning; it’s about reclaiming your time. Imagine spending less time scrubbing and more time doing the things you love. This DIY method allows you to do just that. It’s cost-effective, utilizing a product you likely already have in your home, and it’s incredibly versatile.
But don’t just take our word for it. The beauty of this DIY Clorox cleaning trick lies in its adaptability. Feel free to experiment with different ratios of Clorox to water, depending on the severity of the grime you’re tackling. For heavily soiled areas, you might consider increasing the concentration slightly, always ensuring proper ventilation and wearing appropriate protective gear.
Looking for variations? Consider adding a few drops of your favorite essential oil to the solution for a fresh, clean scent. Lemon, tea tree, and eucalyptus oils are all excellent choices that not only smell great but also possess additional antibacterial properties. You could also infuse the solution with citrus peels for a natural cleaning boost and a refreshing aroma.
Another variation involves using this DIY Clorox cleaning solution in a spray bottle for targeted cleaning. This is particularly useful for tackling mold and mildew in bathrooms or for disinfecting kitchen countertops. Remember to always test the solution on an inconspicuous area first to ensure it doesn’t damage the surface.
We’re confident that once you try this DIY Clorox cleaning method, you’ll wonder how you ever cleaned without it. It’s a simple, effective, and affordable way to achieve a cleaner, healthier home.
Now, it’s your turn! We encourage you to give this DIY trick a try and see the amazing results for yourself. Don’t be afraid to experiment and find what works best for you and your cleaning needs.
And most importantly, we want to hear about your experience! Share your tips, tricks, and variations in the comments below. Let us know how this DIY Clorox cleaning hack has transformed your cleaning routine. Your feedback will not only help us improve this guide but also inspire others to discover the power of simple, effective cleaning solutions. Let’s create a community of clean enthusiasts, sharing our knowledge and making cleaning a little less of a chore, and a lot more of a breeze!
Frequently Asked Questions (FAQs)
Is this DIY Clorox cleaning solution safe for all surfaces?
No, it’s crucial to understand that Clorox, even in diluted form, is a powerful cleaning agent and may not be suitable for all surfaces. Always test the solution on an inconspicuous area first to ensure it doesn’t cause discoloration, damage, or etching. Avoid using it on delicate surfaces like marble, granite, wood (unless properly sealed), and certain types of fabrics. For these surfaces, consider using gentler cleaning alternatives specifically designed for them. When in doubt, consult the manufacturer’s instructions for the surface you intend to clean.
What safety precautions should I take when using this DIY Clorox cleaning solution?
Safety is paramount when working with Clorox. Always wear gloves to protect your skin from irritation. Ensure adequate ventilation by opening windows or using a fan to avoid inhaling fumes. Avoid mixing Clorox with other cleaning products, especially ammonia, as this can create dangerous and potentially lethal gases. Keep the solution out of reach of children and pets. If the solution comes into contact with your skin or eyes, rinse immediately with plenty of water and seek medical attention if irritation persists. Store the solution in a clearly labeled container to prevent accidental ingestion.
How long does the DIY Clorox cleaning solution last?
It’s best to prepare a fresh batch of the DIY Clorox cleaning solution each time you clean. Clorox degrades over time, especially when diluted, and its effectiveness diminishes. Storing the solution for extended periods can also lead to the formation of harmful byproducts. For optimal cleaning power and safety, mix only the amount you need for each cleaning session and discard any leftover solution properly.
What is the ideal Clorox to water ratio for this DIY cleaning solution?
The ideal Clorox to water ratio depends on the cleaning task and the surface you’re cleaning. A general guideline is to use a 1:10 ratio (1 part Clorox to 10 parts water) for general cleaning and disinfecting. For heavily soiled areas or surfaces with mold and mildew, you can increase the concentration to a 1:5 ratio (1 part Clorox to 5 parts water). However, always start with the lower concentration and increase it gradually as needed, testing on an inconspicuous area first. Remember that a stronger solution is not always better and can potentially damage surfaces.
Can I use this DIY Clorox cleaning solution to clean my laundry?
While Clorox is commonly used in laundry, it’s important to follow the manufacturer’s instructions on the Clorox bottle for proper usage and dosage. This DIY solution is primarily intended for surface cleaning and may not be suitable for all types of fabrics or washing machines. Using too much Clorox in your laundry can damage your clothes and potentially harm your washing machine. Always refer to the care label on your garments and the instructions on your Clorox bottle for safe and effective laundry cleaning.
How do I dispose of the leftover DIY Clorox cleaning solution?
Never pour leftover Clorox cleaning solution down the drain, as it can harm the environment and potentially damage your plumbing. Instead, dilute the solution further with plenty of water and pour it slowly down a toilet that is connected to a municipal sewer system. If you have a septic system, consult with a professional before disposing of Clorox down the toilet. Alternatively, you can allow the solution to evaporate completely in a well-ventilated area before disposing of the empty container properly.
Can I add other cleaning agents to this DIY Clorox cleaning solution?
No, it’s strongly discouraged to mix Clorox with other cleaning agents, especially ammonia or acids. Mixing Clorox with these substances can create dangerous and potentially lethal gases that can cause severe respiratory problems and even death. Always use Clorox alone and avoid combining it with any other cleaning products. If you need to use multiple cleaning agents, clean the surface with one product first, rinse thoroughly with water, and then apply the other product.
Is this DIY Clorox cleaning solution effective against viruses and bacteria?
Yes, Clorox is a powerful disinfectant that is effective against a wide range of viruses and bacteria. When used properly, this DIY Clorox cleaning solution can help to kill germs and prevent the spread of infections. However, it’s important to follow the recommended contact time (the amount of time the solution needs to remain on the surface to be effective) specified on the Clorox bottle. For optimal disinfection, allow the solution to remain on the surface for at least 10 minutes before wiping it clean.
What are some alternative uses for this DIY Clorox cleaning solution?
Besides general cleaning and disinfecting, this DIY Clorox cleaning solution can also be used for:
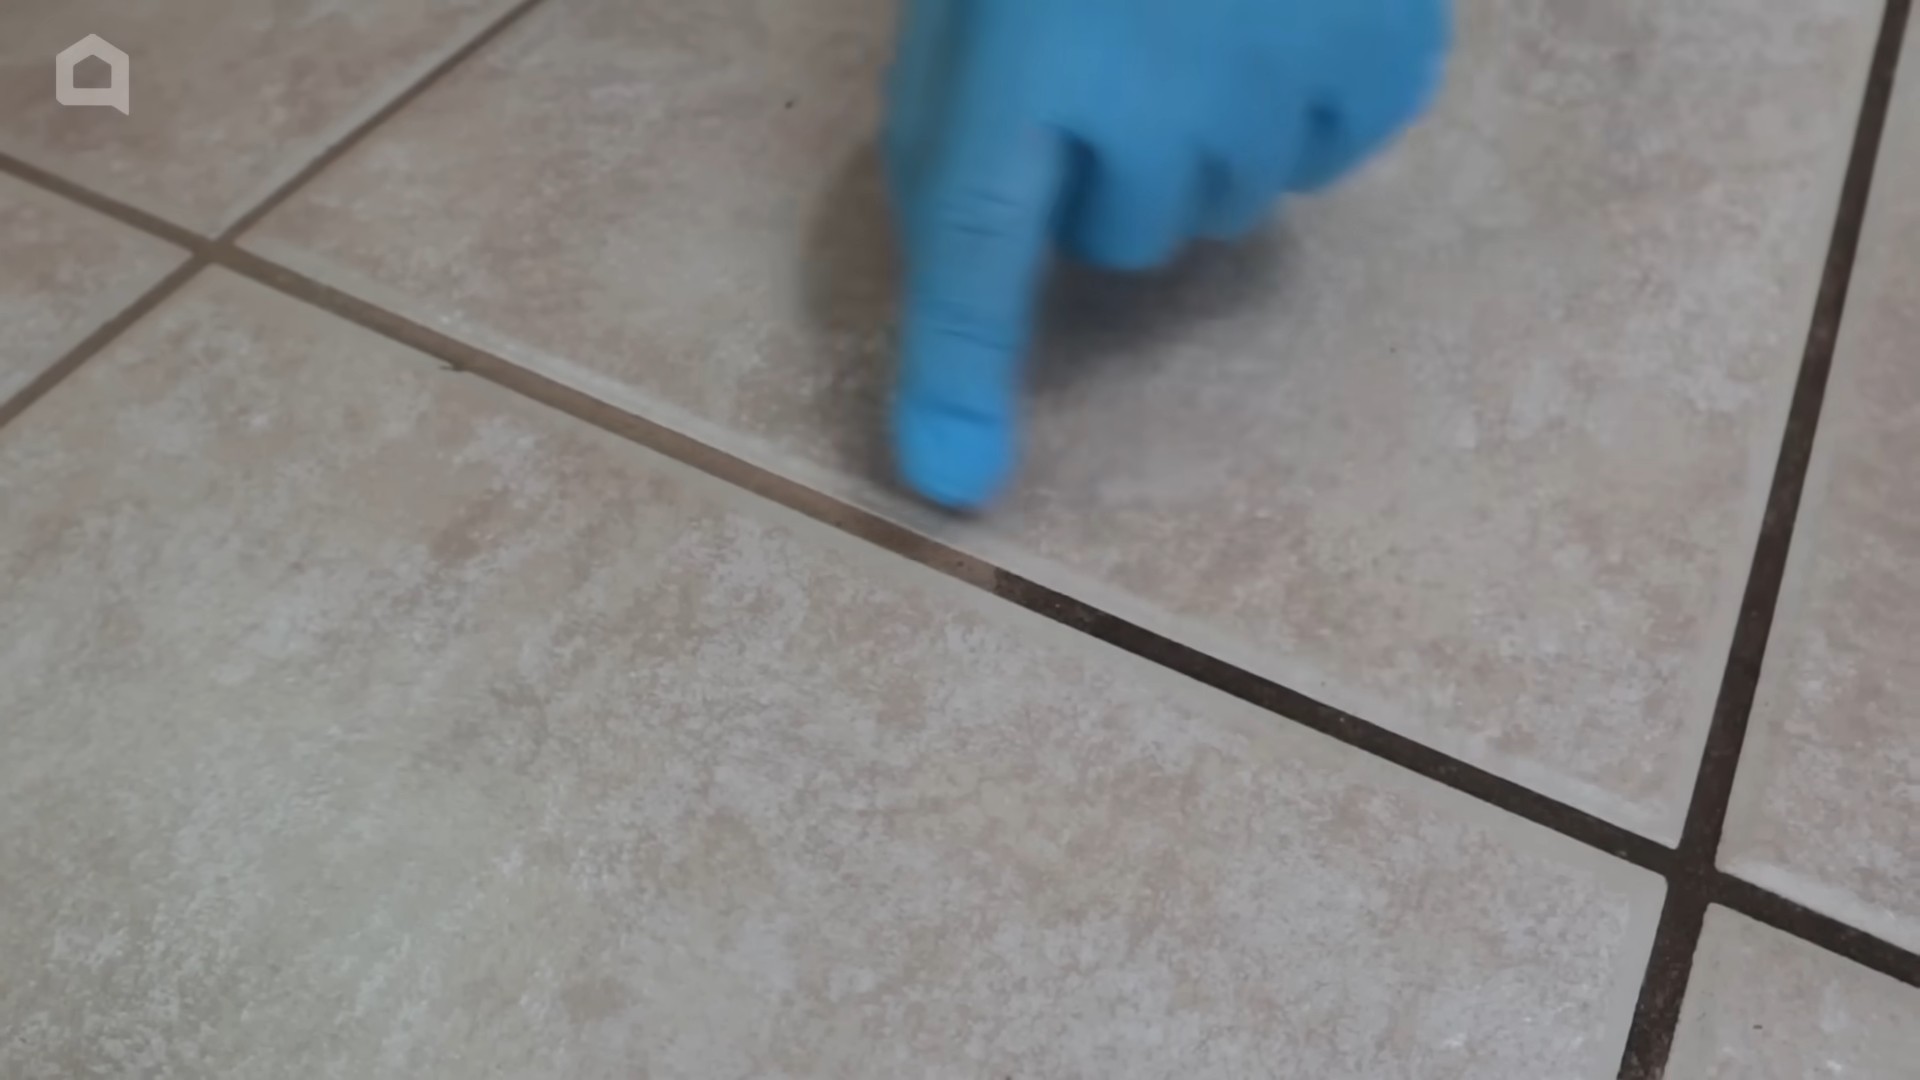
* **Removing mold and mildew:** Spray the solution on affected areas, let it sit for 10 minutes, and then scrub with a brush.
* **Whitening grout:** Apply the solution to grout lines, let it sit for a few minutes, and then scrub with a brush.
* **Disinfecting cutting boards:** Wash the cutting board with soap and water, then spray with the solution, let it sit for 10 minutes, and rinse thoroughly.
* **Cleaning outdoor furniture:** Wipe down outdoor furniture with the solution to remove dirt, grime, and mildew.
* **Cleaning garbage cans:** Rinse garbage cans with the solution to eliminate odors and kill bacteria.
Remember to always test the solution on an inconspicuous area first and follow all safety precautions.
Leave a Comment