

Growing Iceberg Lettuce Hacks: Are you dreaming of crisp, refreshing salads straight from your backyard? I know I am! But let’s be honest, getting that perfect, tightly packed head of iceberg lettuce can feel like a real challenge. It’s a finicky vegetable, prone to bolting in the heat and susceptible to pests. But don’t worry, I’m here to share some game-changing DIY tricks that will transform your iceberg lettuce growing experience.
Lettuce, in general, has a rich history, dating back to ancient Egypt where it was initially cultivated for its seeds and oil. Over time, the leafy greens became a staple in diets worldwide. While iceberg lettuce might not have the same ancient roots as other varieties, its crisp texture and mild flavor quickly made it a popular choice in salads and sandwiches, especially in the 20th century.
But why do you need these hacks? Well, let’s face it, store-bought iceberg lettuce can be expensive and often lacks the freshness and flavor of homegrown produce. Plus, knowing exactly where your food comes from and how it’s grown is incredibly rewarding. With these simple, yet effective growing iceberg lettuce hacks, you’ll be well on your way to harvesting beautiful, delicious heads of lettuce, impressing your friends and family with your green thumb, and enjoying the satisfaction of a truly homegrown salad. Let’s dive in!
Growing Potatoes in Buckets: A Beginner’s Guide
Hey there, fellow gardening enthusiasts! Ever dreamt of harvesting your own potatoes, fresh from the soil? Well, you don’t need a sprawling farm to make that dream a reality. I’m going to walk you through a super simple and rewarding method: growing potatoes in buckets! It’s perfect for small spaces, balconies, or even just adding a fun project to your existing garden. Trust me, the taste of homegrown potatoes is unbeatable.
Why Grow Potatoes in Buckets?
Before we dive in, let’s talk about why bucket gardening is so awesome for potatoes:
* Space-Saving: Ideal for apartments, patios, or small yards. You don’t need a dedicated garden bed.
* Easy to Manage: Controlling soil conditions, watering, and pest control is much easier in a contained environment.
* Portability: You can move your potato plants to chase the sun or protect them from harsh weather.
* Harvesting Made Simple: No digging required! Just tip the bucket and collect your bounty.
* Fun and Educational: A great project for kids and adults alike to learn about plant growth.
What You’ll Need
Okay, let’s gather our supplies. Here’s what you’ll need to get started:
* Buckets: 5-gallon buckets are a good size, but larger ones (10-gallon or more) will give you even better results. Make sure they’re clean and food-grade if possible.
* Seed Potatoes: These aren’t seeds in the traditional sense. They’re small potatoes specifically grown for planting. You can find them at garden centers or online. Choose certified disease-free varieties for the best results.
* Potting Mix: A well-draining potting mix is crucial. Avoid using garden soil, as it can become compacted in a bucket. I like to use a mix of compost, peat moss, and perlite.
* Fertilizer: A balanced slow-release fertilizer will provide your potato plants with the nutrients they need. Look for one with a ratio like 10-10-10 or 14-14-14.
* Watering Can or Hose: For regular watering.
* Drill (Optional): If your buckets don’t already have drainage holes, you’ll need to drill some.
* Gloves: To keep your hands clean.
Preparing Your Buckets
This is a crucial step to ensure proper drainage and healthy potato growth.
1. Drill Drainage Holes: If your buckets don’t have them already, drill several drainage holes in the bottom. This will prevent waterlogging, which can rot your potato tubers. I usually drill about 4-5 holes, each about ½ inch in diameter.
2. Clean the Buckets: Make sure your buckets are clean to prevent the spread of diseases. Wash them with soap and water, and rinse thoroughly.
Preparing Your Seed Potatoes
Now, let’s get those seed potatoes ready for planting!
1. Chitting (Optional but Recommended): Chitting is the process of encouraging your seed potatoes to sprout before planting. This gives them a head start and can result in an earlier harvest. To chit your potatoes, place them in a cool, bright location (but not direct sunlight) for a few weeks. You’ll see small green sprouts (called “eyes”) emerge.
2. Cutting (If Necessary): If your seed potatoes are large (bigger than an egg), you can cut them into smaller pieces. Each piece should have at least one or two “eyes.” Let the cut pieces dry for a day or two before planting to prevent rotting. This allows the cut surfaces to callous over.
Planting Your Potatoes
Alright, the fun part! Let’s get those potatoes in the ground (or, in this case, the bucket).
1. Add Initial Soil Layer: Fill the bucket with about 4-6 inches of potting mix.
2. Place Seed Potatoes: Place your seed potatoes (or potato pieces) on top of the soil, with the “eyes” facing up. Space them evenly in the bucket. If you’re using a large bucket, you can plant 2-3 seed potatoes.
3. Cover with Soil: Cover the seed potatoes with another 4-6 inches of potting mix.
4. Water Thoroughly: Water the soil well until water drains out of the drainage holes.
“Hilling” Your Potatoes
This is a key technique for maximizing your potato harvest. As the potato plants grow, you’ll need to add more soil to the bucket. This encourages the plants to produce more tubers along the stems.
1. Wait for Sprouts: Wait until the potato plants have grown about 6-8 inches tall.
2. Add More Soil: Add more potting mix to the bucket, covering the stems of the plants, leaving only the top few leaves exposed. This is called “hilling.”
3. Repeat: Repeat this process every few weeks as the plants continue to grow, until the bucket is almost full.
Caring for Your Potato Plants
Now that your potatoes are planted, it’s time to provide them with the care they need to thrive.
1. Watering: Water your potato plants regularly, especially during dry periods. The soil should be consistently moist, but not waterlogged. Check the soil moisture by sticking your finger into the soil. If the top inch feels dry, it’s time to water.
2. Fertilizing: Fertilize your potato plants every few weeks with a balanced fertilizer. Follow the instructions on the fertilizer package.
3. Sunlight: Potato plants need at least 6-8 hours of sunlight per day. Place your buckets in a sunny location. If you live in a very hot climate, you may need to provide some afternoon shade to prevent the plants from overheating.
4. Pest Control: Keep an eye out for pests like aphids, potato beetles, and flea beetles. If you spot any pests, you can try hand-picking them off the plants or using an organic insecticide.
5. Disease Prevention: To prevent diseases, make sure your potato plants have good air circulation and avoid overwatering.
Harvesting Your Potatoes
The most exciting part! Here’s how to know when your potatoes are ready to harvest:
1. Wait for the Foliage to Die Back: This is the most reliable indicator. When the leaves of the potato plants start to turn yellow and brown, and the stems begin to die back, it’s a sign that the potatoes are mature.
2. Check the Soil: You can also gently dig around in the soil to check the size of the potatoes. If they’re the size you want, it’s time to harvest.
3. Harvesting: To harvest your potatoes, simply tip the bucket over and carefully remove the soil. You’ll find your potatoes nestled among the roots.
4. Curing (Optional): Curing your potatoes after harvesting can help them store longer. To cure them, spread them out in a cool, dark, and well-ventilated place for a week or two.
Troubleshooting
Even with the best care, you might encounter some challenges. Here are a few common problems and how to address them:
* Yellowing Leaves: This could be a sign of overwatering, underwatering, nutrient deficiency, or disease. Check the soil moisture and adjust your watering accordingly. Fertilize your plants if necessary.
* Potato Beetles: These pests can quickly defoliate your potato plants. Hand-pick them off the plants or use an organic insecticide.
* Potato Blight: This fungal disease can cause brown spots on the leaves and stems. Prevent blight by providing good air circulation and avoiding overwatering. If you see signs of blight, remove the affected leaves and stems.
Choosing the Right Potato Variety
The type of potato you choose to grow will influence the taste, texture, and storage life of your harvest. Here are a few popular varieties that do well in buckets:
* Yukon Gold: A classic all-purpose potato with a buttery flavor and smooth texture.
* Red Pontiac: A red-skinned potato with a creamy texture and slightly sweet flavor.
* fingerling Potatoes: These small, elongated potatoes have a unique flavor and texture. They come in a variety of colors, including red, yellow, and purple.
* Irish Cobbler: An early-maturing variety with a floury texture, great for mashed potatoes.
Extending Your Potato Growing Season
Want to enjoy fresh potatoes for longer? Here are a few tips for extending your growing season:
* Succession Planting: Plant new seed potatoes every few weeks to stagger your harvest.
* Starting Indoors: Start your seed potatoes indoors a few weeks before the last frost to get a head start on the growing season.
* Using Cold Frames or Green
Conclusion
So, there you have it! Mastering the art of growing iceberg lettuce doesn’t have to be a frustrating endeavor. By implementing these simple yet effective DIY tricks, you can transform your garden into a thriving iceberg lettuce haven, yielding crisp, delicious heads that rival anything you’d find at the grocery store. We’ve covered everything from optimizing soil conditions and providing adequate sunlight to implementing clever watering techniques and protecting your precious plants from pests and diseases.
Why is this a must-try? Because fresh, homegrown iceberg lettuce is simply superior. The flavor is brighter, the texture is crisper, and you have the satisfaction of knowing exactly where your food came from and how it was grown. Plus, think of the money you’ll save by reducing your trips to the supermarket!
But the benefits extend beyond just taste and savings. Gardening, in general, is a fantastic stress reliever, a great way to connect with nature, and a rewarding hobby that can bring joy to your life. Growing your own iceberg lettuce is a gateway to a healthier lifestyle, encouraging you to incorporate more fresh produce into your diet.
Ready to take your iceberg lettuce game to the next level?
Consider these variations and suggestions to further personalize your growing experience:
* Succession Planting: Plant new seeds every two weeks to ensure a continuous harvest throughout the growing season. This way, you’ll always have fresh iceberg lettuce on hand for salads, sandwiches, and more.
* Companion Planting: Plant your iceberg lettuce alongside beneficial companion plants like carrots, radishes, and onions. These plants can help deter pests and improve the overall health of your lettuce.
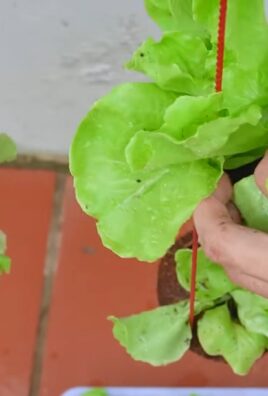
* Vertical Gardening: If you’re short on space, consider growing your iceberg lettuce in vertical planters or hanging baskets. This is a great way to maximize your growing area and add a touch of greenery to your patio or balcony.
* Hydroponics: For a more advanced approach, explore hydroponic growing methods. This soilless technique can result in faster growth and higher yields.
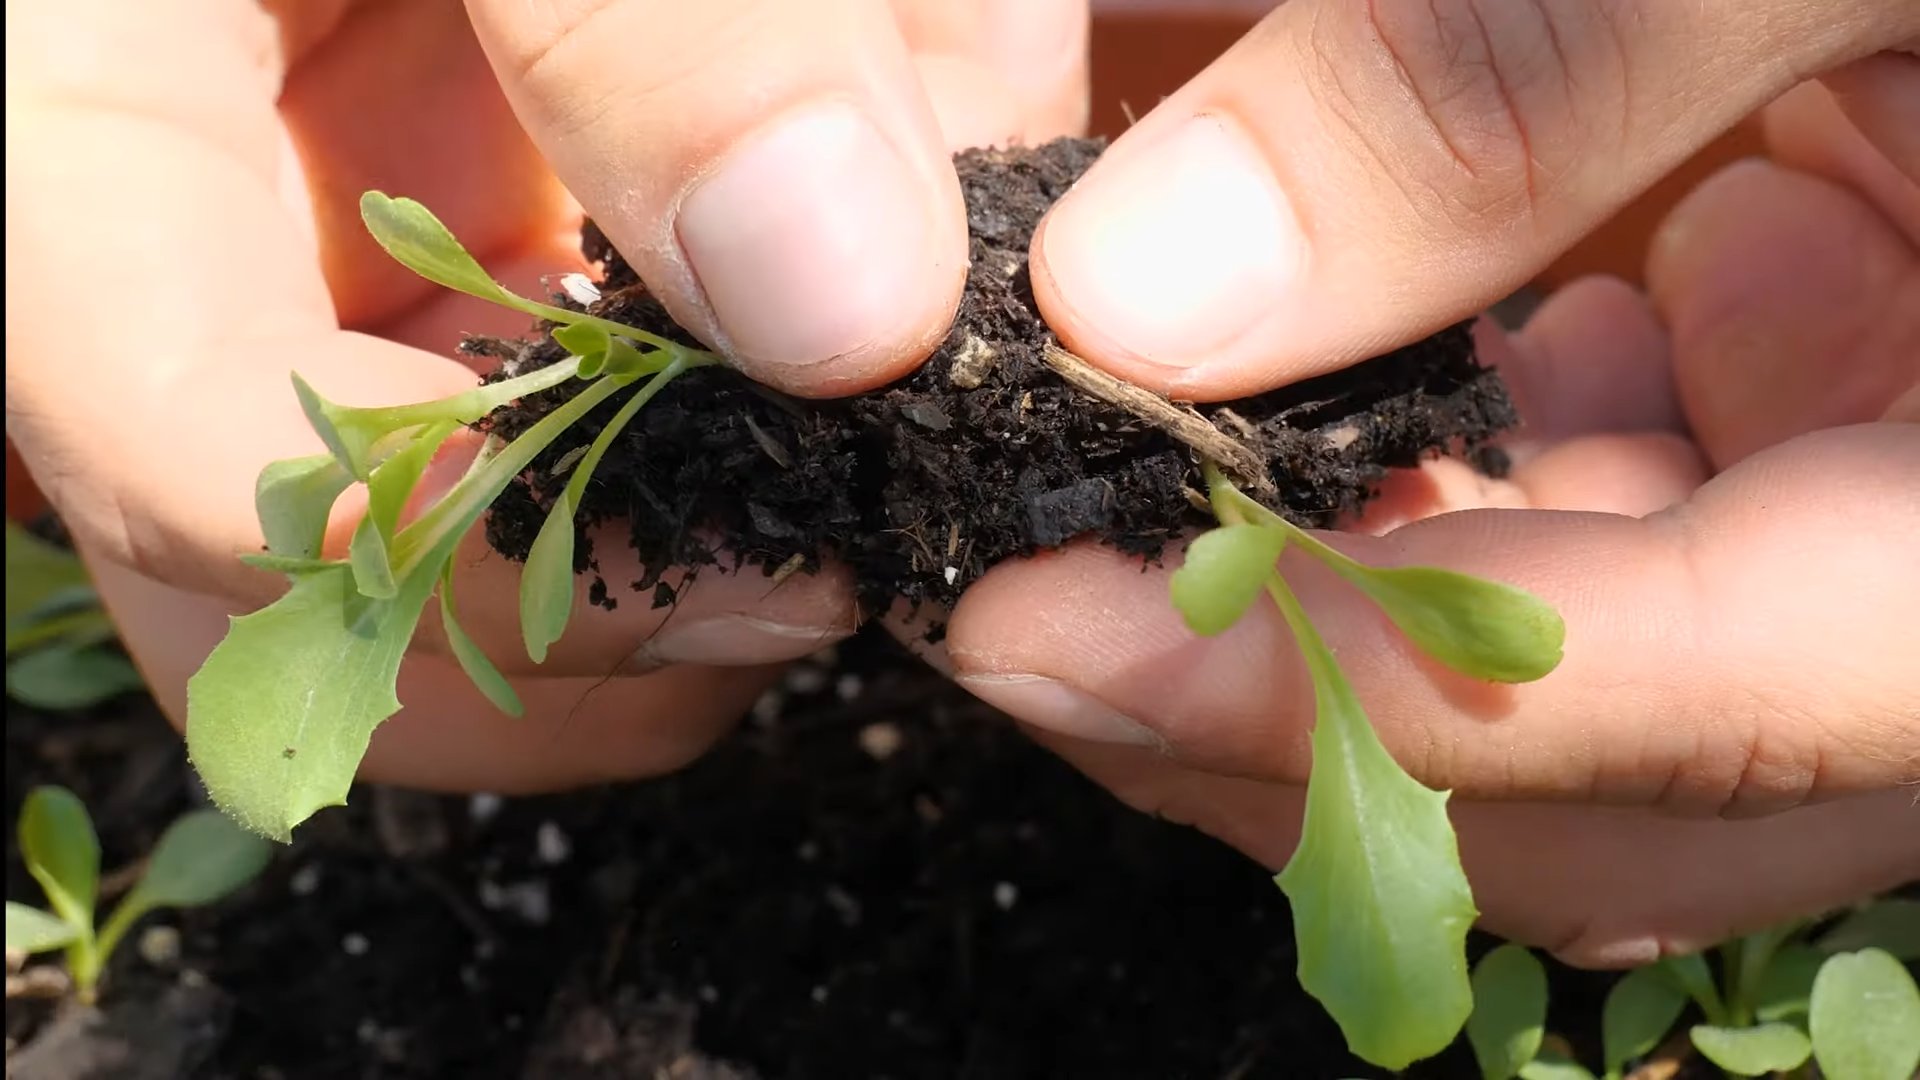
* Seed Starting Indoors: Start your iceberg lettuce seeds indoors 4-6 weeks before the last expected frost. This will give your plants a head start and allow you to harvest them earlier in the season.
Don’t be afraid to experiment and find what works best for your specific climate and growing conditions. Every garden is unique, and the key to success is to observe your plants closely and adapt your techniques as needed.
We are confident that these DIY tricks will significantly improve your success in growing iceberg lettuce. Now it’s your turn! We encourage you to try these techniques in your own garden and share your experiences with us. Let us know what worked well for you, what challenges you encountered, and any other tips you’ve discovered along the way. Your feedback will help us refine these techniques and make them even more effective for other gardeners.
Share your photos, stories, and questions in the comments section below. We can’t wait to hear about your iceberg lettuce adventures! Happy gardening!
Frequently Asked Questions (FAQ)
What is the ideal soil pH for growing iceberg lettuce?
Iceberg lettuce thrives in slightly acidic to neutral soil with a pH between 6.0 and 7.0. You can test your soil pH using a home testing kit or by sending a sample to your local agricultural extension office. If your soil is too acidic, you can amend it with lime. If it’s too alkaline, you can add sulfur or organic matter like compost. Maintaining the correct pH is crucial for nutrient availability and healthy plant growth.
How much sunlight does iceberg lettuce need?
Iceberg lettuce requires at least 6 hours of direct sunlight per day. However, in hotter climates, it can benefit from some afternoon shade to prevent bolting (premature flowering). If you’re growing iceberg lettuce indoors, use grow lights to provide adequate illumination. Insufficient sunlight can result in leggy, weak plants with poor head formation.
How often should I water my iceberg lettuce?
Water your iceberg lettuce regularly, keeping the soil consistently moist but not waterlogged. Aim for about 1 inch of water per week, either through rainfall or irrigation. Water deeply and less frequently rather than shallowly and more often. Avoid overhead watering, as this can increase the risk of fungal diseases. Use a soaker hose or drip irrigation system to deliver water directly to the roots.
What are some common pests that affect iceberg lettuce?
Common pests that can plague iceberg lettuce include aphids, slugs, snails, cutworms, and leaf miners. To control these pests, you can use organic methods such as handpicking, introducing beneficial insects (like ladybugs), applying insecticidal soap, or using diatomaceous earth. Regularly inspect your plants for signs of infestation and take action promptly to prevent widespread damage.
How do I prevent iceberg lettuce from bolting?
Bolting is a common problem with iceberg lettuce, especially in hot weather. To prevent bolting, choose bolt-resistant varieties, plant your lettuce in a location that receives afternoon shade, water regularly to keep the soil cool, and harvest your lettuce as soon as it reaches maturity. You can also use shade cloth to protect your plants from excessive heat.
When is the best time to harvest iceberg lettuce?
Iceberg lettuce is ready to harvest when the head is firm and feels solid to the touch. The exact time will vary depending on the variety and growing conditions, but it typically takes 60-80 days from planting. Harvest in the morning when the lettuce is cool and crisp. Cut the head at the base of the plant with a sharp knife.
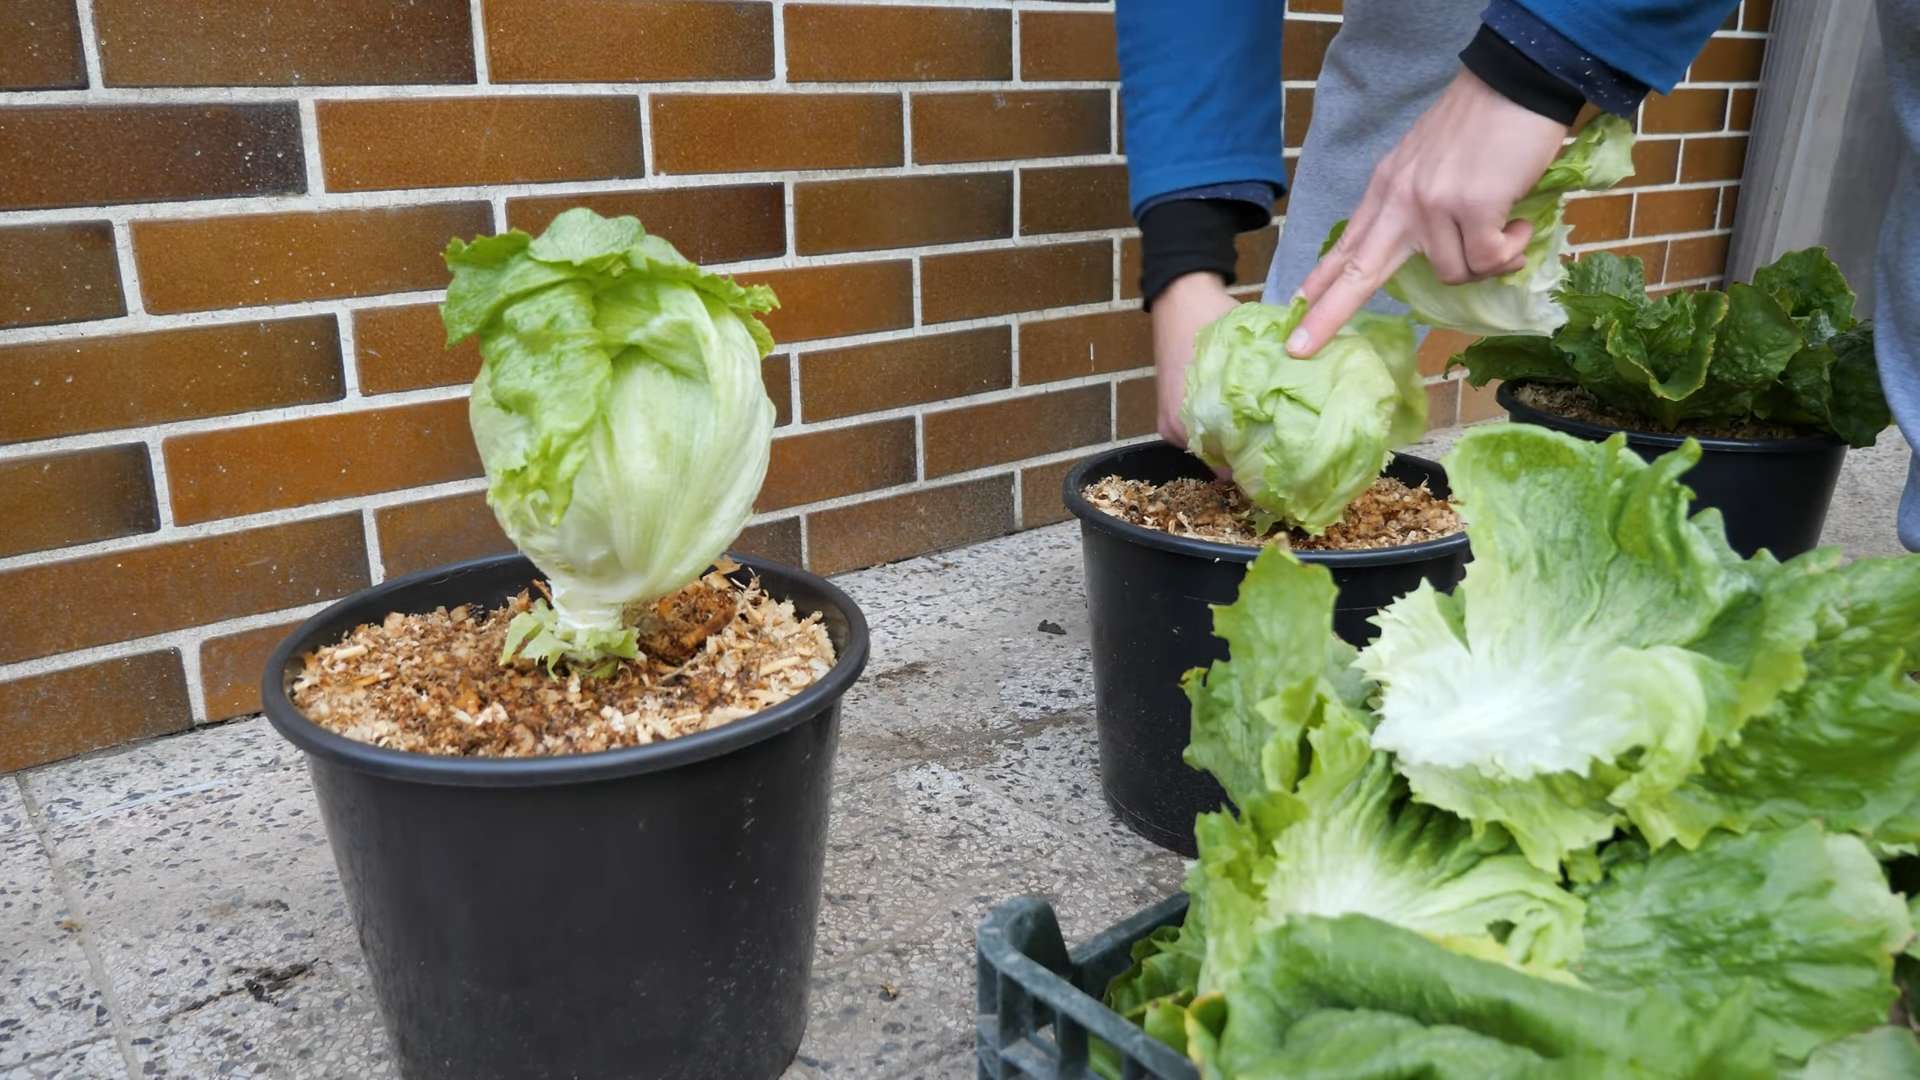
Can I grow iceberg lettuce in containers?
Yes, iceberg lettuce can be successfully grown in containers. Choose a container that is at least 12 inches in diameter and 8 inches deep. Use a well-draining potting mix and provide adequate sunlight and water. Container-grown lettuce may require more frequent watering than lettuce grown in the ground.
What fertilizer should I use for iceberg lettuce?
Iceberg lettuce benefits from a balanced fertilizer with equal amounts of nitrogen, phosphorus, and potassium. You can use a slow-release granular fertilizer or a liquid fertilizer applied every 2-3 weeks. Avoid over-fertilizing, as this can lead to excessive leaf growth and reduced head formation.
How do I store harvested iceberg lettuce?
To store harvested iceberg lettuce, wash it thoroughly and dry it completely. Wrap the head in a paper towel and place it in a plastic bag in the refrigerator. This will help to keep the lettuce crisp and fresh for up to a week.
What are some good companion plants for iceberg lettuce?
Good companion plants for iceberg lettuce include carrots, radishes, onions, garlic, marigolds, and nasturtiums. These plants can help deter pests, improve soil health, and enhance the growth of your lettuce. Avoid planting iceberg lettuce near fennel, as it can inhibit its growth.

Leave a Comment