

Easy Carrot Gardening: Your Guide to a Bountiful Harvest
Easy carrot gardening? It sounds almost too good to be true, doesn’t it? But I’m here to tell you that growing your own delicious, crunchy carrots at home is entirely achievable, even for the most novice gardener. Forget those limp, flavorless supermarket carrots; this guide is your ticket to experiencing the unparalleled sweetness and satisfaction of homegrown vegetables.
Carrots have a rich history, cultivated for thousands of years across various cultures. From ancient civilizations in Persia to medieval Europe, the humble carrot has held a place of importance in both cuisine and medicine. Today, we continue to appreciate its versatility and nutritional value, but the experience of pulling a perfectly formed carrot from your own garden is something truly special. It’s a connection to the land and a rewarding experience that transcends simply having a vegetable on your plate.
Why You Need These Easy Carrot Gardening Tricks
In today’s fast-paced world, many of us crave a connection to nature and a healthier lifestyle. Easy carrot gardening offers a perfect solution. Not only will you enjoy the freshest, tastiest carrots imaginable, but you’ll also gain a sense of accomplishment and a deeper appreciation for where your food comes from. Plus, it’s a fantastic family activity, teaching children about the wonders of nature and the rewards of hard work. This guide is packed with simple, effective easy carrot gardening tricks and DIY solutions to help you overcome common challenges and achieve a bountiful harvest, regardless of your experience level. Let’s get started on your journey to delicious, homegrown carrots!
Building a Dollar Store Space-Saving Rack: A Step-by-Step Guide
This project is all about maximizing space using items you can easily find at your local dollar store! I’m going to show you how to create a surprisingly sturdy and stylish rack for under $10. Let’s get started!
Gathering Your Supplies
Before we begin, gather these materials. Don’t worry if you don’t have everything exactly as listed – you can easily substitute with similar items you might already have.
- Four metal shelf brackets (the kind with two holes for screws)
- Two long pieces of wood (I used pine, about 3 feet long and 1 inch thick. Adjust length to your needs.)
- One short piece of wood (about 1 foot long and 1 inch thick, for the top shelf support)
- Screws (at least 16, matching the size of the holes in your brackets)
- A drill with a drill bit that matches your screws
- A screwdriver (or drill with a screwdriver bit)
- Measuring tape
- Pencil
- Level (optional, but highly recommended for a straight rack!)
- Sandpaper (optional, for smoothing the wood)
- Paint or stain (optional, to personalize your rack)
Preparing the Wood
1. Measure and Cut: If your wood isn’t pre-cut to the right size, carefully measure and cut your long and short pieces of wood to your desired length. Remember to account for the width of your brackets when measuring. I recommend using a miter saw for clean cuts, but a hand saw will work too. Be sure to wear safety glasses!
2. Sanding (Optional): If your wood is rough, use sandpaper to smooth out any splinters or imperfections. This step makes the final product look much nicer and prevents splinters. Sand in the direction of the wood grain for the best results.
3. Painting or Staining (Optional): If you want to add a pop of color or a natural wood finish, now is the time to paint or stain your wood. Let it dry completely before moving on to the next step. This is a great way to personalize your rack to match your decor! I chose a simple white paint to keep it bright and airy.
Assembling the Rack
1. Mark Bracket Placement: Using your measuring tape and pencil, mark the locations for your shelf brackets on the long pieces of wood. Make sure the brackets are evenly spaced and that they will support the weight you plan to put on the shelves. I placed mine about 12 inches apart, but you can adjust this based on your needs. Remember to use your level to ensure everything is straight!
2. Pre-Drill Holes (Important!): Before screwing in the brackets, pre-drill pilot holes in the wood where the screws will go. This prevents the wood from splitting and makes screwing much easier. Use a drill bit slightly smaller than the diameter of your screws.
3. Attach the Brackets: Carefully screw the brackets onto the long pieces of wood using your screwdriver or drill. Make sure the screws are tight but don’t overtighten them, as this could strip the wood or damage the brackets.
4. Attach the Top Shelf Support: Place the short piece of wood across the top of the two long pieces of wood, creating the top shelf. Mark the locations for the brackets on this piece of wood, ensuring they align with the brackets already attached to the long pieces. Pre-drill pilot holes and then attach the brackets. This step adds extra stability to the top shelf.
5. Double Check for Stability: Once everything is assembled, gently test the stability of the rack. Make sure the brackets are securely attached and that the rack doesn’t wobble. If necessary, tighten any loose screws.
Installing Your Rack
1. Choose a Location: Select a suitable location for your new space-saving rack. Consider the weight capacity of the brackets and the overall stability of the area.
2. Secure the Rack (Optional): For added stability, especially if you plan on putting heavy items on the shelves, you can secure the rack to the wall using appropriate wall anchors and screws. This is especially important if you are placing the rack in a high-traffic area or a location prone to vibrations.
3. Add Your Items: Once your rack is securely in place, add your items! This is the most rewarding part. Enjoy your newly organized space!
Tips and Troubleshooting
- Weight Capacity: Be mindful of the weight capacity of your chosen brackets. Don’t overload the shelves.
- Wall Anchors: If you’re mounting the rack to the wall, use appropriate wall anchors for your wall type (drywall, brick, etc.) to ensure a secure installation.
- Wood Choice: While I used pine, you can use other types of wood. Just make sure it’s sturdy enough to support the weight of your items.
- Customization: Get creative! Paint, stain, or decorate your rack to match your personal style. You can even add decorative elements like knobs or handles.
- Uneven Surfaces: If your floor or wall is uneven, use shims to level the rack before securing it.
Remember, safety first! Always wear safety glasses when using power tools. If you’re unsure about any step, don’t hesitate to ask for help from a more experienced DIYer. Have fun building your amazing space-saving rack!
Conclusion
So there you have it – your guide to effortless carrot gardening! This DIY approach to growing your own carrots isn’t just about saving money; it’s about experiencing the unparalleled satisfaction of harvesting fresh, vibrant carrots straight from your garden. The entire process, from seed to supper, is surprisingly simple and rewarding, making it a perfect project for beginners and seasoned gardeners alike. This easy carrot gardening method eliminates many of the common frustrations associated with carrot cultivation, resulting in a higher yield of perfectly shaped, delicious carrots. You’ll be amazed at the difference a little preparation and the right techniques can make.
Beyond the basic method outlined, the possibilities for customization are endless. Experiment with different carrot varieties to discover your favorites – from the classic Nantes to the longer Imperator, each offers a unique flavor and texture. Consider companion planting; herbs like rosemary and thyme can deter carrot rust flies, while radishes can help loosen the soil, making it easier for carrots to grow straight. If you have limited space, try growing your carrots in containers – just ensure they are deep enough to accommodate the long taproots. For those with particularly rocky or compacted soil, consider raised beds or amending your soil with plenty of compost before planting. The key is to adapt the techniques to your specific environment and preferences.
We strongly encourage you to try this easy carrot gardening method and experience the joy of homegrown vegetables. The taste alone is worth the effort, but the sense of accomplishment and connection to nature is an added bonus. Share your experiences with us! Post pictures of your thriving carrot patch on social media using #EasyCarrotGardening and tag us – we’d love to see your success stories. Whether you’re a seasoned gardener or a complete novice, this DIY approach to growing carrots is guaranteed to bring a smile to your face and deliciousness to your table. Don’t hesitate – start your easy carrot gardening journey today!
Frequently Asked Questions
What type of soil is best for growing carrots?
Carrots thrive in loose, well-drained soil that is free of rocks and stones. Heavy clay soil can hinder root development, resulting in stunted or misshapen carrots. Sandy loam is ideal, but you can improve other soil types by adding plenty of organic matter like compost to improve drainage and aeration. Before planting, ensure your soil is loose and crumbly to a depth of at least 12 inches.
How often should I water my carrots?
Consistent moisture is crucial for healthy carrot growth, but avoid overwatering, which can lead to root rot. Aim for consistently moist soil, especially during germination and early growth stages. Water deeply and less frequently rather than shallowly and often. The frequency will depend on your climate and soil type; check the soil moisture regularly by sticking your finger a couple of inches into the ground. If the soil feels dry, it’s time to water.
What are the common problems when growing carrots and how can I prevent them?
One of the most common issues is carrot root flies, which can lay their eggs in the soil, leading to damaged roots. Companion planting with herbs like rosemary and thyme can help deter them. Another problem is soil compaction, which can cause forked or stunted roots. Preparing the soil well before planting, ensuring it’s loose and free of rocks, is key. Finally, uneven watering can lead to cracked or split carrots. Maintain consistent moisture levels throughout the growing season.
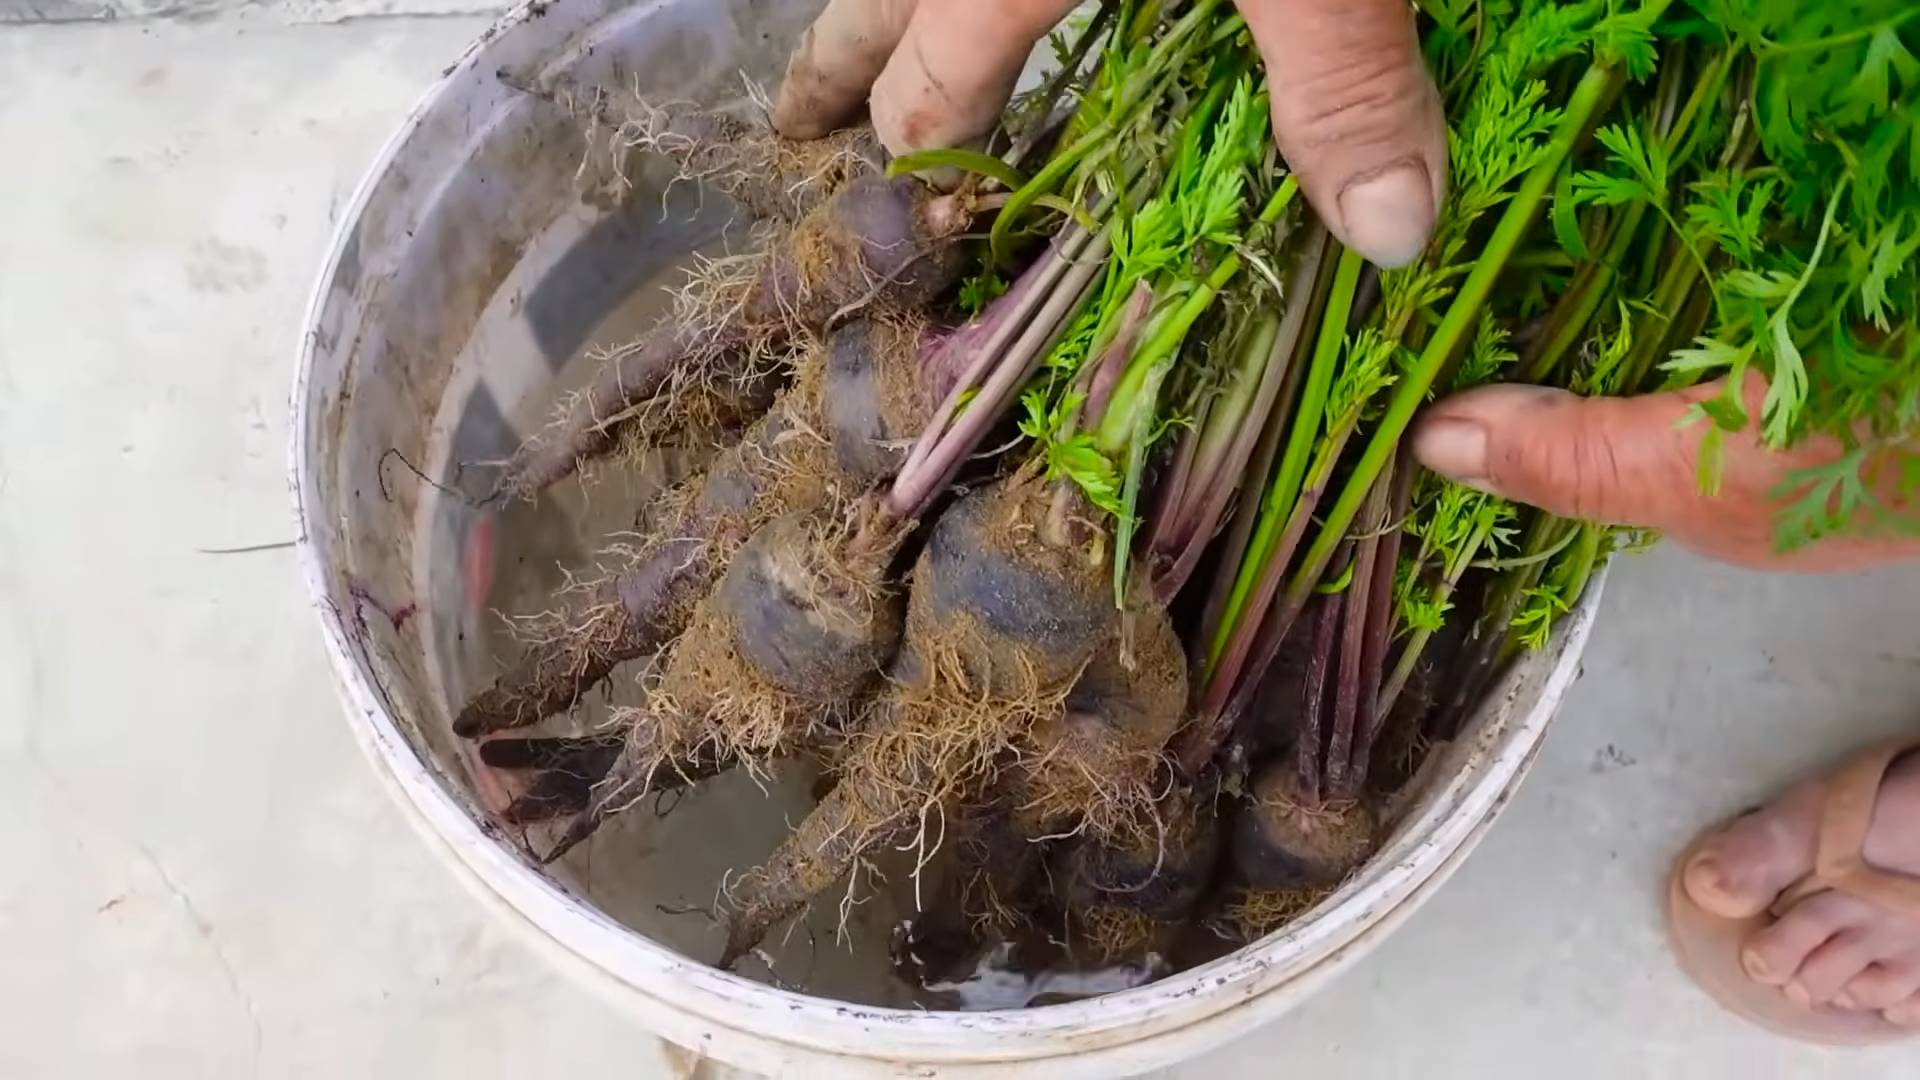
When is the best time to harvest carrots?
The ideal time to harvest carrots depends on the variety and your climate, but generally, you can start harvesting when the carrots reach your desired size, typically 6-8 weeks after sowing. For baby carrots, you can harvest them earlier. You can gently pull up a few carrots to check their size and maturity. Avoid harvesting when the soil is very wet, as this can make it difficult to remove the carrots without damaging them.
Can I grow carrots in containers?
Yes, you can definitely grow carrots in containers, but you’ll need deep containers – at least 12 inches deep to accommodate the long taproots. Choose containers with drainage holes to prevent waterlogging. Use a well-draining potting mix and follow the same planting and care instructions as for in-ground gardening. Consider using a long, narrow container to maximize space and encourage straight root growth.
What should I do if my carrots are not growing straight?
Several factors can cause crooked carrots, including rocky or compacted soil, uneven watering, and pest damage. Ensure your soil is loose and free of rocks before planting. Maintain consistent moisture levels and consider using row covers to protect against pests. If you notice any problems early on, you may be able to improve the situation by carefully loosening the soil around the roots.
My carrots are small. What went wrong?
Small carrots can result from several factors, including overcrowding, poor soil conditions, insufficient watering, or nutrient deficiencies. Ensure you’re following the recommended spacing guidelines for your chosen carrot variety. Improve soil fertility by adding compost or other organic matter. Water consistently and deeply, and consider using a balanced fertilizer if necessary. Check for pests or diseases that might be affecting growth.


Leave a Comment