

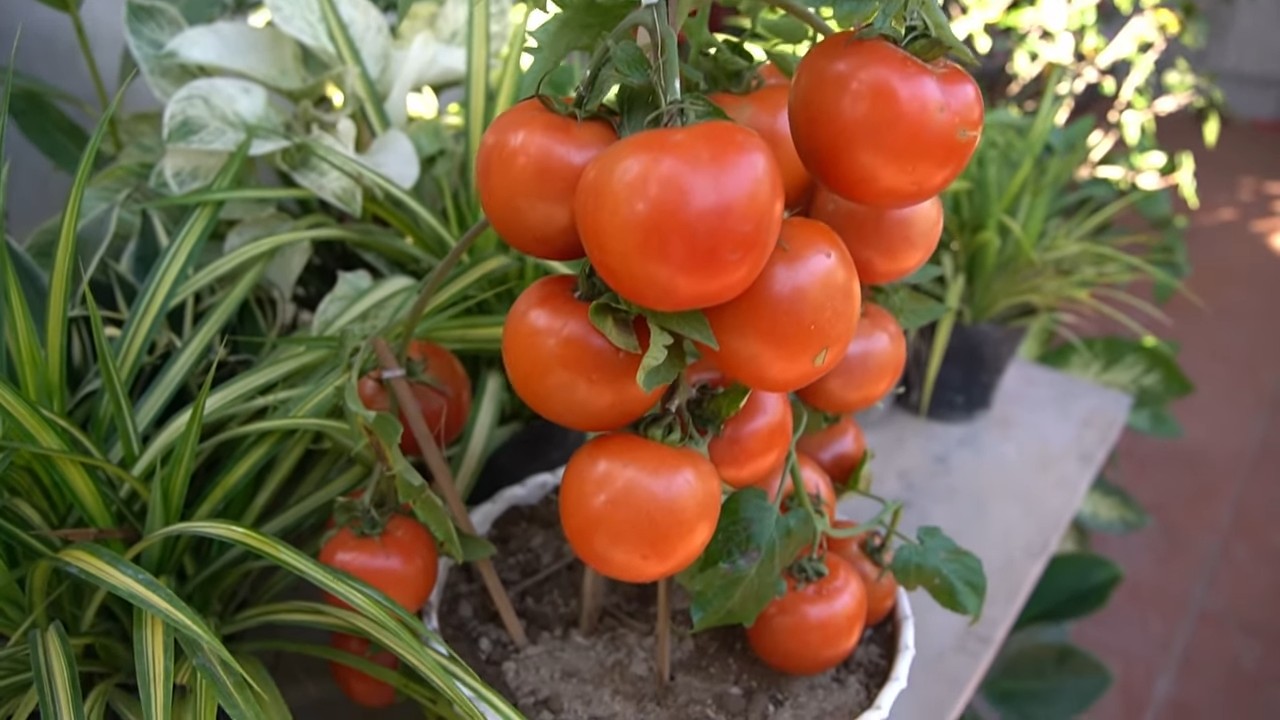
Tomato propagation tips are your secret weapon to a bountiful harvest, and I’m so excited to share them with you! Imagine turning one tomato plant into many, filling your garden with juicy, sun-ripened goodness, all without breaking the bank. Forget those expensive nursery seedlings; with a few simple tricks, you can become a tomato-growing pro.
The practice of propagating plants, including tomatoes, has roots stretching back centuries. Farmers and gardeners have always sought ways to multiply their yields and preserve their favorite varieties. It’s a time-honored tradition, and now you can join the ranks of those resourceful growers!
Why do you need these tomato propagation tips? Well, for starters, it’s incredibly cost-effective. Instead of buying multiple plants, you can create new ones from existing growth. Plus, it allows you to clone your best-performing plants, ensuring you get consistent results year after year. Whether you’re a seasoned gardener or just starting out, mastering tomato propagation will empower you to create a thriving garden and enjoy the satisfaction of growing your own delicious tomatoes from scratch. Let’s dive in and unlock the secrets to successful tomato propagation!
DIY Tomato Propagation: Cloning Your Favorite Varieties!
Hey there, fellow gardeners! Ever wished you could magically multiply your best-producing tomato plants? Well, guess what? You practically can! Tomato propagation through cuttings is a super rewarding and surprisingly easy DIY project. I’m going to walk you through everything you need to know to clone your tomato plants and have a bountiful harvest.
Why Propagate Tomatoes from Cuttings?
Before we dive in, let’s talk about why you might want to propagate your tomatoes this way.
* Preserve Your Favorites: Did you grow an heirloom tomato that was absolutely bursting with flavor? Cloning ensures you get the exact same deliciousness next year.
* Early Start: Cuttings often mature faster than plants started from seed, giving you a head start on the growing season.
* Save Money: Why buy more seedlings when you can create your own from existing plants?
* Control Disease: If you have a healthy plant that’s resistant to certain diseases, propagating from it can help you create more disease-resistant plants.
* Experimentation: It’s a fun way to experiment with different varieties and growing techniques.
What You’ll Need
Gathering your supplies beforehand will make the whole process smoother. Here’s what I recommend:
* Healthy Tomato Plant: Choose a vigorous, disease-free plant to take your cuttings from.
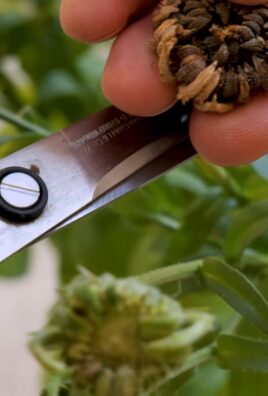
* Sharp, Clean Knife or Pruning Shears: Sterilize your cutting tool with rubbing alcohol to prevent the spread of disease.
* Rooting Hormone (Optional): While not strictly necessary, rooting hormone can significantly increase your success rate. I personally like using a powder form.
* Small Pots or Seed Trays: Choose pots that are about 3-4 inches in diameter. Seed trays are great if you’re propagating a lot of cuttings at once.
* Potting Mix: Use a well-draining potting mix specifically designed for seedlings. Avoid using garden soil, as it can be too heavy and may contain diseases.
* Watering Can or Spray Bottle: For gentle watering.
* Clear Plastic Bags or Humidity Dome: To create a humid environment for your cuttings.
* Warm, Bright Location: Indirect sunlight is best. Avoid direct sunlight, which can scorch the cuttings.
* Labels: To keep track of your different tomato varieties.
Taking the Cuttings
This is the most crucial step, so pay close attention!
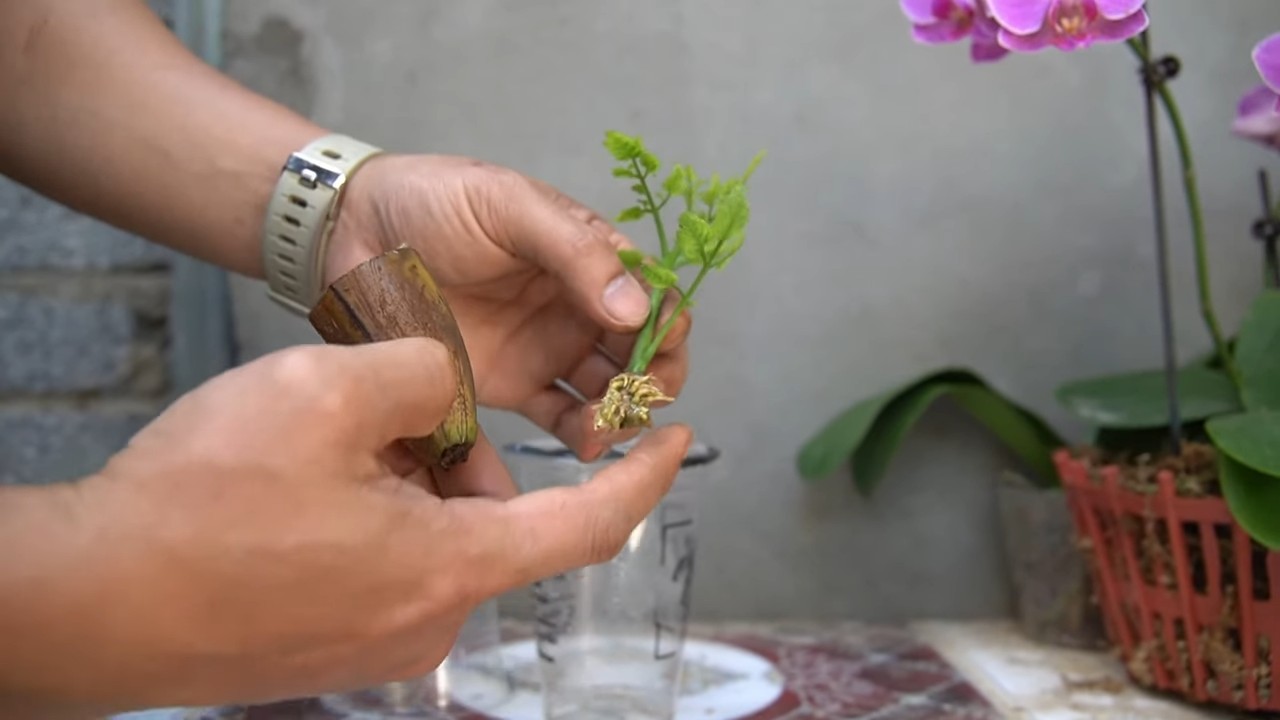
1. Choose Your Shoots: Look for suckers or side shoots that are growing between the main stem and a branch. These are ideal for cuttings. They should be about 4-6 inches long and have several leaves.
2. Make the Cut: Using your sterilized knife or pruning shears, make a clean cut just below a leaf node (the point where a leaf grows from the stem). A 45-degree angle cut is often recommended, but a straight cut works just as well.
3. Remove Lower Leaves: Gently remove the leaves from the bottom 1-2 inches of the cutting. This will expose the nodes where roots will form.
4. Apply Rooting Hormone (Optional): If using rooting hormone, dip the cut end of the stem into the powder or liquid. Tap off any excess.
Planting the Cuttings
Now it’s time to get those cuttings into their new homes!
1. Prepare Your Pots: Fill your pots or seed trays with the potting mix. Moisten the mix thoroughly, but don’t let it become waterlogged.
2. Make a Hole: Use a pencil or your finger to create a small hole in the center of the potting mix.
3. Insert the Cutting: Gently insert the cut end of the stem into the hole, making sure that the nodes where you removed the leaves are buried in the soil.
4. Firm the Soil: Gently firm the soil around the base of the cutting to provide support.
5. Water Gently: Water the cutting gently to settle the soil.
Creating a Humid Environment
Humidity is key to successful rooting.
1. Cover with Plastic Bag or Humidity Dome: Place a clear plastic bag over the pot, making sure the bag doesn’t touch the leaves. You can use skewers or chopsticks to prop up the bag if needed. Alternatively, use a humidity dome if you have one.
2. Ventilation: Open the bag or dome for a few minutes each day to allow for air circulation and prevent mold growth.
Caring for Your Cuttings
Patience is a virtue when it comes to propagation!
1. Location: Place the cuttings in a warm, bright location with indirect sunlight. Avoid direct sunlight, which can overheat the cuttings.
2. Watering: Keep the potting mix consistently moist, but not waterlogged. Check the moisture level daily and water as needed. A spray bottle is great for misting the cuttings.
3. Monitoring: Check the cuttings regularly for signs of rooting. After about 1-2 weeks, you should start to see new growth. You can also gently tug on the cutting to see if it resists, which indicates that roots have formed.
4. Hardening Off: Once the cuttings have developed a good root system, gradually acclimate them to outdoor conditions before transplanting them into your garden. This process is called “hardening off.” Start by placing the cuttings in a sheltered location outdoors for a few hours each day, gradually increasing the amount of time they spend outside over the course of a week or two.
Transplanting Your Tomato Clones
Congratulations! Your cuttings have rooted and are ready to be transplanted.
1. Choose a Sunny Location: Select a sunny spot in your garden with well-drained soil. Tomatoes need at least 6-8 hours of sunlight per day.
2. Prepare the Soil: Amend the soil with compost or other organic matter to improve drainage and fertility.
3. Dig a Hole: Dig a hole that is slightly larger than the root ball of the cutting.
4. Remove the Cutting from the Pot: Gently remove the cutting from the pot, being careful not to damage the roots.
5. Plant the Cutting: Place the cutting in the hole and backfill with soil. Gently firm the soil around the base of the plant.
6. Water Thoroughly: Water the plant thoroughly after transplanting.
7. Provide Support: Tomatoes need support to grow properly. Use stakes, cages, or trellises to support the plants as they grow.
Troubleshooting
Even with the best intentions, things don’t always go as planned. Here are some common problems and how to fix them:
* Cuttings Wilting: This is usually caused by a lack of humidity. Make sure the cuttings are covered with a plastic bag or humidity dome. You can also mist the cuttings regularly.
* Cuttings Rotting: This is usually caused by overwatering or poor air circulation. Make sure the potting mix is well-draining and that you’re not overwatering. Open the bag or dome for a few minutes each day to allow for air circulation.
* No Rooting: This can be caused by a number of factors, including poor cutting technique, lack of humidity, or using old potting mix. Try taking new cuttings using a sharp, sterilized knife or pruning shears. Make sure the cuttings are covered with a plastic bag or humidity dome. Use fresh potting mix.
* Fungus Gnats: These tiny flies can be a nuisance. Allow the top of the soil to dry out slightly between waterings. You can also use sticky traps to catch the adults.
Tips for Success
Here are a few extra tips to help you succeed with tomato propagation:
* Take Cuttings in the Morning: The best time to take cuttings is in the morning, when the plant is most hydrated.
* Use a Heat Mat: A heat mat can help to speed up the rooting process.
* Be Patient: Rooting can take several weeks, so don’t get discouraged if you don’t see results right away.
* Experiment: Try different techniques and see what works best for you.
Enjoy Your Tomato Harvest!
With a little patience and care, you can easily propagate your favorite tomato varieties from cuttings. It’s a rewarding and cost-effective way to expand your garden and enjoy a bountiful harvest. Happy gardening!
Conclusion
So, there you have it! Mastering tomato propagation from cuttings is not just a fun gardening experiment; it’s a game-changer for any tomato enthusiast. Imagine multiplying your favorite heirloom varieties without spending a dime on new seeds or seedlings. Think of the satisfaction of nurturing new life from a simple cutting, knowing you’ve bypassed the uncertainties of seed germination and given your plants a head start. This method allows you to clone your best-performing plants, ensuring you get consistent results year after year.
This DIY trick is a must-try because it’s incredibly cost-effective, environmentally friendly, and surprisingly easy. It’s a fantastic way to expand your tomato patch, share plants with friends and neighbors, and even experiment with different growing techniques. Plus, it’s a deeply rewarding experience to witness the transformation of a simple cutting into a thriving tomato plant.
Don’t be afraid to experiment with variations! Try using different rooting mediums like perlite, vermiculite, or even just plain water. Some gardeners swear by dipping the cuttings in honey or willow water as natural rooting hormones. You can also try propagating different types of tomatoes – cherry tomatoes, beefsteak tomatoes, paste tomatoes – to see which ones root most readily. Consider using a humidity dome or plastic bag to create a mini-greenhouse environment for your cuttings, especially in drier climates.
We wholeheartedly encourage you to give this tomato propagation method a try. It’s a simple yet powerful technique that can revolutionize your tomato gardening. Once you’ve successfully propagated your own tomato plants, you’ll wonder why you didn’t try it sooner!
And most importantly, we want to hear about your experiences! Share your successes, your challenges, and any tips or tricks you discover along the way. Post photos of your rooted cuttings and thriving tomato plants on social media using #TomatoPropagationDIY. Let’s build a community of tomato propagators and learn from each other. Your insights could help other gardeners achieve success and unlock the full potential of their tomato gardens. Happy propagating!
Frequently Asked Questions (FAQ)
What exactly is tomato propagation, and why should I do it from cuttings?
Tomato propagation is the process of creating new tomato plants from existing ones. While you can grow tomatoes from seeds, propagating from cuttings offers several advantages. It’s faster, allowing you to harvest sooner. It’s also a way to clone your favorite tomato varieties, ensuring you get the same delicious tomatoes year after year. Plus, it’s a great way to save money and reduce waste. Using cuttings is a form of asexual reproduction, meaning the new plant will be genetically identical to the parent plant. This is especially useful for preserving heirloom varieties or plants that have shown exceptional disease resistance or fruit production.
What kind of tomato cuttings should I use for propagation?
The best cuttings are typically taken from suckers, which are the small shoots that grow between the main stem and the branches. These suckers often root easily. Choose healthy, vigorous suckers that are about 4-6 inches long. Avoid cuttings that are flowering or have fruit already forming, as these will be less likely to root successfully. Use clean, sharp pruning shears or a knife to make a clean cut at a 45-degree angle just below a node (where a leaf or branch grows). Remove the lower leaves from the cutting, leaving only a few leaves at the top. This will reduce water loss and encourage root development.
What’s the best rooting medium for tomato cuttings?
There are several options for rooting tomato cuttings. A well-draining potting mix, perlite, vermiculite, or even just plain water can work. If using potting mix, make sure it’s sterile to prevent fungal diseases. Perlite and vermiculite are lightweight and provide good aeration, which is important for root development. When using water, change it every day or two to prevent algae growth and keep the water fresh. Some gardeners add a small amount of rooting hormone to the water to encourage root growth. Regardless of the medium you choose, make sure it’s kept consistently moist but not waterlogged.
How long does it take for tomato cuttings to root?
Tomato cuttings typically root within 1-3 weeks, depending on the conditions. Keep the cuttings in a warm, humid environment with indirect sunlight. You can use a humidity dome or plastic bag to create a mini-greenhouse effect. Check the cuttings regularly for root development. You’ll know they’re ready to be transplanted when you see roots that are at least an inch long. Be patient, as some cuttings may take longer to root than others.
What’s the best way to care for tomato cuttings while they’re rooting?
While the cuttings are rooting, it’s important to keep them consistently moist but not waterlogged. Avoid direct sunlight, which can scorch the leaves. A bright, indirect light is ideal. Mist the cuttings regularly to maintain humidity. If you’re using a humidity dome or plastic bag, make sure to vent it occasionally to prevent condensation buildup. Check the cuttings regularly for signs of disease or pests. If you see any problems, address them promptly.
When and how should I transplant my rooted tomato cuttings?
Once the cuttings have developed a good root system, they’re ready to be transplanted into individual pots or directly into the garden. Harden off the seedlings gradually by exposing them to outdoor conditions for a few hours each day over the course of a week. This will help them adjust to the change in environment and prevent transplant shock. When transplanting, choose a sunny location with well-draining soil. Dig a hole that’s large enough to accommodate the root ball. Gently remove the seedling from its container and place it in the hole. Backfill with soil and water thoroughly.
Can I propagate all types of tomatoes from cuttings?
While most tomato varieties can be propagated from cuttings, some may be easier to root than others. Cherry tomatoes and determinate varieties (those that grow to a certain size and then stop) tend to root more readily than larger beefsteak tomatoes or indeterminate varieties (those that continue to grow and produce fruit throughout the season). Experiment with different varieties to see which ones work best for you.
What are some common problems I might encounter when propagating tomatoes from cuttings, and how can I fix them?
Some common problems include cuttings not rooting, cuttings rotting, and cuttings developing fungal diseases. To prevent these problems, use clean, sterile tools and rooting mediums. Avoid overwatering, which can lead to rot. Provide adequate ventilation to prevent fungal diseases. If you see any signs of disease, treat the cuttings with a fungicide. If a cutting doesn’t root after a reasonable amount of time, discard it and try again with a fresh cutting.
Can I use rooting hormone to help my tomato cuttings root faster?
Yes, rooting hormone can help tomato cuttings root faster and more reliably. Rooting hormone contains auxins, which are plant hormones that stimulate root development. You can purchase rooting hormone in powder or liquid form at most garden centers. Follow the instructions on the product label for application. While rooting hormone can be helpful, it’s not essential. Tomato cuttings can often root successfully without it, especially if you provide them with the right conditions.
Is tomato propagation from cuttings a good way to avoid soilborne diseases?
Yes, tomato propagation from cuttings can be a good way to avoid certain soilborne diseases, especially if the parent plant is healthy and disease-free. By taking cuttings from a healthy plant, you’re essentially creating a clone that inherits the parent plant’s resistance to those diseases. However, it’s important to note that cuttings can still be susceptible to diseases if they’re exposed to contaminated soil or water. Therefore, it’s important to use sterile rooting mediums and practice good sanitation to prevent disease transmission.

Leave a Comment