

Clean sink with dish soap – it sounds simple, right? But trust me, there’s more to it than just a squirt and a scrub! I’m going to let you in on some secrets to achieving a sparkling, germ-free sink using just dish soap and a few clever tricks.
For generations, a clean sink has been a cornerstone of a healthy home. Think about it: from washing produce to rinsing dishes, our sinks are constantly exposed to food particles, bacteria, and grime. In many cultures, a spotless kitchen sink is a symbol of cleanliness and prosperity, reflecting the care and attention given to the household. But let’s be honest, sometimes life gets in the way, and our sinks can become breeding grounds for unwanted guests.
That’s where these DIY hacks come in! You might be thinking, “Why do I need a special trick to clean sink with dish soap?” Well, because a truly clean sink goes beyond just removing visible dirt. We’re talking about eliminating odors, preventing clogs, and banishing those pesky water spots that make your sink look dull. Plus, who doesn’t love a little DIY project that saves money and uses ingredients you already have on hand? I’m excited to share these simple yet effective methods that will transform your sink from drab to fab in no time!
DIY Sparkling Sink: A Deep Clean Guide
Hey everyone! I’m so excited to share my go-to method for getting a sink sparkling clean. We all know how quickly sinks can get grimy, stained, and just plain gross. But fear not! With a few simple ingredients and a little elbow grease, you can transform your sink from drab to fab. This guide works wonders on stainless steel, porcelain, and even composite sinks. Let’s dive in!
What You’ll Need
Before we get started, gather your supplies. Trust me, having everything ready makes the process so much smoother.
* Baking soda
* White vinegar
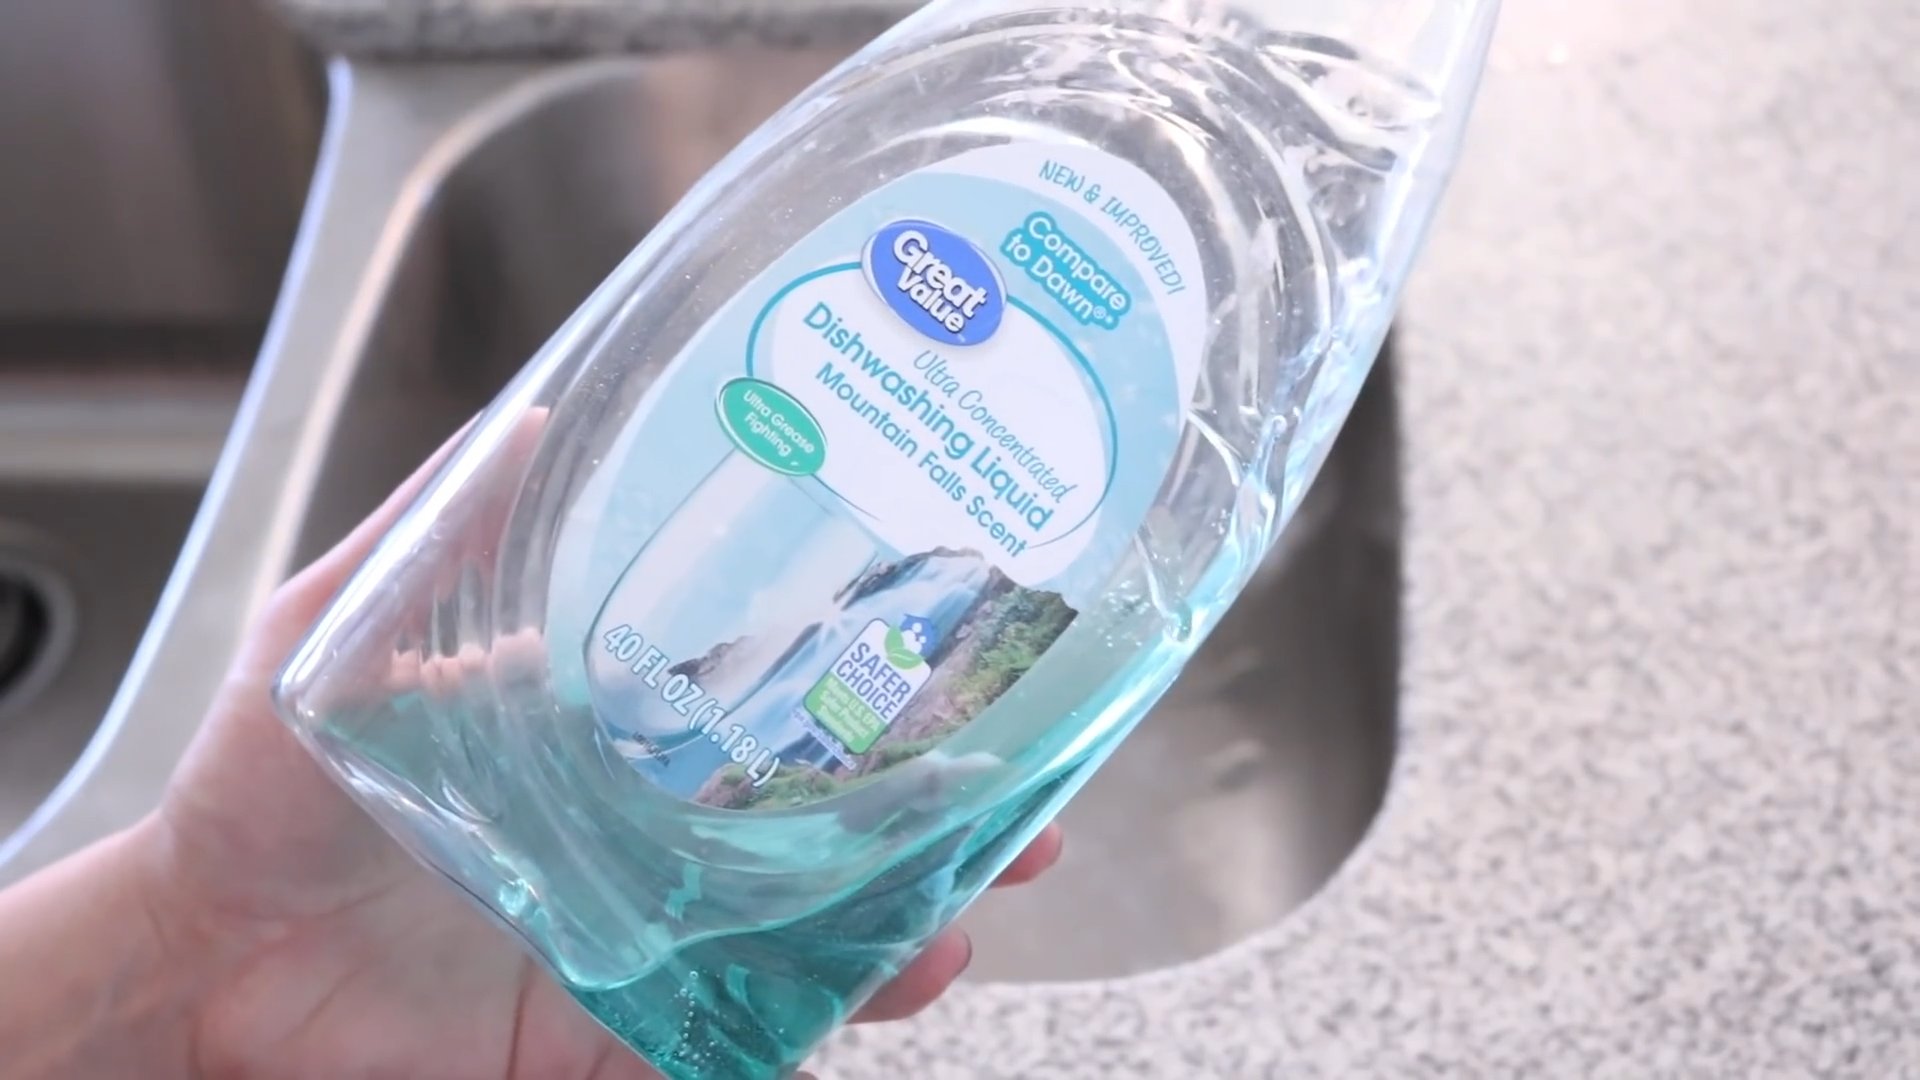
* Dish soap (I prefer a grease-cutting formula)
* An old toothbrush
* A non-abrasive sponge or microfiber cloth
* Lemon halves (optional, but they smell amazing!)
* Boiling water (be careful!)
* Rubber gloves (optional, but recommended if you have sensitive skin)
* Paper towels or a clean cloth for drying
Prepping Your Sink
Okay, let’s get this show on the road!
1. Clear the Deck: Remove everything from your sink – dishes, sponges, soap dispensers, the whole shebang. We want a clean slate to work with.
2. Rinse Away Loose Debris: Give your sink a good rinse with warm water to get rid of any loose food particles or grime. This will make the cleaning process much more effective.
The Baking Soda Scrub
This is where the magic begins! Baking soda is a fantastic natural abrasive that gently scrubs away stains and grime without scratching your sink.
1. Sprinkle Generously: Liberally sprinkle baking soda all over the surface of your sink, paying special attention to stained areas and around the drain. Don’t be shy – the more, the merrier!
2. Add a Dab of Dish Soap: Squirt a small amount of dish soap onto the baking soda. This will help create a paste and boost the cleaning power.
3. Scrub-a-dub-dub: Using your damp sponge or microfiber cloth, scrub the baking soda and dish soap mixture all over the sink. Apply a little pressure and work in circular motions. Focus on those stubborn stains and areas with built-up grime.
4. Toothbrush Time: Grab your old toothbrush and use it to scrub around the drain, faucet base, and any other hard-to-reach areas. The toothbrush is perfect for getting into those nooks and crannies.
The Vinegar Fizz
Now for the fun part! The vinegar reacts with the baking soda, creating a fizzing action that helps to loosen even more dirt and grime.
1. Vinegar Shower: Slowly pour white vinegar over the baking soda paste. Watch it fizz and bubble! This is a good sign – it means the vinegar is working its magic.
2. Let it Sit: Allow the vinegar and baking soda mixture to sit for about 5-10 minutes. This gives the fizzing action time to break down the grime.
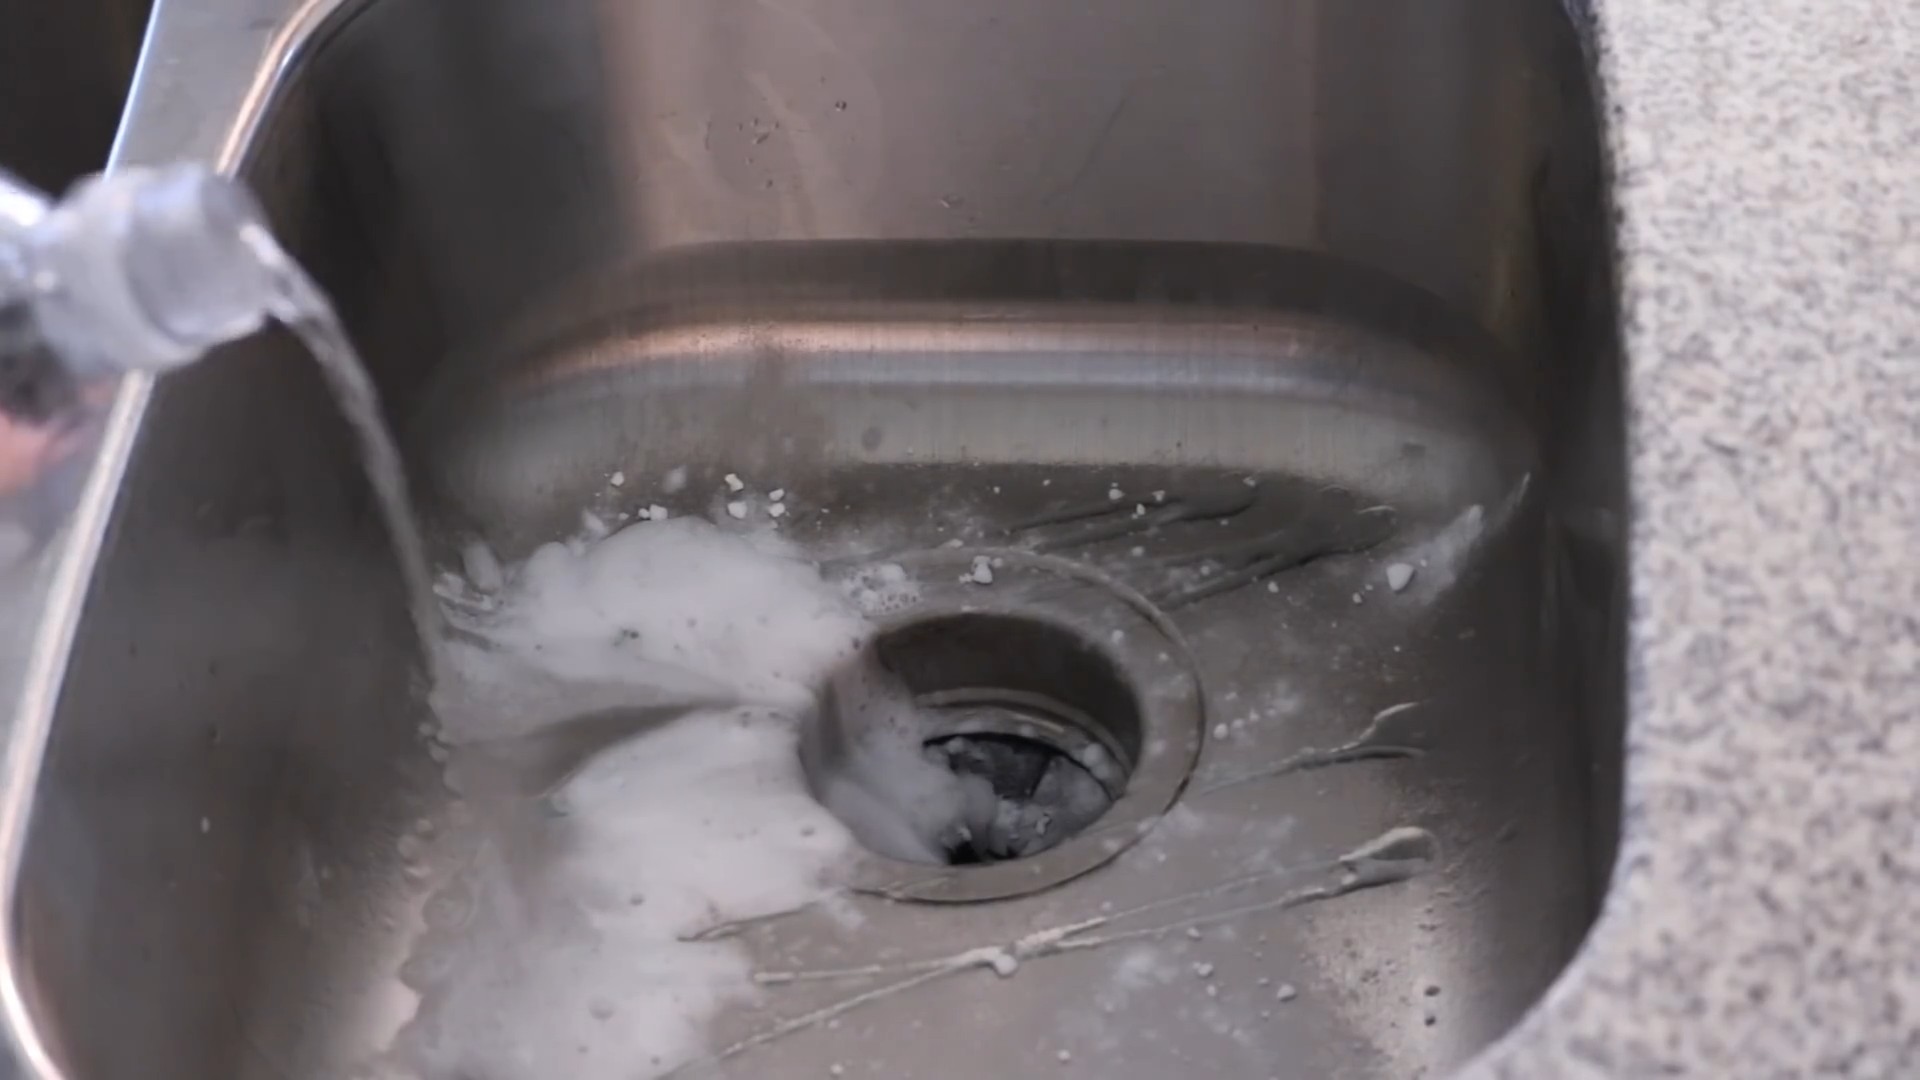
3. Rinse Thoroughly: Rinse the sink thoroughly with warm water, making sure to remove all traces of baking soda and vinegar.
Boiling Water Flush
This step is crucial for clearing out any lingering grease or debris in your drain.
1. Boil Water: Carefully boil a kettle or pot of water.
2. Pour Slowly: Slowly pour the boiling water down the drain. Be careful not to splash yourself! The boiling water will help to dissolve any grease or buildup in the drainpipe.
Lemon Freshness (Optional)
If you want to add a fresh, citrusy scent to your sink, this step is for you!
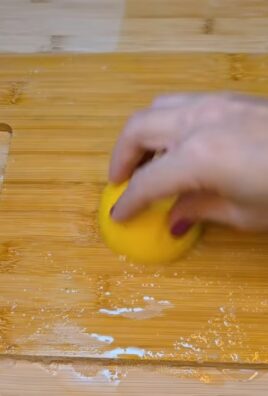
1. Lemon Halves: Cut a lemon in half.
2. Rub and Squeeze: Rub the cut side of the lemon halves all over the sink, squeezing gently to release the juice.
3. Rinse Again: Rinse the sink one last time with warm water.
Drying and Polishing
The final step is to dry and polish your sink to a sparkling shine.
1. Dry Thoroughly: Use paper towels or a clean cloth to dry the sink completely.
2. Polish (Optional): For stainless steel sinks, you can use a stainless steel cleaner and polisher to give it an extra shine. Follow the instructions on the product label.
Dealing with Stubborn Stains
Sometimes, you might encounter stubborn stains that just won’t budge with the baking soda and vinegar method. Don’t worry, I’ve got a few tricks up my sleeve!
* For Hard Water Stains: Hard water stains can be a real pain. Try soaking a paper towel in white vinegar and placing it over the stained area for about 30 minutes. Then, scrub with a non-abrasive sponge and rinse.
* For Rust Stains: Rust stains can be removed with a paste of baking soda and lemon juice. Apply the paste to the stain, let it sit for a few minutes, and then scrub.
* For Food Stains: For stubborn food stains, try using a paste of baking soda and hydrogen peroxide. Apply the paste to the stain, let it sit for a few minutes, and then scrub.
Maintaining Your Sparkling Sink
Now that you’ve got your sink looking its best, here are a few tips to keep it that way:
* Rinse After Each Use: Make it a habit to rinse your sink after each use to prevent food particles and grime from building up.
* Wipe Down Regularly: Wipe down your sink with a damp cloth and a little dish soap every day or two to keep it clean and shiny.
* Avoid Harsh Chemicals: Avoid using harsh chemicals or abrasive cleaners, as they can damage the surface of your sink.
* Protect Your Sink: Use a sink protector or grid to prevent scratches and dents from pots and pans.
* Clean Regularly: Repeat this deep cleaning process every week or two to keep your sink sparkling clean.
Troubleshooting
Sometimes, things don’t go exactly as planned. Here are a few common issues you might encounter and how to fix them:
* Baking Soda Residue: If you notice a white residue after rinsing, it’s likely baking soda. Simply rinse the sink again with warm water.
* Vinegar Smell: The vinegar smell should dissipate quickly. If it lingers, try rinsing the sink with lemon juice or essential oils.
* Scratches: If you accidentally scratch your sink, you can try using a stainless steel scratch repair kit (for stainless steel sinks) or a porcelain repair kit (for porcelain sinks).
Safety First!
Before I forget, let’s talk safety.
* Boiling Water: Be extremely careful when handling boiling water. Use oven mitts or pot holders to protect your hands and avoid splashing.
* Vinegar: While vinegar is generally safe, it can irritate sensitive skin. Wear rubber gloves if you have sensitive skin.
* Mixing Chemicals: Never mix vinegar with bleach, as this can create toxic fumes.
Alternative Cleaning Solutions
While I love the baking soda and vinegar method, there are other cleaning solutions you can use to clean your sink. Here are a few alternatives:
* Commercial Sink Cleaners: There are many commercial sink cleaners available on the market. Choose one that is specifically designed for your sink material.
* Borax: Borax is a natural mineral that can be used to clean and disinfect your sink. Mix borax with water to create a paste and scrub the sink.
* Cream of Tartar: Cream of tartar is a mild abrasive that can be used to remove stains from your sink. Mix cream of tartar with water to create a paste and scrub the sink.
Why This Method Works
So, why is this method so effective? It’s all about the combination of ingredients and their properties:
* Baking Soda: A mild abrasive that gently scrubs away stains and grime.
* Vinegar: An acid that helps to dissolve mineral deposits and break down grease.
* Dish Soap: A surfactant that helps to lift dirt and grime from the surface of the sink.
* Boiling Water: Helps to dissolve grease and flush out the drain.
My Personal Tips and Tricks
Over the years, I’ve learned a few extra tips and tricks that can help you get your sink even cleaner:
* Pre-Soak: For really dirty sinks, try pre-soaking them with a mixture of hot water and dish soap for about 30 minutes before cleaning.
* Magic Eraser: A magic eraser can be surprisingly effective at removing stubborn stains from your sink. Just be careful not to scrub too hard, as it can be abrasive.
* Essential Oils: Add a few drops of your favorite essential oil to the baking soda paste for a pleasant scent. Lavender, lemon, and tea tree oil are all great choices.
* Dry Immediately: Drying your sink immediately
Conclusion
So, there you have it! Transforming your cleaning routine with this simple, yet incredibly effective DIY trick to clean sink with dish soap is not just about achieving a sparkling clean sink; it’s about embracing a more sustainable, cost-effective, and ultimately, more satisfying approach to household chores. We’ve shown you how readily available dish soap, a staple in most kitchens, can be the key to unlocking a gleaming, grime-free sink without the need for harsh chemicals or expensive specialty cleaners.
But why is this DIY method a must-try? Firstly, it’s incredibly gentle on your sink’s surface. Unlike abrasive cleaners that can scratch and dull the finish, dish soap provides a thorough clean without compromising the integrity of your sink. Secondly, it’s incredibly effective at cutting through grease, food residue, and everyday grime that accumulates in your sink. The degreasing properties of dish soap are perfectly suited for tackling the common messes that plague our sinks daily. Thirdly, it’s economical! You’re likely already using dish soap, so you’re not adding another costly item to your cleaning supplies.
Beyond the basic method, there are several variations you can explore to customize your cleaning experience. For instance, for stubborn stains or hard water deposits, consider adding a paste of baking soda to the dish soap. The gentle abrasive action of baking soda will help lift away the grime without scratching. Another option is to add a few drops of your favorite essential oil to the dish soap for a refreshing and aromatic cleaning experience. Lemon, tea tree, and lavender oils are all excellent choices for their antibacterial and deodorizing properties. You can also experiment with different types of dish soap to find one that you particularly like. Some dish soaps are formulated with extra degreasing power, while others are designed to be gentle on sensitive skin.
Don’t just take our word for it, though. The real magic happens when you try this DIY trick for yourself. We encourage you to give it a whirl and witness the transformative power of dish soap on your sink. You’ll be amazed at how easily you can achieve a sparkling clean sink with just a few simple steps.
We’re confident that once you experience the effectiveness and simplicity of this DIY method, you’ll never look at cleaning your sink the same way again. It’s a game-changer that will save you time, money, and effort, all while contributing to a cleaner and healthier home.
So, grab your dish soap, a sponge, and a little elbow grease, and get ready to transform your sink from dull to dazzling. And most importantly, we want to hear about your experience! Share your before-and-after photos, your favorite variations, and any tips or tricks you discover along the way. Let’s create a community of sparkling clean sinks, one dish soap at a time! Share your experience on social media using #CleanSinkWithDishSoap and let us know how it worked for you! We can’t wait to see your results!
Frequently Asked Questions (FAQ)
1. What kind of dish soap is best for cleaning my sink?
The great thing about this DIY trick is that it’s incredibly versatile. Most standard dish soaps will work effectively for cleaning your sink. However, if you have particularly greasy or grimy sinks, you might want to opt for a dish soap that is specifically formulated for extra degreasing power. Look for labels that mention “grease-cutting” or “ultra-concentrated.” If you have sensitive skin, consider using a hypoallergenic or fragrance-free dish soap to avoid irritation. Ultimately, the best dish soap is the one that you find most effective and enjoyable to use.
2. Can I use this method on all types of sinks?
This DIY cleaning method is generally safe for most types of sinks, including stainless steel, porcelain, ceramic, and composite sinks. However, it’s always a good idea to test a small, inconspicuous area first, especially if you have a more delicate or unusual sink material. Avoid using abrasive scrub brushes or scouring pads, as these can scratch the surface of your sink, regardless of the material. For more delicate sinks, such as copper or natural stone, you may want to consult the manufacturer’s instructions for specific cleaning recommendations.
3. How often should I clean my sink using this method?
The frequency with which you clean your sink will depend on how often you use it and how messy it gets. As a general rule, it’s a good idea to give your sink a quick clean with dish soap and water every day or two to prevent the buildup of grime and bacteria. For a more thorough cleaning, you can use this DIY method once a week or as needed. If you notice any stubborn stains or hard water deposits, you may need to clean your sink more frequently.
4. What if I have hard water stains in my sink?
Hard water stains can be a common problem, especially in areas with hard water. If you’re struggling with hard water stains, you can try adding a solution of equal parts white vinegar and water to your sink after cleaning it with dish soap. Let the solution sit for a few minutes, then scrub gently with a non-abrasive sponge or cloth. Rinse thoroughly with water. For particularly stubborn hard water stains, you may need to repeat this process or use a commercial hard water stain remover.
5. Can I use bleach to clean my sink?
While bleach can be effective at disinfecting and whitening, it’s generally not recommended for regular sink cleaning. Bleach can be harsh and corrosive, and it can damage certain sink materials, such as stainless steel and porcelain. Additionally, mixing bleach with other cleaning products, such as ammonia, can create dangerous fumes. If you’re concerned about disinfecting your sink, you can use a diluted solution of hydrogen peroxide or a commercial disinfectant cleaner that is specifically designed for use on sinks.
6. How can I prevent my sink from getting dirty in the first place?
Prevention is always better than cure! There are several things you can do to prevent your sink from getting dirty in the first place. First, try to rinse your sink after each use to remove any food residue or spills. Second, avoid pouring grease or oil down the drain, as this can clog your pipes and create a breeding ground for bacteria. Instead, dispose of grease and oil in a separate container. Third, use a sink strainer to catch food particles and prevent them from going down the drain. Finally, wipe down your sink regularly with a damp cloth to remove any surface dirt or grime.
7. Is this DIY method safe for septic systems?
Yes, this DIY cleaning method is generally safe for septic systems. Dish soap is biodegradable and will not harm the bacteria in your septic tank. However, it’s important to use dish soap sparingly and avoid pouring large amounts of it down the drain. If you have any concerns about the impact of dish soap on your septic system, you can consult with a septic system professional.
8. What other uses does dish soap have for cleaning around the house?
Dish soap is a surprisingly versatile cleaning agent that can be used for a variety of tasks around the house. In addition to cleaning sinks, it can be used to clean dishes, countertops, floors, windows, and even laundry. Dish soap is also effective at removing grease stains from clothing and carpets. When using dish soap for cleaning other surfaces, be sure to dilute it with water and test a small, inconspicuous area first to ensure that it doesn’t damage the surface.
9. Can I add essential oils to my dish soap for extra cleaning power?
Adding essential oils to your dish soap can be a great way to boost its cleaning power and add a pleasant scent to your sink. Some essential oils, such as tea tree oil and lemon oil, have antibacterial and antifungal properties that can help to disinfect your sink. When adding essential oils to your dish soap, be sure to use pure, therapeutic-grade oils and add only a few drops at a time. Too much essential oil can be irritating to the skin and may not be effective at cleaning.
10. What if my sink has a bad odor?
If your sink has a bad odor, it could be due to a buildup of food residue or bacteria in the drain. To eliminate the odor, you can try pouring a cup of baking soda down the drain, followed by a cup of white vinegar. Let the mixture fizz for a few minutes, then flush with hot water. You can also try using a commercial drain cleaner or calling a plumber to clear any clogs in your drain. Regularly cleaning your sink with dish soap and water can also help to prevent bad odors from developing.
Leave a Comment