

Tomato growing routine can seem daunting, especially if you’re new to home gardening. But trust me, there’s nothing quite as satisfying as biting into a sun-ripened, juicy tomato that you’ve nurtured from a tiny seed! For centuries, tomatoes have been a staple in cuisines around the world, from the vibrant sauces of Italy to the refreshing salads of the Mediterranean. Originating in South America, these vibrant fruits (yes, they’re technically fruits!) have become a symbol of summer and fresh, homegrown goodness.
Are you tired of bland, store-bought tomatoes that lack that authentic, garden-fresh flavor? Do you dream of having a thriving tomato patch bursting with color and deliciousness? Well, you’re in the right place! This DIY guide is packed with simple yet effective tricks and hacks to help you master your tomato growing routine. I’ll share my secrets for everything from choosing the right varieties for your climate to preventing common tomato diseases.
Imagine impressing your friends and family with the most flavorful tomatoes they’ve ever tasted. With a little know-how and some elbow grease, you can transform your backyard into a tomato paradise. Let’s get started and unlock the secrets to a bountiful tomato harvest!
DIY Tomato Growing Routine: From Seed to Sauce!
Hey there, fellow gardeners! I’m so excited to share my tried-and-true tomato growing routine with you. I’ve spent years tweaking and perfecting this process, and I’m confident that it will help you yield a bumper crop of juicy, delicious tomatoes, no matter your experience level. Get ready to get your hands dirty!
Choosing Your Tomato Varieties
Before we even think about planting, let’s talk about tomato varieties. This is crucial because different tomatoes thrive in different climates and have different uses.
* Determinate vs. Indeterminate: This is the first big decision. Determinate tomatoes grow to a certain size and then produce all their fruit at once, making them ideal for canning. Indeterminate tomatoes, on the other hand, keep growing and producing fruit throughout the season. I personally prefer indeterminate varieties because I love having a continuous supply of fresh tomatoes.
* Heirloom vs. Hybrid: Heirloom tomatoes are open-pollinated varieties that have been passed down for generations. They often have unique flavors and colors, but they can be more susceptible to diseases. Hybrid tomatoes are bred for specific traits, such as disease resistance and higher yields. I usually grow a mix of both to get the best of both worlds.
* Consider Your Climate: If you live in a cooler climate, you’ll want to choose early-maturing varieties. If you have a long growing season, you can experiment with later-maturing varieties.
* Think About Your Use: Are you planning to make sauce? Grow Roma or San Marzano tomatoes. Do you want slicing tomatoes for sandwiches? Beefsteak or Brandywine are great choices. Cherry tomatoes are perfect for salads and snacking.
Starting Your Seeds Indoors (About 6-8 Weeks Before Last Frost)
Starting your seeds indoors gives you a head start on the growing season, especially if you live in a colder climate. I usually start my seeds in late February or early March.
1. Gather Your Supplies: You’ll need seed starting trays or small pots, seed starting mix (not regular potting soil!), tomato seeds, a spray bottle, and a grow light (optional, but highly recommended).
2. Prepare Your Seed Starting Mix: Moisten the seed starting mix with water until it’s damp but not soggy.
3. Sow Your Seeds: Fill your seed starting trays or pots with the moistened mix. Make a small indentation (about 1/4 inch deep) in the center of each cell or pot. Place 2-3 seeds in each indentation and cover them gently with the mix.
4. Water Gently: Use a spray bottle to mist the surface of the soil. Avoid overwatering, as this can lead to damping off (a fungal disease that kills seedlings).
5. Provide Warmth and Light: Place your seed starting trays or pots in a warm location (around 70-75°F). A heat mat can be helpful. If you’re using a grow light, position it a few inches above the trays and keep it on for 14-16 hours per day. If you don’t have a grow light, place the trays in a sunny window, but be sure to rotate them regularly to prevent the seedlings from leaning towards the light.
6. Keep the Soil Moist: Check the soil moisture daily and mist with water as needed to keep it damp but not soggy.
7. Thin Your Seedlings: Once the seedlings have their first true leaves (the second set of leaves), thin them to one seedling per cell or pot. Snip off the weaker seedlings at the soil line with scissors. Don’t pull them out, as this can disturb the roots of the remaining seedling.
Transplanting Your Seedlings Outdoors
This is a crucial step, and it’s important to do it right to ensure your seedlings thrive.
1. Harden Off Your Seedlings: About a week before you plan to transplant your seedlings outdoors, start hardening them off. This means gradually exposing them to outdoor conditions to acclimate them to the sun, wind, and temperature changes. Start by placing them outside for an hour or two each day in a sheltered location. Gradually increase the amount of time they spend outdoors each day, until they can tolerate a full day outside.
2. Choose a Sunny Location: Tomatoes need at least 6-8 hours of sunlight per day. Choose a location in your garden that gets plenty of sun.
3. Prepare the Soil: Tomatoes prefer well-drained soil that is rich in organic matter. Amend the soil with compost or well-rotted manure before planting. I also like to add a handful of bone meal to each planting hole to provide phosphorus, which promotes root growth.
4. Dig Your Planting Holes: Dig holes that are deep enough to bury the bottom third of the tomato plant’s stem. This encourages the plant to develop more roots along the buried stem, resulting in a stronger, healthier plant.
5. Plant Your Seedlings: Gently remove the seedlings from their pots or trays. If the roots are pot-bound (tightly circling the pot), gently loosen them before planting. Place the seedlings in the planting holes and backfill with soil.
6. Water Thoroughly: Water the seedlings thoroughly after planting.
7. Add Support: Tomatoes need support to prevent them from sprawling on the ground. Use stakes, cages, or trellises to support your plants. I prefer using tomato cages because they’re easy
Hey there, fellow gardeners! I’m so excited to share my tried-and-true tomato growing routine with you. I’ve spent years tweaking and perfecting this process, and I’m confident that it will help you yield a bumper crop of juicy, delicious tomatoes, no matter your experience level. Get ready to get your hands dirty!
Choosing Your Tomato Varieties
Before we even think about planting, let’s talk about tomato varieties. This is crucial because different tomatoes thrive in different climates and have different uses.
* Determinate vs. Indeterminate: This is the first big decision. Determinate tomatoes grow to a certain size and then produce all their fruit at once, making them ideal for canning. Indeterminate tomatoes, on the other hand, keep growing and producing fruit throughout the season. I personally prefer indeterminate varieties because I love having a continuous supply of fresh tomatoes.
* Heirloom vs. Hybrid: Heirloom tomatoes are open-pollinated varieties that have been passed down for generations. They often have unique flavors and colors, but they can be more susceptible to diseases. Hybrid tomatoes are bred for specific traits, such as disease resistance and higher yields. I usually grow a mix of both to get the best of both worlds.
* Consider Your Climate: If you live in a cooler climate, you’ll want to choose early-maturing varieties. If you have a long growing season, you can experiment with later-maturing varieties.
* Think About Your Use: Are you planning to make sauce? Grow Roma or San Marzano tomatoes. Do you want slicing tomatoes for sandwiches? Beefsteak or Brandywine are great choices. Cherry tomatoes are perfect for salads and snacking.
Starting Your Seeds Indoors (About 6-8 Weeks Before Last Frost)
Starting your seeds indoors gives you a head start on the growing season, especially if you live in a colder climate. I usually start my seeds in late February or early March.
1. Gather Your Supplies: You’ll need seed starting trays or small pots, seed starting mix (not regular potting soil!), tomato seeds, a spray bottle, and a grow light (optional, but highly recommended).
2. Prepare Your Seed Starting Mix: Moisten the seed starting mix with water until it’s damp but not soggy.
3. Sow Your Seeds: Fill your seed starting trays or pots with the moistened mix. Make a small indentation (about 1/4 inch deep) in the center of each cell or pot. Place 2-3 seeds in each indentation and cover them gently with the mix.
4. Water Gently: Use a spray bottle to mist the surface of the soil. Avoid overwatering, as this can lead to damping off (a fungal disease that kills seedlings).
5. Provide Warmth and Light: Place your seed starting trays or pots in a warm location (around 70-75°F). A heat mat can be helpful. If you’re using a grow light, position it a few inches above the trays and keep it on for 14-16 hours per day. If you don’t have a grow light, place the trays in a sunny window, but be sure to rotate them regularly to prevent the seedlings from leaning towards the light.
6. Keep the Soil Moist: Check the soil moisture daily and mist with water as needed to keep it damp but not soggy.
7. Thin Your Seedlings: Once the seedlings have their first true leaves (the second set of leaves), thin them to one seedling per cell or pot. Snip off the weaker seedlings at the soil line with scissors. Don’t pull them out, as this can disturb the roots of the remaining seedling.
Transplanting Your Seedlings Outdoors
This is a crucial step, and it’s important to do it right to ensure your seedlings thrive.
1. Harden Off Your Seedlings: About a week before you plan to transplant your seedlings outdoors, start hardening them off. This means gradually exposing them to outdoor conditions to acclimate them to the sun, wind, and temperature changes. Start by placing them outside for an hour or two each day in a sheltered location. Gradually increase the amount of time they spend outdoors each day, until they can tolerate a full day outside.
2. Choose a Sunny Location: Tomatoes need at least 6-8 hours of sunlight per day. Choose a location in your garden that gets plenty of sun.
3. Prepare the Soil: Tomatoes prefer well-drained soil that is rich in organic matter. Amend the soil with compost or well-rotted manure before planting. I also like to add a handful of bone meal to each planting hole to provide phosphorus, which promotes root growth.
4. Dig Your Planting Holes: Dig holes that are deep enough to bury the bottom third of the tomato plant’s stem. This encourages the plant to develop more roots along the buried stem, resulting in a stronger, healthier plant.
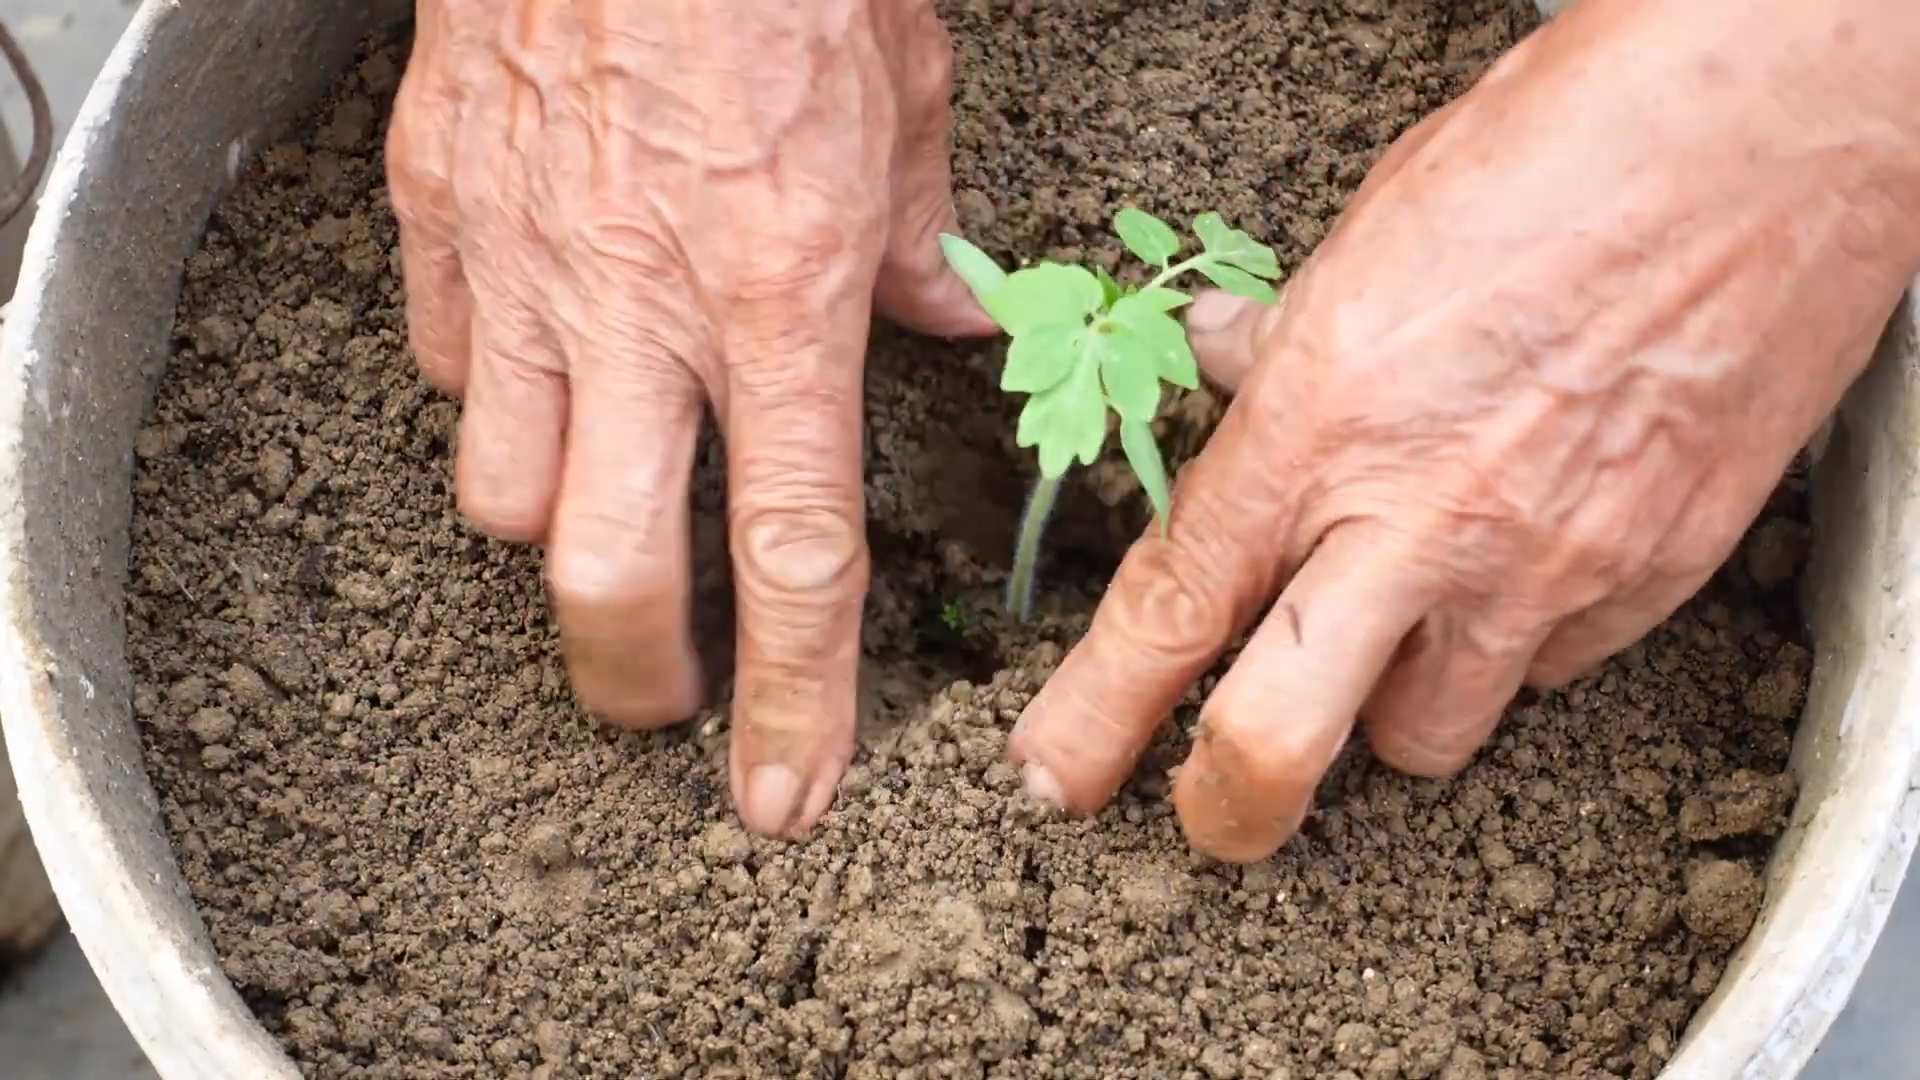
5. Plant Your Seedlings: Gently remove the seedlings from their pots or trays. If the roots are pot-bound (tightly circling the pot), gently loosen them before planting. Place the seedlings in the planting holes and backfill with soil.
6. Water Thoroughly: Water the seedlings thoroughly after planting.
7. Add Support: Tomatoes need support to prevent them from sprawling on the ground. Use stakes, cages, or trellises to support your plants. I prefer using tomato cages because they’re easy to install and provide good support.
8. Mulch: Apply a layer of mulch around the base of the plants to help retain moisture, suppress weeds, and regulate soil temperature. I like to use straw or shredded leaves.
Caring for Your Tomato Plants
Consistent care is key to a successful tomato harvest.
1. Watering: Water your tomato plants deeply and regularly, especially during hot, dry weather. Aim to water at the base of the plants to avoid wetting the foliage, which can lead to fungal diseases. I usually water every 2-3 days, depending on the weather.
2. Fertilizing: Tomatoes are heavy feeders and need regular fertilization. Use a balanced fertilizer (such as 10-10-10) or a tomato-specific fertilizer. Follow the instructions on the fertilizer package. I like to fertilize every 2-3 weeks. You can also use organic fertilizers like compost tea or fish emulsion.
3. Pruning: Pruning can help improve air circulation, reduce disease, and encourage fruit production. For indeterminate tomatoes, prune off the suckers that grow between the main stem and the branches. These suckers will eventually produce their own stems and fruit, but they will also compete with the main stem for resources. For determinate tomatoes, pruning is generally not necessary.
4. Pest and Disease Control: Keep an eye out for pests and diseases. Common tomato pests include aphids, tomato hornworms, and whiteflies. Common tomato diseases include early blight, late blight, and blossom end rot. If you spot any pests or diseases, take action immediately. You can use organic pest control methods, such as insecticidal soap or neem oil. For diseases, you can use copper fungicide or other appropriate treatments. Prevention is key, so make sure to provide good air circulation, avoid overwatering, and remove any diseased leaves promptly.
5. Blossom End Rot Prevention: Blossom end rot, a dark, sunken spot on the bottom of the tomato, is caused by a calcium deficiency. To prevent it, ensure consistent watering and add calcium to the soil. Crushed eggshells or bone meal can help.
6. Sunscald Prevention: In extremely hot weather, tomatoes can suffer from sunscald, appearing as white or yellow patches on the fruit. Provide shade during the hottest part of the day with shade cloth or by strategically placing other plants.
Harvesting Your Tomatoes
The moment we’ve all been waiting for!
1. When to Harvest: Tomatoes are ripe when they are fully colored and slightly soft to the touch. The color will depend on the variety you’re growing.
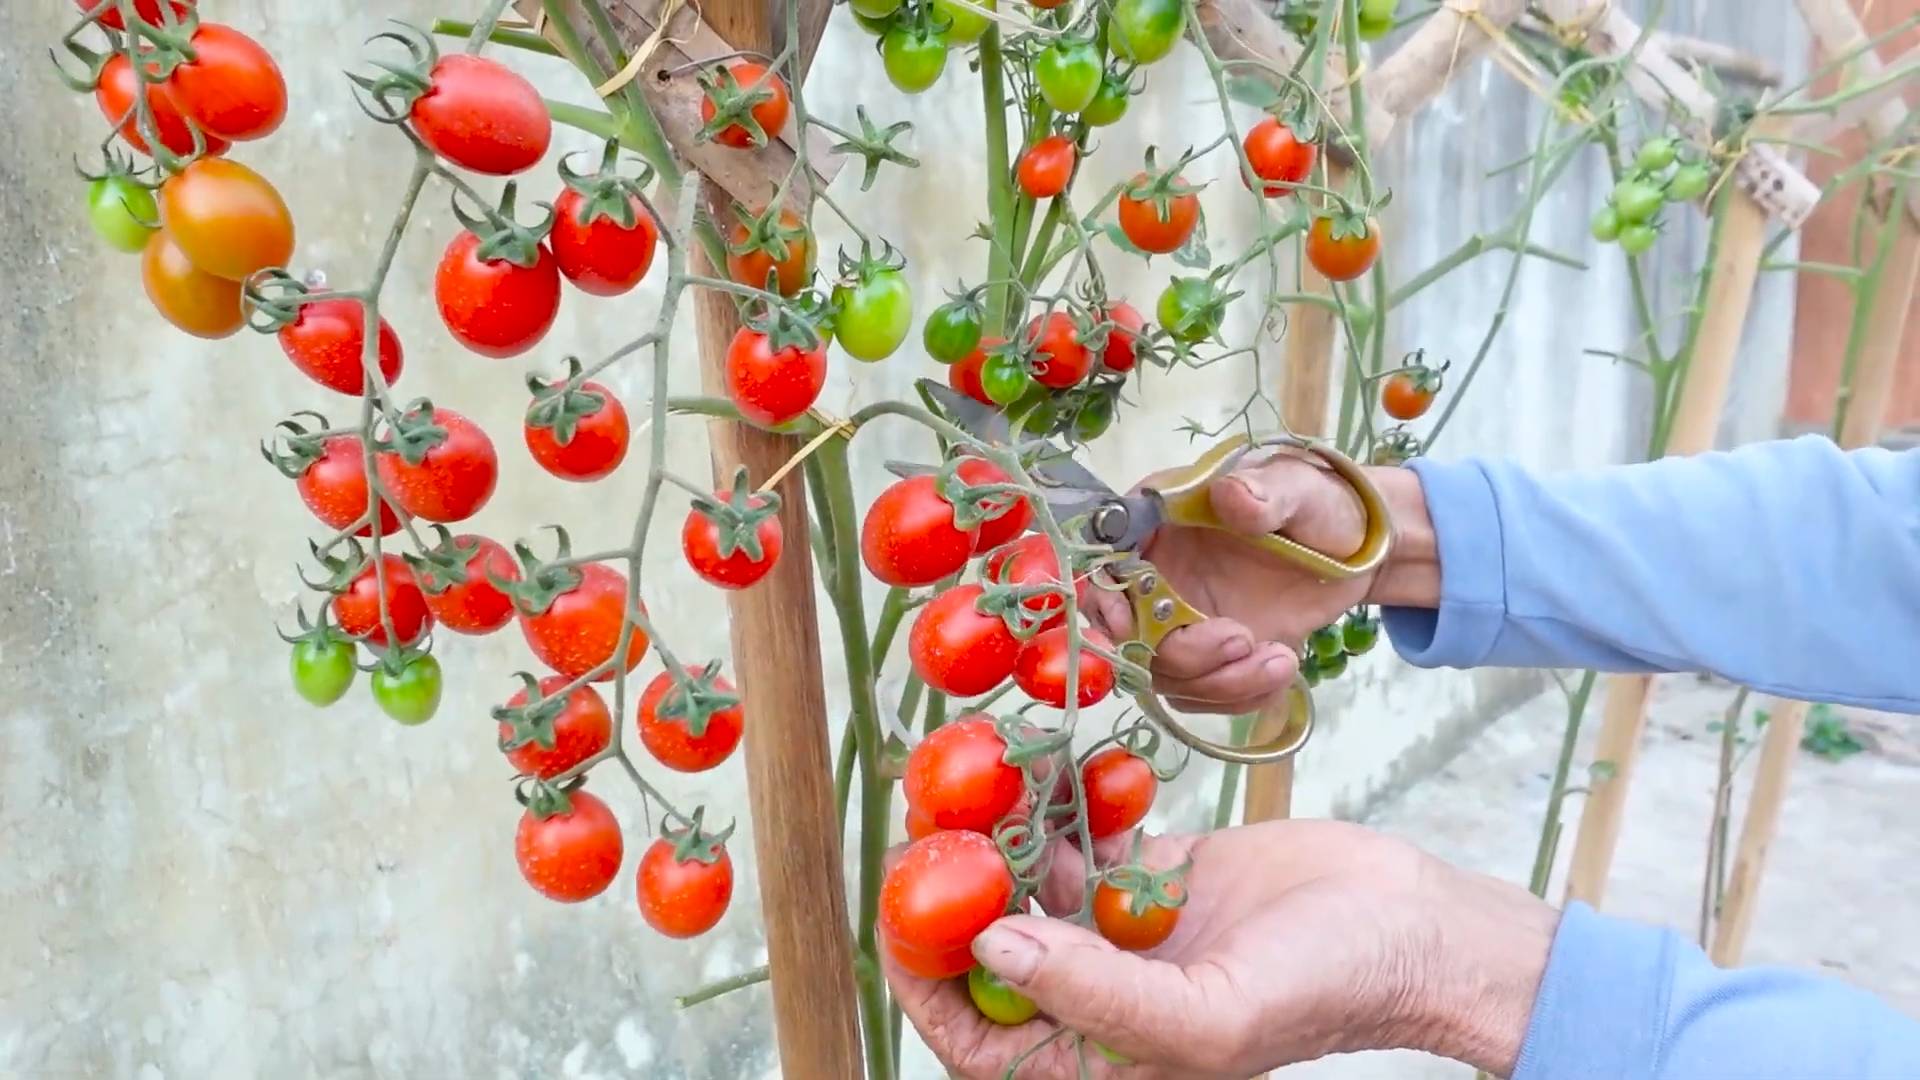
2. How to Harvest: Gently twist the tomato off the vine. If it doesn’t come off easily, use pruning shears to cut the stem just above the tomato.
3. Storing Your Tomatoes: Store your tomatoes at room temperature, away from direct sunlight. Refrigerating tomatoes can affect their flavor and texture. If you have a lot of tomatoes, you can freeze them, can them, or make sauce.
Troubleshooting Common Tomato Problems
Even with the best care, you might encounter some problems. Here are a few common issues and how to address them:
* Yellowing Leaves: This can be caused by a variety of factors, including nutrient deficiencies, overwatering, or disease. Check the soil moisture and nutrient levels. If the leaves are yellowing from the bottom up, it could be a nitrogen deficiency.
* Curling Leaves: This can be caused by heat stress, drought, or pests. Make sure your plants are getting enough water and provide shade during the hottest part of the day. Check for pests and treat accordingly.
* Cracked Tomatoes:
Conclusion
So, there you have it! Transforming your tomato growing routine with this simple yet incredibly effective DIY trick is more than just a gardening hack; it’s an investment in healthier, more productive plants and a more rewarding gardening experience. We’ve walked you through the process, highlighting the benefits and offering practical tips to ensure your success. But why is this a must-try?
Firstly, it’s about maximizing your yield. By implementing this technique, you’re essentially giving your tomato plants a supercharge, enabling them to absorb nutrients more efficiently and develop stronger root systems. This translates directly into more abundant and flavorful tomatoes. Imagine the satisfaction of harvesting baskets overflowing with juicy, sun-ripened fruits, all thanks to a simple adjustment to your routine.
Secondly, it’s about promoting plant health. A robust root system is the foundation of a healthy plant. This DIY trick helps to prevent common tomato plant problems like blossom end rot and nutrient deficiencies, leading to stronger, more resilient plants that are better equipped to withstand pests and diseases. You’ll spend less time troubleshooting problems and more time enjoying the fruits (literally!) of your labor.
Thirdly, it’s about sustainability. By optimizing nutrient uptake, you’re reducing the need for excessive fertilizers, which can be harmful to the environment. This approach aligns with a more eco-conscious gardening philosophy, allowing you to grow delicious tomatoes while minimizing your environmental impact.
But the beauty of this DIY trick lies in its adaptability. Feel free to experiment with variations to suit your specific needs and preferences. For example, if you’re growing tomatoes in containers, you might consider adjusting the frequency of application based on the size of the pot. Or, if you’re using different types of fertilizer, you can tailor the concentration to match the specific nutrient requirements of your tomato variety. Consider adding beneficial microbes to the soil to further enhance nutrient absorption. Some gardeners have found success by incorporating compost tea into their watering routine, providing an extra boost of organic nutrients. Others have experimented with different types of organic matter, such as worm castings or aged manure, to enrich the soil and improve its water-holding capacity.
Don’t be afraid to get creative and personalize this technique to fit your unique gardening style. The key is to observe your plants closely and adjust your approach based on their response. Remember, gardening is a journey of learning and experimentation, and there’s no one-size-fits-all solution.
We are confident that this DIY trick will revolutionize your tomato growing routine. It’s a simple, effective, and sustainable way to achieve healthier, more productive plants and enjoy a bountiful harvest. So, what are you waiting for? Give it a try and see the difference for yourself!
We’re eager to hear about your experiences. Share your results, tips, and variations in the comments below. Let’s create a community of tomato-growing enthusiasts who are passionate about maximizing their yields and growing the best tomatoes possible. Your insights could inspire others and help them achieve their gardening goals. Happy gardening!
Frequently Asked Questions (FAQ)
What exactly *is* this DIY trick for improving my tomato growing routine?
This DIY trick focuses on optimizing nutrient uptake by improving the soil conditions around your tomato plants. It typically involves amending the soil with organic matter, ensuring proper drainage, and providing a consistent supply of nutrients throughout the growing season. The specific techniques may vary, but the underlying principle is to create an environment that promotes healthy root growth and efficient nutrient absorption.
How often should I apply this DIY trick to my tomato plants?
The frequency of application depends on several factors, including the type of soil, the size of the plant, and the type of fertilizer you’re using. As a general guideline, you can start by applying the DIY trick every 2-3 weeks during the active growing season. However, it’s essential to observe your plants closely and adjust the frequency based on their response. If you notice signs of nutrient deficiency, such as yellowing leaves or stunted growth, you may need to increase the frequency of application. Conversely, if you see signs of over-fertilization, such as leaf burn or excessive vegetative growth, you may need to reduce the frequency.
What kind of organic matter should I use for this DIY trick?
There are many different types of organic matter that you can use to improve your tomato growing routine. Some popular options include compost, aged manure, worm castings, and leaf mold. Compost is a great all-around choice, as it provides a balanced supply of nutrients and improves soil structure. Aged manure is rich in nitrogen, which is essential for healthy plant growth. Worm castings are a slow-release fertilizer that also contains beneficial microbes. Leaf mold is a good source of carbon and helps to improve soil drainage. Choose the type of organic matter that best suits your needs and preferences.
Can I use this DIY trick for other plants besides tomatoes?
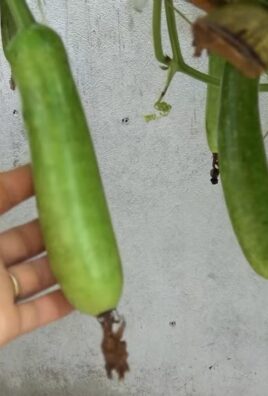
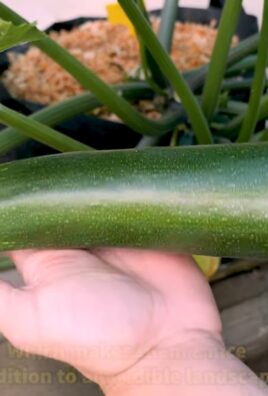
Yes, this DIY trick can be adapted for use with other plants that benefit from improved nutrient uptake and soil conditions. Vegetables like peppers, eggplants, and cucumbers are also heavy feeders and can benefit from this technique. However, it’s important to adjust the specific techniques and materials based on the needs of the particular plant. For example, some plants may prefer a more acidic soil, while others may prefer a more alkaline soil. Research the specific requirements of the plants you’re growing and adjust your approach accordingly.
What if I don’t have access to organic matter? Are there any alternatives?
If you don’t have access to organic matter, you can still improve your tomato growing routine by using other techniques. For example, you can use a commercial fertilizer that is specifically formulated for tomatoes. Choose a fertilizer that contains a balanced blend of nitrogen, phosphorus, and potassium, as well as micronutrients like calcium and magnesium. You can also improve soil drainage by adding perlite or vermiculite to the soil. These materials help to create air pockets in the soil, which allows water to drain more easily.
How do I know if this DIY trick is working? What are the signs of success?
There are several signs that this DIY trick is working. First, you should notice that your tomato plants are growing more vigorously and producing more leaves. Second, you should see an increase in the number of flowers and fruits. Third, the fruits should be larger and more flavorful. Finally, your plants should be more resistant to pests and diseases. If you observe these signs, you can be confident that this DIY trick is improving your tomato growing routine.
Is there a risk of over-fertilizing my tomato plants with this DIY trick?
Yes, there is a risk of over-fertilizing your tomato plants if you’re not careful. Over-fertilization can lead to leaf burn, excessive vegetative growth, and reduced fruit production. To avoid over-fertilization, it’s important to follow the instructions on the fertilizer label carefully. You should also monitor your plants closely for signs of over-fertilization and adjust your approach accordingly. If you’re using organic matter, it’s less likely that you’ll over-fertilize your plants, as organic matter releases nutrients slowly over time.
What if I live in an area with poor soil? Can this DIY trick still help?
Yes, this DIY trick can be particularly helpful if you live in an area with poor soil. By amending the soil with organic matter, you can improve its structure, drainage, and nutrient content. This will create a more favorable environment for your tomato plants to grow and thrive. You may need to apply the DIY trick more frequently in areas with poor soil, as the soil may not be able to retain nutrients as well.
Can I use this DIY trick in containers as well as in the ground?
Absolutely! This DIY trick is highly adaptable and works wonderfully for container-grown tomatoes. The principles remain the same: improve soil quality, ensure good drainage, and provide consistent nutrients. However, you’ll need to adjust the application frequency and amounts based on the size of your container. Container soil tends to dry out and deplete nutrients faster than garden soil, so more frequent applications might be necessary. Also, be mindful of the type of potting mix you use. Choose a high-quality potting mix that’s specifically designed for vegetables and amend it with organic matter like compost or worm castings.
What are some common mistakes to avoid when trying this DIY trick?
One common mistake is using too much fertilizer, which can lead to nutrient burn. Always follow the instructions on the fertilizer label and start with a smaller amount than recommended. Another mistake is neglecting soil drainage. Tomatoes need well-drained soil to prevent root rot. Make sure your soil is loose and well-aerated, and avoid overwatering. Finally, don’t forget to monitor your plants regularly for signs of nutrient deficiencies or pests and diseases. Early detection and treatment can prevent serious problems and ensure a successful harvest.
Leave a Comment