

Cleaning tricks for neat freaks, rejoice! Are you tired of battling dust bunnies and grime, feeling like your home is constantly waging war against your inner peace? I understand! As a fellow neat freak, I know the struggle is real. But what if I told you there’s a better way? A way to conquer clutter and banish blemishes without spending hours scrubbing or breaking the bank on expensive cleaning products?
The pursuit of a spotless home isn’t just a modern obsession. Throughout history, cultures have valued cleanliness for its connection to health, well-being, and even spirituality. From ancient Roman bathhouses to meticulously maintained Japanese homes, the desire for a clean and organized living space is deeply ingrained in the human psyche. Now, we’re bringing that age-old desire into the modern era with clever DIY solutions.
This article is your ultimate guide to unlocking the secrets of a sparkling clean home using simple, effective, and often surprising cleaning tricks for neat freaks. We’ll delve into DIY hacks that will transform your cleaning routine from a chore into a satisfying accomplishment. Imagine having more free time, less stress, and a home that truly reflects your commitment to cleanliness. Ready to dive in and discover the power of these game-changing cleaning hacks? Let’s get started!
DIY Cleaning Hacks for the Ultimate Neat Freak
Okay, fellow cleanliness enthusiasts! I know the struggle. You want a spotless home, but sometimes, the usual cleaning routines just don’t cut it. That’s why I’ve compiled some of my absolute favorite DIY cleaning hacks that will take your neat-freak game to the next level. Get ready to be amazed!
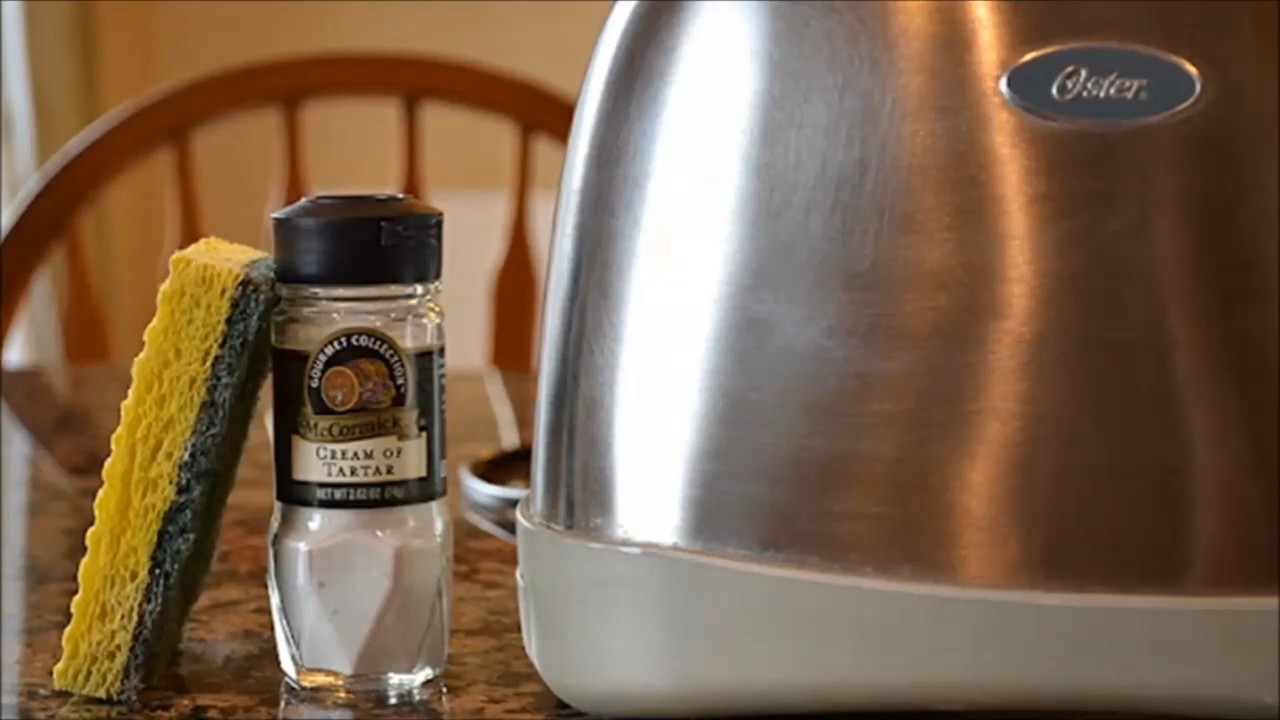
Cleaning Your Microwave Like a Pro
Microwaves – they’re lifesavers, but also magnets for splatters and grime. Forget harsh chemicals; this method uses the power of steam and lemon!
What you’ll need:
* 1 cup of water
* 1 tablespoon of white vinegar
* 1/2 lemon, sliced
* Microwave-safe bowl
* Sponge or cloth
Step-by-step instructions:
1. Prepare the Cleaning Solution: In your microwave-safe bowl, combine the water, white vinegar, and lemon slices. The lemon not only adds a pleasant scent but also helps to loosen stubborn food particles.
2. Microwave the Solution: Place the bowl in the microwave and heat on high for 3-5 minutes, or until the solution boils and the microwave is filled with steam. The steam is crucial for softening the grime.
3. Let it Sit: Don’t open the microwave immediately! Let the steam work its magic for another 5-10 minutes. This allows the condensation to loosen even more of the baked-on food.
4. Wipe it Clean: Carefully remove the bowl (it will be hot!). Use a sponge or cloth to wipe down the interior of the microwave. You’ll be surprised how easily the grime comes off. For stubborn spots, you can use the lemon slices as a gentle scrubber.
5. Final Touches: Wipe down the microwave door and exterior with a clean, damp cloth. Now, step back and admire your sparkling clean microwave!
Reviving Your Grout: A Baking Soda Paste Miracle
Dirty grout can make even the cleanest tiles look dingy. This baking soda paste is a natural and effective way to brighten your grout lines.
What you’ll need:
* 1/2 cup baking soda
* 1/4 cup white vinegar (or enough to form a paste)
* Old toothbrush or grout brush
* Spray bottle with water
* Paper towels or cloth
Step-by-step instructions:
1. Make the Paste: In a small bowl, mix the baking soda and white vinegar until you form a thick paste. It will fizz a bit, which is perfectly normal.
2. Apply the Paste: Using the old toothbrush or grout brush, apply the baking soda paste liberally to the grout lines. Make sure to cover the entire area you want to clean.
3. Let it Sit: Allow the paste to sit on the grout for at least 5-10 minutes. For heavily soiled grout, you can let it sit for up to 30 minutes.
4. Scrub, Scrub, Scrub: Using the toothbrush or grout brush, scrub the grout lines vigorously. You’ll see the dirt and grime start to lift.
5. Rinse and Wipe: Spray the area with water to rinse away the baking soda paste. Use paper towels or a cloth to wipe the area clean and dry. You might need to rinse and wipe a few times to remove all the residue.
6. Repeat if Necessary: For particularly stubborn stains, you may need to repeat the process.
Cleaning Your Showerhead for Optimal Water Pressure
A clogged showerhead can significantly reduce water pressure and make showering less enjoyable. This simple vinegar soak will dissolve mineral buildup and restore your showerhead to its former glory.
What you’ll need:
* White vinegar
* Plastic bag (gallon-sized works well)
* Rubber band or twist tie
* Old toothbrush or small brush
Step-by-step instructions:
1. Fill the Bag with Vinegar: Pour enough white vinegar into the plastic bag to completely submerge the showerhead.
2. Attach the Bag to the Showerhead: Carefully position the bag over the showerhead, ensuring that the showerhead is fully immersed in the vinegar. Use the rubber band or twist tie to secure the bag tightly around the showerhead neck.
3. Soak Overnight: Let the showerhead soak in the vinegar overnight (or for at least several hours). This allows the vinegar to dissolve the mineral deposits that are clogging the showerhead.
4. Remove the Bag and Scrub: Remove the bag and discard the vinegar. Use the old toothbrush or small brush to scrub away any remaining mineral deposits from the showerhead’s nozzles.
5. Rinse and Test: Turn on the shower and let the water run for a few minutes to flush out any remaining vinegar and loosened debris. Check the water pressure to see if it has improved. If necessary, repeat the process.
Deodorizing Your Garbage Disposal: Lemon and Ice Power
A smelly garbage disposal can stink up your entire kitchen. This simple trick uses lemon and ice to clean and deodorize your disposal.
What you’ll need:
* 1 cup of ice cubes
* Lemon or lime peels (from 1-2 fruits)
* Water
Step-by-step instructions:
1. Prepare the Ingredients: Gather your ice cubes and lemon or lime peels. The citrus peels will help to freshen the disposal, while the ice helps to scrub away food particles.
2. Turn on the Cold Water: Run a steady stream of cold water into the garbage disposal.
3. Add the Ice and Citrus Peels: Slowly add the ice cubes and citrus peels to the running disposal. The ice will help to dislodge any stuck-on food, and the citrus peels will release their fragrant oils.
4. Turn on the Disposal: Turn on the garbage disposal and let it run for about 30 seconds to a minute. The ice and citrus peels will grind together, cleaning and deodorizing the disposal.
5. Rinse Thoroughly: Turn off the disposal and continue running the cold water for another minute to flush out any remaining debris.
Cleaning Your Blinds Without the Hassle
Cleaning blinds can be a tedious task, but this sock trick makes it much easier and faster.
What you’ll need:
* Old sock (clean!)
* White vinegar
* Water
* Bowl
Step-by-step instructions:
1. Prepare the Cleaning Solution: In a bowl, mix equal parts white vinegar and water.
2. Dampen the Sock: Turn the sock inside out and slip it onto your hand like a glove. Dip the sock-covered hand into the cleaning solution and wring out any excess liquid. The sock should be damp, not dripping wet.
3. Clean the Blinds: Pinch each slat of the blind between your thumb and forefinger (with the sock-covered hand) and wipe from one end to the other. The sock will trap the dust and dirt.
4. Rinse and Repeat: If the sock becomes too dirty, rinse it out in the cleaning solution and wring it out again. Continue cleaning the blinds, one slat at a time, until they are all clean.
5. Dry the Blinds: Allow the blinds to air dry completely. You can also use a clean, dry cloth to wipe them down if you want to speed up the drying process.
Removing Hard Water Stains from Faucets and Showerheads
Hard water stains can leave unsightly deposits on your faucets and showerheads. This vinegar soak is a simple and effective way to remove them.
What you’ll need:
* White vinegar
* Paper towels or cloth
* Spray bottle (optional)
Step-by-step instructions:
1. Soak Paper Towels in Vinegar: Soak paper towels or a cloth in white vinegar.
2. Wrap the Faucet or Showerhead: Wrap the vinegar-soaked paper towels or cloth around the faucet or showerhead, ensuring that the hard water stains are completely covered.
3. Let it Sit: Let the vinegar-soaked paper towels or cloth sit on the faucet or showerhead for at least 30 minutes, or even longer for stubborn stains. You can also spray the area with vinegar using a spray bottle to keep it moist.
4. Scrub and Rinse: Remove the paper towels or cloth and scrub the faucet or showerhead with a sponge or cloth. The hard water stains should come off easily.
5. Rinse Thoroughly: Rinse the faucet or showerhead thoroughly with water to remove any remaining vinegar residue.
Cleaning Burnt Food from Pots and Pans
Burnt food in pots and pans is a common kitchen mishap. This baking soda and vinegar method can help you salvage your cookware.
What you’ll need:
* Baking soda
* White vinegar
* Water
* Scrub sponge or scouring pad
Step-
Conclusion
So, there you have it! This DIY cleaning trick isn’t just another fleeting trend; it’s a game-changer for anyone who values a sparkling clean home without resorting to harsh chemicals or breaking the bank. We’ve shown you how simple it is to create an effective and eco-friendly cleaning solution using ingredients you likely already have in your pantry. The benefits extend beyond just cleanliness; you’re contributing to a healthier environment and saving money in the long run.
But why is this particular DIY cleaning trick a must-try? Because it’s incredibly versatile. It’s not just for one specific surface or type of mess. You can use it on countertops, in the bathroom, even to pre-treat laundry stains. Its gentle yet effective formula makes it safe for most surfaces, giving you peace of mind while you clean. Plus, the satisfaction of creating something useful and effective with your own two hands is an added bonus!
Looking for variations? Absolutely! For a boost of disinfecting power, add a few drops of tea tree oil or eucalyptus oil. These essential oils not only enhance the cleaning properties but also leave behind a refreshing, natural scent. If you’re dealing with stubborn grease, a little bit of dish soap can be added to the mix. And for those who prefer a thicker consistency, consider adding a small amount of cornstarch to create a paste that’s perfect for tackling tough stains.
We understand that trying something new can sometimes feel daunting, but we promise this DIY cleaning trick is worth the effort. It’s easy to make, effective in its cleaning power, and gentle on the environment. It’s a win-win-win!
We wholeheartedly encourage you to give this DIY cleaning trick a try. Experiment with the variations, find what works best for your home and your cleaning needs, and most importantly, share your experience with us! Let us know how it worked for you, any modifications you made, and the amazing results you achieved. Your feedback will not only help us refine the recipe but also inspire others to embrace the power of DIY cleaning.
Don’t just take our word for it; experience the difference for yourself. Embrace the simplicity, the effectiveness, and the eco-friendliness of this fantastic cleaning solution. You’ll be amazed at how easy it is to achieve a sparkling clean home with just a few simple ingredients and a little bit of elbow grease. So, grab your supplies, get mixing, and get ready to transform your cleaning routine! We are confident that this DIY cleaning trick will become a staple in your home.
Frequently Asked Questions (FAQ)
What exactly makes this DIY cleaning trick so effective?
The effectiveness of this DIY cleaning trick lies in the synergistic action of its ingredients. For example, vinegar is a natural disinfectant and degreaser, while baking soda is a mild abrasive that helps to scrub away grime. When combined, they create a powerful cleaning solution that can tackle a wide range of messes. The specific ingredients and their ratios will determine the cleaning power, so it’s important to follow the recipe closely. Furthermore, the absence of harsh chemicals means it’s safer for your family and the environment.
Is this DIY cleaning solution safe for all surfaces?
While this DIY cleaning solution is generally safe for most surfaces, it’s always a good idea to test it in an inconspicuous area first, especially on delicate materials like marble, granite, or wood. Avoid using it on surfaces that are sensitive to acids, such as natural stone, as vinegar can etch or damage them. For painted surfaces, ensure the paint is properly sealed and test a small area to prevent discoloration. When in doubt, consult the manufacturer’s instructions for the specific surface you’re cleaning.
Can I use different essential oils in this recipe?
Absolutely! Feel free to experiment with different essential oils to customize the scent and enhance the cleaning properties of your DIY solution. Lavender, lemon, and orange essential oils are popular choices for their pleasant aromas and antibacterial properties. Tea tree oil is a great option for its disinfecting power, while peppermint oil can help to repel insects. Just be sure to use pure, therapeutic-grade essential oils for the best results. Remember to use essential oils sparingly, as a little goes a long way.
How long will this DIY cleaning solution last?
The shelf life of your DIY cleaning solution will depend on the ingredients you use. Generally, a solution made with vinegar and water will last for several months when stored in a cool, dark place. However, if you add fresh ingredients like lemon peels or herbs, the solution may only last for a week or two. To extend the shelf life, consider adding a natural preservative like grapefruit seed extract. Always label your DIY cleaning solution with the date it was made so you know when to discard it.
What if I don’t have all the ingredients listed in the recipe?
Don’t worry if you’re missing a few ingredients. You can often substitute them with similar alternatives. For example, if you don’t have white vinegar, you can use apple cider vinegar instead. If you don’t have baking soda, you can use washing soda, although it’s more alkaline and should be used with caution. If you’re missing essential oils, you can simply omit them or use a different fragrance. The key is to experiment and find what works best for you.
How do I store this DIY cleaning solution?
Store your DIY cleaning solution in a clean, airtight container, such as a spray bottle or a glass jar. Label the container clearly with the name of the solution and the date it was made. Keep the container in a cool, dark place away from direct sunlight and heat. This will help to prevent the ingredients from degrading and extend the shelf life of the solution. Avoid storing the solution in metal containers, as the vinegar can react with the metal and cause corrosion.
Can I use this DIY cleaning solution on my clothes?
Yes, this DIY cleaning solution can be used as a pre-treatment for laundry stains. Simply spray the solution onto the stain and let it sit for a few minutes before washing as usual. However, it’s important to test the solution on an inconspicuous area of the fabric first to ensure it doesn’t cause any discoloration or damage. Avoid using the solution on delicate fabrics like silk or wool. For best results, use the solution on fresh stains rather than old, set-in stains.
What are some other uses for this DIY cleaning solution?
This DIY cleaning solution is incredibly versatile and can be used for a variety of cleaning tasks around the home. You can use it to clean countertops, sinks, toilets, showers, floors, and windows. It’s also great for removing soap scum, hard water stains, and mildew. You can even use it to clean your microwave, oven, and dishwasher. The possibilities are endless! Just be sure to test the solution on an inconspicuous area first to ensure it’s safe for the surface you’re cleaning.
What if the DIY cleaning trick doesn’t work for me?
While this DIY cleaning trick is effective for most people, it may not work for everyone. If you’re not seeing the results you expected, try adjusting the recipe or using a different cleaning method. You may need to increase the concentration of the ingredients or use a more abrasive scrubbing tool. It’s also important to consider the type of mess you’re trying to clean. Some messes may require a stronger cleaning solution or a more specialized cleaning technique. Don’t be afraid to experiment and find what works best for you.

Leave a Comment