

Stain Remover DIY Scrub: Are you tired of battling stubborn stains that laugh in the face of your regular detergents? I know I am! It feels like a never-ending war against coffee spills, grass stains, and mysterious marks that appear out of nowhere. But what if I told you there’s a secret weapon hiding in your pantry, ready to be unleashed?
For generations, resourceful homemakers have relied on homemade remedies to tackle tough cleaning challenges. Before the age of mass-produced cleaning products, creating your own solutions was not just economical, it was a necessity! These time-tested recipes, passed down through families, often proved more effective and gentler than their store-bought counterparts. Think of it as a return to our roots, embracing the wisdom of those who came before us.
That’s why I’m so excited to share this incredible stain remover DIY scrub recipe with you. Not only is it incredibly effective on a wide range of stains, but it’s also budget-friendly and uses ingredients you likely already have on hand. Say goodbye to harsh chemicals and hello to a natural, powerful cleaning solution that will leave your fabrics and surfaces looking brand new. This DIY trick will save you money, reduce your reliance on potentially harmful chemicals, and give you the satisfaction of knowing you’re creating a cleaner, healthier home for yourself and your family. Let’s get scrubbing!
DIY Stain Remover Scrub: Banishing Blemishes Like a Boss!
Okay, friends, let’s talk stains. We’ve all been there, right? That moment of horror when a rogue coffee splash lands on your favorite white shirt, or your kid decides to “redecorate” the carpet with marker. Fear not! I’m going to share my go-to, super-effective DIY stain remover scrub that’s gentle on fabrics but tough on grime. This recipe uses ingredients you probably already have in your pantry, making it budget-friendly and convenient. Let’s get scrubbing!
What You’ll Need: The Stain-Fighting Arsenal
Before we dive in, let’s gather our supplies. This is a simple recipe, so you won’t need a ton of fancy equipment.
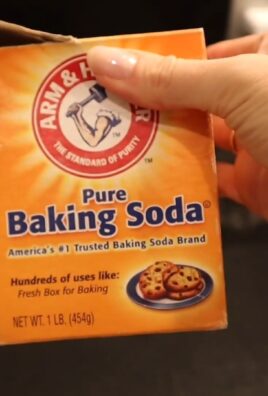
* Baking Soda: This is our main abrasive agent. It’s mildly alkaline, which helps to lift stains and deodorize.
* Hydrogen Peroxide (3%): A gentle bleaching agent that’s safe for most fabrics. Always test in an inconspicuous area first!
* Dish Soap (Dawn is my favorite!): Cuts through grease and helps to emulsify the stain.
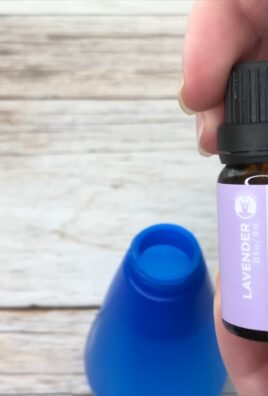
* Essential Oil (Optional, but recommended): Adds a pleasant scent and can boost cleaning power. Lemon, tea tree, or lavender are great choices.
* Small Bowl: For mixing our scrub.
* Spoon or Spatula: For stirring and applying the scrub.
* Soft-Bristled Brush or Old Toothbrush: For gently scrubbing the stain.
* Clean Cloth or Sponge: For blotting and rinsing.
* Gloves (Optional): To protect your hands, especially if you have sensitive skin.
Mixing the Magic: Creating the Stain Remover Scrub
Now for the fun part! We’re going to whip up our stain-fighting concoction. The key is to get the consistency just right – a thick paste that will cling to the stain.
1. Measure the Baking Soda: In your small bowl, add 1/2 cup of baking soda. This forms the base of our scrub.
2. Add the Hydrogen Peroxide: Slowly pour in 1/4 cup of hydrogen peroxide. As you add it, you’ll notice the baking soda starts to fizz. That’s a good thing! It means the ingredients are reacting and getting ready to work their magic.
3. Drizzle in the Dish Soap: Add about 1 tablespoon of dish soap. I prefer Dawn because it’s known for its grease-cutting power, but any dish soap will do in a pinch.
4. Essential Oil Boost (Optional): If you’re using essential oil, add 5-10 drops. I love lemon for its fresh scent and extra cleaning power. Tea tree is great for its antibacterial properties, and lavender is calming and smells divine.
5. Mix it Up: Using your spoon or spatula, gently mix all the ingredients together. You want to create a thick, spreadable paste. If the mixture is too dry, add a little more hydrogen peroxide, a teaspoon at a time, until you reach the desired consistency. If it’s too runny, add a little more baking soda.
6. Check the Consistency: The final scrub should be thick enough to hold its shape but still easy to spread. It should resemble a thick frosting.
Stain-Fighting Action: Applying and Removing the Scrub
Alright, we’ve got our scrub, now let’s tackle those pesky stains! Remember, it’s always a good idea to test the scrub on an inconspicuous area of the fabric first to ensure it doesn’t cause any discoloration.
1. Prepare the Stained Area: If the stain is wet, blot it with a clean cloth or paper towel to remove any excess liquid. If the stain is dry, you can lightly dampen the area with water.
2. Apply the Scrub: Using your spoon or spatula, apply a generous amount of the stain remover scrub directly onto the stain. Make sure the stain is completely covered.
3. Gentle Scrubbing: Using your soft-bristled brush or old toothbrush, gently scrub the stain in a circular motion. Don’t scrub too hard, as this could damage the fabric. The goal is to work the scrub into the fibers of the fabric.
4. Let it Sit: This is the waiting game. Allow the scrub to sit on the stain for at least 30 minutes. For tougher stains, you can let it sit for up to an hour or even overnight. The longer it sits, the more time the ingredients have to break down the stain.
5. Rinse and Blot: After the waiting period, rinse the treated area thoroughly with cool water. Make sure all the scrub is removed.
6. Blot Dry: Use a clean cloth or sponge to blot the area dry. Avoid rubbing, as this can spread the stain.
7. Inspect and Repeat (If Necessary): Take a look at the treated area. If the stain is gone, great! If not, repeat the process. Sometimes, stubborn stains require a second or even third application.
8. Launder as Usual: Once you’re satisfied that the stain is gone (or significantly faded), launder the item as usual. Be sure to check the garment care label for specific washing instructions.
9. Air Dry: It’s always a good idea to air dry the item after treating a stain. This allows you to inspect it one last time before putting it in the dryer. If any trace of the stain remains, you can repeat the process before drying. Heat from the dryer can set the stain, making it more difficult to remove later.
Tackling Specific Stains: A Few Extra Tips
While this scrub is pretty versatile, here are a few extra tips for dealing with specific types of stains:
* Grease Stains: For grease stains, pretreat with a sprinkle of cornstarch or baking soda to absorb excess oil before applying the scrub.
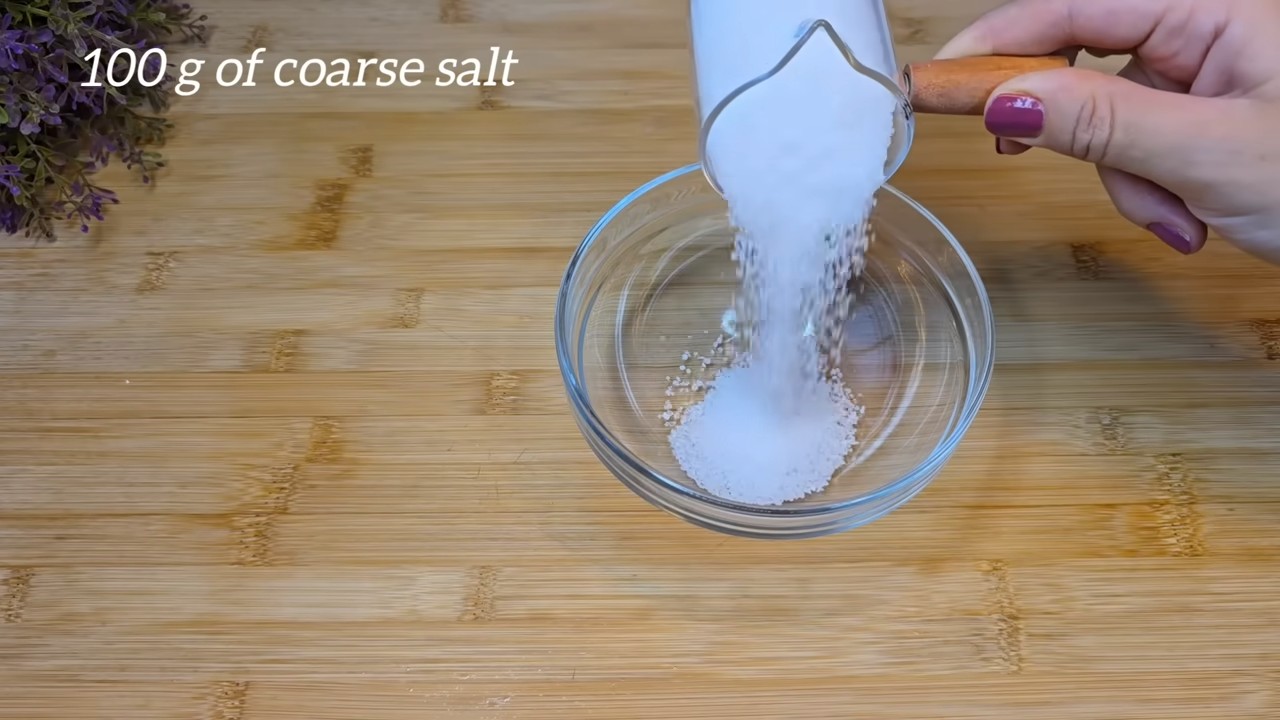
* Red Wine Stains: Act fast! Blot up as much wine as possible, then cover the stain with salt to absorb the remaining liquid. After the salt has absorbed the wine, vacuum it up and then apply the scrub.
* Coffee Stains: Coffee stains can be tricky. Try soaking the stained area in cold water for 30 minutes before applying the scrub.
* Ink Stains: For ink stains, try dabbing the stain with rubbing alcohol before applying the scrub.
* Blood Stains: Always use cold water for blood stains. Hot water can set the stain. Soak the stained area in cold water for 30 minutes before applying the scrub.
* Grass Stains: Grass stains can be tough to remove. Try pretreating the stain with a mixture of vinegar and water before applying the scrub.
Important Considerations: Safety First!
While this scrub is generally safe for most fabrics, it’s important to keep a few things in mind:
* Always Test First: As I mentioned before, always test the scrub on an inconspicuous area of the fabric before applying it to the stain. This will help you ensure that it doesn’t cause any discoloration or damage.
* Avoid Using on Delicate Fabrics: This scrub may be too harsh for delicate fabrics like silk or lace. If you’re unsure, consult a professional cleaner.
* Don’t Mix with Bleach: Never mix this scrub with bleach, as this can create harmful fumes.
* Store Properly: Store any leftover scrub in an airtight container in a cool, dark place. It should last for several weeks.
* Keep Out of Reach of Children and Pets: As with any cleaning product, keep this scrub out of reach of children and pets.
Why This Scrub Works: The Science Behind the Stain Removal
So, what makes this scrub so effective? It’s all about the combination of ingredients and their unique properties:
* Baking Soda: As a mild abrasive, baking soda helps to lift stains and scrub away dirt and grime. It also has deodorizing properties, which can help to eliminate odors associated with the stain.
* Hydrogen Peroxide: Hydrogen peroxide is a gentle bleaching agent that helps to break down stains and lighten discoloration. It’s also an effective disinfectant.
* Dish Soap: Dish soap is a surfactant, which means it helps to reduce the surface tension of water, allowing it to penetrate the stain more effectively. It also helps to emulsify grease and oil, making them easier to remove.
* Essential Oil: Essential oils can add a boost of cleaning power and a pleasant scent. Some essential oils, like lemon and tea tree, have antibacterial and antifungal properties.
Beyond Stains: Other Uses for This Scrub
While this scrub is primarily designed for stain removal, it can also be used for other cleaning tasks around the house:
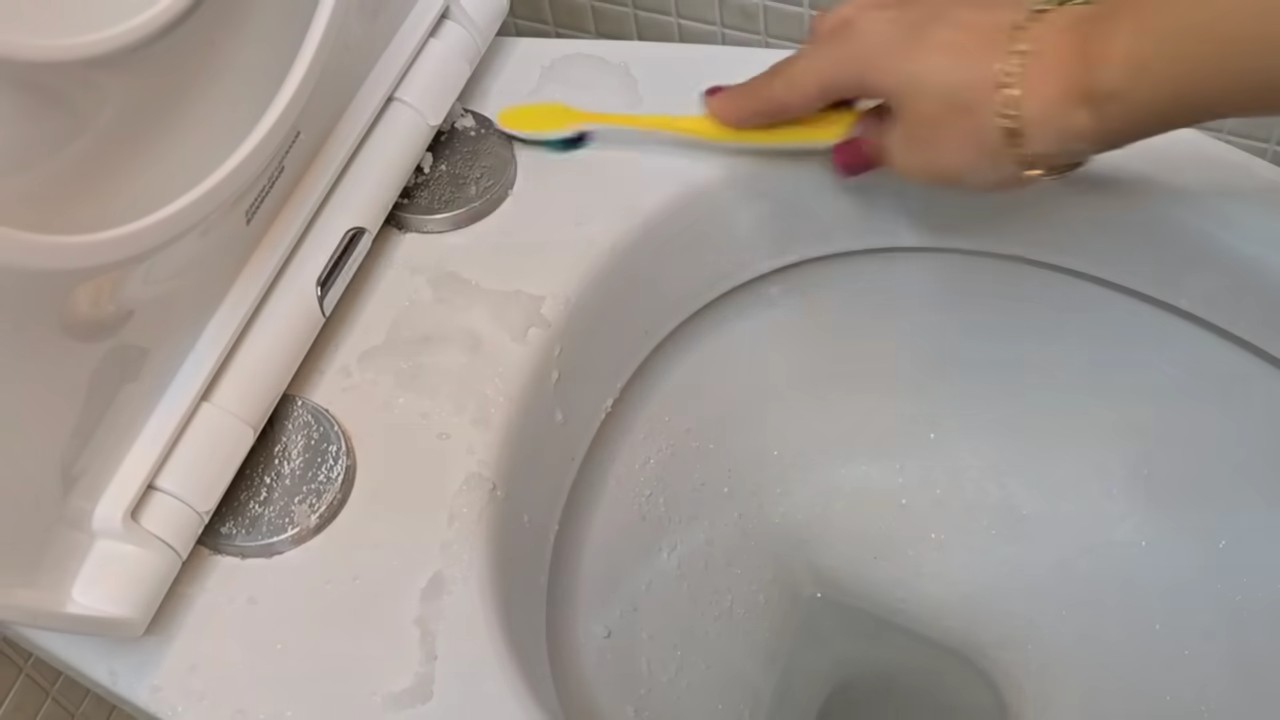
* Cleaning Grout: This scrub is great for cleaning grout in bathrooms and kitchens. Apply the scrub to the grout lines, let it sit for a few minutes, then scrub with a brush and rinse.
Conclusion
So, there you have it! This simple, yet incredibly effective, Stain Remover DIY Scrub is more than just a cleaning solution; it’s a game-changer for anyone battling stubborn stains. We’ve all been there, staring down a seemingly impossible mark on our favorite shirt, rug, or countertop, wondering if it’s destined to be a permanent fixture. But with just a few common household ingredients, you can create a powerful scrub that tackles those stains head-on, saving you money and the frustration of relying on harsh chemicals.
Why is this DIY trick a must-try? Because it’s not only cost-effective and environmentally friendly, but it’s also remarkably versatile. Unlike many commercial stain removers that are formulated for specific types of stains or surfaces, this scrub can be adapted to suit a wide range of cleaning needs. From grease splatters in the kitchen to mud stains on your kids’ clothes, this scrub is ready to take on the challenge.
But the best part? You’re in control. You know exactly what’s going into your cleaning solution, avoiding potentially harmful chemicals and fragrances that can irritate sensitive skin or trigger allergies. Plus, the satisfaction of creating something yourself that actually works is incredibly rewarding.
Looking for variations? Absolutely! For extra-tough stains, consider adding a tablespoon of hydrogen peroxide to the mix. Just be sure to test it on an inconspicuous area first to ensure it doesn’t discolor the fabric or surface. For a more pleasant scent, you can add a few drops of your favorite essential oil, like lemon or lavender. These not only add a refreshing aroma but can also boost the cleaning power of the scrub. Another variation is to use washing soda instead of baking soda for an even more powerful cleaning punch, especially effective on greasy stains. Remember to wear gloves when using washing soda, as it can be a bit harsher on the skin.
We’re confident that once you try this Stain Remover DIY Scrub, you’ll be amazed by its effectiveness and versatility. It’s a simple, affordable, and eco-friendly way to keep your home clean and stain-free.
So, what are you waiting for? Gather your ingredients, mix up a batch, and put this scrub to the test! We’re eager to hear about your experiences. Share your before-and-after photos, your favorite variations, and any tips or tricks you discover along the way. Let’s build a community of stain-fighting experts and help each other keep our homes looking their best! Don’t forget to tag us in your social media posts so we can see your amazing results! We believe in the power of shared knowledge and the joy of DIY, and we can’t wait to see how this scrub transforms your cleaning routine. Happy scrubbing!
FAQ
What types of stains is this DIY scrub most effective on?
This DIY stain remover scrub is effective on a wide range of stains, including grease, oil, dirt, mud, food stains (like tomato sauce and coffee), and even some ink stains. Its versatility makes it a great all-purpose cleaner for various surfaces and fabrics. However, for set-in stains or particularly stubborn marks, you may need to repeat the application or try a variation with added hydrogen peroxide or washing soda. Always test on an inconspicuous area first, especially on delicate fabrics or surfaces.
Can I use this scrub on all types of fabrics?
While this scrub is generally safe for most fabrics, it’s always best to test it on an inconspicuous area first to ensure it doesn’t cause any discoloration or damage. Avoid using it on delicate fabrics like silk or velvet without testing, and be extra cautious with colored fabrics, as some ingredients may cause fading. For delicate fabrics, consider diluting the scrub with water or using a gentler variation with less abrasive ingredients.
How long should I leave the scrub on the stain before rinsing?
The amount of time you leave the scrub on the stain will depend on the severity of the stain. For light stains, a few minutes may be sufficient. For more stubborn stains, you can leave it on for up to 30 minutes. However, it’s important to check the area periodically to ensure the scrub isn’t damaging the fabric or surface. Don’t let the scrub dry completely, as this can make it more difficult to remove.
Is this scrub safe to use on kitchen countertops?
Yes, this scrub can be used on many kitchen countertops, including granite, quartz, and laminate. However, avoid using it on marble or other porous surfaces, as the abrasive nature of the baking soda could scratch the surface. Always test on an inconspicuous area first to ensure it doesn’t cause any damage. For countertops, apply the scrub gently and rinse thoroughly with water.
Can I store the leftover scrub for later use?
Yes, you can store the leftover scrub in an airtight container for later use. It’s best to store it in a cool, dry place to prevent it from drying out or clumping. The scrub should last for several weeks, but it’s always a good idea to check its consistency before using it again. If it has dried out, you can add a little water to restore its original texture.
What if the stain doesn’t come out after the first application?
If the stain doesn’t come out after the first application, don’t give up! Try repeating the process, or consider using a variation of the scrub with added hydrogen peroxide or washing soda. You can also try pre-treating the stain with a stain remover spray before applying the scrub. For particularly stubborn stains, you may need to soak the item in a solution of water and baking soda or washing soda overnight before scrubbing.
Is this scrub safe for septic systems?
Yes, this scrub is generally safe for septic systems, as it’s made with natural ingredients that are biodegradable. However, it’s always a good idea to use it sparingly and avoid flushing large amounts of the scrub down the drain at once.
Can I use this scrub on my car’s interior?
Yes, you can use this scrub on your car’s interior, but be very careful and test it on an inconspicuous area first. Avoid using it on leather or suede, as it could damage these materials. For fabric upholstery, apply the scrub gently and rinse thoroughly with water. Use a clean cloth to blot the area dry.
What are the benefits of using a DIY stain remover scrub compared to commercial products?
There are several benefits to using a DIY stain remover scrub compared to commercial products. First, it’s more cost-effective, as you’re using ingredients you likely already have on hand. Second, it’s more environmentally friendly, as you’re avoiding harsh chemicals and plastic packaging. Third, you have more control over the ingredients, which is especially important if you have allergies or sensitivities. Finally, it’s a fun and rewarding way to clean your home!
Can I add essential oils to this scrub? What are the best essential oils to use?
Yes, you can definitely add essential oils to this scrub! Not only will they add a pleasant scent, but some essential oils also have antibacterial and cleaning properties. Some of the best essential oils to use include lemon, lavender, tea tree, eucalyptus, and peppermint. Lemon oil is great for cutting through grease, lavender oil has a calming scent and antibacterial properties, tea tree oil is a powerful disinfectant, eucalyptus oil is effective against mold and mildew, and peppermint oil has a refreshing scent and can help deter pests. Add a few drops of your favorite essential oil to the scrub and mix well. Remember to store the scrub in an airtight container to preserve the scent of the essential oils.

Leave a Comment