

Grow Bok Choy Indoors? Absolutely! Imagine fresh, crisp, vibrant bok choy gracing your dinner table, even when the snow is falling outside. Forget those sad-looking, wilted greens at the grocery store – with a few simple tricks, you can cultivate your own miniature bok choy farm right in your home.
For centuries, bok choy has been a staple in Asian cuisine, revered not only for its delicious flavor but also for its nutritional benefits. From stir-fries to soups, this versatile vegetable has nourished families and communities. Now, you can bring that tradition into your own home, regardless of your outdoor space.
But why bother with growing bok choy indoors? Well, for starters, it’s incredibly rewarding! There’s something deeply satisfying about nurturing a plant from seed to harvest. Plus, you have complete control over the growing environment, ensuring your bok choy is free from pesticides and other harmful chemicals. More importantly, learning how to grow bok choy indoors extends your growing season and provides you with fresh, healthy greens year-round. I’m excited to share some easy DIY tricks and hacks that will have you harvesting your own bok choy in no time! Let’s get started!
Growing Bok Choy Indoors: A Beginner’s Guide
Hey there, fellow plant enthusiasts! Ever thought about growing your own fresh, crisp bok choy right in your kitchen? It’s easier than you might think, and trust me, nothing beats the flavor of homegrown veggies. I’m going to walk you through everything you need to know to successfully cultivate bok choy indoors, from seed to harvest. Let’s get started!
What You’ll Need
Before we dive into the nitty-gritty, let’s gather our supplies. Here’s a checklist of everything you’ll need to grow bok choy indoors:
- Bok Choy Seeds: Choose a variety that’s well-suited for indoor growing. Dwarf varieties tend to do best.
- Seed Starting Tray or Small Pots: These will be used to germinate your seeds.
- Seed Starting Mix: A light, well-draining mix is crucial for healthy seedlings.
- Larger Pots (6-8 inches in diameter): Once your seedlings are big enough, they’ll need to be transplanted into larger pots.
- Potting Soil: A good quality potting mix that retains moisture but also drains well is ideal.
- Grow Lights: Bok choy needs plenty of light, so grow lights are essential, especially if you don’t have a sunny windowsill.
- Watering Can or Spray Bottle: For gentle watering.
- Fertilizer: A balanced liquid fertilizer will help your bok choy thrive.
- Spray Bottle: For misting the leaves and controlling pests.
Getting Started: Sowing Your Seeds
The first step is to get those seeds germinating! Here’s how I do it:
- Prepare Your Seed Starting Tray: Fill your seed starting tray or small pots with seed starting mix. Gently pat it down to remove any air pockets.
- Sow the Seeds: Sprinkle a few seeds (2-3) into each cell or pot. Bok choy seeds are small, so don’t bury them too deep. About ¼ inch is perfect.
- Cover the Seeds: Lightly cover the seeds with more seed starting mix.
- Water Gently: Use a spray bottle to mist the soil until it’s evenly moist. Avoid overwatering, as this can lead to rot.
- Create a Humid Environment: Cover the seed starting tray with a clear plastic lid or plastic wrap to create a humid environment. This will help the seeds germinate.
- Place in a Warm Location: Place the tray in a warm location, ideally around 70-75°F (21-24°C). A heat mat can be helpful if your home is cooler.
- Monitor Germination: Keep the soil moist and check for germination daily. Bok choy seeds typically germinate within 5-7 days.
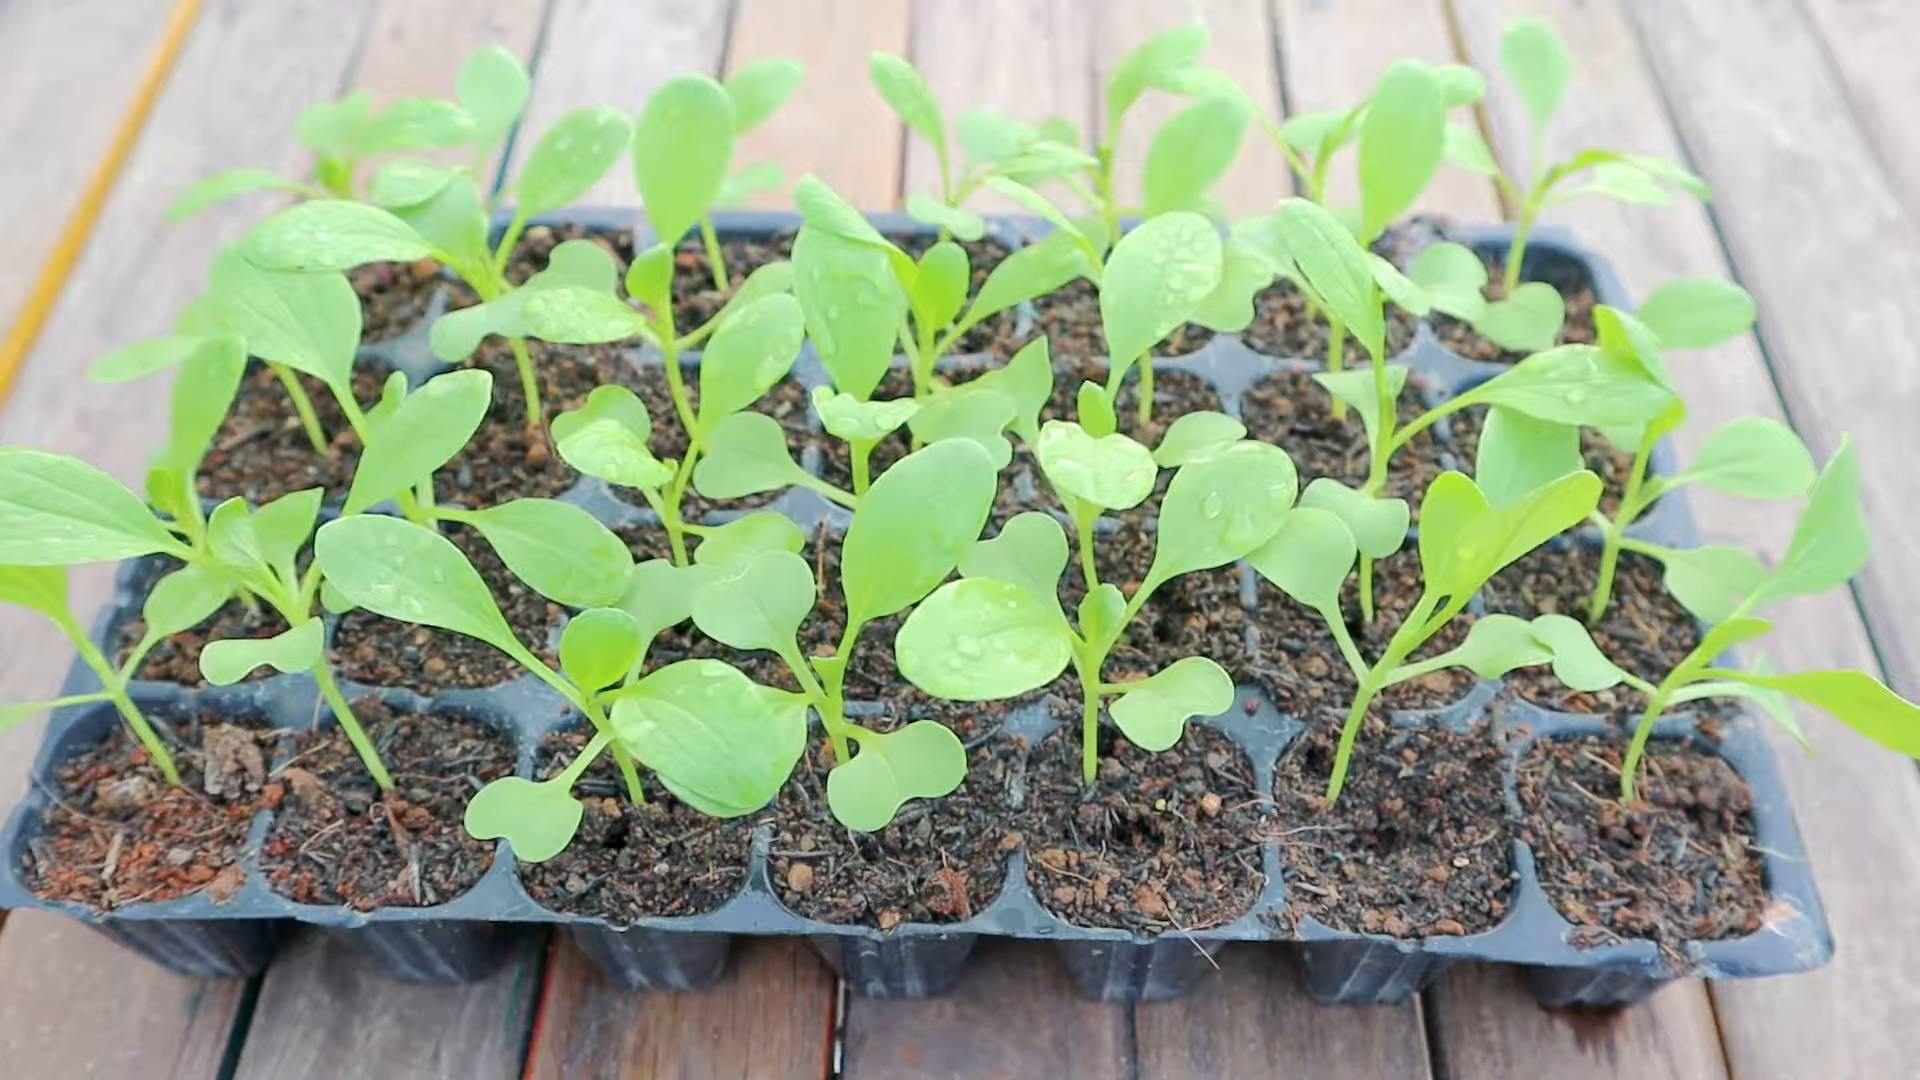
Nurturing Your Seedlings
Once your seeds have sprouted, it’s time to give those little seedlings some extra TLC.
- Remove the Cover: Once the seedlings emerge, remove the plastic lid or wrap to allow for better air circulation.
- Provide Adequate Light: Place the seedlings under grow lights. Position the lights a few inches above the seedlings and keep them on for 12-14 hours per day. If you’re using a windowsill, choose the sunniest one you have. Rotate the tray regularly to ensure even growth.
- Water Carefully: Water the seedlings when the top inch of soil feels dry to the touch. Avoid overwatering, as this can lead to damping off, a fungal disease that can kill young seedlings.
- Thin the Seedlings: Once the seedlings have developed their first true leaves (the second set of leaves), thin them out, leaving only the strongest seedling in each cell or pot. You can gently snip off the weaker seedlings at the soil line.
Transplanting Your Bok Choy
When your seedlings are about 3-4 inches tall and have a few sets of true leaves, it’s time to transplant them into larger pots.
- Prepare Your Pots: Fill your larger pots (6-8 inches in diameter) with potting soil. Leave about an inch of space at the top of the pot.
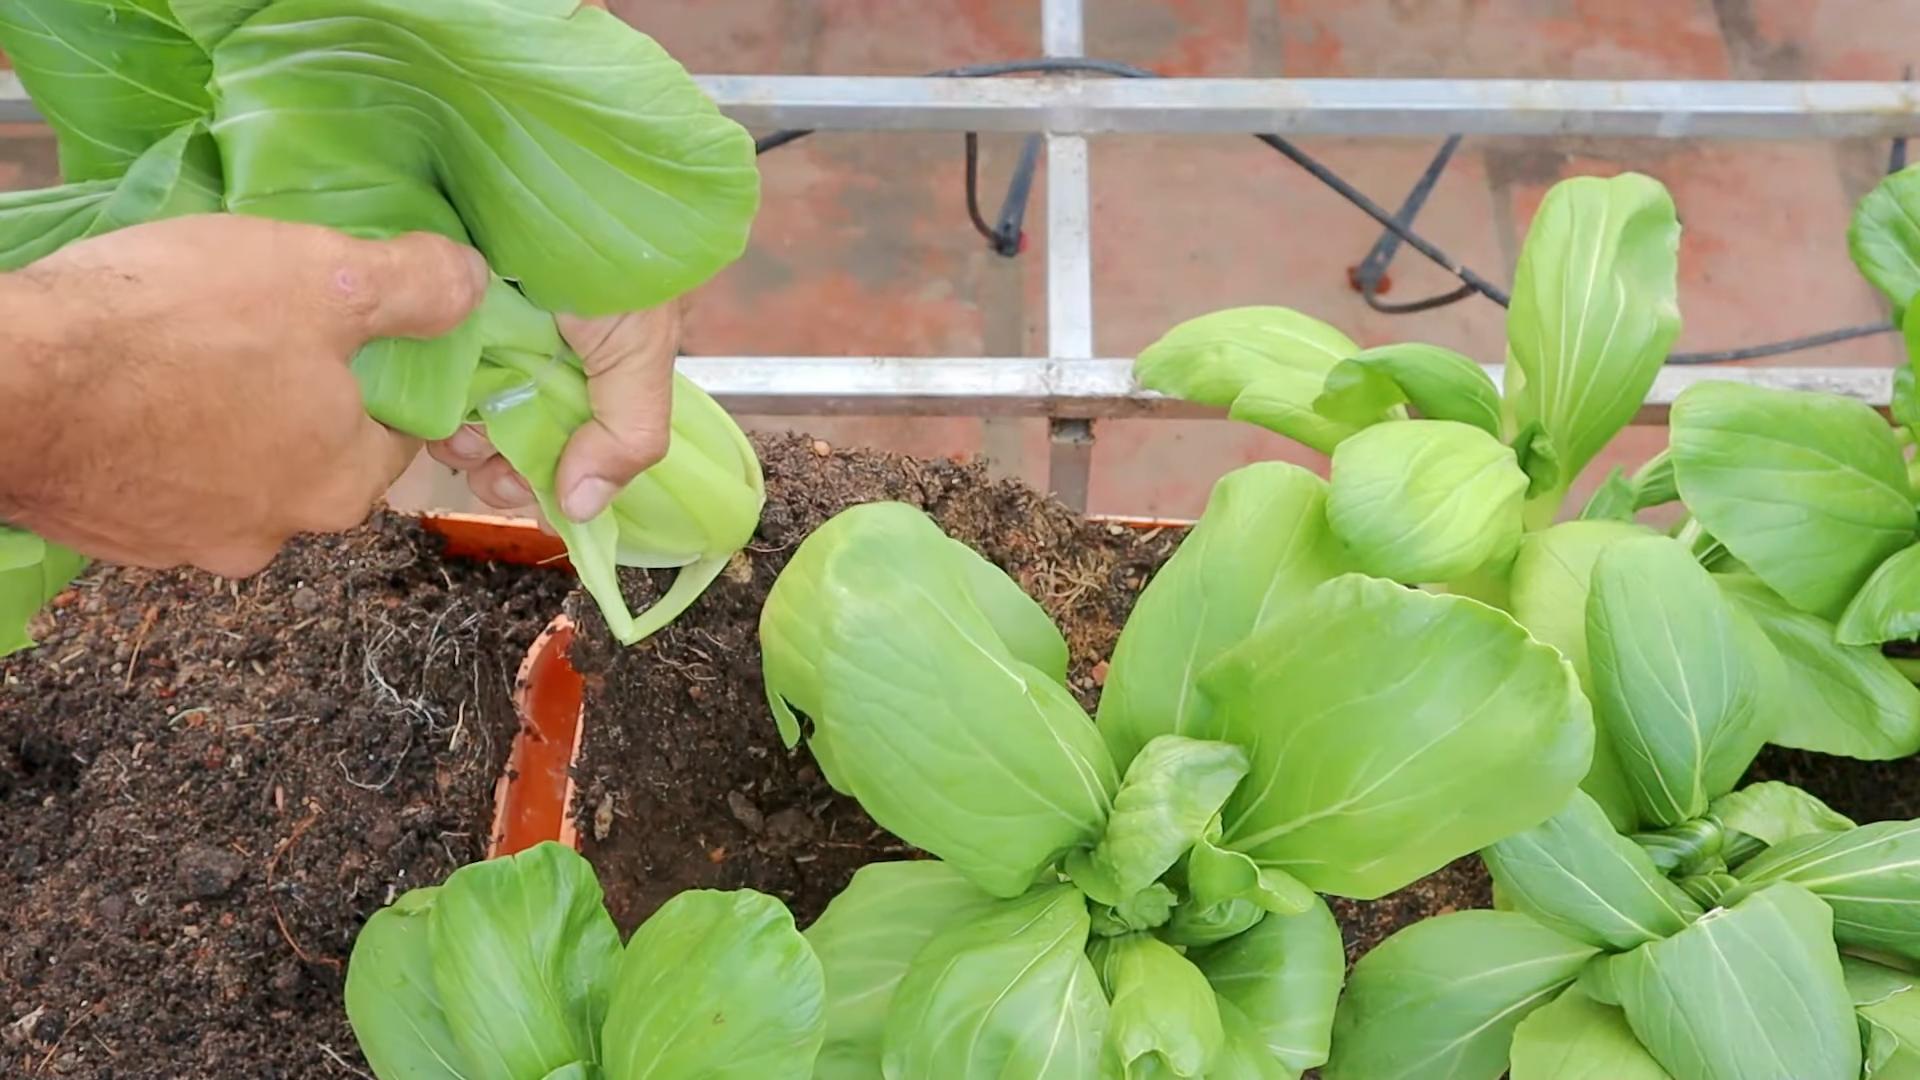
- Gently Remove the Seedlings: Carefully remove the seedlings from their seed starting tray or small pots. Be gentle to avoid damaging the roots. You can use a small trowel or spoon to help loosen the soil around the roots.
- Plant the Seedlings: Make a hole in the center of the potting soil in each pot. Place the seedling in the hole and gently backfill with soil. Make sure the top of the root ball is level with the surface of the soil.
- Water Thoroughly: Water the newly transplanted seedlings thoroughly to help settle the soil and reduce transplant shock.
- Provide Support (Optional): If your seedlings are a bit leggy (tall and spindly), you can provide them with some support by gently staking them with small bamboo skewers or chopsticks.
Caring for Your Indoor Bok Choy
Now that your bok choy is in its permanent home, it’s time to provide the ongoing care it needs to thrive.
- Light: Bok choy needs at least 6 hours of direct sunlight per day, or 12-14 hours of artificial light from grow lights. Insufficient light can lead to leggy growth and reduced yields.
- Watering: Keep the soil consistently moist, but not soggy. Water when the top inch of soil feels dry to the touch. Avoid letting the soil dry out completely, as this can stress the plants.
- Fertilizing: Feed your bok choy with a balanced liquid fertilizer every 2-3 weeks. Follow the instructions on the fertilizer label. A fertilizer with a higher nitrogen content will promote leafy growth.
- Temperature: Bok choy prefers cooler temperatures, ideally between 60-70°F (15-21°C). Avoid exposing your plants to extreme heat or cold.
- Humidity: Bok choy prefers moderate humidity. If your home is dry, you can increase the humidity around your plants by misting them regularly with a spray bottle or placing a tray of water near them.
- Air Circulation: Good air circulation is important to prevent fungal diseases. Make sure your plants have enough space between them and that there’s adequate ventilation in the room.
Dealing with Pests and Diseases
Even indoors, your bok choy can be susceptible to pests and diseases. Here’s how to deal with some common problems:
- Aphids: These tiny, sap-sucking insects can infest your bok choy and cause stunted growth. You can control aphids by spraying them with a strong stream of water, wiping them off with a damp cloth, or using insecticidal soap.
- Flea Beetles: These small, jumping beetles can chew holes in the leaves of your bok choy. You can control flea beetles by covering your plants with row covers or using insecticidal soap.
- Cabbage Worms: These green caterpillars can devour the leaves of your bok choy. You can control cabbage worms by handpicking them off the plants or using Bacillus thuringiensis (Bt), a natural insecticide.
- Fungal Diseases: Overwatering and poor air circulation can lead to fungal diseases such as damping off and powdery mildew. Prevent fungal diseases by watering carefully, providing good air circulation, and avoiding overcrowding. If you notice signs of fungal disease, remove the affected leaves and treat the plants with a fungicide.
Harvesting Your Bok Choy
The best part of growing your own bok choy is, of course, the harvest! You can start harvesting your bok choy when the leaves are about 6-8 inches long.
- Harvesting Individual Leaves: You can harvest individual leaves as needed by cutting them off at the base of the plant. This will allow the plant to continue producing new leaves.
- Harvesting the Entire Plant: If you want to harvest the entire plant, cut it off at the base of the stem.
- Succession Planting: To ensure a continuous harvest, sow new seeds every few weeks. This is called succession planting.
Enjoying Your Homegrown Bok Choy
Now that you’ve harvested your bok choy, it’s time to enjoy the fruits (or rather, vegetables) of your labor! Bok choy is a versatile vegetable that can be used in a variety of dishes. Here are a few ideas:
- Stir-fries: Bok choy is a classic ingredient in stir-fries. Simply chop it up and add it to your favorite stir-fry recipe.
Conclusion
So, there you have it! Growing your own bok choy indoors isn’t just a fun project; it’s a gateway to fresh, crisp greens right at your fingertips, regardless of the season. We’ve walked through the simple steps, from selecting the right seeds and containers to providing the optimal light and care. The beauty of this DIY trick lies in its accessibility. You don’t need a sprawling garden or a green thumb of mythical proportions. All you need is a little space, some basic supplies, and a dash of enthusiasm.
Why is this a must-try? Because the satisfaction of harvesting your own vegetables, knowing exactly where they came from and what went into their growth, is unparalleled. Store-bought bok choy simply can’t compete with the vibrant flavor and freshness of homegrown. Plus, you’re reducing your carbon footprint by cutting down on transportation and packaging. It’s a win-win for your taste buds and the planet!
But the adventure doesn’t stop here. Feel free to experiment with different varieties of bok choy. Baby bok choy is perfect for quick stir-fries, while larger varieties can be used in soups and stews. You can also try growing other leafy greens alongside your bok choy, creating a miniature indoor garden. Consider companion planting with herbs like cilantro or parsley, which can deter pests and enhance the flavor of your bok choy.
Don’t be afraid to get creative with your setup. If you don’t have a sunny windowsill, invest in a grow light. These lights are specifically designed to provide plants with the spectrum of light they need to thrive indoors. You can also explore hydroponic systems for a soil-free growing experience.
The key to success is observation. Pay close attention to your bok choy plants. Are the leaves turning yellow? Are they wilting? These are signs that something might be amiss. Adjust your watering schedule, light exposure, or nutrient levels accordingly. Remember, gardening is a learning process, and every mistake is an opportunity to improve.
We wholeheartedly encourage you to give this DIY trick a try. It’s a rewarding experience that will bring a touch of nature into your home and a burst of flavor to your meals. And most importantly, we want to hear about your journey! Share your successes, your challenges, and your tips with us in the comments below. Let’s build a community of indoor gardeners and inspire others to grow their own food. Show us your pictures of your thriving indoor bok choy! Let’s see those beautiful green leaves and hear about the delicious dishes you’re creating. Together, we can cultivate a greener, healthier, and more flavorful world, one bok choy plant at a time. So, grab your seeds, get your hands dirty, and start growing your own delicious, homegrown bok choy today! You’ll be amazed at how easy and rewarding it is. This method of growing **bok choy indoors** is a game changer.
Frequently Asked Questions (FAQ)
1. What is the best variety of bok choy to grow indoors?
While most bok choy varieties can be grown indoors, smaller, faster-maturing types are generally recommended. Baby bok choy, also known as Shanghai bok choy, is an excellent choice due to its compact size and quick growth cycle. Dwarf bok choy varieties are also well-suited for indoor cultivation. These varieties tend to be less demanding in terms of space and light, making them ideal for indoor environments. Experimenting with different varieties can be fun, but starting with baby bok choy is a safe bet for beginners. Consider the space you have available and the amount of light your indoor garden receives when selecting your variety.
2. How much light does bok choy need when grown indoors?
Bok choy requires a significant amount of light to thrive. Ideally, aim for at least 6 hours of direct sunlight per day. If you don’t have a south-facing window that provides ample sunlight, you’ll need to supplement with artificial lighting. Grow lights are an excellent option, providing the full spectrum of light that bok choy needs for healthy growth. Fluorescent or LED grow lights are energy-efficient and can be placed close to the plants without causing damage. Position the lights about 6-12 inches above the plants and adjust as they grow. Observe your plants closely. If they appear leggy (tall and spindly) or the leaves are pale, they likely need more light.
3. What type of soil is best for growing bok choy indoors?
Bok choy prefers well-draining, nutrient-rich soil. A good potting mix specifically formulated for vegetables is ideal. You can also create your own mix by combining equal parts of potting soil, compost, and perlite or vermiculite. Compost provides essential nutrients, while perlite or vermiculite improves drainage and aeration. Avoid using garden soil, as it can be too heavy and may contain pests or diseases. Ensure your containers have drainage holes to prevent waterlogging, which can lead to root rot.
4. How often should I water my indoor bok choy plants?
Watering frequency depends on several factors, including the size of your container, the type of soil, and the temperature and humidity of your indoor environment. Generally, you should water your bok choy plants when the top inch of soil feels dry to the touch. Water thoroughly until excess water drains out of the drainage holes. Avoid overwatering, as this can lead to root rot. Bok choy prefers consistently moist soil, but not soggy. During warmer months or in drier environments, you may need to water more frequently. Check the soil moisture regularly and adjust your watering schedule accordingly.
5. What are some common pests and diseases that affect indoor bok choy, and how can I prevent them?
While indoor plants are generally less susceptible to pests and diseases than outdoor plants, they can still be affected. Common pests that may attack indoor bok choy include aphids, spider mites, and whiteflies. Regularly inspect your plants for signs of infestation, such as small insects on the leaves or webbing. If you detect pests, you can try washing them off with a strong stream of water or using insecticidal soap. Diseases such as fungal infections can also occur, especially in humid environments. Ensure good air circulation around your plants and avoid overwatering to prevent fungal growth. If you notice signs of disease, such as spots on the leaves, remove the affected leaves and treat the plant with a fungicide. Prevention is key. Start with healthy plants, use clean potting mix, and maintain good hygiene in your indoor garden.
6. How long does it take to grow bok choy indoors?
The time it takes to grow bok choy indoors depends on the variety and growing conditions. Baby bok choy can be ready to harvest in as little as 30-45 days, while larger varieties may take 50-60 days. You can start harvesting the outer leaves as soon as they are large enough to eat, allowing the inner leaves to continue growing. Regular harvesting encourages continued production. Keep in mind that indoor growing conditions can affect the growth rate. Providing adequate light, water, and nutrients will help your bok choy plants grow quickly and healthily.
7. Can I grow bok choy from scraps?
Yes, you can regrow bok choy from the base of the plant, similar to celery or lettuce. Place the base of the bok choy in a shallow dish of water, ensuring that the cut end is submerged. Place the dish in a sunny location and change the water every day or two. After a few days, you should see new roots and leaves starting to grow. Once the roots are well-developed, you can transplant the bok choy into a pot filled with potting mix. While regrowing bok choy from scraps is a fun and easy way to propagate new plants, the resulting plants may not be as vigorous or productive as those grown from seeds. However, it’s a great way to reduce waste and enjoy fresh bok choy from your kitchen scraps.
8. What are some creative ways to use my homegrown bok choy?
The possibilities are endless! Bok choy is a versatile vegetable that can be used in a variety of dishes. It’s delicious in stir-fries, soups, stews, and salads. You can also grill or sauté it as a side dish. Try adding it to noodle dishes or using it as a filling for dumplings or spring rolls. The tender leaves and crisp stalks are both edible and nutritious. Experiment with different recipes and flavor combinations to discover your favorite ways to enjoy your homegrown bok choy. Don’t be afraid to get creative and try new things!
Leave a Comment