

Grow Arugula Kitchen Hack: Imagine fresh, peppery arugula bursting with flavor, ready to elevate your salads, sandwiches, and pizzas – all grown right in your kitchen! Forget those sad, wilted greens from the grocery store. I’m going to show you a super simple DIY trick that will have you harvesting your own delicious arugula in no time.
Arugula, also known as rocket, has a rich history dating back to Roman times, where it was prized for its culinary and medicinal properties. It was even believed to be an aphrodisiac! While I can’t promise any romantic miracles, I can guarantee this kitchen hack will make you fall in love with fresh, homegrown food.
In today’s busy world, finding time for a full-fledged garden can be tough. That’s where this Grow Arugula Kitchen Hack comes in. It’s perfect for apartment dwellers, busy professionals, or anyone who wants to enjoy the taste of fresh, organic greens without the hassle of traditional gardening. Plus, knowing exactly where your food comes from and how it’s grown is incredibly rewarding. So, are you ready to ditch the store-bought greens and embark on a flavorful, homegrown adventure? Let’s get started!

Grow Arugula Indoors: A Beginner’s Guide to Fresh Salad Greens
Hey there, fellow foodies and aspiring green thumbs! Ever crave a peppery, fresh salad but dread the grocery store run? Well, I’ve got a super simple DIY hack for you: growing arugula indoors! It’s easier than you think, requires minimal space, and gives you a constant supply of delicious, healthy greens right at your fingertips. Let’s dive in!
What You’ll Need
Before we get started, gather these essentials. Don’t worry, most of them are probably already lying around your house!
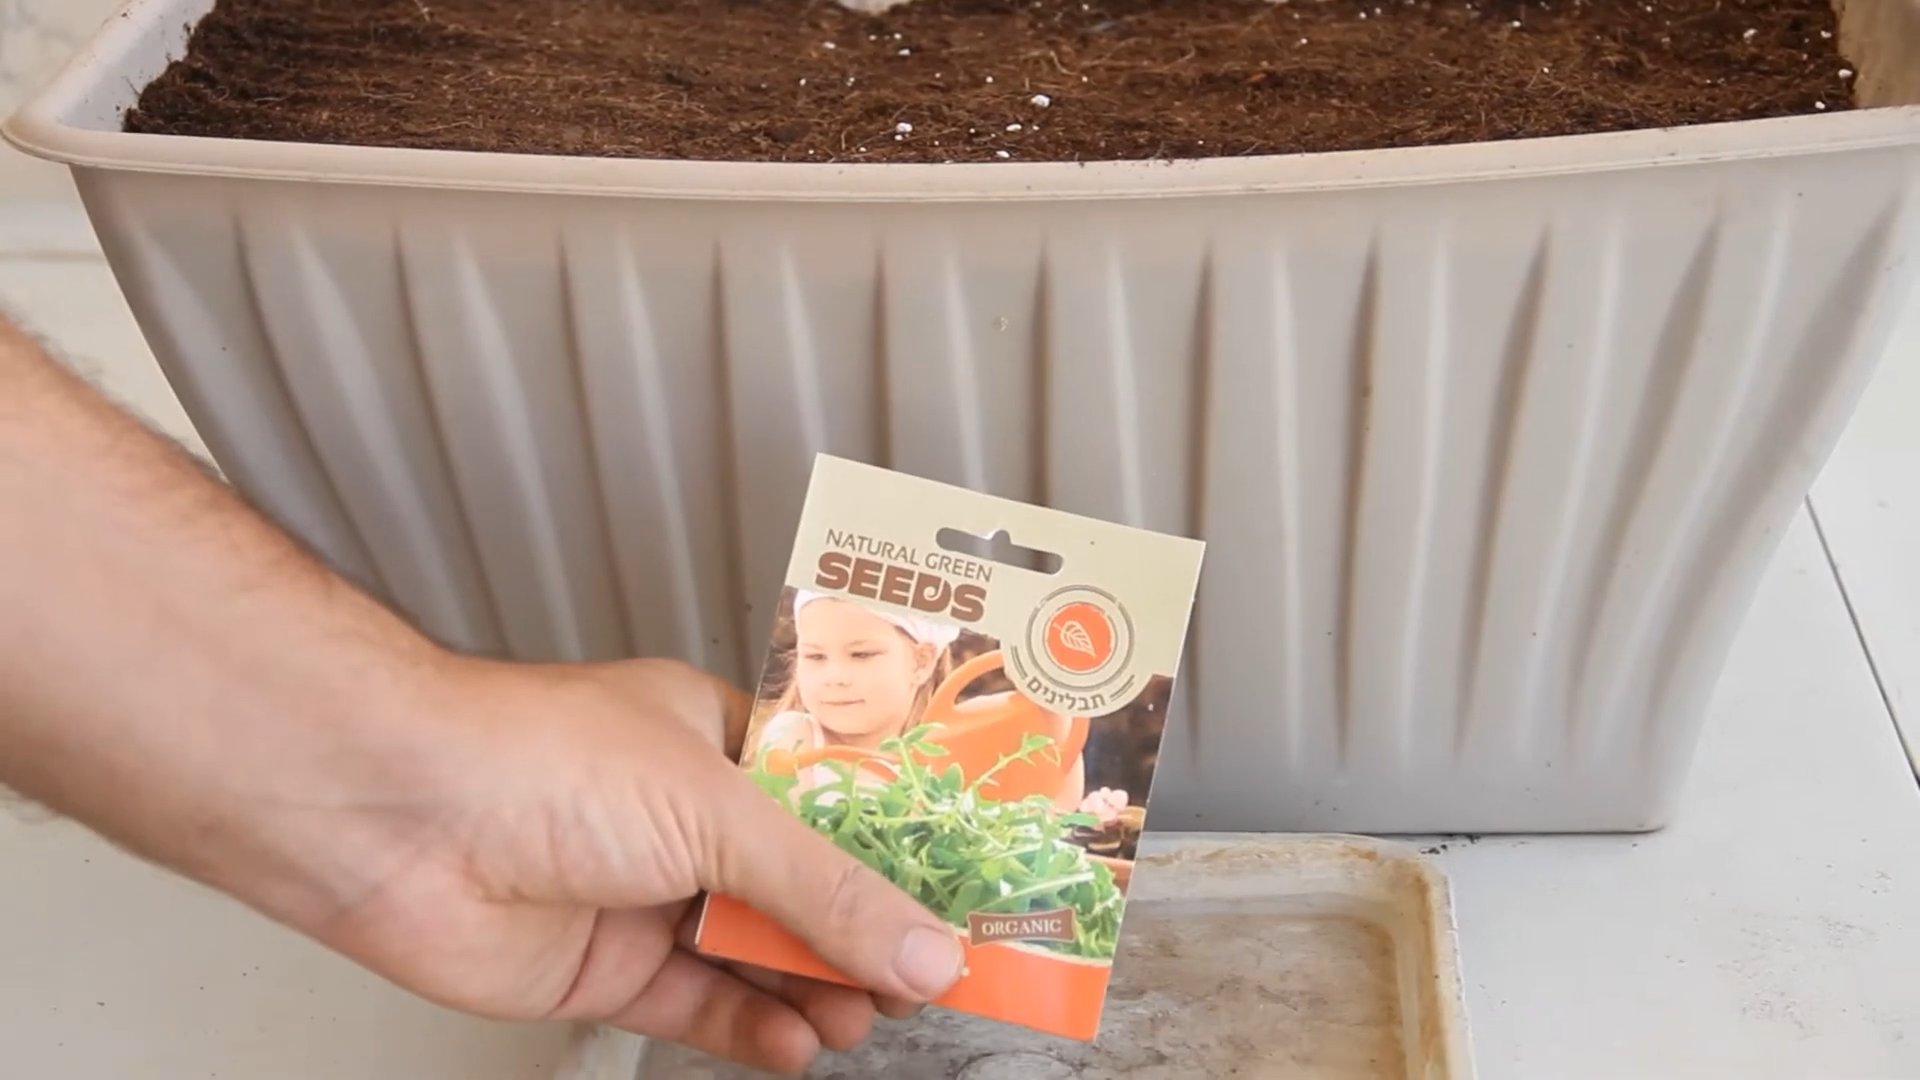
* Arugula Seeds: You can find these at any garden center or online. Look for organic seeds if possible.
* Container: A pot, a plastic container, even a repurposed yogurt tub will work! Just make sure it has drainage holes. Aim for something at least 6 inches deep.
* Potting Mix: Regular garden soil is too dense for containers. Use a good quality potting mix that drains well.
* Watering Can or Spray Bottle: For gentle watering.
* Sunny Spot: A windowsill that gets at least 4-6 hours of sunlight per day is ideal. If you don’t have enough natural light, consider using a grow light.
* Optional: Seed Starting Tray: This is helpful if you want to start your seeds in a controlled environment before transplanting.
* Optional: Plant Food: A diluted liquid fertilizer can give your arugula a boost, but it’s not strictly necessary.
Getting Started: Planting Your Arugula Seeds
This is where the magic begins! Follow these steps to sow your arugula seeds and set them up for success.
1. Prepare Your Container: If you’re using a new pot, great! If you’re repurposing something, make sure it’s clean. Drill drainage holes if it doesn’t already have them. Good drainage is crucial to prevent root rot. I usually add a layer of small rocks or gravel at the bottom of the container to further improve drainage.
2. Fill with Potting Mix: Fill your container with potting mix, leaving about an inch of space at the top. Gently pat down the soil to create a level surface. Don’t pack it too tightly, as this can hinder root growth.
3. Sow the Seeds: Arugula seeds are tiny, so be careful not to overcrowd them. Sprinkle the seeds evenly over the surface of the soil. You can aim for about 1/4 inch spacing between seeds. Don’t worry about being perfect; arugula is pretty forgiving.
4. Cover the Seeds: Lightly cover the seeds with a thin layer of potting mix, about 1/4 inch deep. This helps them stay moist and protected.
5. Water Gently: Use a watering can or spray bottle to gently moisten the soil. Avoid blasting the seeds with a strong stream of water, as this can dislodge them. The soil should be damp but not soggy.
6. Find a Sunny Spot: Place your container in a sunny windowsill or under a grow light. Arugula needs plenty of light to thrive.
Nurturing Your Arugula: Watering and Maintenance
Now that your seeds are planted, it’s time to provide them with the care they need to grow into delicious arugula.
1. Water Regularly: Keep the soil consistently moist, but not waterlogged. Check the soil moisture daily by sticking your finger into the soil. If the top inch feels dry, it’s time to water. Water gently and thoroughly, allowing excess water to drain out of the drainage holes.
2. Provide Adequate Light: Arugula needs at least 4-6 hours of sunlight per day. If you don’t have a sunny windowsill, consider using a grow light. Place the grow light a few inches above the seedlings.
3. Thin Seedlings (Optional): Once your seedlings have sprouted and have a few true leaves (the second set of leaves that appear after the initial seed leaves), you can thin them out if they’re too crowded. This will give the remaining plants more room to grow. Gently snip off the weaker seedlings at the soil line, leaving about 1-2 inches between plants. I usually just eat the thinned seedlings – they’re delicious!
4. Fertilize (Optional): If you want to give your arugula a boost, you can fertilize it every few weeks with a diluted liquid fertilizer. Follow the instructions on the fertilizer package. I prefer to use organic fertilizers, such as fish emulsion or seaweed extract.
5. Pest Control: Arugula is generally pest-resistant, but occasionally you might encounter aphids or other small pests. If you notice any pests, try spraying them off with a strong stream of water. You can also use insecticidal soap or neem oil, following the instructions on the product label.
Harvesting Your Arugula: Enjoying Your Fresh Greens
The best part! Harvesting your own arugula is incredibly rewarding.
1. When to Harvest: You can start harvesting arugula leaves when they are about 2-3 inches long. The younger leaves will be more tender and have a milder flavor.
2. How to Harvest: Use scissors or your fingers to snip off the outer leaves, leaving the inner leaves to continue growing. This is called “cut and come again” harvesting, and it allows you to harvest arugula multiple times from the same plant.
3. Harvest Regularly: The more you harvest, the more your arugula will grow! Regular harvesting encourages new growth and prevents the plants from bolting (going to seed), which can make the leaves bitter.
4. Enjoy Your Harvest: Wash your harvested arugula leaves thoroughly and enjoy them in salads, sandwiches, pesto, or as a topping for pizza. The possibilities are endless!
Troubleshooting: Common Arugula Growing Problems
Even with the best care, you might encounter a few challenges along the way. Here are some common problems and how to fix them.
* Leggy Seedlings: If your seedlings are tall and spindly, they’re probably not getting enough light. Move them to a sunnier location or provide supplemental light with a grow light.
* Yellowing Leaves: Yellowing leaves can be a sign of overwatering, underwatering, or nutrient deficiency. Check the soil moisture and adjust your watering accordingly. If the soil is consistently moist, you might be overwatering. If the soil is dry, you might be underwatering. You can also try fertilizing with a diluted liquid fertilizer.
* Bitter Leaves: Arugula leaves can become bitter if the plants are stressed by heat, drought, or bolting. Make sure your plants are getting enough water and light, and harvest regularly to prevent bolting.
* Slow Growth: Slow growth can be caused by a variety of factors, including insufficient light, poor soil, or nutrient deficiency. Make sure your plants are getting enough light and water, and consider fertilizing with a diluted liquid fertilizer.
Extending Your Harvest: Succession Planting
Want to keep the arugula flowing? Succession planting is the key!
1. What is Succession Planting?: Succession planting is the practice of planting new seeds every few weeks to ensure a continuous harvest.
2. How to Do It: Every 2-3 weeks, sow a new batch of arugula seeds in a separate container. This way, you’ll always have a fresh supply of arugula ready to harvest.
3. Timing is Key: Adjust your planting schedule based on your local climate and the growing conditions in your home.
Beyond the Basics: Advanced Arugula Growing Tips
Ready to take your arugula growing game to the next level? Here are a few advanced tips to consider.
* Choose the Right Variety: There are many different varieties of arugula, each with its own unique flavor and characteristics. Experiment with different varieties to find your favorite. Some popular varieties include ‘Astro’, ‘Sylvetta’, and ‘Wasabi’.
* Control the Temperature: Arugula prefers cool temperatures. If you live in a hot climate, try growing it in a shaded location or during the cooler months of the year.
* Use Companion Planting: Companion planting is the practice of planting different plants together to benefit each other. Some good companion plants for arugula include carrots, radishes, and lettuce.
* Save Your Seeds: Once your arugula plants bolt and produce seeds, you can save the seeds for future planting. Allow the seed pods to dry completely on the plant, then harvest the seeds and store them in a cool, dry place.
Final Thoughts
Growing arugula indoors is a fun, easy, and rewarding way to enjoy fresh, healthy greens all year round. With a little bit of care and attention, you can have a constant supply of delicious arugula right at your fingertips. So, grab some seeds, get your hands dirty, and start growing! Happy gardening!
Conclusion
So, there you have it! Growing your own arugula at home is not only incredibly simple, but it’s also a game-changer for anyone who loves fresh, peppery greens. Forget those sad, wilted bags from the grocery store. With this easy DIY trick, you can have a constant supply of vibrant, flavorful arugula right at your fingertips.
Why is this a must-try? Think about it: you’re saving money, reducing your environmental impact by cutting down on packaging and transportation, and enjoying a product that’s demonstrably fresher and more nutritious than anything you can buy. Plus, there’s a certain satisfaction that comes from nurturing something from seed to table. It’s a small act of self-sufficiency that can bring a surprising amount of joy.
But the best part? This method is incredibly adaptable. Want to experiment with different varieties of arugula? Go for it! Try growing wild arugula for an even more intense flavor, or explore some of the milder, cultivated varieties if you prefer a less peppery bite. You can also play around with the growing conditions. Try placing your container in a slightly shadier spot for a milder flavor, or in a sunnier location for a more robust taste.
Consider adding companion plants to your arugula container. Basil, chives, or even some colorful edible flowers can not only enhance the aesthetic appeal of your little garden but also potentially deter pests and improve the overall health of your arugula.
And don’t limit yourself to just containers! If you have a small garden plot, you can easily adapt this method to grow arugula directly in the ground. Just make sure the soil is well-draining and rich in organic matter.
We’re confident that once you try this DIY trick for growing arugula, you’ll be hooked. It’s a simple, rewarding, and delicious way to bring a little bit of nature into your home. So, grab some seeds, find a container, and get growing!
We’re eager to hear about your experiences. Did you try a different variety of arugula? Did you find a particularly effective way to deter pests? Share your tips, tricks, and photos in the comments below. Let’s build a community of home-grown arugula enthusiasts! Happy gardening!
Frequently Asked Questions (FAQ)
What exactly is arugula, and why should I grow it?
Arugula, also known as rocket, is a leafy green vegetable with a distinctive peppery flavor. It’s packed with vitamins, minerals, and antioxidants, making it a healthy and delicious addition to salads, sandwiches, pizzas, and more. Growing your own arugula ensures you have access to fresh, flavorful greens whenever you want them, without the need for a trip to the store. Plus, homegrown arugula tends to be more tender and less bitter than store-bought varieties.
How long does it take to grow arugula from seed?
One of the best things about arugula is how quickly it grows! You can typically expect to harvest your first leaves within 3-4 weeks of planting the seeds. This makes it a great option for impatient gardeners or those who want a quick and easy gardening project.
What kind of container should I use to grow arugula?
Almost any container will work, as long as it has drainage holes. A pot that’s at least 6 inches deep and wide is ideal, but you can also use window boxes, hanging baskets, or even repurposed containers like plastic tubs or buckets. Just make sure the container is clean and free of any harmful chemicals.
What kind of soil should I use?
Arugula prefers well-draining soil that’s rich in organic matter. You can use a commercial potting mix or create your own by mixing equal parts garden soil, compost, and perlite or vermiculite. Avoid using heavy clay soil, as it can become waterlogged and prevent the arugula from growing properly.
How much sunlight does arugula need?
Arugula thrives in full sun (6-8 hours of direct sunlight per day), but it can also tolerate partial shade (4-6 hours of sunlight). In hotter climates, providing some afternoon shade can help prevent the leaves from becoming too bitter.
How often should I water my arugula?
Keep the soil consistently moist, but not soggy. Water when the top inch of soil feels dry to the touch. Avoid overwatering, as this can lead to root rot. A good rule of thumb is to water deeply once or twice a week, depending on the weather conditions.
How do I harvest arugula?
You can start harvesting arugula leaves when they are about 2-3 inches long. Simply snip off the outer leaves with scissors or your fingers, leaving the inner leaves to continue growing. This cut-and-come-again method allows you to harvest arugula multiple times from the same plant.
How can I prevent pests from attacking my arugula?
Arugula is generally pest-resistant, but it can sometimes be affected by aphids, flea beetles, or slugs. To prevent pests, keep your growing area clean and free of weeds. You can also use insecticidal soap or neem oil to control infestations. Companion planting with herbs like basil or rosemary can also help deter pests.
My arugula is bolting (going to seed). What should I do?
Bolting is a natural process that occurs when arugula is exposed to hot weather or stress. When arugula bolts, the leaves become more bitter and the plant produces flowers and seeds. To prevent bolting, try to keep your arugula plants cool and well-watered. If your arugula does bolt, you can still harvest the leaves, but they may not taste as good. You can also collect the seeds for planting next season.
Can I grow arugula indoors during the winter?
Yes, you can grow arugula indoors during the winter! Simply place your container near a sunny window or under a grow light. Make sure to provide adequate water and fertilizer, and you can enjoy fresh arugula all year round.
What kind of fertilizer should I use for arugula?
Arugula doesn’t require a lot of fertilizer, but a light feeding of a balanced organic fertilizer can help promote healthy growth. You can use a liquid fertilizer diluted to half strength or a slow-release granular fertilizer. Avoid over-fertilizing, as this can lead to excessive leaf growth and a less flavorful product.
Is it better to grow arugula from seed or transplants?
Growing arugula from seed is generally easier and more cost-effective than using transplants. Arugula seeds germinate quickly and easily, and the plants are relatively low-maintenance. However, if you want a head start on your harvest, you can purchase transplants from a local nursery.
How do I store harvested arugula?
To store harvested arugula, wash the leaves thoroughly and dry them with a salad spinner or paper towels. Place the arugula in a plastic bag or container lined with a paper towel and store it in the refrigerator. Arugula will typically last for 3-5 days in the refrigerator.
Can I eat arugula flowers?
Yes, arugula flowers are edible and have a similar peppery flavor to the leaves. They can be used as a garnish for salads, soups, or other dishes.
What are some creative ways to use my homegrown arugula?
Beyond salads, arugula can be used in a variety of dishes. Try adding it to pesto, pizza, pasta, sandwiches, or soups. You can also sauté it with garlic and olive oil for a simple and delicious side dish. Get creative and experiment with different ways to incorporate this versatile green into your meals!

Leave a Comment