

Shaving Foam Cleaning Hacks: Who knew that fluffy white stuff you use to get a close shave could be your secret weapon against grime and stains? I certainly didn’t, until I stumbled upon a treasure trove of cleaning tips that completely changed my perspective on this everyday bathroom staple. Forget harsh chemicals and expensive cleaners; shaving foam is here to revolutionize your cleaning routine!
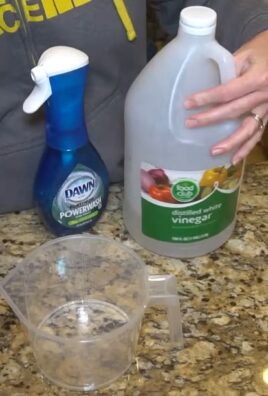
While shaving foam’s primary purpose has always been grooming, its use as a cleaning agent is a relatively recent discovery. Think of it as a modern twist on age-old cleaning solutions. Our grandmothers might have used baking soda and vinegar, but we’re armed with shaving foam – a surprisingly effective and readily available alternative. It’s like discovering a hidden superpower in something you already own!
Why do you need these shaving foam cleaning hacks? Because life is messy! From stubborn carpet stains to grimy bathroom mirrors, everyday messes can be a real headache. But with these simple, cost-effective tricks, you can tackle those cleaning challenges with ease. I’m excited to share these tips with you, because they’ll save you time, money, and a whole lot of elbow grease. Get ready to unlock the cleaning potential of shaving foam and say goodbye to stubborn stains for good!
Shaving Foam: Your Unexpected Cleaning Superhero!
Okay, friends, let’s talk about something you probably have sitting in your bathroom right now: shaving foam! Yes, that fluffy stuff you (or someone you know) uses to get a smooth shave is actually a surprisingly versatile cleaning agent. I know, I know, it sounds crazy, but trust me on this one. I’ve tried these hacks myself, and they’re seriously game-changing. Get ready to ditch some of those harsh chemicals and embrace the power of shaving foam!
Why Shaving Foam Works as a Cleaner
Before we dive into the nitty-gritty, let’s quickly understand why shaving foam is such a cleaning whiz. It’s all about the ingredients! Most shaving foams contain:
* Surfactants: These are the magic ingredients that break down grease and grime, lifting them away from surfaces. Think of them as tiny little cleaning ninjas!
* Soaps: These help to emulsify the dirt and oil, making it easier to wipe away.
* Humectants: These attract moisture, which can help to loosen stubborn stains.
Basically, it’s a gentle but effective cleaning cocktail! Now, let’s get to the fun part: the hacks!
Hack 1: Sparkling Mirrors and Glass
Tired of streaks and smudges on your mirrors and windows? Shaving foam to the rescue! This is one of my absolute favorite uses.
What you’ll need:
* Shaving foam (any kind will do, but I prefer the foamy kind)
* A clean, lint-free cloth or microfiber cloth
* Water (optional)
Step-by-step instructions:
1. Apply the shaving foam: Squirt a small amount of shaving foam directly onto the mirror or glass surface. You don’t need a ton – a little goes a long way!
2. Spread it around: Use your fingers or a clean cloth to spread the shaving foam evenly over the entire surface. Make sure to cover all the areas you want to clean.
3. Let it sit (optional): For extra dirty surfaces, let the shaving foam sit for a minute or two. This will give the surfactants time to work their magic.
4. Wipe it clean: Using a clean, lint-free cloth or microfiber cloth, wipe away the shaving foam in a circular motion.
5. Buff to a shine: If you see any streaks, use a clean, dry cloth to buff the surface until it’s sparkling clean.
6. Rinse (optional): If you prefer, you can lightly rinse the surface with water after wiping away the shaving foam. Just make sure to dry it thoroughly to prevent water spots.
Pro Tip: This works wonders on bathroom mirrors, especially after a steamy shower. The shaving foam helps to prevent fogging!
Hack 2: Stain Remover for Carpets and Upholstery
Spilled coffee on your carpet? Dropped food on your couch? Don’t panic! Shaving foam can often lift those stains right out.
What you’ll need:
* Shaving foam (again, the foamy kind is best)
* A clean, damp cloth
* A vacuum cleaner
Step-by-step instructions:
1. Act fast: The sooner you treat the stain, the better your chances of removing it completely.
2. Apply the shaving foam: Apply a generous amount of shaving foam directly onto the stain.
3. Let it sit: Allow the shaving foam to sit on the stain for 10-15 minutes. This will give it time to penetrate the fibers and break down the stain.
4. Blot, don’t rub: Using a clean, damp cloth, gently blot the stain. Avoid rubbing, as this can spread the stain and damage the fibers.
5. Repeat if necessary: If the stain is still visible, repeat steps 2-4 until it’s gone.
6. Rinse (optional): If you’re concerned about residue, you can lightly rinse the area with water after removing the stain. Just make sure to blot it dry thoroughly.
7. Vacuum: Once the area is completely dry, vacuum it to restore the texture of the carpet or upholstery.
Important Note: Always test the shaving foam on an inconspicuous area of the carpet or upholstery first to make sure it doesn’t cause any discoloration.
Hack 3: Cleaning Stainless Steel
Stainless steel appliances looking dull and smudged? Shaving foam can bring back their shine!
What you’ll need:
* Shaving foam
* A clean, soft cloth or microfiber cloth
Step-by-step instructions:
1. Apply the shaving foam: Apply a small amount of shaving foam to a clean, soft cloth or microfiber cloth.
2. Wipe the surface: Gently wipe the stainless steel surface with the cloth, following the grain of the metal.
3. Buff to a shine: Use a clean, dry cloth to buff the surface until it’s sparkling clean.
Pro Tip: This works great on refrigerators, dishwashers, and other stainless steel appliances. It also helps to remove fingerprints and water spots.
Hack 4: Polishing Chrome Fixtures
Chrome fixtures in your bathroom or kitchen looking a little lackluster? Shaving foam can restore their shine and remove water spots.
What you’ll need:
* Shaving foam
* A clean, soft cloth or microfiber cloth
Step-by-step instructions:
1. Apply the shaving foam: Apply a small amount of shaving foam directly to the chrome fixture.
2. Rub it in: Use a clean, soft cloth or microfiber cloth to rub the shaving foam into the surface.
3. Rinse thoroughly: Rinse the fixture thoroughly with water to remove all traces of shaving foam.
4. Dry and buff: Dry the fixture with a clean, dry cloth and buff it to a shine.
Pro Tip: This works wonders on faucets, showerheads, and other chrome fixtures.
Hack 5: Cleaning Jewelry
Okay, this one might sound a little out there, but shaving foam can actually be used to clean some types of jewelry!
What you’ll need:
* Shaving foam
* A soft-bristled toothbrush
* Warm water
* A clean, soft cloth
Step-by-step instructions:
1. Apply the shaving foam: Apply a small amount of shaving foam to the jewelry.
2. Gently scrub: Use a soft-bristled toothbrush to gently scrub the jewelry, paying attention to any crevices or hard-to-reach areas.
3. Rinse thoroughly: Rinse the jewelry thoroughly with warm water to remove all traces of shaving foam.
4. Dry and polish: Dry the jewelry with a clean, soft cloth and polish it to a shine.
Important Note: This method is best for cleaning non-porous jewelry, such as gold, silver, and platinum. Avoid using it on porous gemstones like pearls, opals, or emeralds, as the shaving foam can damage them. Also, avoid using it on costume jewelry, as it may damage the finish. Always test on a small, inconspicuous area first.
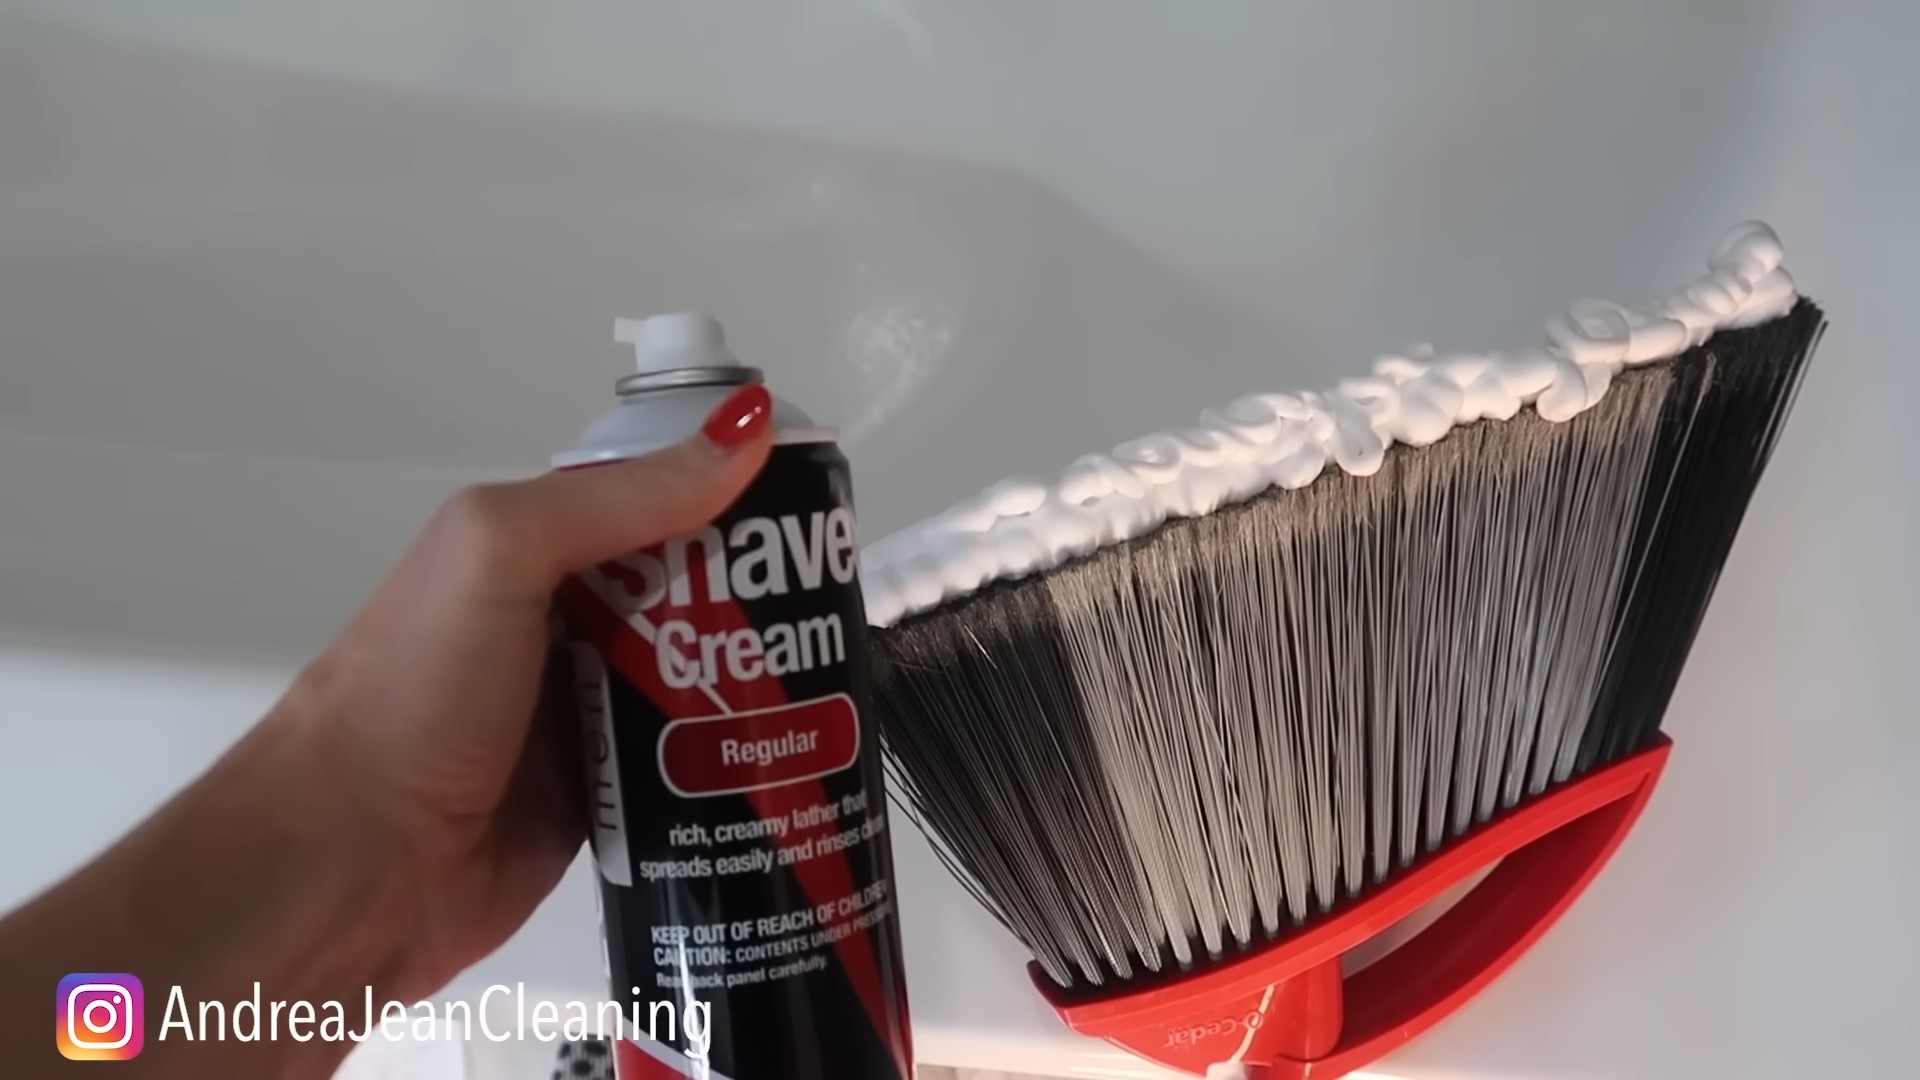
Hack 6: Cleaning Bathroom Tile and Grout
Bathroom tile looking grimy? Grout stained and discolored? Shaving foam can help!
What you’ll need:
* Shaving foam
* A scrub brush or old toothbrush
* Water
Step-by-step instructions:
1. Apply the shaving foam: Apply a generous amount of shaving foam to the tile and grout.
2. Let it sit: Allow the shaving foam to sit for 10-15 minutes to loosen the dirt and grime.
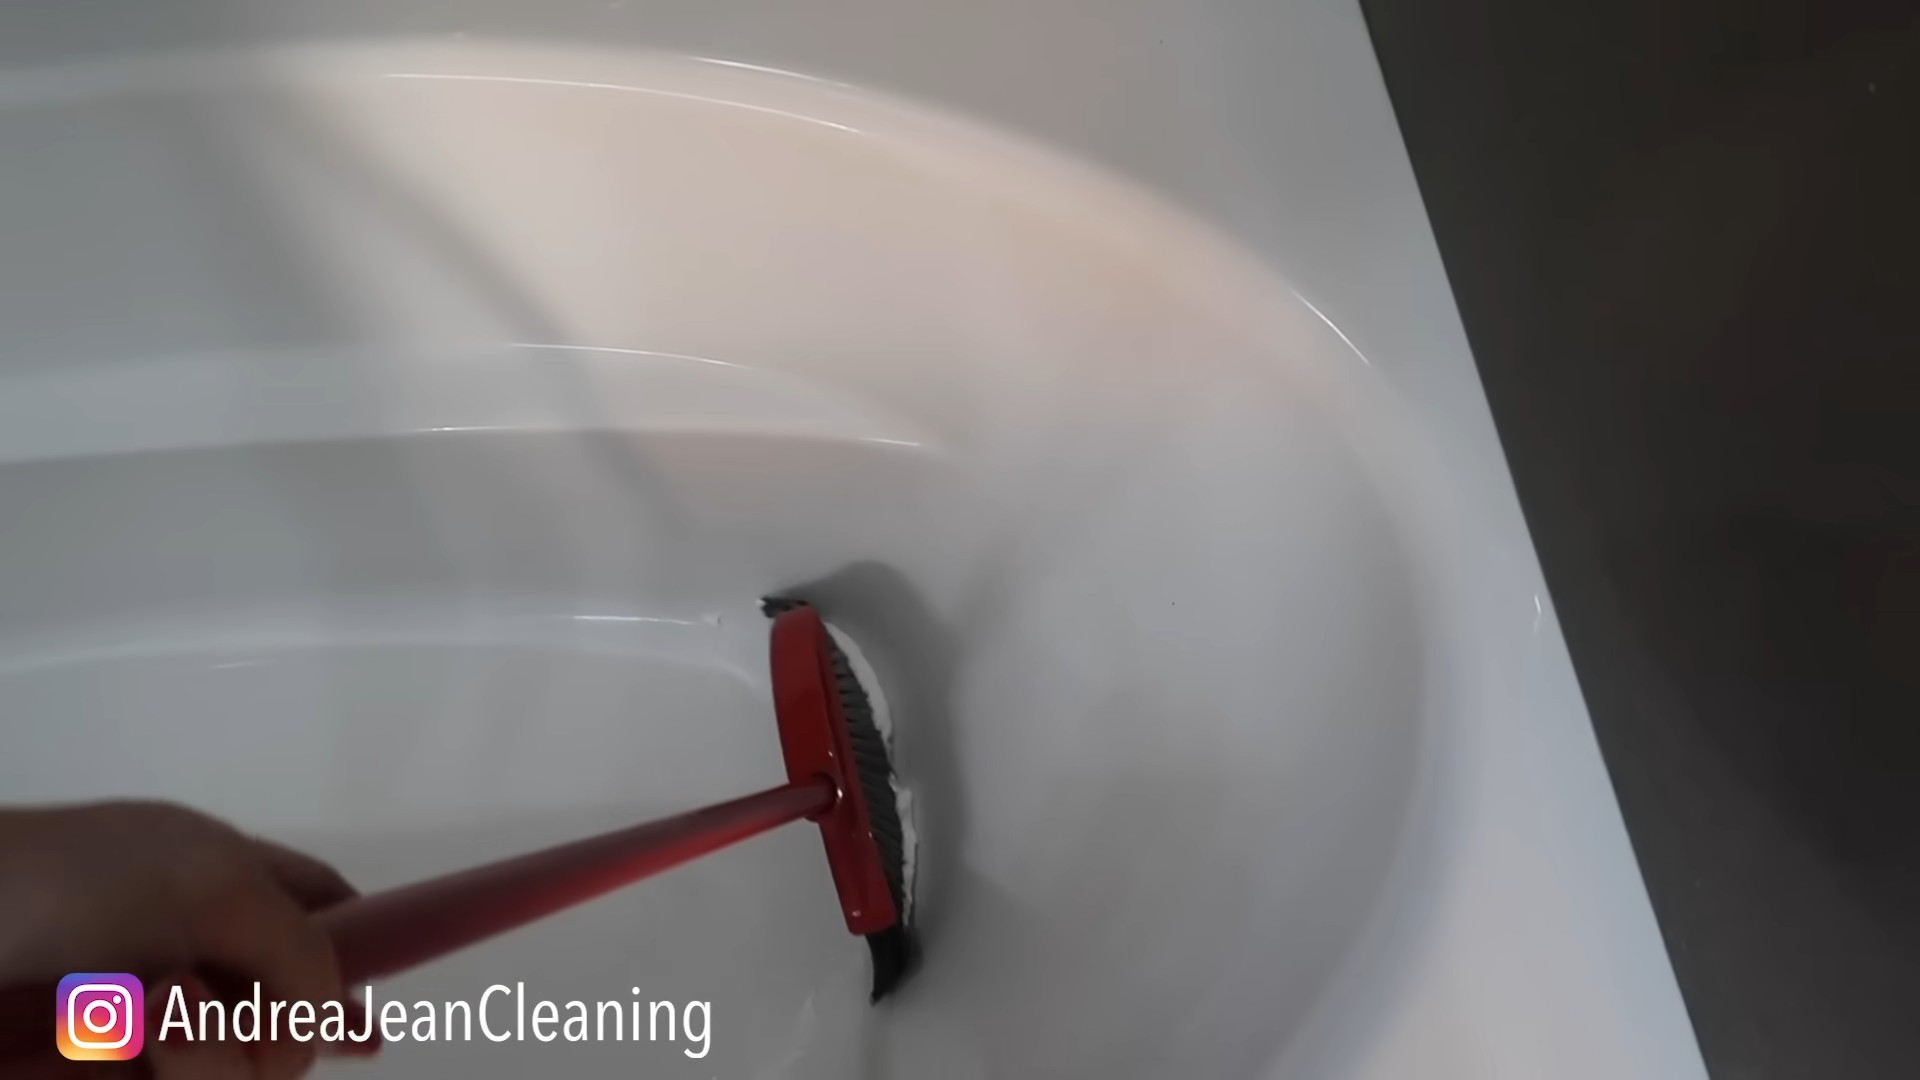
3. Scrub: Use a scrub brush or old toothbrush to scrub the tile and grout, paying attention to any stained areas.
4. Rinse thoroughly: Rinse the tile and grout thoroughly with water to remove all traces of shaving foam and dirt.
Pro Tip: For stubborn grout stains, you can let the shaving foam sit for a longer period of time, even overnight.
Hack 7: Preventing Foggy Bathroom Mirrors
We touched on this earlier, but it’s worth repeating! Shaving foam is a fantastic fog preventer for bathroom mirrors.
What you’ll need:
* Shaving foam
* A clean, lint-free cloth or microfiber cloth
Step-by-step instructions:
1. Apply the shaving foam: Apply a thin layer of shaving foam to the mirror.
2. Wipe it clean: Wipe away the shaving foam with a clean, lint-free cloth or microfiber cloth until the mirror is clear.
That’s it! Your mirror will now be fog-free for several days.
Conclusion
So, there you have it! Shaving foam isn’t just for a smooth shave; it’s a surprisingly versatile cleaning agent that can tackle a multitude of household messes. From banishing stubborn stains on carpets and upholstery to restoring shine to your stainless steel appliances and even cleaning your bathroom mirrors, this simple DIY trick offers a cost-effective and surprisingly effective solution.
Why is this a must-try? Because it simplifies your cleaning routine, reduces the number of specialized cleaning products you need to buy, and often yields results that rival or even surpass those of commercial cleaners. Plus, the gentle nature of shaving foam makes it safe for many surfaces, minimizing the risk of damage.
Ready to take your cleaning game to the next level?
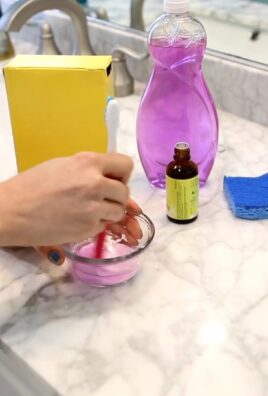
Don’t be afraid to experiment with variations! For tougher stains, let the shaving foam sit for a longer period before wiping it away. You can also add a few drops of essential oil, like lemon or tea tree, to the foam for an extra boost of cleaning power and a pleasant scent. For delicate fabrics, always test the shaving foam on an inconspicuous area first. Consider using a soft-bristled brush to gently work the foam into textured surfaces or stubborn stains.
We’ve covered a lot of ground, from tackling greasy stovetops to revitalizing your jewelry. The possibilities are truly endless when you unlock the cleaning potential of shaving foam. This simple, readily available product can become your secret weapon against dirt, grime, and stains throughout your home.
We are confident that once you experience the cleaning power of shaving foam, you’ll be hooked! It’s a game-changer for anyone looking for an efficient, affordable, and surprisingly effective cleaning solution.
Now it’s your turn! We encourage you to try these shaving foam cleaning hacks and discover the magic for yourself. Don’t forget to share your experiences, tips, and before-and-after photos in the comments below. We’re eager to hear how shaving foam has transformed your cleaning routine! Let us know what surfaces you’ve cleaned, what stains you’ve conquered, and any creative variations you’ve discovered. Your insights could help others unlock the full potential of this amazing DIY cleaning trick. Happy cleaning!
Frequently Asked Questions (FAQs)
Is shaving foam safe to use on all surfaces?
While shaving foam is generally gentle, it’s always best to test it on an inconspicuous area first, especially when dealing with delicate fabrics, painted surfaces, or antique furniture. Look for any signs of discoloration, damage, or residue. If you’re unsure, consult the manufacturer’s instructions for the item you’re cleaning. Avoid using shaving foam on surfaces that are known to be sensitive to moisture or chemicals.
What type of shaving foam works best for cleaning?
Most types of shaving foam will work, but the classic, white, foamy type is generally recommended. Avoid using shaving gels or those with added moisturizers or dyes, as they may leave a residue or stain. A simple, unscented shaving foam is usually the best option for cleaning purposes. Look for a foam that creates a thick, stable lather for optimal cleaning power.
Can I use shaving foam to clean leather?
Yes, you can use shaving foam to clean leather, but with caution. Apply a small amount of foam to a soft cloth and gently rub it onto the leather surface. Wipe away any excess foam with a clean, damp cloth. Allow the leather to air dry completely. It’s always a good idea to test the shaving foam on a hidden area of the leather first to ensure it doesn’t cause any discoloration or damage. Follow up with a leather conditioner to keep the leather moisturized and supple.
How long should I leave the shaving foam on a stain before wiping it off?
The amount of time you leave the shaving foam on a stain depends on the severity of the stain. For light stains, a few minutes may be sufficient. For tougher stains, you may need to leave it on for 15-30 minutes or even longer. Check the stain periodically to see if the shaving foam is lifting it. If the stain persists, you can reapply the shaving foam and let it sit for a longer period.
Will shaving foam damage my stainless steel appliances?
No, shaving foam is generally safe to use on stainless steel appliances. It can help remove fingerprints, smudges, and water spots, leaving your appliances looking shiny and new. Apply a small amount of shaving foam to a soft cloth and gently wipe the stainless steel surface. Wipe away any excess foam with a clean, damp cloth. Buff the surface with a dry cloth to restore its shine.
Can I use shaving foam to clean my bathroom mirrors?
Yes, shaving foam is an excellent way to clean bathroom mirrors. It helps prevent fogging and leaves the mirrors streak-free. Apply a thin layer of shaving foam to the mirror and wipe it off with a clean, dry cloth. You can also use a squeegee for a professional finish. The shaving foam will create a protective barrier that helps prevent condensation from forming on the mirror.
Is shaving foam safe for children and pets?
While shaving foam is generally considered safe, it’s always best to keep it out of reach of children and pets. Avoid allowing children or pets to ingest shaving foam. If ingestion occurs, contact a medical professional or veterinarian immediately. When cleaning with shaving foam, ensure that the area is well-ventilated and that children and pets are not present.
Can I use shaving foam to remove pet stains from carpets?
Yes, shaving foam can be effective at removing pet stains from carpets. Blot up any excess liquid from the stain. Apply a generous amount of shaving foam to the stain and let it sit for 15-30 minutes. Blot the area with a clean, damp cloth to remove the shaving foam and the stain. Repeat as necessary. You can also use a carpet cleaner after removing the shaving foam to ensure that the stain is completely gone.
Does shaving foam have an expiration date?
While shaving foam may not have a specific expiration date, it’s best to use it within a reasonable timeframe. Over time, the ingredients in shaving foam may degrade, making it less effective. If the shaving foam has changed in color, consistency, or smell, it’s best to discard it and purchase a new can.
What are some other creative uses for shaving foam besides cleaning?
Besides cleaning, shaving foam can be used for a variety of other purposes, such as:
* Creating puffy paint for arts and crafts
* Lubricating squeaky hinges or drawers
* Removing makeup stains from clothing
* Cleaning paintbrushes
* Creating a sensory play activity for children
The possibilities are endless! Don’t be afraid to experiment and discover new ways to use this versatile product.
Leave a Comment