

Clean Baseboards Easily – it’s a chore we all dread, isn’t it? Bending, scrubbing, and contorting ourselves into awkward positions just to get those pesky dust bunnies and grime off our baseboards. But what if I told you there’s a way to make this task not only easier but almost… enjoyable?
Baseboards, while often overlooked, have been a part of interior design for centuries. Originally, they served a practical purpose: protecting walls from furniture and foot traffic. Over time, they evolved into decorative elements, adding character and charm to our homes. But regardless of their style, one thing remains constant: they need cleaning! And let’s be honest, nobody wants to spend their precious weekend wrestling with a dirty baseboard.
That’s where these DIY tricks and hacks come in. I’m going to share some simple, effective, and budget-friendly methods to clean baseboards easily, saving you time, energy, and maybe even a backache. From clever cleaning solutions to ingenious tools, you’ll discover how to keep your baseboards sparkling clean with minimal effort. So, ditch the knee pads and get ready to transform your baseboard cleaning routine!
DIY: Sparkling Clean Baseboards Without Breaking Your Back!
Okay, let’s be honest, cleaning baseboards is the chore nobody wants to do. Bending, scrubbing, and contorting yourself into weird positions? No thanks! But dusty, grimy baseboards can really drag down the look of a room. So, I’m going to share my super-easy, back-saving method for getting those baseboards sparkling clean. Trust me, you’ll wonder why you didn’t try this sooner!
What You’ll Need:
Before we dive in, let’s gather our supplies. This is a pretty low-cost project, and you probably already have most of these things lying around:
* A bucket (or two, for rinsing!)
* Warm water
* Dish soap (a gentle, all-purpose cleaner works too)
* Microfiber cloths (lots of them! You’ll want clean ones)
* An old toothbrush or small scrub brush (for stubborn spots)
* A magic eraser (optional, but great for scuff marks)
* A long-handled duster or vacuum with a brush attachment
* A paint edger tool (this is the secret weapon!)
* Optional: Rubber gloves (to protect your hands)
* Optional: Knee pads (if you prefer to get closer to the ground)
* Optional: A spray bottle (for targeted cleaning)
Prepping for Success:
Before we get to the actual cleaning, a little prep work will make the whole process much smoother.
1. Dust First: This is crucial! Use your long-handled duster or vacuum with a brush attachment to remove loose dust, dirt, and cobwebs from the baseboards. This prevents you from just pushing the dirt around when you start washing. I like to go over them twice, just to be sure.
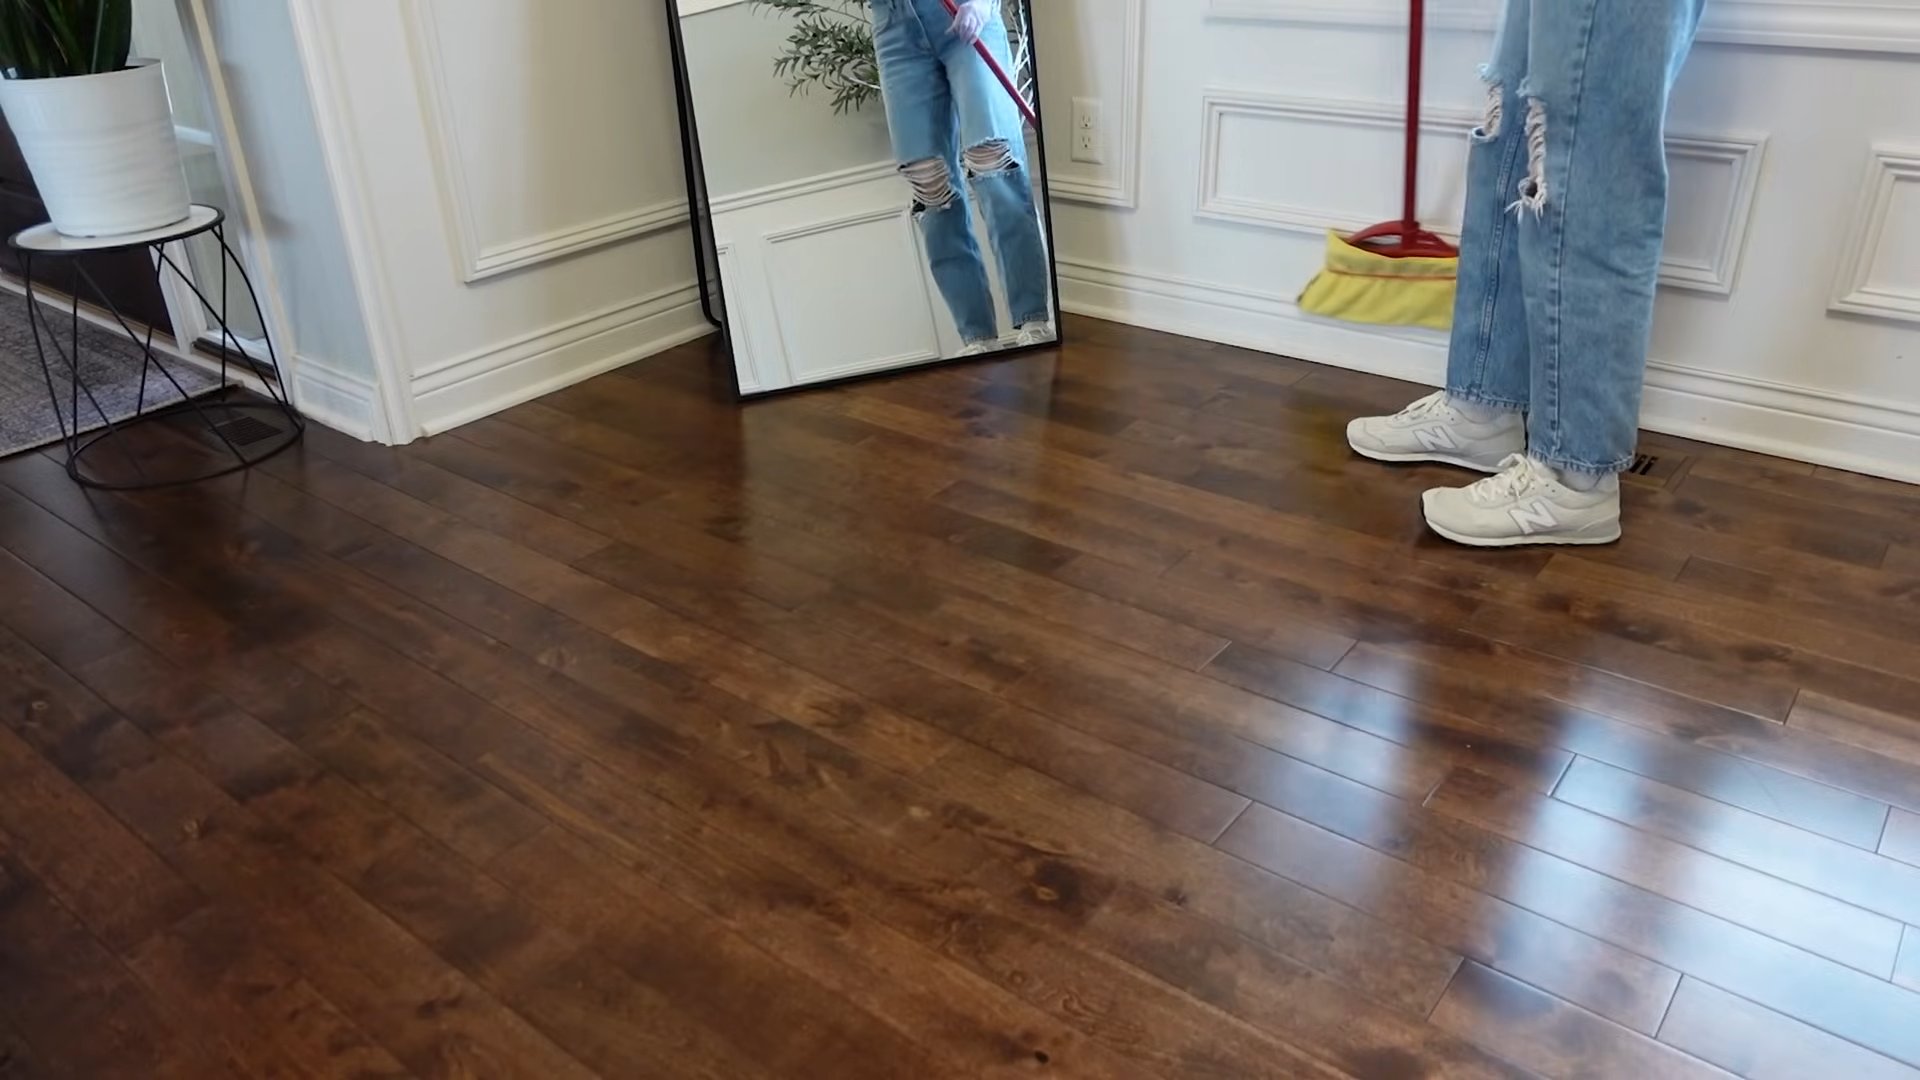
2. Protect Your Floors: If you’re worried about water dripping onto your floors (especially if you have hardwood), you can lay down some old towels or a drop cloth along the baseboards. I usually skip this step if I’m careful, but it’s a good idea if you’re prone to spills.
The Cleaning Process:
Alright, now for the fun part (well, as fun as cleaning baseboards can be!). This is where the paint edger tool comes in. It’s a game-changer!
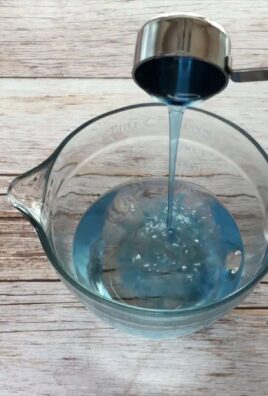
1. Prepare Your Cleaning Solution: Fill your bucket with warm water and add a squirt or two of dish soap. Don’t go overboard with the soap, or you’ll have a hard time rinsing. If you’re using an all-purpose cleaner, follow the instructions on the bottle.
2. Dampen Your Microfiber Cloth: Dip a microfiber cloth into the soapy water, wring it out thoroughly so it’s damp but not dripping. You don’t want to soak the baseboards.
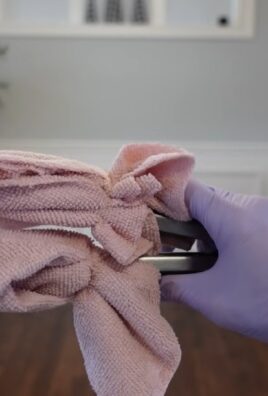
3. Attach the Cloth to the Paint Edger: This is the magic! Wrap the damp microfiber cloth around the paint edger pad, making sure it’s secure. The paint edger will allow you to clean the baseboards without bending over constantly.
4. Wipe the Baseboards: Now, gently glide the paint edger along the baseboards, applying light pressure. The microfiber cloth will pick up the dirt and grime. Work in sections, overlapping slightly to ensure you don’t miss any spots.
5. Rinse and Repeat: As the microfiber cloth gets dirty, rinse it out in clean water (or use a fresh cloth). Re-dampen it with the soapy water and continue cleaning. You’ll probably go through several cloths, depending on how dirty your baseboards are.
6. Tackle Stubborn Spots: For those extra-stubborn spots, like scuff marks or dried-on gunk, use your old toothbrush or small scrub brush. Dip it in the soapy water and gently scrub the area. You can also try a magic eraser for scuff marks – just be careful not to scrub too hard, as it can remove the paint.
7. Rinse with Clean Water: Once you’ve cleaned all the baseboards, it’s important to rinse them with clean water to remove any soap residue. Use a fresh microfiber cloth dampened with clean water and wipe down the baseboards again.
8. Dry the Baseboards: Finally, use a dry microfiber cloth to dry the baseboards. This will prevent water spots and leave them looking their best.
Dealing with Special Situations:
Sometimes, you might encounter some specific challenges when cleaning baseboards. Here are a few tips for dealing with them:
* Painted Baseboards: Be gentle when cleaning painted baseboards, especially if the paint is old or delicate. Avoid using harsh chemicals or abrasive scrubbers, as they can damage the paint.
* Wood Baseboards: For wood baseboards, use a wood-friendly cleaner and avoid getting them too wet. You can also use a wood polish after cleaning to restore their shine.
* Baseboards with Gaps: If your baseboards have gaps or cracks, dirt and grime can accumulate in them. Use a small brush or a cotton swab to clean out these areas.
* Pet Hair: If you have pets, you’ll probably find a lot of pet hair stuck to your baseboards. Use a vacuum with a brush attachment or a lint roller to remove the hair before you start cleaning.
* Grease Splatters (Kitchen): Kitchen baseboards often get grease splatters. A degreasing dish soap or a dedicated kitchen cleaner will help cut through the grease. Let the cleaner sit for a minute or two before wiping.
Alternative Cleaning Solutions:
While dish soap and water are usually sufficient, here are a few alternative cleaning solutions you can try:
* Vinegar and Water: Mix equal parts white vinegar and water in a spray bottle. This is a great natural cleaner and disinfectant.
* Baking Soda Paste: Make a paste of baking soda and water. This is a gentle abrasive that can help remove stubborn stains.
* All-Purpose Cleaner: Use a commercially available all-purpose cleaner, following the instructions on the bottle.
* Essential Oils: Add a few drops of your favorite essential oil to your cleaning solution for a pleasant scent. Lemon, lavender, and tea tree oil are all good choices.
Maintaining Your Sparkling Baseboards:
Once you’ve got your baseboards clean, you’ll want to keep them that way! Here are a few tips for maintaining their sparkle:
* Regular Dusting: Dust your baseboards regularly (at least once a week) to prevent dirt and grime from building up.
* Spot Cleaning: Clean up spills and messes immediately to prevent them from staining the baseboards.
* Protective Coatings: Consider applying a protective coating to your baseboards, such as a sealant or wax, to make them easier to clean in the future.
* Consider a Robot Vacuum: Many robot vacuums are now designed to clean along baseboards. This can help maintain cleanliness with minimal effort.
Why the Paint Edger Works So Well:
I know, I keep harping on the paint edger, but it really is the key to this whole process! Here’s why it’s so effective:
* Ergonomics: It eliminates the need to bend over constantly, saving your back and knees.
* Even Pressure: It applies even pressure to the baseboards, ensuring a thorough cleaning.
* Reach: It allows you to reach those hard-to-reach areas, like behind furniture.
* Efficiency: It makes the cleaning process much faster and more efficient.
Final Thoughts:
Cleaning baseboards doesn’t have to be a dreaded chore. With the right tools and techniques, you can get them sparkling clean without breaking your back. Give this method a try, and I promise you’ll be amazed at the difference it makes! And remember, regular maintenance is key to keeping your baseboards looking their best. Happy cleaning!
Conclusion
So, there you have it! Cleaning baseboards is often a neglected chore, but with this simple DIY trick, it doesn’t have to be a back-breaking, time-consuming ordeal. We’ve shown you how to transform this often-dreaded task into a manageable and even, dare we say, enjoyable experience. The beauty of this method lies in its simplicity and effectiveness. By utilizing readily available household items and a little bit of ingenuity, you can achieve sparkling clean baseboards without harsh chemicals or expensive cleaning solutions.
Why is this DIY trick a must-try? Because it saves you time, money, and effort. Forget about scrubbing on your hands and knees for hours. This method allows you to clean your baseboards quickly and efficiently, leaving you with more time to focus on the things you truly enjoy. Plus, it’s a budget-friendly alternative to store-bought cleaners, which can often be filled with harsh chemicals that are harmful to your health and the environment.
But the benefits don’t stop there. This DIY approach is also incredibly versatile. You can easily customize the cleaning solution to suit your specific needs and preferences. For example, if you have particularly stubborn stains or grime, you can add a bit of baking soda or vinegar to the solution for extra cleaning power. If you prefer a more natural approach, you can use essential oils like lemon or tea tree oil for their antibacterial and antifungal properties.
Variations and Suggestions:
* For painted baseboards: Be gentle! Use a soft cloth and avoid abrasive cleaners that could damage the paint.
* For wooden baseboards: Consider using a wood-specific cleaner or a mixture of water and mild dish soap. Always test in an inconspicuous area first.
* For vinyl baseboards: A simple solution of water and vinegar is usually sufficient.
* Dusting beforehand: Always dust your baseboards before cleaning them with a wet solution. This will prevent the dust from turning into a muddy mess. A vacuum cleaner with a brush attachment works wonders.
* The Magic Eraser: For scuff marks, a magic eraser can be your best friend. Use it sparingly and gently to avoid damaging the finish.
* Preventative Measures: Once your baseboards are clean, consider applying a coat of furniture polish or wax to help repel dust and dirt. This will make future cleanings even easier.
* The Right Tool: While the damp cloth method is effective, consider using a microfiber mop with a flat head for larger areas. This will allow you to clean your baseboards without bending over.
We are confident that this DIY trick will revolutionize the way you clean your baseboards. It’s a simple, effective, and affordable solution that will leave your home looking and feeling its best. So, what are you waiting for? Give it a try and see the difference for yourself!
We encourage you to try this DIY trick for **clean baseboards** and share your experience with us. Let us know what variations you tried, what worked best for you, and any tips or tricks you discovered along the way. Your feedback is invaluable and will help us continue to improve and refine our cleaning methods. Share your before-and-after photos on social media and tag us! We can’t wait to see your sparkling clean baseboards. Happy cleaning!
Frequently Asked Questions (FAQ)
What if I have really stubborn stains on my baseboards?
For stubborn stains, consider creating a paste of baking soda and water. Apply the paste to the stain, let it sit for a few minutes, and then gently scrub with a soft brush or cloth. You can also try using a magic eraser, but be careful not to scrub too hard, as it can damage the finish. Another option is to use a solution of equal parts vinegar and water. Spray the solution onto the stain, let it sit for a few minutes, and then wipe clean. Remember to always test any cleaning solution in an inconspicuous area first to ensure it doesn’t damage the baseboard.
How often should I clean my baseboards?
The frequency of cleaning your baseboards depends on several factors, such as the amount of foot traffic in your home, whether you have pets, and how dusty your environment is. As a general rule, it’s a good idea to clean your baseboards at least once a month. However, if you notice that they are getting particularly dirty or dusty, you may need to clean them more frequently. Regular dusting can also help to prevent dirt and grime from building up on your baseboards, making them easier to clean.
Can I use this method on all types of baseboards?
This method is generally safe for most types of baseboards, including painted, wooden, and vinyl. However, it’s always a good idea to test any cleaning solution in an inconspicuous area first to ensure it doesn’t damage the finish. For painted baseboards, be gentle and avoid abrasive cleaners that could scratch or dull the paint. For wooden baseboards, consider using a wood-specific cleaner or a mixture of water and mild dish soap. For vinyl baseboards, a simple solution of water and vinegar is usually sufficient.
What kind of cloth should I use to clean my baseboards?
A microfiber cloth is the best choice for cleaning baseboards. Microfiber cloths are soft, absorbent, and non-abrasive, making them ideal for removing dirt and grime without damaging the finish. You can also use a soft cotton cloth, but avoid using rough or abrasive cloths that could scratch the baseboards. Make sure the cloth is clean and damp, not soaking wet, to prevent water from seeping into the baseboards.
Is it necessary to dust the baseboards before cleaning them?
Yes, it’s always a good idea to dust your baseboards before cleaning them with a wet solution. Dusting will remove loose dirt and debris, preventing it from turning into a muddy mess when you apply the cleaning solution. You can use a vacuum cleaner with a brush attachment, a duster, or a dry cloth to dust your baseboards.
Can I use essential oils in the cleaning solution?
Yes, you can add essential oils to the cleaning solution for their antibacterial, antifungal, and aromatic properties. Some popular essential oils for cleaning include lemon, tea tree, lavender, and eucalyptus. Add a few drops of your favorite essential oil to the water and dish soap solution. Not only will this make your baseboards smell fresh and clean, but it will also provide additional cleaning benefits. However, be sure to use essential oils sparingly, as some oils can be irritating to the skin or harmful to pets.
What if I have pets that shed a lot of hair?
If you have pets that shed a lot of hair, you may need to clean your baseboards more frequently. Pet hair can easily accumulate on baseboards, making them look dirty and unkempt. Use a vacuum cleaner with a brush attachment to remove pet hair from your baseboards regularly. You can also use a lint roller or a damp cloth to pick up any remaining hair. Consider using a pet-friendly cleaning solution to avoid exposing your pets to harsh chemicals.
How can I prevent my baseboards from getting dirty so quickly?
There are several things you can do to prevent your baseboards from getting dirty so quickly. First, make sure to dust your home regularly to remove loose dirt and debris. You can also use doormats at all entrances to prevent dirt and mud from being tracked into your home. Consider using a vacuum cleaner with a HEPA filter to trap dust and allergens. Finally, you can apply a coat of furniture polish or wax to your baseboards to help repel dust and dirt. This will make future cleanings even easier.

Leave a Comment