

Baking Soda Dish Soap Cleaner: It’s the dynamic duo your kitchen has been waiting for! Are you tired of stubborn grease and grime clinging to your dishes, pots, and pans? Do you yearn for a sparkling clean kitchen without relying on harsh chemicals? Well, you’re in the right place! I’m thrilled to share a simple yet incredibly effective DIY cleaning solution that will transform your dishwashing routine.
The use of baking soda as a cleaning agent has deep roots. For generations, our grandmothers and great-grandmothers relied on its natural abrasive and deodorizing properties to keep their homes fresh and clean. Combined with the degreasing power of dish soap, it creates a powerhouse cleaner that’s both gentle on your hands and tough on dirt. This isn’t just a modern trend; it’s a time-tested solution with a proven track record.
In today’s world, many of us are increasingly conscious of the products we use in our homes. We want to reduce our exposure to potentially harmful chemicals and embrace more sustainable practices. That’s where this baking soda dish soap cleaner really shines. It’s an eco-friendly alternative to commercial cleaners, allowing you to achieve a spotless kitchen while minimizing your environmental impact. Plus, it’s incredibly cost-effective! Who doesn’t love saving money while creating a healthier home? Let’s dive in and discover how to whip up this amazing cleaner and unlock its full potential!
DIY Baking Soda and Dish Soap Cleaner: Your All-Purpose Cleaning Solution
Hey everyone! I’m so excited to share one of my favorite DIY cleaning hacks with you: a powerful and versatile cleaner made with just baking soda and dish soap. Seriously, this stuff is amazing. It’s cheap, effective, and you probably already have the ingredients in your kitchen! I use it for everything from scrubbing my bathtub to degreasing my stovetop. Let’s get started!
Why This Cleaner Works So Well
Before we dive into the how-to, let’s quickly talk about why this combination is so effective.
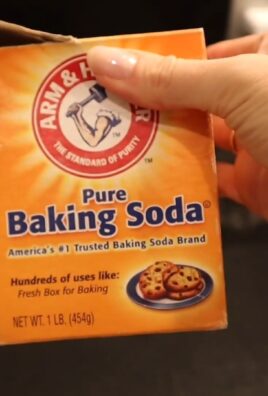
* Baking Soda: This is your gentle abrasive. It helps to scrub away grime and dirt without scratching surfaces. It’s also a natural deodorizer, which is a huge bonus!
* Dish Soap: This is your degreaser and surfactant. It cuts through grease and helps to lift dirt away from surfaces. It also adds a bit of sudsing power to the mix.
Together, they create a cleaning powerhouse that’s tough on messes but gentle on your wallet and the environment.
What You’ll Need
* Baking Soda
* Dish Soap (I prefer a grease-cutting formula like Dawn, but any dish soap will work)
* A small bowl or container for mixing
* A spoon or spatula for mixing
* A sponge, scrub brush, or cleaning cloth
* Spray bottle (optional, for a sprayable version)
* Gloves (optional, but recommended if you have sensitive skin)
Making the Paste Cleaner
This is the most common way I use this cleaner. It’s perfect for scrubbing tubs, sinks, and stovetops.
1. Gather Your Ingredients: Make sure you have your baking soda, dish soap, bowl, and spoon ready to go. I like to lay down a paper towel to protect my countertop from any spills.
2. Add Baking Soda to the Bowl: Start with about 1/2 cup of baking soda. You can always add more later if needed.
3. Add Dish Soap: Slowly add dish soap to the baking soda, a little at a time. I usually start with about 1/4 cup.
4. Mix Thoroughly: Use your spoon or spatula to mix the baking soda and dish soap together. The mixture will start to form a paste.
5. Adjust Consistency: Keep adding dish soap, a little at a time, until you reach your desired consistency. You want a thick, spreadable paste that’s not too runny. It should be similar to the consistency of toothpaste. If you accidentally add too much dish soap, just add a little more baking soda to thicken it up.
6. Test the Paste: Before you go crazy cleaning, test the paste on an inconspicuous area of the surface you plan to clean. This will ensure that it doesn’t scratch or damage the material.
Using the Paste Cleaner
1. Apply the Paste: Using your sponge, scrub brush, or cleaning cloth, apply the baking soda and dish soap paste to the surface you want to clean.
2. Scrub Gently: Use a circular motion to gently scrub the surface. Don’t apply too much pressure, as the baking soda is already abrasive enough.
3. Let it Sit (Optional): For tough stains or grime, let the paste sit on the surface for a few minutes before scrubbing. This will give the baking soda and dish soap time to work their magic. I usually let it sit for about 5-10 minutes.
4. Rinse Thoroughly: Rinse the surface thoroughly with water to remove all traces of the paste.
5. Dry the Surface: Use a clean cloth or towel to dry the surface.
Making the Spray Cleaner
This version is great for cleaning countertops, appliances, and other surfaces that don’t require heavy scrubbing.
1. Gather Your Ingredients: You’ll need baking soda, dish soap, warm water, a spray bottle, and a funnel (optional, but helpful).
2. Add Baking Soda to the Spray Bottle: Add about 1 tablespoon of baking soda to the spray bottle. A funnel can make this easier and prevent spills.
3. Add Dish Soap: Add about 1 teaspoon of dish soap to the spray bottle.
4. Add Warm Water: Fill the rest of the spray bottle with warm water.
5. Shake Well: Secure the spray bottle lid and shake well to combine all the ingredients. Make sure the baking soda dissolves completely.
6. Test the Spray: As with the paste, test the spray on an inconspicuous area before using it on a larger surface.
Using the Spray Cleaner
1. Spray the Surface: Spray the baking soda and dish soap solution onto the surface you want to clean.
2. Wipe Clean: Use a clean cloth or sponge to wipe the surface clean.
3. Rinse (Optional): For some surfaces, you may want to rinse with water after wiping. This is especially important for surfaces that come into contact with food.
4. Dry the Surface: Use a clean cloth or towel to dry the surface.
Specific Cleaning Applications
Here are some of my favorite ways to use this DIY cleaner:
Cleaning the Bathtub and Shower
This cleaner is fantastic for removing soap scum and mildew from your bathtub and shower.
1. Apply the Paste: Apply the baking soda and dish soap paste to the bathtub and shower walls.
2. Scrub: Use a scrub brush or sponge to scrub the surfaces, paying special attention to areas with soap scum or mildew.
3. Let it Sit: Let the paste sit for about 10-15 minutes to allow it to penetrate the grime.
4. Rinse: Rinse thoroughly with water.
5. Dry: Dry the surfaces with a clean towel.
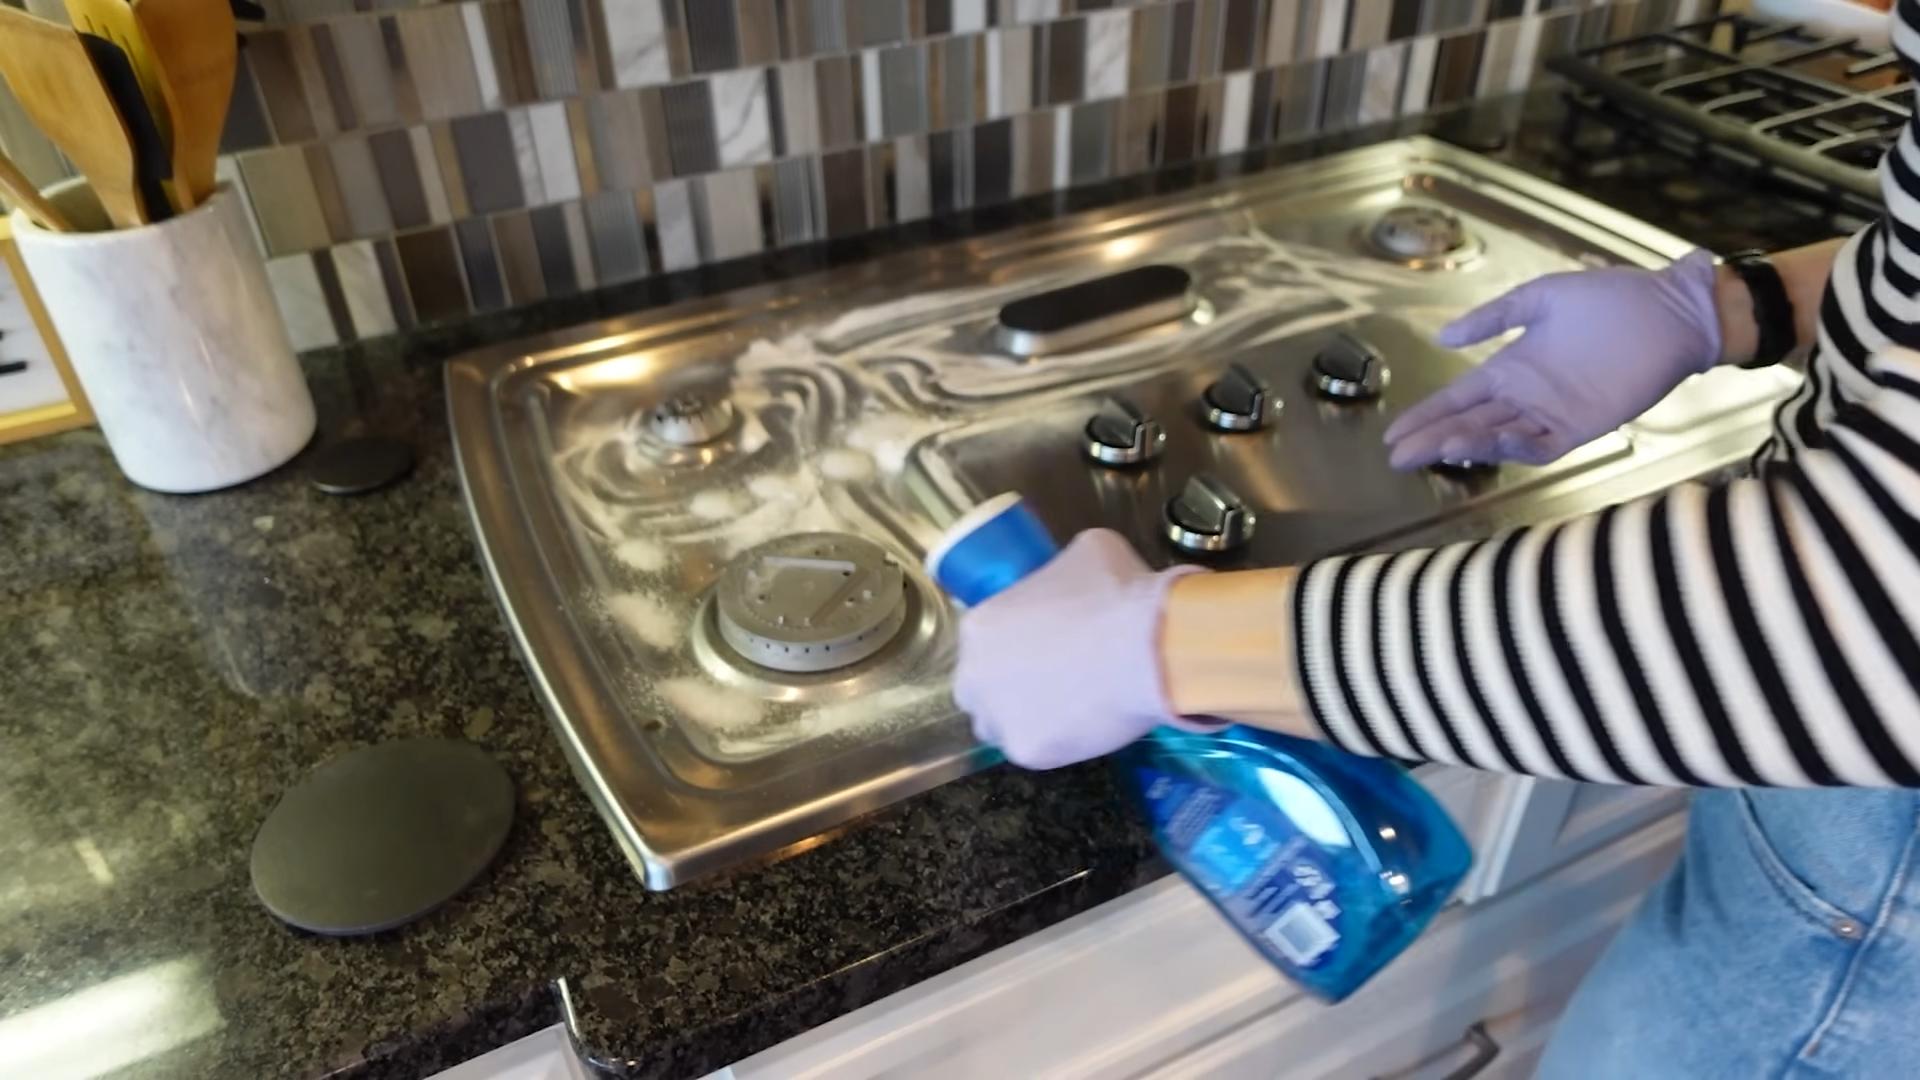
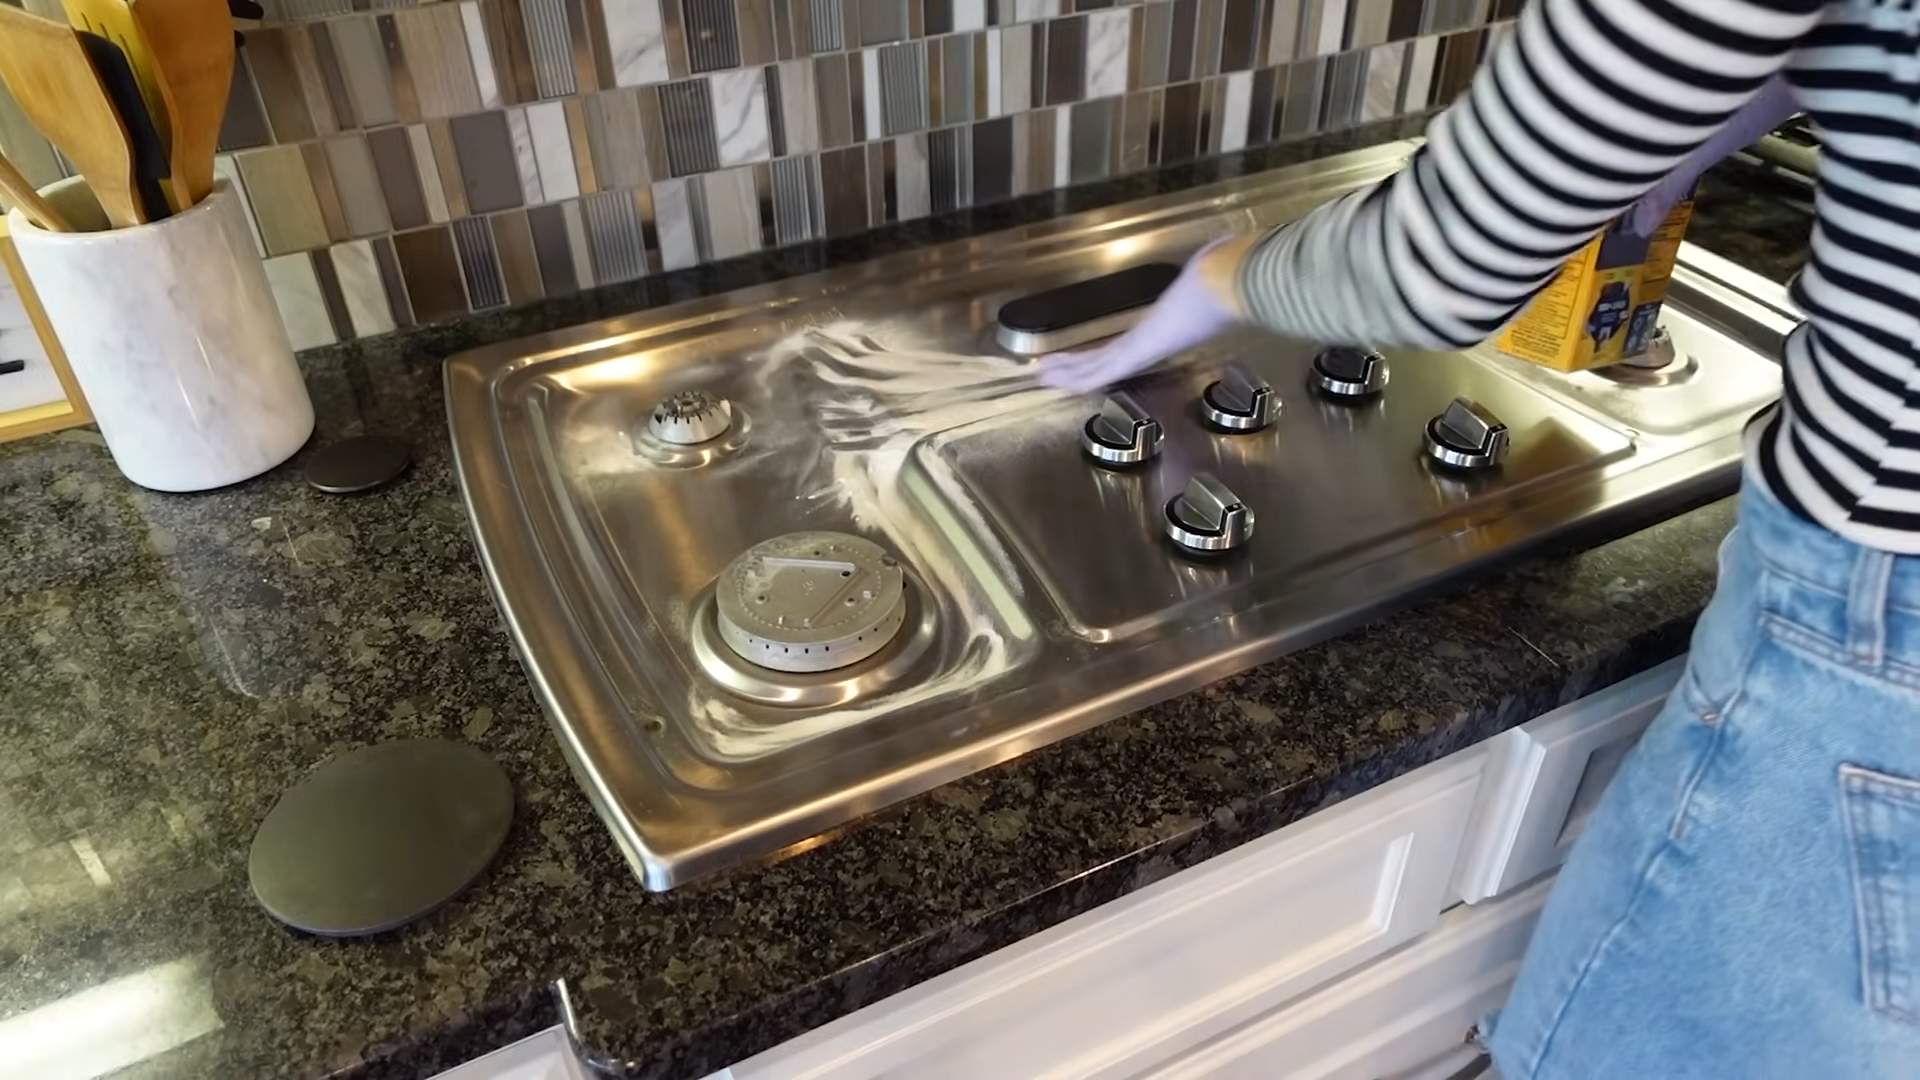
Cleaning the Stovetop
This cleaner is great for degreasing your stovetop and removing burnt-on food.
1. Apply the Paste: Apply the baking soda and dish soap paste to the stovetop.
2. Scrub: Use a scrub brush or sponge to scrub the surface, focusing on areas with grease and burnt-on food.
3. Let it Sit: Let the paste sit for about 5-10 minutes.
4. Wipe Clean: Wipe the surface clean with a damp cloth.
5. Dry: Dry the surface with a clean towel.
Cleaning the Sink
This cleaner will leave your sink sparkling clean and fresh.
1. Apply the Paste: Apply the baking soda and dish soap paste to the sink.
2. Scrub: Use a sponge or scrub brush to scrub the sink, paying attention to the drain and faucet.
3. Rinse: Rinse thoroughly with water.
4. Dry: Dry the sink with a clean towel.
Cleaning Countertops
The spray cleaner works wonders on countertops.
1. Spray: Spray the baking soda and dish soap solution onto the countertop.
2. Wipe: Wipe the surface clean with a damp cloth.
3. Rinse (Optional): Rinse with water if desired.
4. Dry: Dry the countertop with a clean towel.
Cleaning Appliances
Use the spray cleaner to clean the exterior of your appliances.
1. Spray: Spray the baking soda and dish soap solution onto the appliance.
2. Wipe: Wipe the surface clean with a damp cloth.
3. Dry: Dry the appliance with a clean towel.
Important Considerations
* Test First: Always test the cleaner on an inconspicuous area before using it on a larger surface.
* Avoid Certain Surfaces: Do not use this cleaner on delicate surfaces like marble, granite, or wood, as it may scratch or damage them.
* Storage: Store the paste cleaner in an airtight container. The spray cleaner can be stored in the spray bottle.
* Freshness: The spray cleaner is best used within a few days, as the baking soda may settle over time. Just shake well before each use.
* Gloves: Wear gloves if you have sensitive skin, as the baking soda can be drying.
Troubleshooting
* Paste is too runny: Add more baking soda.
* Paste is too thick: Add more dish soap.
* Cleaner is not effective: Make sure you are using enough of the cleaner and scrubbing thoroughly. You may also need to let it sit for a longer period of time.
* Residue left behind: Make sure you are rinsing the surface thoroughly with water.
I hope you find this DIY baking soda and dish soap cleaner as helpful as I do! It’s a simple, effective, and affordable way to keep your home clean and fresh. Happy cleaning!
Conclusion
So, there you have it! This simple yet incredibly effective baking soda dish soap cleaner is a game-changer for anyone looking to ditch harsh chemicals and embrace a more natural and budget-friendly approach to cleaning. We’ve walked you through the easy steps, highlighted the benefits, and hopefully, inspired you to give it a try.
Why is this a must-try? Because it’s more than just a cleaner; it’s a statement. It’s a statement that you care about the environment, your health, and your wallet. It’s a statement that you’re willing to take control of the ingredients you bring into your home and create a safer, healthier space for yourself and your loved ones. The combination of baking soda’s gentle abrasive power and dish soap’s degreasing properties creates a synergistic effect, tackling grime and grease with surprising efficiency. Plus, the sheer satisfaction of creating something so useful from everyday ingredients is an added bonus!
But don’t just take our word for it. Experiment! This recipe is incredibly versatile. Feel free to add a few drops of your favorite essential oil for a boost of fragrance and added cleaning power. Lemon, tea tree, and lavender are all excellent choices. For tougher stains, you can create a paste of baking soda and water and let it sit for a few minutes before scrubbing with the dish soap mixture. You can also adjust the ratio of baking soda to dish soap to suit your specific cleaning needs. If you’re dealing with particularly stubborn grease, try adding a tablespoon of white vinegar to the mix. Just be sure to test it in an inconspicuous area first, especially on delicate surfaces.
We’re confident that once you try this baking soda dish soap cleaner, you’ll be hooked. It’s a simple, effective, and eco-friendly solution that will leave your dishes sparkling and your conscience clear.
So, what are you waiting for? Gather your ingredients, mix up a batch, and experience the difference for yourself. And most importantly, we want to hear about your experience! Share your tips, variations, and before-and-after photos in the comments below. Let’s build a community of DIY cleaning enthusiasts and spread the word about this amazing cleaning hack. Your feedback will not only help others discover the benefits of this cleaner but also inspire us to create even more helpful and sustainable cleaning solutions. We can’t wait to see what you create! Let us know if you found this baking soda dish soap cleaner to be the best solution for your needs.
Frequently Asked Questions (FAQ)
1. Is this baking soda dish soap cleaner safe for all surfaces?
While baking soda is generally a gentle abrasive, it’s always a good idea to test the cleaner in an inconspicuous area first, especially on delicate surfaces like polished wood, marble, or certain types of plastic. Avoid using it on surfaces that are known to be easily scratched. For example, some types of non-stick cookware may be damaged by abrasive cleaners. If you’re unsure, consult the manufacturer’s instructions for your specific surface. When in doubt, err on the side of caution and use a gentler cleaning method.
2. Can I use any type of dish soap?
While most dish soaps will work, it’s best to choose a dish soap that is free of harsh chemicals and dyes, especially if you’re concerned about the environmental impact or have sensitive skin. Look for dish soaps that are labeled as “natural,” “eco-friendly,” or “hypoallergenic.” These options are typically gentler on both your skin and the environment. Avoid using dish soaps that contain bleach or ammonia, as these chemicals can react with baking soda and create harmful fumes.
3. How long will this baking soda dish soap cleaner last?
This cleaner doesn’t contain any preservatives, so it’s best to make it in small batches and use it within a week or two. Over time, the baking soda may settle to the bottom of the container, so be sure to shake it well before each use. To extend its shelf life, store it in an airtight container in a cool, dark place. If you notice any changes in color, odor, or consistency, it’s best to discard it and make a fresh batch.
4. Can I add essential oils to this cleaner?
Yes, adding essential oils can enhance the cleaning power and fragrance of this cleaner. Lemon, tea tree, lavender, and eucalyptus are all excellent choices for their antibacterial and antifungal properties. Add a few drops of your favorite essential oil to the mixture and shake well before using. Be sure to use pure essential oils and avoid synthetic fragrances, as these can be irritating to the skin and respiratory system. Also, be mindful of the potential for essential oils to interact with certain surfaces. Always test in an inconspicuous area first.
5. Is this cleaner effective for removing tough stains?
This cleaner is effective for removing many types of stains, but for tougher stains, you may need to pre-treat the area with a paste of baking soda and water. Apply the paste to the stain, let it sit for a few minutes, and then scrub with the dish soap mixture. For particularly stubborn stains, you can also try adding a tablespoon of white vinegar to the mix. However, be careful when using vinegar on certain surfaces, as it can be acidic and may damage some materials.
6. Can I use this cleaner in my dishwasher?
No, this cleaner is not recommended for use in dishwashers. Dishwashers require specialized detergents that are formulated to work with the machine’s specific cleaning cycle. Using this cleaner in your dishwasher could damage the machine or leave a residue on your dishes.
7. What are the benefits of using a baking soda dish soap cleaner compared to commercial cleaners?
There are several benefits to using a baking soda dish soap cleaner. First, it’s a more natural and eco-friendly option, as it doesn’t contain harsh chemicals or synthetic fragrances. Second, it’s more affordable than many commercial cleaners. Third, it’s easy to make and customize to your specific needs. Finally, it’s a safer option for those with sensitivities to chemicals or allergies.
8. What if I accidentally swallow some of the cleaner?
While this cleaner is made with natural ingredients, it’s still not meant for consumption. If you accidentally swallow a small amount, rinse your mouth with water and drink plenty of fluids. If you experience any symptoms, such as nausea, vomiting, or diarrhea, contact a doctor or poison control center immediately. Keep this cleaner out of reach of children and pets.
9. Can I use this cleaner to clean my oven?
Yes, this cleaner can be used to clean your oven, but it may require some extra effort. First, remove any loose debris from the oven. Then, make a paste of baking soda and water and spread it evenly over the interior surfaces of the oven, avoiding the heating elements. Let the paste sit overnight. The next day, spray the paste with white vinegar and scrub with a sponge or brush. Finally, wipe the oven clean with a damp cloth.
10. How can I make this cleaner more effective for cleaning greasy pots and pans?
For greasy pots and pans, try soaking them in hot water with a generous amount of the baking soda dish soap cleaner for at least 30 minutes before scrubbing. You can also add a tablespoon of white vinegar to the soaking water for extra degreasing power. For particularly stubborn grease, you may need to use a scouring pad or steel wool.
Leave a Comment