

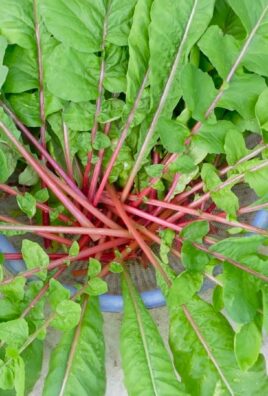
Bean Sprout Gardening DIY: Your Gateway to Fresh, Crunchy Goodness! Ever dreamt of having a constant supply of fresh, crunchy bean sprouts right at your fingertips? I know I have! Forget those limp, sad-looking sprouts from the grocery store. This article is your ultimate guide to mastering the art of Bean Sprout Gardening DIY, and trust me, it’s easier than you think!
Sprouts have been a staple in Asian cuisine for centuries, prized not only for their delicious flavor but also for their incredible nutritional value. From stir-fries to salads, they add a delightful crunch and a boost of vitamins and minerals. But beyond their culinary appeal, growing your own bean sprouts connects you to a long and rich history of sustainable food practices.
In today’s fast-paced world, finding healthy and affordable food options can be a challenge. That’s where Bean Sprout Gardening DIY comes in! Imagine bypassing the grocery store altogether and harvesting a fresh batch of sprouts whenever you need them. Not only will you save money, but you’ll also have complete control over the growing process, ensuring that your sprouts are free from harmful chemicals and pesticides. Plus, it’s a super rewarding and fun project for the whole family! So, let’s dive in and unlock the secrets to successful bean sprout gardening!
DIY Bean Sprout Garden: From Seed to Salad in Days!
Hey there, fellow sprout enthusiasts! I’m so excited to share my favorite method for growing bean sprouts right in your kitchen. Forget those bland, store-bought sprouts – we’re talking fresh, crunchy, and bursting with flavor, all thanks to your own green thumb (or, well, your own jar!). This is a super easy and rewarding project, perfect for beginners and seasoned gardeners alike. Let’s get sprouting!
What You’ll Need
Before we dive in, let’s gather our supplies. The beauty of this project is that you probably already have most of these things lying around!
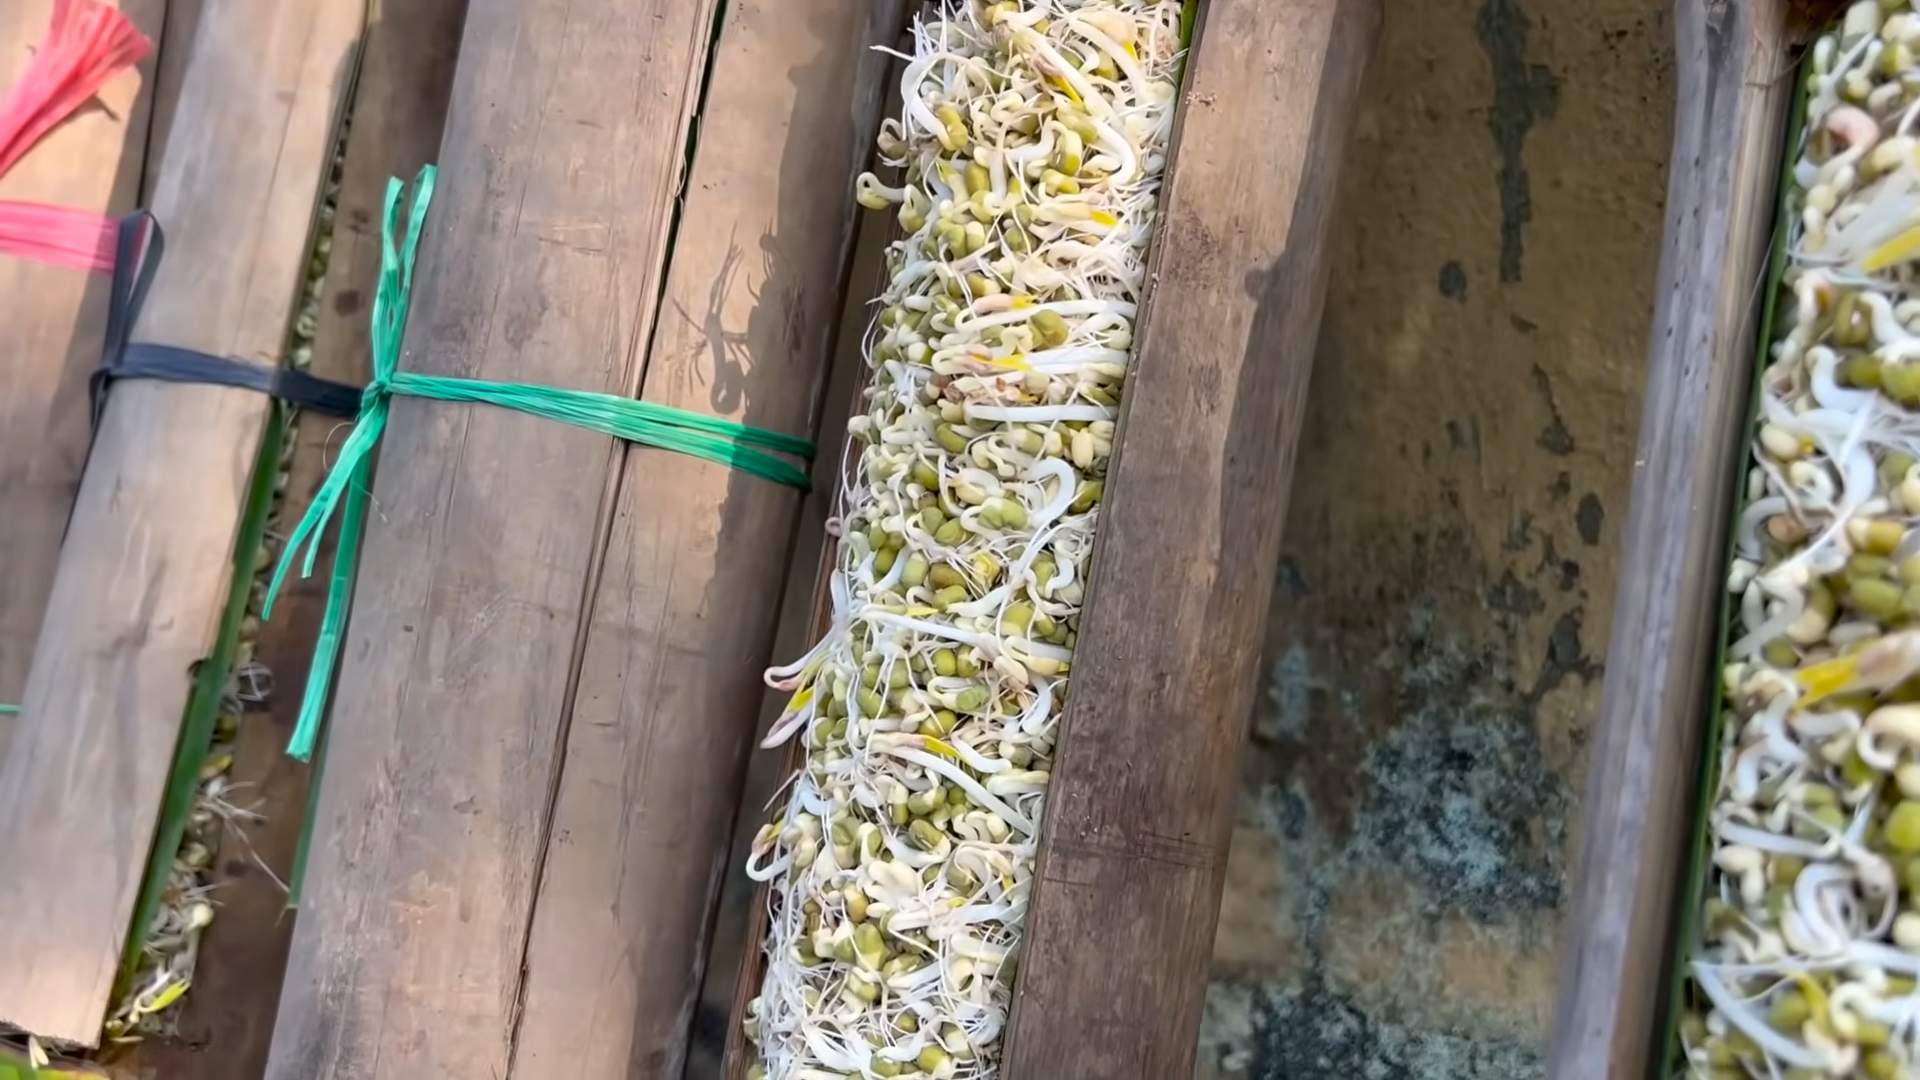
* Sprouting Seeds: Mung beans are the classic choice, but you can also use adzuki beans, lentils, or even alfalfa seeds. Make sure they’re specifically labeled for sprouting, as regular seeds might be treated with chemicals. I usually get mine from the bulk section of my local health food store.
* Wide-Mouth Jar: A quart-sized mason jar works perfectly. You can even repurpose an old pickle jar – just make sure it’s squeaky clean!
* Sprouting Lid or Cheesecloth: You’ll need something to cover the jar that allows for drainage and airflow. Sprouting lids are designed specifically for this purpose and are super convenient. Alternatively, you can use a piece of cheesecloth secured with a rubber band.
* Water: Clean, filtered water is best.
* Bowl: For soaking the beans.
* Dark Place: A cupboard or drawer works great.
* Optional: A small plate or bowl to angle the jar for better drainage.
Getting Started: The Soaking Phase
This is where the magic begins! We need to wake up those little seeds and get them ready to sprout.
1. Rinse the Seeds: Place about 2-3 tablespoons of sprouting seeds in your bowl. Cover them with cool water and give them a good rinse. This removes any debris and helps to hydrate the seeds. Discard any floating seeds, as they’re likely not viable.
2. Soak the Seeds: Add fresh, cool water to the bowl, ensuring the seeds are completely submerged. They’ll expand quite a bit, so don’t overcrowd them. I usually use about 3 times the volume of water to seeds.
3. Soaking Time: Let the seeds soak for 8-12 hours, or even overnight. This is crucial for softening the seed coat and initiating the sprouting process. I usually soak mine before I go to bed, so they’re ready to go in the morning.
The Sprouting Process: Rinse and Repeat!
Now comes the fun part – watching your sprouts grow! This process requires daily rinsing and draining to keep the sprouts moist and prevent mold growth.
1. Drain and Transfer: After soaking, drain the seeds thoroughly. Transfer them to your wide-mouth jar.
2. Secure the Lid: Attach your sprouting lid or secure the cheesecloth with a rubber band.
3. Rinse Thoroughly: Run cool water through the jar, rinsing the sprouts well. Make sure to dislodge any seeds that might be stuck to the sides of the jar.
4. Drain Completely: Invert the jar and drain as much water as possible. This is super important to prevent the sprouts from becoming waterlogged and developing mold. I like to give the jar a gentle shake to help remove any excess water.
5. Dark Storage: Place the jar in a dark, well-ventilated place. A cupboard or drawer is ideal. You can also angle the jar slightly by placing it on a small plate or bowl to ensure better drainage.
6. Repeat Daily: Rinse and drain the sprouts 2-3 times a day. This is the key to healthy, crunchy sprouts. I usually do it in the morning and evening.
7. Observe and Adjust: Keep an eye on your sprouts. If they seem dry, increase the frequency of rinsing. If they seem slimy or have a musty odor, they might be getting too much moisture. Make sure you are draining them very well.
Greening Up: The Final Stage
While sprouts can grow perfectly well in the dark, exposing them to indirect sunlight for a day or two before harvesting will help them develop chlorophyll and turn a lovely shade of green. This also enhances their flavor and nutritional value.
1. Indirect Sunlight: After about 3-4 days of sprouting in the dark, move the jar to a location with indirect sunlight. Avoid direct sunlight, as it can overheat the sprouts. A windowsill with a sheer curtain is perfect.
2. Continue Rinsing: Continue rinsing and draining the sprouts 2-3 times a day.
3. Observe the Color Change: You’ll notice the sprouts start to turn green within a day or two.
Harvesting and Storing: Enjoy Your Bounty!
Your sprouts are ready to harvest when they’ve reached your desired length. I usually harvest mine when they’re about 1-2 inches long.
1. Final Rinse: Give the sprouts a final rinse to remove any remaining seed hulls. You can gently rub them between your fingers to help loosen the hulls.
2. Drain Thoroughly: Drain the sprouts very well.
3. Storage: Store the sprouts in an airtight container in the refrigerator. They’ll keep for about a week. I like to line the container with a paper towel to absorb any excess moisture.
Troubleshooting: Common Issues and Solutions
Even with the best intentions, sometimes things can go wrong. Here are a few common issues and how to fix them:
* Mold: Mold is the biggest enemy of sprouting. It’s usually caused by insufficient drainage or poor ventilation. If you see mold, discard the entire batch. To prevent mold, make sure you’re rinsing and draining the sprouts thoroughly, and that they have good airflow.
* Slimy Sprouts: Slimy sprouts are usually a sign of bacterial growth, often caused by warm temperatures or insufficient rinsing. If your sprouts are slimy, discard them. To prevent sliminess, use cool water for rinsing and make sure your sprouting environment is not too warm.
* Slow Growth: Slow growth can be caused by a number of factors, including cold temperatures, old seeds, or insufficient moisture. Make sure your seeds are fresh and that you’re rinsing them regularly. If your sprouting environment is cold, try moving the jar to a slightly warmer location.
* Unpleasant Odor: An unpleasant odor is usually a sign of spoilage. If your sprouts smell bad, discard them. To prevent unpleasant odors, make sure you’re rinsing and draining the sprouts thoroughly, and that they have good airflow.
Using Your Sprouts: Culinary Adventures Await!
Now that you have a jar full of fresh, crunchy sprouts, it’s time to get creative in the kitchen! Here are a few of my favorite ways to use them:
* Salads: Add sprouts to your favorite salads for a boost of flavor and texture.
* Sandwiches and Wraps: Sprouts make a great addition to sandwiches and wraps.
* Stir-Fries: Toss sprouts into stir-fries for a crunchy and nutritious addition.
* Soups: Garnish soups with sprouts for a fresh and flavorful touch.
* Smoothies: Add a handful of sprouts to your smoothies for a nutritional boost.
* Snacks: Just eat them raw! They are a great healthy snack.
Seed Selection: Choosing the Right Beans
Not all beans are created equal when it comes to sprouting. Here’s a quick guide to choosing the best seeds for your DIY sprout garden:
* Mung Beans: The classic choice for bean sprouts. They’re easy to sprout, have a mild flavor, and are readily available.
* Adzuki Beans: These beans have a slightly sweeter flavor than mung beans and are also easy to sprout.
* Lentils: Lentils sprout quickly and have a nutty flavor. They’re a great source of protein and fiber.
* Alfalfa Seeds: Alfalfa sprouts are delicate and have a mild, slightly grassy flavor. They’re a good source of vitamins and minerals.
* Broccoli Seeds: Broccoli sprouts are packed with nutrients and have a slightly spicy flavor.
* Radish Seeds: Radish sprouts have a peppery flavor and are a good source of vitamin C.
Important Note: Always use seeds that are specifically labeled for sprouting. Regular seeds may be treated with chemicals that are not safe for consumption.
Optimizing Your Sprouting Environment: Temperature and Humidity
The ideal temperature for sprouting is between 70-75°F (21-24°C). If your sprouting environment is too cold, the sprouts will grow slowly. If it’s too warm, they may be more susceptible to mold and bacterial growth.
Humidity is also important. Sprouts need a humid environment to thrive, but too much humidity can lead to mold growth
Conclusion
So, there you have it! Cultivating your own bean sprouts at home is not only incredibly simple and cost-effective, but it also provides you with a constant supply of fresh, nutritious ingredients right at your fingertips. Forget those limp, sad-looking sprouts from the grocery store – with this easy DIY trick, you can enjoy crisp, flavorful bean sprouts whenever you desire.
This method is a game-changer for anyone looking to incorporate more fresh produce into their diet without breaking the bank. The satisfaction of watching those tiny seeds transform into crunchy sprouts is truly rewarding. Plus, you have complete control over the growing environment, ensuring that your bean sprouts are free from harmful pesticides and chemicals.
But the fun doesn’t stop there! Feel free to experiment with different types of beans. While mung beans are the most common choice for bean sprouts, you can also try sprouting adzuki beans, lentils, or even chickpeas. Each variety will offer a slightly different flavor and texture, adding exciting new dimensions to your culinary creations.
Consider adding a touch of spice to your sprouting process. A pinch of chili flakes or a few slices of ginger can infuse your bean sprouts with a subtle kick. Or, for a more savory flavor, try adding a splash of soy sauce or tamari to the rinsing water.
The possibilities are endless! Use your homemade bean sprouts in stir-fries, salads, sandwiches, spring rolls, or even as a crunchy topping for soups and noodles. They’re a versatile ingredient that can elevate any dish.
This bean sprout gardening DIY is a must-try for anyone seeking a sustainable, healthy, and delicious way to enhance their meals. It’s a simple project that yields impressive results, and we’re confident that you’ll love the freshness and flavor of homegrown bean sprouts.
We encourage you to give this DIY trick a try and share your experience with us! Let us know what variations you experiment with and what delicious dishes you create using your homegrown bean sprouts. Share your photos and tips in the comments below – we can’t wait to see what you come up with! Happy sprouting!
Frequently Asked Questions (FAQ)
What kind of beans can I use for sprouting?
Mung beans are the most commonly used and readily available beans for sprouting. They sprout quickly and reliably, producing the classic bean sprouts you find in most grocery stores. However, you can also experiment with other types of beans and legumes, such as adzuki beans, lentils, chickpeas, and even soybeans. Keep in mind that different beans may have different sprouting times and require slightly different conditions. Always ensure the beans you use are intended for sprouting and are not treated with any chemicals.
How long does it take for bean sprouts to grow?
Typically, bean sprouts will be ready to harvest in 3 to 5 days. The exact time will depend on the temperature and humidity of your environment. Warmer temperatures will generally speed up the sprouting process, while cooler temperatures may slow it down. Check your sprouts daily and harvest them when they reach your desired length and thickness.
How do I prevent mold from growing on my bean sprouts?
Mold growth is a common concern when sprouting beans. To prevent mold, it’s crucial to maintain good hygiene and ensure proper ventilation. Always start with clean beans and a clean sprouting container. Rinse the beans thoroughly at least twice a day with fresh, cool water. Make sure the container is well-drained to prevent water from pooling at the bottom. Avoid overcrowding the container with too many beans, as this can restrict airflow. If you notice any signs of mold, discard the entire batch of sprouts immediately.
What is the best way to store bean sprouts?
Once your bean sprouts are ready, rinse them thoroughly and drain them well. Store them in an airtight container lined with a paper towel in the refrigerator. The paper towel will help absorb excess moisture and keep the sprouts fresh for longer. Properly stored bean sprouts can last for up to a week in the refrigerator.
Are bean sprouts safe to eat raw?
While homegrown bean sprouts are generally safe to eat raw, it’s important to be aware of the potential risks associated with consuming raw sprouts. Sprouts are grown in warm, humid conditions, which can be conducive to bacterial growth. To minimize the risk of foodborne illness, it’s essential to start with clean beans, maintain good hygiene during the sprouting process, and rinse the sprouts thoroughly before eating. If you are concerned about the risk of bacterial contamination, you can cook the bean sprouts lightly before consuming them.
Can I use tap water to sprout bean sprouts?
Yes, you can use tap water to sprout bean sprouts, provided that your tap water is safe to drink. If you are concerned about the quality of your tap water, you can use filtered or bottled water instead. Avoid using water that is heavily chlorinated, as this can inhibit the sprouting process.
What if my bean sprouts don’t sprout?
If your bean sprouts are not sprouting, there could be several reasons. First, make sure that the beans you are using are fresh and viable. Old or damaged beans may not sprout properly. Second, ensure that the beans are being soaked for the correct amount of time. Over-soaking or under-soaking can both inhibit sprouting. Third, check the temperature of your environment. Bean sprouts prefer a warm, humid environment. If the temperature is too cold, the sprouts may not germinate. Finally, make sure that the beans are being rinsed regularly and that the container is well-drained.
Can I sprout beans in a jar?
Yes, sprouting beans in a jar is a popular and effective method. To sprout beans in a jar, you will need a wide-mouth jar, a sprouting lid or cheesecloth, and a rubber band. Simply soak the beans in the jar, drain the water, and cover the jar with the sprouting lid or cheesecloth. Rinse the beans twice a day and drain the water thoroughly. Place the jar upside down at an angle to allow for proper drainage and ventilation.
How do I know when my bean sprouts are ready to harvest?
Bean sprouts are typically ready to harvest when they reach your desired length and thickness. Most people prefer to harvest them when they are about 2 to 3 inches long. The sprouts should be crisp and firm, with a slightly sweet flavor. Avoid harvesting them when they are too long or too thin, as they may become bitter or mushy.
Is this bean sprout gardening DIY sustainable?
Absolutely! This method is incredibly sustainable. You’re reducing your reliance on commercially grown produce, which often involves significant transportation and packaging. You’re also minimizing waste by growing only what you need. Plus, you’re using minimal resources – just beans, water, and a container. It’s a win-win for your health and the environment!
Leave a Comment