

Garlic Kitchen Hacks: Unleash the Power of the Bulb
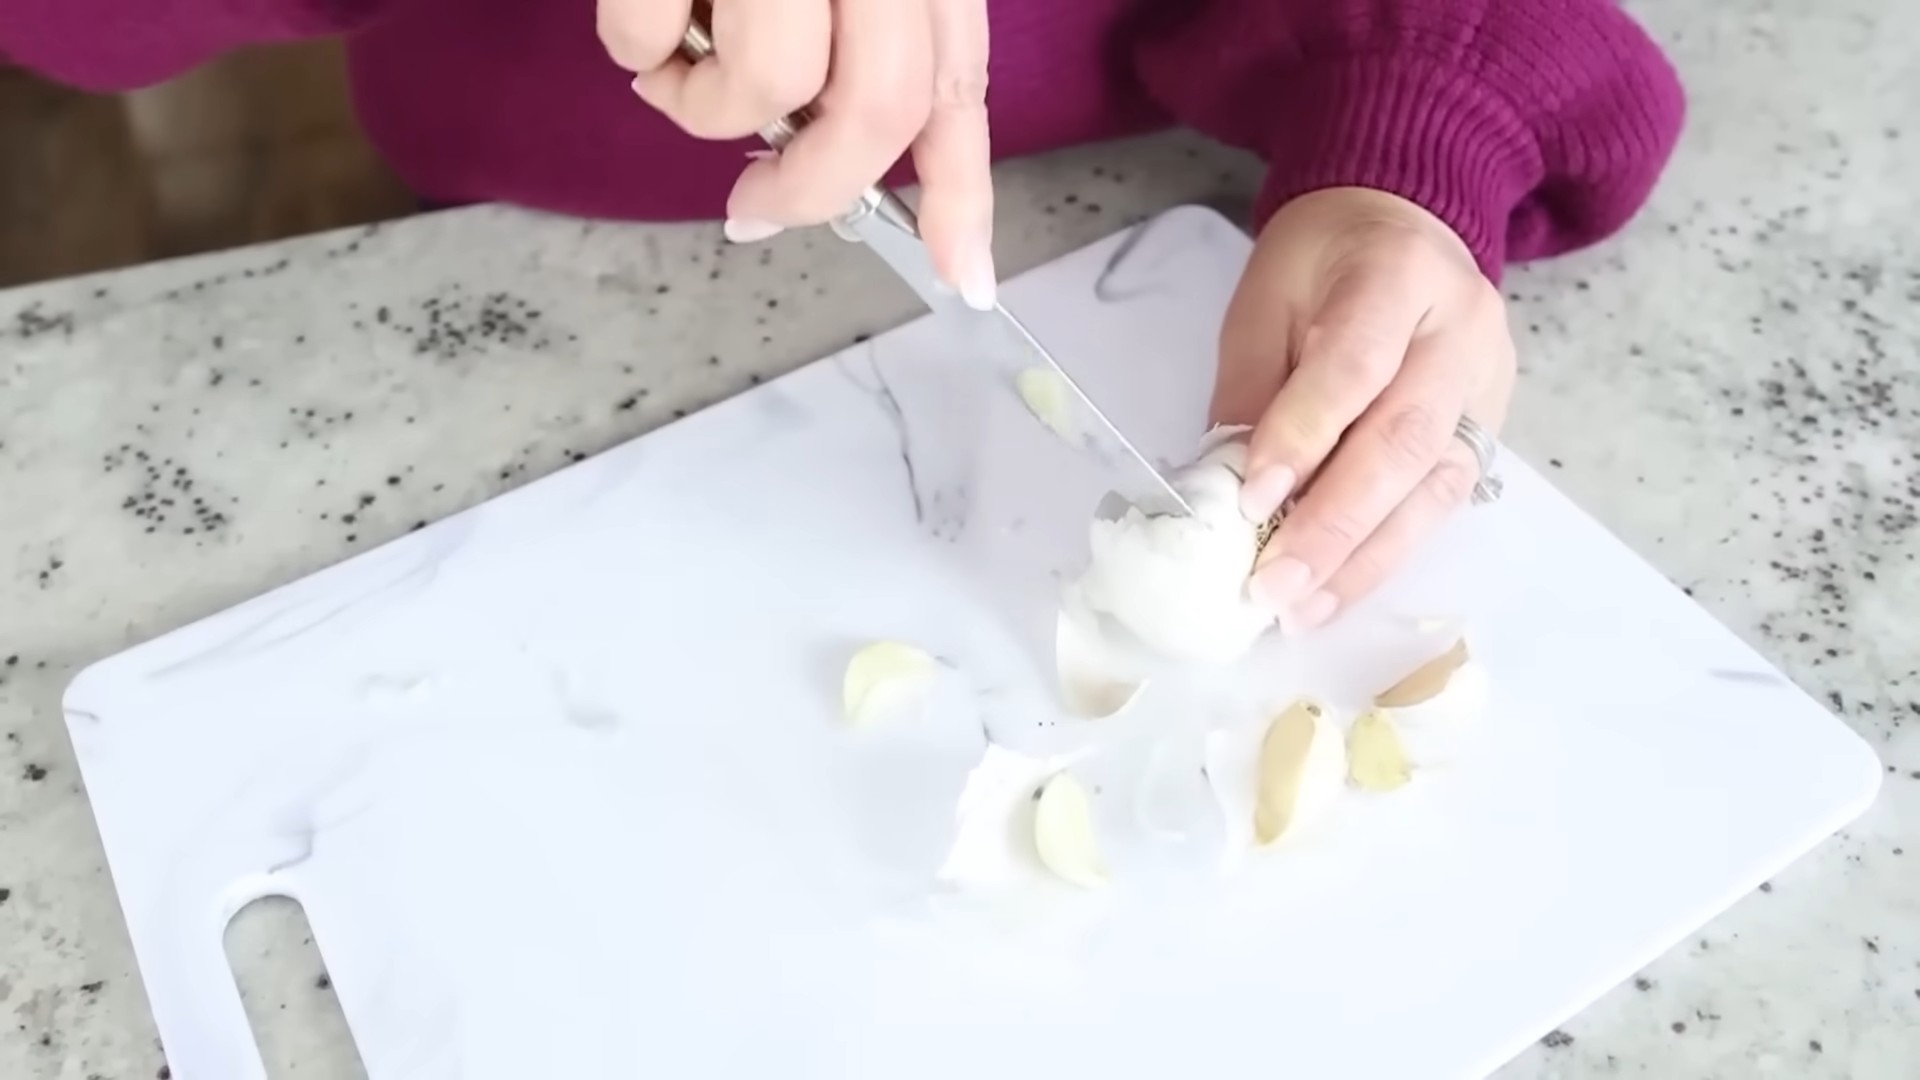
I love garlic! Its pungent aroma and robust flavor are staples in my kitchen, but I’ve always been frustrated by the mess and sometimes even the waste involved in preparing it. That’s why I’m so excited to share these Garlic Kitchen Hacks with you – clever tips and tricks I’ve collected over the years to make working with garlic easier, faster, and more efficient. Forget the tears and the lingering smell on your hands; these hacks will transform your garlic experience!
The use of garlic in cooking stretches back millennia, with evidence suggesting its culinary use dating back to ancient Egypt and beyond. It’s not just a flavor enhancer; throughout history, garlic has been valued for its purported medicinal properties, adding another layer to its rich cultural significance. But let’s be honest, even with its impressive history, nobody wants to spend half an hour painstakingly peeling cloves!
Why You Need These Garlic Kitchen Hacks
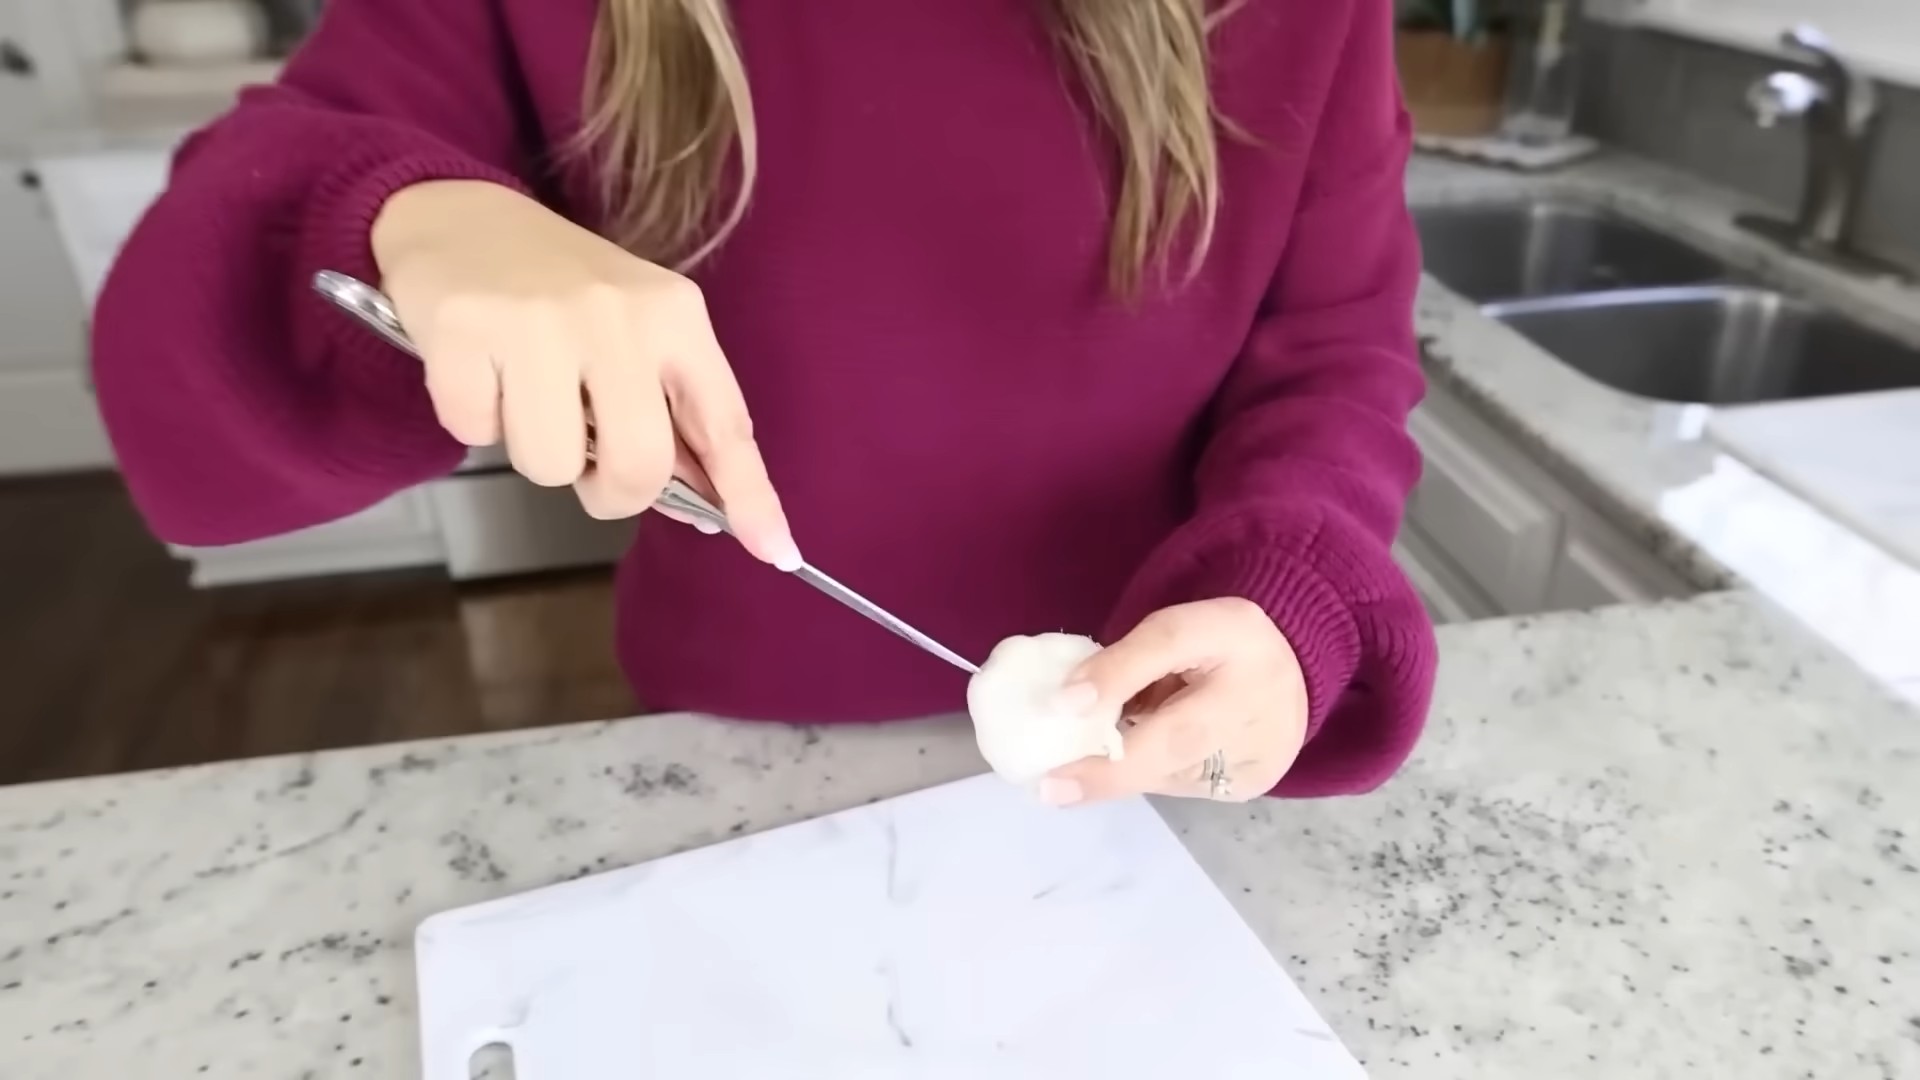
These Garlic Kitchen Hacks aren’t just about convenience; they’re about maximizing the potential of this incredible ingredient. From preventing that annoying garlic smell from clinging to your hands to clever ways to store it for longer, these tips will help you get the most out of every bulb. Whether you’re a seasoned chef or a kitchen novice, you’ll find these simple yet effective techniques invaluable. Imagine effortlessly peeling a whole bulb in seconds, or having perfectly minced garlic ready to go in a flash – that’s the power of these Garlic Kitchen Hacks!
So, grab your garlic and let’s dive into these amazing time-saving and mess-reducing techniques. You’ll be amazed at how much easier and more enjoyable cooking with garlic can be!
Building a Custom Bookshelf from Reclaimed Wood
I love the look of reclaimed wood, and I’ve always wanted a unique bookshelf. So, I decided to build my own! This project took a bit of time, but the result is a beautiful, one-of-a-kind piece I’m incredibly proud of. Here’s how I did it:
Gathering Your Materials
- Reclaimed wood planks (I used about 10, varying in width and length – aim for a mix of interesting textures and colors!)
- Wood glue
- Wood screws (various lengths, depending on plank thickness)
- Wood filler
- Sandpaper (various grits, starting with coarser and moving to finer)
- Wood stain (your choice of color – I went with a dark walnut)
- Polyurethane sealant (to protect the finish)
- Measuring tape
- Level
- Drill with drill bits (matching your screw sizes)
- Safety glasses
- Work gloves
- Putty knife
- Brushes (for stain and sealant)
- Clamps (to hold planks together while the glue dries)
Preparing the Wood
1. Clean the planks: Before you start, give your reclaimed wood a good cleaning. I used a stiff brush to remove loose dirt and debris. For stubborn grime, a pressure washer can be helpful, but be gentle to avoid damaging the wood.
2. Assess and sort: Lay out all your planks and assess their condition. Some might need more work than others. Sort them by size and general condition to help plan your bookshelf structure. I found it helpful to sketch a rough design beforehand.
3. Cut and shape (if needed): Some of my planks needed trimming to achieve the look I wanted. Use a saw (circular saw or hand saw, depending on your comfort level and the size of the planks) to cut the wood to your desired lengths. Remember to wear safety glasses!
4. Sanding: This is crucial for a smooth finish. Start with a coarser grit sandpaper (around 80 grit) to remove any rough spots or splinters. Gradually move to finer grits (120, then 220) for a progressively smoother surface. Sand in the direction of the wood grain to avoid scratches. This step takes time, but it’s worth it for a professional-looking result.
Assembling the Bookshelf
1. Plan your structure: Decide on the height and width of your bookshelf. I opted for a staggered, asymmetrical design, but you can choose a more traditional look. Remember to consider the weight capacity of your reclaimed wood.
2. Glue and screw the shelves: Apply wood glue to the ends of the planks you’ll be using for the shelves. Then, carefully position them and secure them with wood screws. Use a drill to pre-drill pilot holes to prevent the wood from splitting. I found it easiest to work in sections, assembling smaller units before joining them together. Use clamps to hold everything firmly in place while the glue dries. This is important for a strong and stable bookshelf.
3. Create the sides and back: Once the shelves are assembled, attach the side pieces. I used longer planks for the sides, creating a frame around the shelves. For the back, I used thinner planks, leaving small gaps for a rustic look. Again, use wood glue and screws, and clamp everything securely.
4. Fill any gaps: Once everything is assembled, use wood filler to fill any gaps or holes left by screws or imperfections in the wood. Let the filler dry completely, then sand it smooth.
Finishing Touches
1. Stain the wood: Apply your chosen wood stain according to the manufacturer’s instructions. I used a brush and applied several thin coats, allowing each coat to dry completely before applying the next. This ensures even color and prevents blotchiness.
2. Seal the wood: Once the stain is dry, apply a polyurethane sealant to protect the wood from moisture and wear. Again, apply several thin coats, allowing each to dry completely before applying the next. This will give your bookshelf a durable and long-lasting finish.
3. Final sanding (optional): After the sealant is completely dry, you might want to do a very light sanding with very fine-grit sandpaper (320 or higher) to remove any imperfections or raised grain. This step is optional, but it can make the finish even smoother.
4. Clean up: Wipe down the bookshelf with a clean cloth to remove any dust or debris from the sanding.
Tips for Success:
- Take your time: This is not a rush job. Allow ample drying time for the glue, stain, and sealant.
- Use clamps: Clamps are essential for ensuring a strong and stable bookshelf.
- Pre-drill pilot holes: This will prevent the wood from splitting when you screw it together.
- Sand thoroughly: Proper sanding is key to a smooth and professional-looking finish.
- Work in a well-ventilated area: When using stain and sealant, work in a well-ventilated area to avoid inhaling harmful fumes.
Safety First!
Always wear safety glasses and work gloves when using power tools and working with wood. Be careful when handling sharp tools and materials.
Conclusion
So there you have it! A collection of surprisingly simple yet incredibly effective garlic kitchen hacks to elevate your culinary game. From effortlessly peeling cloves to preventing that lingering garlic odor on your hands, these DIY tricks are a game-changer for any home cook. They’re not just about saving time; they’re about enhancing your overall cooking experience, making the process more enjoyable and efficient. This compilation of garlic kitchen hacks isn’t just about convenience; it’s about unlocking the full potential of this aromatic powerhouse in your dishes. By mastering these techniques, you’ll find yourself reaching for garlic more often, experimenting with bolder flavors, and ultimately creating meals that are bursting with deliciousness.
The beauty of these garlic kitchen hacks lies in their adaptability. Feel free to experiment and find what works best for you. For instance, if you prefer a more intense garlic flavor in your dishes, consider using a larger quantity of roasted garlic. Conversely, if you’re aiming for a milder taste, opt for sautéed garlic or incorporate it towards the end of your cooking process. The possibilities are endless! You can also explore different types of garlic, such as elephant garlic or black garlic, to add unique nuances to your recipes. Don’t be afraid to get creative and personalize these techniques to suit your individual preferences and culinary style.
We strongly encourage you to try these garlic kitchen hacks and share your experiences with us! Whether you’re a seasoned chef or a kitchen novice, these simple tricks will undoubtedly enhance your cooking journey. Post your culinary creations on social media, tag us, and let us know which hack became your new favorite. We’re eager to see your delicious results and hear about your own innovative twists on these methods. Your feedback will inspire us to continue sharing more practical and effective kitchen tips to help you create amazing meals with ease and confidence. Join our community of food enthusiasts and let’s celebrate the magic of garlic together!
Remember, mastering these garlic kitchen hacks isn’t just about improving your cooking skills; it’s about fostering a deeper appreciation for this versatile ingredient. It’s about transforming a potentially tedious task into a seamless and enjoyable part of your culinary routine. So, roll up your sleeves, grab your garlic, and get ready to experience the difference these simple yet powerful techniques can make. Your taste buds will thank you!
Frequently Asked Questions
How long can I store peeled garlic?
Peeled garlic cloves can be stored in an airtight container in the refrigerator for up to a week. For longer storage, consider freezing them. Freezing preserves their flavor and texture remarkably well.
Can I use these garlic hacks with other alliums like shallots or onions?
While some techniques, like the shaking method for peeling, might work better with garlic due to its shape, the principles of quick soaking and roasting can be applied to other alliums like shallots and onions to soften them and enhance their flavor. Experiment to see what works best!
What’s the best way to remove the lingering garlic smell from my hands?
The stainless steel method is highly effective. Rubbing your hands on a stainless steel surface for about 30 seconds after handling garlic neutralizes the odor-causing compounds. Alternatively, washing your hands with lemon juice or vinegar also works well.
Are there any health benefits to using roasted garlic?
Yes! Roasting garlic reduces its pungency and creates a sweeter, more mellow flavor. It also increases the concentration of certain beneficial compounds, making it even more nutritious.
Can I use these garlic hacks for making large batches of garlic for preserving?
Absolutely! These techniques, especially the methods for peeling and roasting, are easily scalable for larger quantities. Just adjust the cooking times and container sizes accordingly. Remember to work in batches to avoid overcrowding.
What if I don’t have a stainless steel sink or utensil?
If you don’t have access to stainless steel, you can still effectively remove garlic odor from your hands by thoroughly washing them with soap and water, followed by rubbing with lemon juice or vinegar. These acidic substances help neutralize the odor-causing compounds.
My roasted garlic is burnt. What went wrong?
Burnt roasted garlic usually indicates that the oven temperature was too high or the garlic was cooked for too long. Ensure your oven is at the correct temperature and check the garlic regularly to prevent burning. Start with a lower temperature and shorter cooking time if you’re unsure.
Can I use frozen garlic in recipes?
Yes, you can use frozen garlic in recipes. However, it’s best to thaw it completely before using it to prevent it from affecting the texture of your dish. Frozen garlic is ideal for adding to soups, stews, or sauces where the texture is less critical.
Are there any specific types of garlic that are better suited for these hacks?
While these hacks work well with most garlic varieties, some might be easier to work with than others. For instance, soft-neck garlic is generally easier to peel than hard-neck garlic. Experiment to find what works best for you and the type of garlic you have available.
Where can I find more garlic recipes to try out my new skills?
Numerous online resources and cookbooks offer a wide variety of garlic-centric recipes. Search for “garlic recipes” online or browse your favorite culinary websites and cookbooks for inspiration. Don’t be afraid to experiment and create your own unique garlic-infused dishes!


Leave a Comment