

Bleach cleaning ideas – they might not sound glamorous, but trust me, they’re your secret weapon for a sparkling clean home! Ever feel like you’re constantly battling grime, stains, and lurking germs? You’re not alone! For generations, bleach has been a go-to for disinfecting and whitening, with roots stretching back to ancient civilizations using similar compounds for cleaning and medicinal purposes. Think of the Romans using wood ash lye – a distant cousin to our modern bleach – to launder their togas!
But let’s be honest, bleach can be a bit intimidating. That’s where these DIY tricks and hacks come in. I’m going to show you how to harness the power of bleach safely and effectively, tackling everything from stubborn bathroom stains to dingy laundry. We’ll explore creative and unexpected bleach cleaning ideas that will save you time, money, and a whole lot of elbow grease. Get ready to transform your cleaning routine and achieve a level of cleanliness you never thought possible – all with a little help from our old friend, bleach!
DIY Bleach Cleaning Hacks: Unleash the Power of Bleach Safely!
Hey there, fellow cleaning enthusiasts! Let’s dive into the world of bleach and discover some amazing DIY cleaning hacks that will leave your home sparkling. But remember, bleach is a powerful chemical, so safety first! Always wear gloves and eye protection, and ensure proper ventilation. Never mix bleach with ammonia or other cleaning products, as this can create toxic fumes.
Understanding Bleach Basics
Before we jump into the hacks, let’s quickly cover the basics. Bleach, specifically sodium hypochlorite, is a fantastic disinfectant and stain remover. It works by oxidizing stains and killing bacteria, viruses, and fungi. However, it’s crucial to dilute it properly to avoid damage to surfaces and protect yourself. A general rule of thumb is to use a solution of 1 part bleach to 10 parts water.
Hack 1: Reviving Dingy White Laundry
Is your white laundry looking a little lackluster? Don’t despair! Bleach can work wonders to restore their brightness.
What you’ll need:
* Bleach (sodium hypochlorite)
* Laundry detergent
* Washing machine
* Gloves
Step-by-step instructions:
1. Sort your laundry: Separate your whites from colored items to prevent color bleeding.
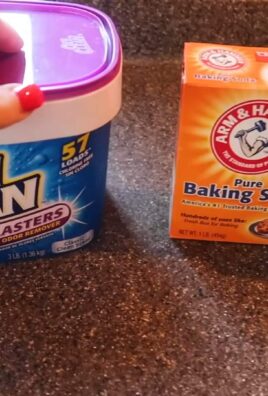
2. Pre-treat stains: For stubborn stains, pre-treat them with a stain remover or a paste of baking soda and water. Let it sit for about 30 minutes before washing.
3. Load the washing machine: Place your white laundry into the washing machine, being careful not to overload it.
4. Add detergent: Add your regular laundry detergent to the dispenser.
5. Add bleach: Carefully add the recommended amount of bleach to the bleach dispenser. Refer to your washing machine’s manual for the correct amount. A general guideline is about ½ cup for a standard top-loading machine and ¼ cup for a front-loading machine.
6. Select the appropriate cycle: Choose the appropriate wash cycle for your white laundry, typically a hot water cycle.
7. Start the washing machine: Start the washing machine and let it run its course.
8. Check the results: Once the cycle is complete, check your laundry. If the whites are still not as bright as you’d like, you can repeat the process, but be cautious not to over-bleach, as this can weaken the fabric.
9. Dry your laundry: Tumble dry your laundry on a low heat setting or hang it to dry.
Hack 2: Disinfecting Kitchen Surfaces
The kitchen is a breeding ground for bacteria, so keeping it clean and disinfected is essential. Bleach is a great tool for this, but use it carefully on food-contact surfaces.
What you’ll need:
* Bleach (sodium hypochlorite)
* Water
* Spray bottle
* Clean cloths or paper towels
* Gloves
Step-by-step instructions:
1. Prepare the bleach solution: In a spray bottle, mix 1 tablespoon of bleach with 1 quart (4 cups) of water. This creates a diluted bleach solution that’s safe for most kitchen surfaces.
2. Clear the surfaces: Remove any items from the countertops, sinks, and other surfaces you plan to disinfect.
3. Spray the solution: Spray the diluted bleach solution onto the surfaces, ensuring they are thoroughly wetted.
4. Let it sit: Allow the solution to sit on the surfaces for at least 10 minutes to effectively kill bacteria and viruses. This is the crucial “dwell time.”
5. Rinse thoroughly: After 10 minutes, rinse the surfaces thoroughly with clean water. This is especially important for food-contact surfaces like countertops and cutting boards.
6. Dry the surfaces: Use clean cloths or paper towels to dry the surfaces completely.
Important Note: Avoid using bleach on porous surfaces like wood or unsealed grout, as it can damage them. For these surfaces, consider using alternative disinfectants.
Hack 3: Cleaning and Whitening Grout
Dirty grout can make your tiles look dull and grimy. Bleach can help restore your grout to its former glory.
What you’ll need:
* Bleach (sodium hypochlorite)
* Water
* Old toothbrush or grout brush
* Gloves
* Eye protection
* Ventilation (open windows or use a fan)
Step-by-step instructions:
1. Prepare the bleach solution: In a well-ventilated area, mix 1 part bleach with 1 part water.
2. Apply the solution: Using an old toothbrush or grout brush, apply the bleach solution directly to the grout lines.
3. Let it sit: Allow the solution to sit on the grout for 10-15 minutes.
4. Scrub the grout: Scrub the grout lines with the toothbrush or grout brush to loosen dirt and grime.
5. Rinse thoroughly: Rinse the grout and surrounding tiles thoroughly with clean water.
6. Dry the area: Use a clean cloth or towel to dry the area.
Caution: Bleach can discolor colored grout, so test it in an inconspicuous area first. Also, avoid using bleach on natural stone tiles, as it can damage them.
Hack 4: Sanitizing Cutting Boards
Cutting boards, especially wooden ones, can harbor bacteria. Bleach can help sanitize them effectively.
What you’ll need:
* Bleach (sodium hypochlorite)
* Water
* Clean cloth or sponge
* Gloves
Step-by-step instructions:
1. Wash the cutting board: Wash the cutting board thoroughly with soap and water to remove any food particles.
2. Prepare the bleach solution: Mix 1 teaspoon of bleach with 1 quart (4 cups) of water.
3. Apply the solution: Apply the bleach solution to the cutting board, ensuring all surfaces are wetted.
4. Let it sit: Allow the solution to sit on the cutting board for 2 minutes.
5. Rinse thoroughly: Rinse the cutting board thoroughly with clean water.
6. Air dry: Allow the cutting board to air dry completely.
Important Note: For wooden cutting boards, avoid soaking them in bleach solution, as this can cause them to warp or crack.
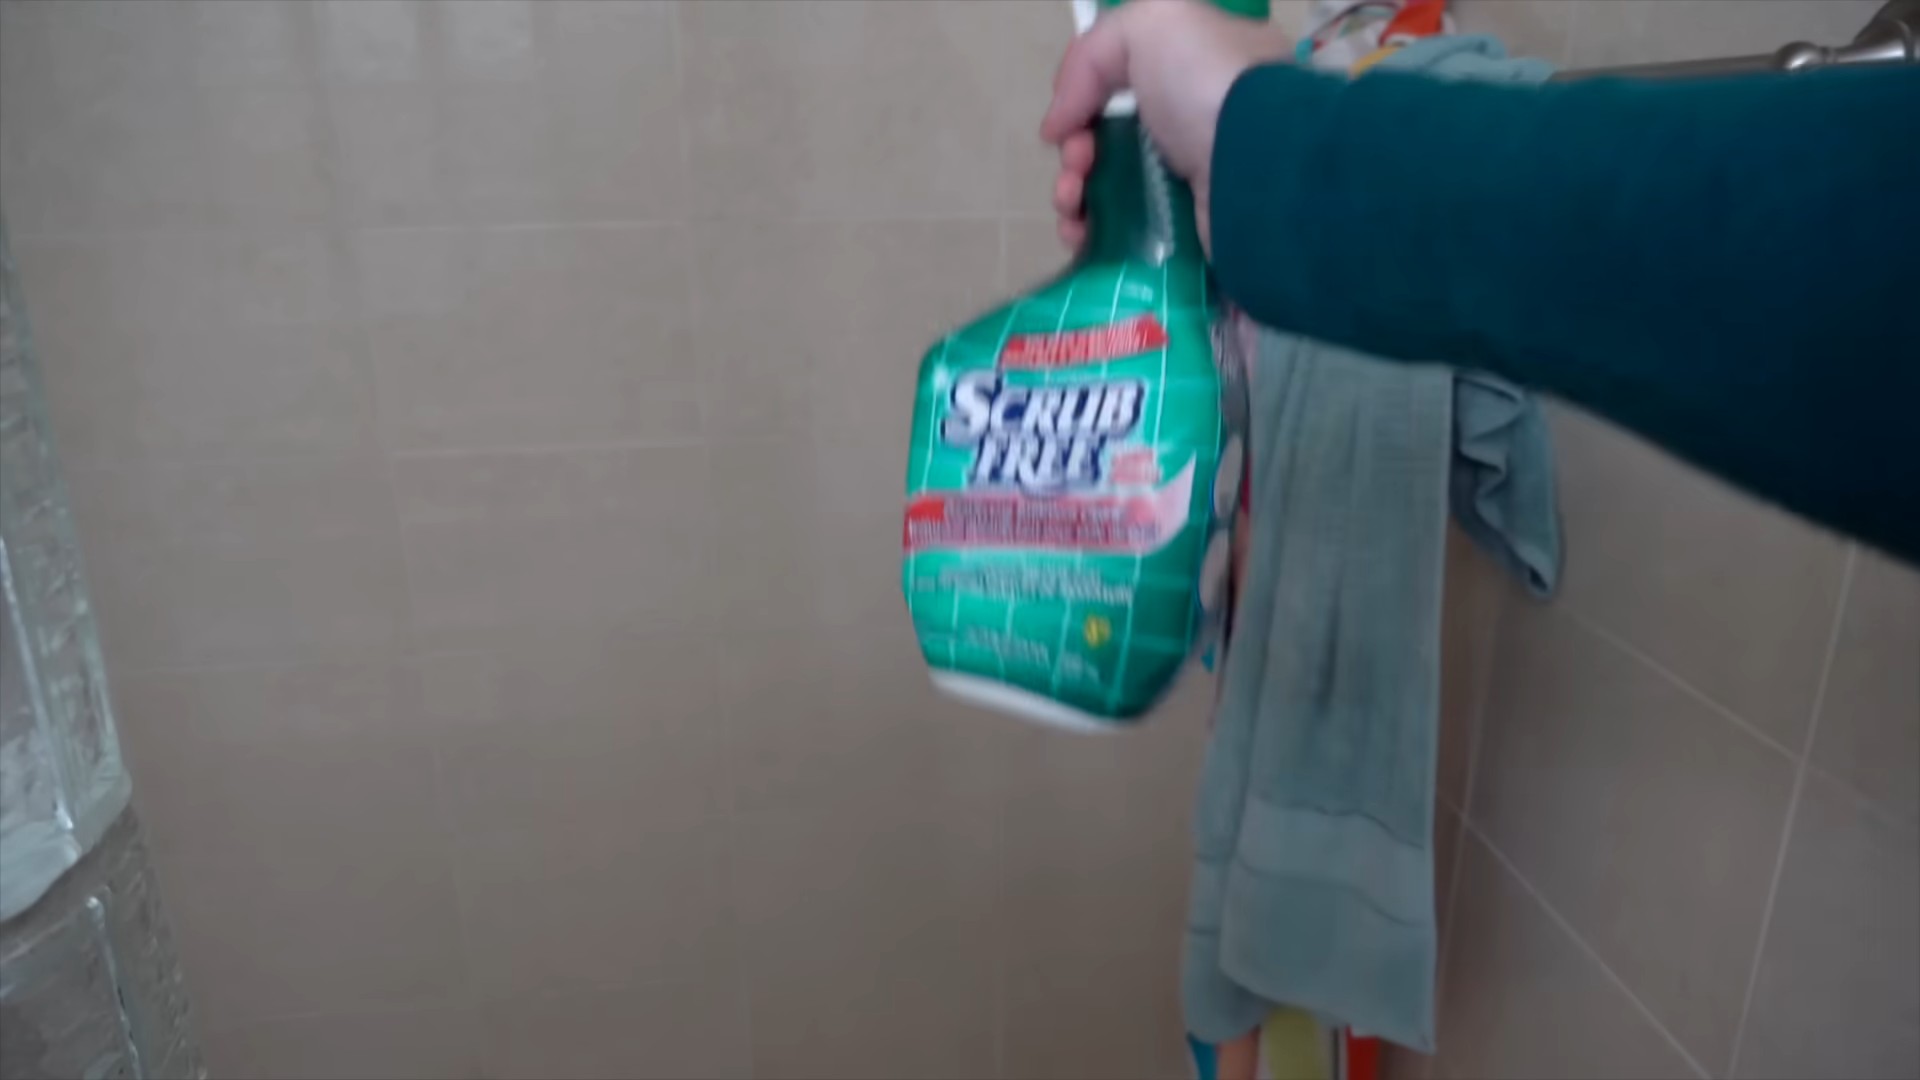
Hack 5: Cleaning Mold and Mildew in the Bathroom
Mold and mildew thrive in damp environments like bathrooms. Bleach can help eliminate them.
What you’ll need:
* Bleach (sodium hypochlorite)
* Water
* Spray bottle
* Clean cloths or sponge
* Gloves
* Eye protection
* Ventilation (open windows or use a fan)
Step-by-step instructions:
1. Prepare the bleach solution: In a well-ventilated area, mix 1 part bleach with 10 parts water.
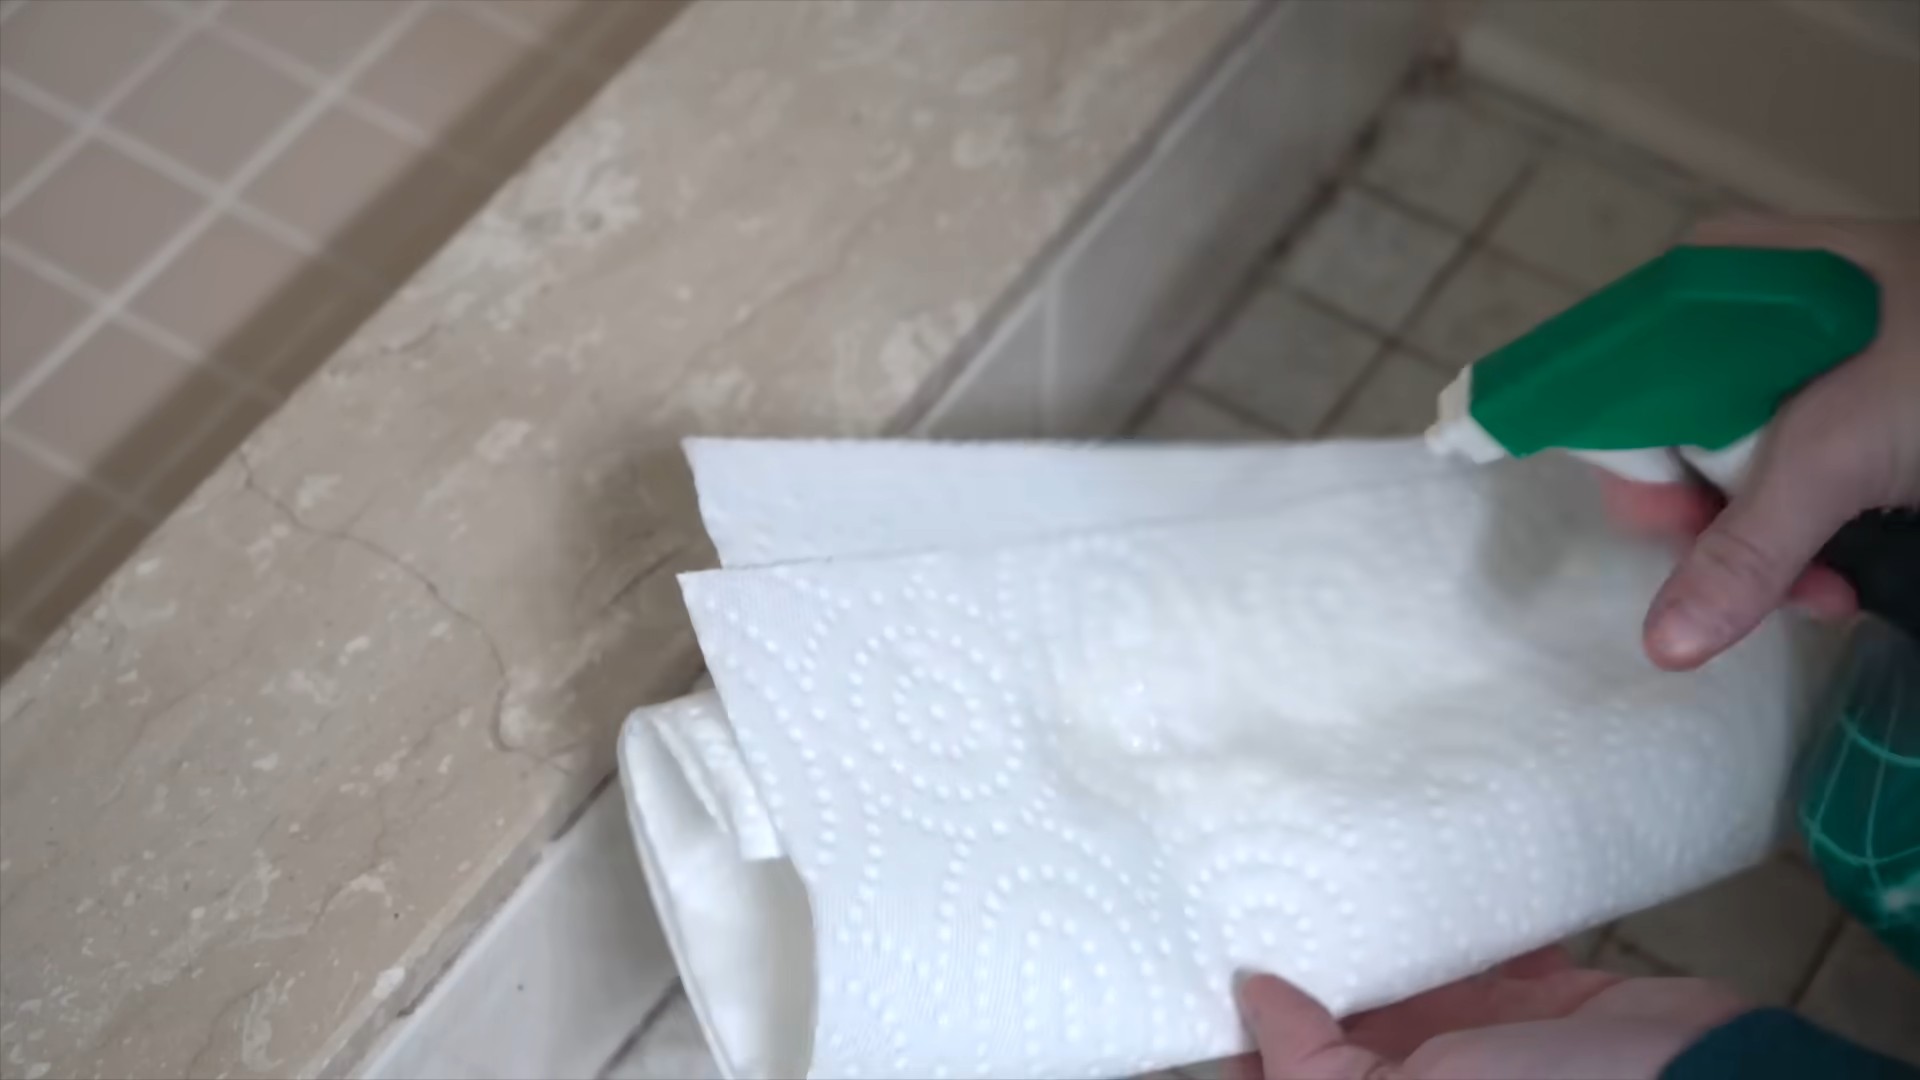
2. Spray the affected area: Spray the bleach solution onto the mold or mildew-affected areas, such as shower walls, tiles, and grout.
3. Let it sit: Allow the solution to sit for 10-15 minutes.
4. Scrub the area: Scrub the area with a clean cloth or sponge to remove the mold and mildew.
5. Rinse thoroughly: Rinse the area thoroughly with clean water.
6. Dry the area: Dry the area with a clean cloth or towel.
Important Note: For stubborn mold or mildew, you may need to repeat the process. Also, ensure proper ventilation to prevent the buildup of bleach fumes.
Hack 6: Cleaning and Disinfecting Toilets
Toilets can harbor germs and bacteria, so regular cleaning and disinfection are essential. Bleach can be a helpful tool, but use it carefully.
What you’ll need:
* Bleach (sodium hypochlorite)
* Toilet bowl cleaner
* Toilet brush
* Gloves
Step-by-step instructions:
1. Flush the toilet: Flush the toilet to remove any waste.
2. Apply toilet bowl cleaner: Apply your regular toilet bowl cleaner under the rim and around the bowl.
3. Let it sit: Allow the toilet bowl cleaner to sit for a few minutes.
4. Add bleach: Carefully add about ½ cup of bleach to the toilet bowl.
5. Let it sit: Allow the bleach to sit for about 10-15 minutes.
6. Scrub the bowl: Scrub the toilet bowl thoroughly with a toilet brush, paying attention to the rim and any stains.
7. Flush the toilet: Flush the toilet to rinse away the cleaner and bleach.
Caution: Never mix bleach with ammonia-based toilet bowl cleaners,
Conclusion
So, there you have it! This simple yet powerful DIY bleach cleaning trick is a game-changer for anyone looking to achieve a sparkling clean home without breaking the bank or relying on harsh, expensive commercial products. We’ve shown you how to harness the disinfecting and stain-removing power of bleach safely and effectively, transforming your cleaning routine from a chore into a breeze.
Why is this a must-try? Because it’s incredibly versatile. From tackling stubborn bathroom grime to brightening dingy laundry and sanitizing kitchen surfaces, this method offers a solution for a multitude of cleaning challenges. It’s also cost-effective. A single bottle of bleach goes a long way, making it a budget-friendly alternative to purchasing numerous specialized cleaners. And perhaps most importantly, when used correctly and with proper ventilation, it’s a powerful disinfectant, helping to keep your home healthy and free from harmful bacteria and viruses.
But don’t stop there! Feel free to experiment with variations to suit your specific needs and preferences. For instance, if you’re sensitive to the strong scent of bleach, consider adding a few drops of your favorite essential oil (like lemon or lavender) to the diluted solution. Just be sure to test it in an inconspicuous area first to ensure it doesn’t stain or damage the surface. You can also adjust the bleach-to-water ratio depending on the severity of the cleaning task. For heavily soiled areas, you might need a slightly stronger solution, while for lighter cleaning, a more diluted mixture will suffice. Remember to always err on the side of caution and start with a weaker solution, increasing the concentration as needed.
Another fantastic variation is using this DIY bleach cleaning method to revitalize your outdoor spaces. Diluted bleach can be used to clean patio furniture, decks, and even siding, removing mold, mildew, and algae buildup. Just be sure to protect any nearby plants and rinse thoroughly with water after cleaning.
We are confident that once you try this DIY bleach cleaning trick, you’ll be amazed by the results. It’s a simple, effective, and affordable way to achieve a cleaner, healthier home. So, ditch those expensive commercial cleaners and give this method a try.
We encourage you to embrace this DIY approach and discover the transformative power of bleach cleaning. Don’t just take our word for it – try it yourself and see the difference it makes! And most importantly, we want to hear about your experience. Share your before-and-after photos, your favorite uses for this method, and any variations you’ve discovered in the comments below. Let’s create a community of DIY cleaning enthusiasts and share our tips and tricks for a sparkling clean home! Your insights could help others discover the benefits of this amazing cleaning solution.
Frequently Asked Questions (FAQ)
Is bleach safe to use for cleaning?
Yes, bleach is generally safe to use for cleaning when diluted properly and used with adequate ventilation. Always follow the manufacturer’s instructions on the bleach bottle and never mix bleach with ammonia or other cleaning products, as this can create dangerous and potentially deadly fumes. Wear gloves and eye protection to prevent skin and eye irritation. Ensure the area you are cleaning is well-ventilated by opening windows and doors. Keep bleach out of reach of children and pets.
What is the correct bleach-to-water ratio for cleaning?
The recommended bleach-to-water ratio for general cleaning is typically 1 part bleach to 9 parts water. This creates a 10% bleach solution that is effective for disinfecting and cleaning most surfaces. For heavily soiled areas or for disinfecting surfaces that may have come into contact with germs or bacteria, you can use a slightly stronger solution, but never exceed a ratio of 1 part bleach to 5 parts water. Always dilute bleach with cold water, as hot water can cause the bleach to break down and release harmful fumes.
What surfaces can I safely clean with bleach?
Bleach can be safely used to clean a variety of surfaces, including:
* Non-porous surfaces like tile, porcelain, and plastic
* Kitchen countertops (ensure they are bleach-safe)
* Bathroom fixtures like toilets, sinks, and showers
* Floors (test in an inconspicuous area first)
* Laundry (for whitening and disinfecting)
* Outdoor furniture and decks
However, bleach should not be used on:
* Natural stone surfaces like granite and marble
* Wood (unless it is sealed and you test in an inconspicuous area first)
* Fabrics that are not colorfast
* Metal (bleach can cause corrosion)
* Painted surfaces (bleach can cause discoloration)
Always test the bleach solution in an inconspicuous area before cleaning the entire surface to ensure it doesn’t cause damage or discoloration.
How long should I leave the bleach solution on a surface to disinfect it?
To effectively disinfect a surface with bleach, you should leave the solution on for at least 10 minutes. This allows the bleach to kill any bacteria or viruses that may be present. After 10 minutes, rinse the surface thoroughly with clean water.
Can I use bleach to clean mold and mildew?
Yes, bleach is effective at killing mold and mildew. To clean mold and mildew with bleach, mix 1 part bleach with 10 parts water. Apply the solution to the affected area and let it sit for 10-15 minutes. Scrub the area with a brush and then rinse thoroughly with clean water. Be sure to wear gloves and eye protection when cleaning mold and mildew with bleach, and ensure the area is well-ventilated. For severe mold infestations, it’s best to consult with a professional mold remediation service.
How do I store bleach safely?
Store bleach in a cool, dry place away from direct sunlight and heat. Keep it out of reach of children and pets. Always store bleach in its original container, tightly sealed. Never transfer bleach to another container, as this could lead to accidental ingestion or misuse. Do not store bleach near ammonia or other cleaning products, as mixing them can create dangerous fumes.
What should I do if I accidentally get bleach on my skin or in my eyes?
If you accidentally get bleach on your skin, rinse the affected area immediately with plenty of water for at least 15 minutes. If irritation persists, seek medical attention. If you get bleach in your eyes, flush your eyes immediately with plenty of water for at least 15 minutes. Seek immediate medical attention.
Can I use bleach in my washing machine?
Yes, bleach can be used in your washing machine to whiten and disinfect clothes. Follow the manufacturer’s instructions on your washing machine and the bleach bottle. Add the bleach to the bleach dispenser, not directly to the clothes. Use the appropriate amount of bleach for your load size. Do not use bleach on delicate fabrics or colored clothes, as it can cause damage or discoloration.
What are some alternatives to bleach for cleaning?
If you prefer not to use bleach, there are several alternatives you can use for cleaning and disinfecting, including:
* Vinegar: A natural cleaner that can be used to remove stains, odors, and mildew.
* Hydrogen peroxide: A disinfectant that can be used to clean cuts and wounds, as well as surfaces.
* Baking soda: A mild abrasive cleaner that can be used to scrub surfaces and remove odors.
* Essential oils: Some essential oils, like tea tree oil and eucalyptus oil, have antibacterial and antifungal properties.
* Commercial cleaning products: There are many commercial cleaning products available that do not contain bleach.
Always read the labels carefully and follow the manufacturer’s instructions when using any cleaning product.
Leave a Comment