

Cabbage Growing with Plastic Bottles: Sounds a little unconventional, right? But trust me, this simple DIY trick can revolutionize your home garden and help you cultivate the most luscious cabbages you’ve ever seen! I know, I know, you might be thinking, “Plastic bottles? Really?” But before you dismiss it, let me tell you why this method is gaining popularity among gardening enthusiasts worldwide.
For centuries, gardeners have sought innovative ways to protect their precious crops from pests, harsh weather, and even soil erosion. While the exact origin of using plastic bottles in this way is hard to pinpoint, the ingenuity behind repurposing readily available materials speaks to a long history of resourcefulness in gardening. Think of it as a modern twist on traditional cloche methods, where glass jars were used to nurture seedlings.
Now, why do you need this DIY trick? Well, if you’re tired of battling slugs, snails, and cabbage white butterflies that decimate your cabbage patch, or if you struggle with inconsistent watering and soil temperatures, then this is for you! Cabbage growing with plastic bottles offers a simple, effective, and eco-friendly solution to these common gardening woes. Plus, it’s a fantastic way to recycle those plastic bottles that might otherwise end up in a landfill. I’m excited to share this easy-to-follow guide that will help you grow healthy, vibrant cabbages using a method that’s both budget-friendly and environmentally conscious. Let’s get started!

DIY Cabbage Growing with Recycled Plastic Bottles: A Gardener’s Guide
Hey there, fellow gardeners! I’m always on the lookout for ways to be more sustainable in my garden, and I’ve found a fantastic method for growing healthy cabbages while also reducing plastic waste. This DIY project uses recycled plastic bottles to create mini-greenhouses, protecting your young cabbage plants from pests, harsh weather, and even those pesky cabbage white butterflies. Let’s dive in!
Why Use Plastic Bottles for Cabbage Growing?
Before we get started, let’s talk about why this method is so great. Using plastic bottles offers several advantages:
* Pest Protection: The bottles act as a physical barrier against slugs, snails, cabbage white butterflies (and their hungry caterpillars!), and other critters that love to munch on young cabbage plants.
* Weather Protection: They create a mini-greenhouse effect, warming the soil and protecting the plants from frost, strong winds, and heavy rain. This is especially helpful during the early stages of growth.
* Water Conservation: The bottles help retain moisture in the soil, reducing the need for frequent watering.
* Recycling and Sustainability: You’re giving those plastic bottles a new life instead of sending them to the landfill. It’s a win-win!
* Easy and Affordable: This method is incredibly simple and doesn’t require any expensive materials.
Materials You’ll Need
Here’s what you’ll need to get started:
* Plastic Bottles: You’ll need clear plastic bottles, preferably 2-liter soda bottles or larger. The number of bottles depends on how many cabbage plants you want to protect. Make sure they are clean and dry.
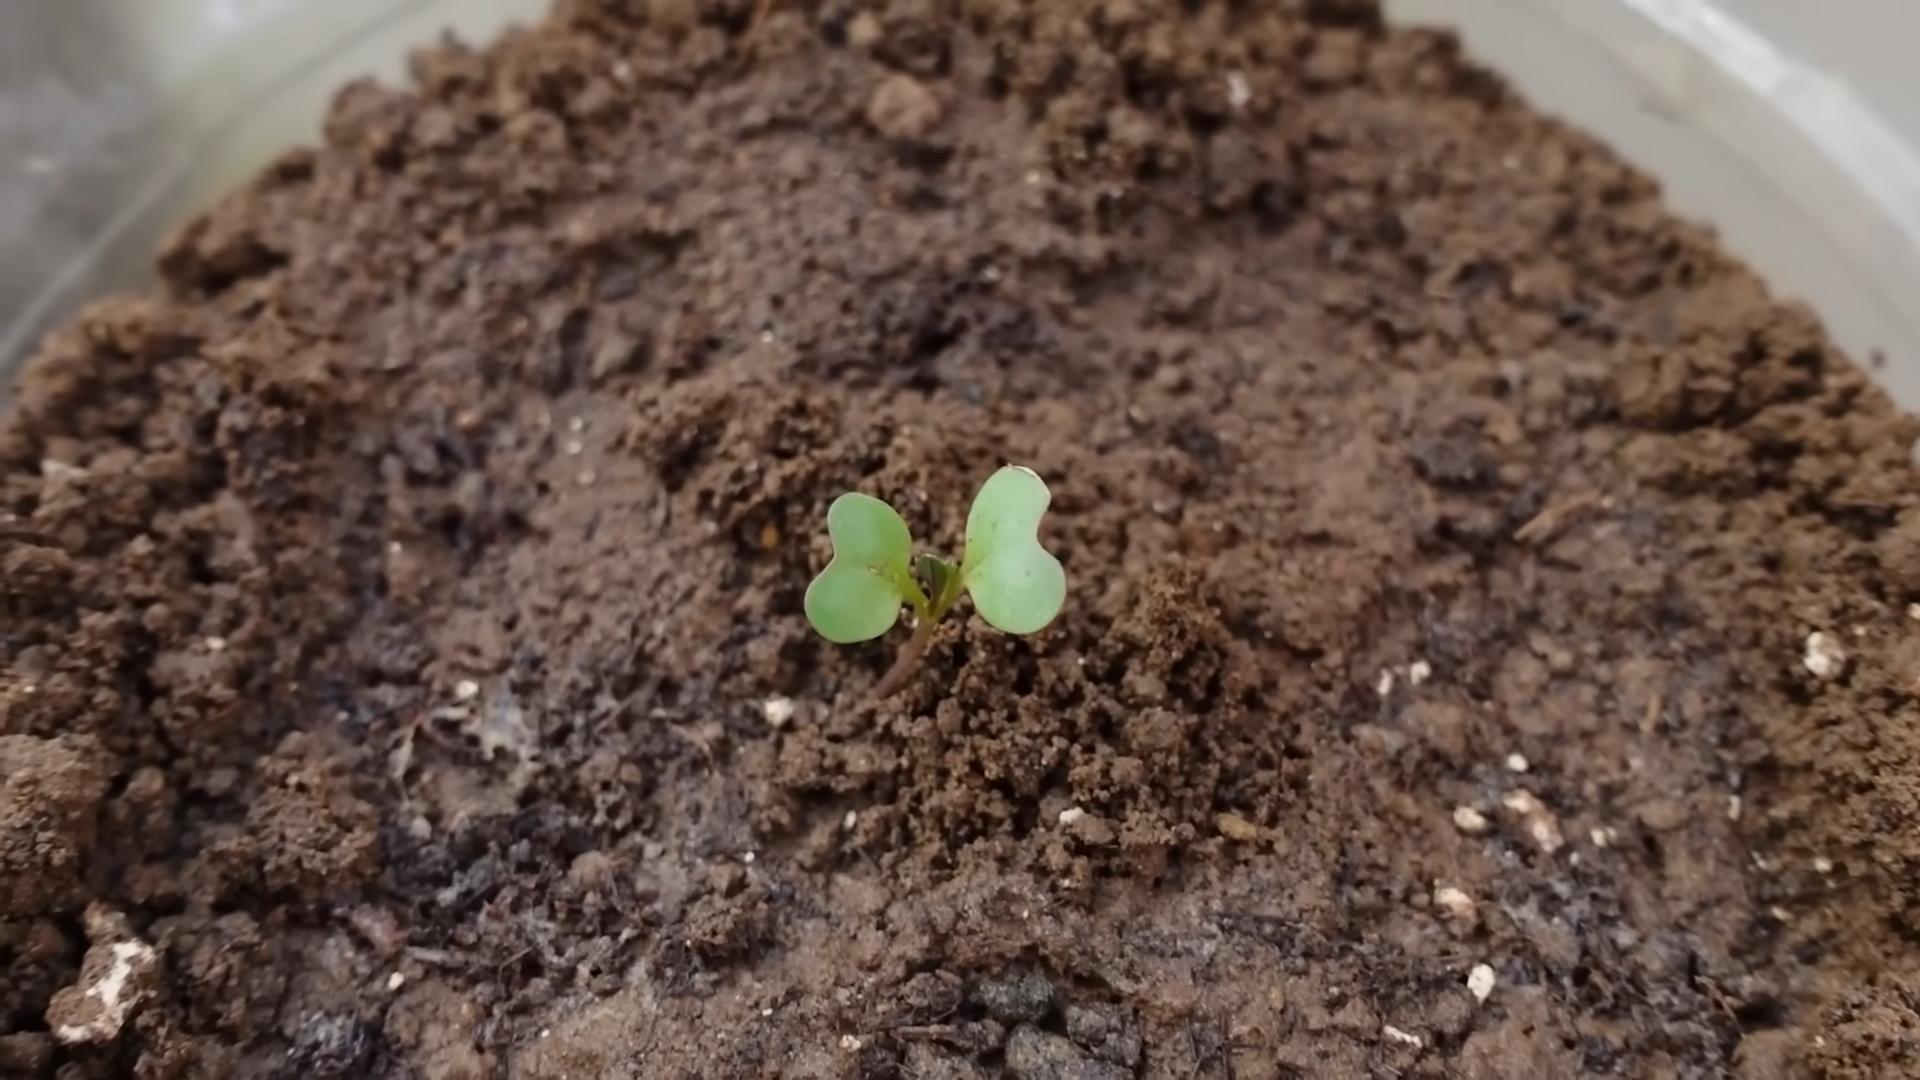
* Cabbage Seedlings: You can start your own cabbage seedlings indoors or purchase them from a local nursery. Choose a variety that suits your climate and growing conditions.
* Scissors or Utility Knife: For cutting the plastic bottles. Be careful!
* Soil: Good quality potting mix or garden soil.
* Watering Can or Hose: For watering your cabbage plants.
* Optional:
* Gloves: To protect your hands.
* Measuring Tape or Ruler: To ensure consistent bottle height.
* Permanent Marker: To mark cutting lines on the bottles.
* Small Stakes or Sticks: To secure the bottles in windy areas (optional).
Preparing the Plastic Bottles
This is a crucial step, so pay close attention! We need to transform those bottles into protective domes.
1. Clean the Bottles: Thoroughly wash the plastic bottles with soap and water to remove any residue. Rinse them well and let them dry completely. This is important to prevent mold or mildew growth inside the bottles.
2. Cut the Bottoms Off: Using your scissors or utility knife, carefully cut off the bottom of each plastic bottle. You want to create a cylinder shape. I usually cut about 2-3 inches from the bottom. Make sure the cut is clean and even to avoid sharp edges.
Safety First! Always cut away from yourself and use a stable surface. If you’re using a utility knife, be extra cautious.
3. Remove the Caps (Optional): You can choose to remove the caps from the bottles or leave them on. Removing the caps will provide ventilation, which can be helpful in warmer weather. If you leave the caps on, you can unscrew them slightly to adjust the ventilation. I usually remove them during the day and put them back on at night if it’s going to be cold.
4. Smooth the Edges (Optional): If the cut edges are sharp, you can use sandpaper or a file to smooth them down. This will prevent them from cutting your hands or damaging the cabbage plants.
Planting Your Cabbage Seedlings
Now that our bottles are ready, let’s get those cabbage seedlings in the ground!
1. Prepare the Soil: Choose a sunny spot in your garden with well-drained soil. Cabbages need at least 6 hours of sunlight per day. Amend the soil with compost or other organic matter to improve its fertility and drainage.
2. Dig the Holes: Dig holes that are slightly larger than the root balls of your cabbage seedlings. Space the holes according to the recommended spacing for your chosen cabbage variety. This information is usually available on the seed packet or plant label. Generally, allow about 12-18 inches between plants.
3. Plant the Seedlings: Gently remove the cabbage seedlings from their containers and loosen the roots slightly. Place each seedling in a hole and backfill with soil. Make sure the top of the root ball is level with the surrounding soil.
4. Water Thoroughly: Water the newly planted seedlings thoroughly to help them settle in.
Protecting Your Cabbage with Plastic Bottles
This is where the magic happens!
1. Place the Bottles Over the Seedlings: Carefully place a plastic bottle over each cabbage seedling, pushing it gently into the soil. Make sure the bottle is stable and covers the entire plant.
2. Secure the Bottles (Optional): In windy areas, you may want to secure the bottles with small stakes or sticks. Insert the stakes into the ground around the bottles to prevent them from blowing away. You can also use rocks or bricks to weigh them down.
3. Monitor the Ventilation: As mentioned earlier, you can adjust the ventilation by removing or loosening the bottle caps. On hot days, you may need to remove the bottles completely for a few hours to prevent the plants from overheating.
Caring for Your Cabbage Plants
Now that your cabbages are protected, it’s time to provide them with the care they need to thrive.
1. Water Regularly: Cabbages need consistent moisture, especially during dry periods. Water them deeply whenever the soil feels dry to the touch. Avoid overwatering, as this can lead to root rot.
2. Fertilize: Feed your cabbage plants with a balanced fertilizer every few weeks. Follow the instructions on the fertilizer package. You can also use organic fertilizers like compost tea or fish emulsion.
3. Weed Control: Keep the area around your cabbage plants free of weeds. Weeds compete with the cabbages for nutrients and water. You can hand-pull weeds or use a hoe to cultivate the soil.
4. Monitor for Pests and Diseases: Even with the plastic bottle protection, it’s still important to monitor your cabbage plants for pests and diseases. Check the leaves regularly for signs of damage, such as holes or discoloration. If you find any pests, you can hand-pick them off or use an organic insecticide. If you notice any signs of disease, such as yellowing or wilting leaves, consult a gardening expert for advice.
5. Remove the Bottles When Necessary: As your cabbage plants grow, they will eventually outgrow the plastic bottles. When this happens, you can remove the bottles completely. By this point, the plants should be strong enough to withstand pests and weather on their own. I usually remove them when the leaves start touching the sides of the bottle.
Troubleshooting
Even with the best planning, things can sometimes go wrong. Here are a few common issues you might encounter and how to address them:
* Overheating: If the weather is very hot, the bottles can trap too much heat and damage the plants. Remove the bottles during the hottest part of the day or provide additional ventilation.
* Mold or Mildew: If you notice mold or mildew growing inside the bottles, remove them and clean them thoroughly with a bleach solution. Make sure the bottles are completely dry before replacing them.
* Wind Damage: If the bottles are blowing away in the wind, secure them with stakes or rocks.
* Slugs and Snails: While the bottles provide good protection, slugs and snails can sometimes still find their way inside. Check the bottles regularly and remove any pests you find. You can also use slug and snail bait around the base of the bottles.
Harvesting Your Cabbage
After all your hard work, it’s time to enjoy the fruits (or rather, vegetables!) of your labor.
1. Check for Maturity: Cabbages are typically ready to harvest when the heads are firm and compact. The exact time will depend on the variety and growing conditions.
2. Harvesting: To harvest your cabbage, use a sharp knife to cut the head from the stem. Leave a few outer leaves on the plant, as these can help protect the remaining stem from pests and diseases.
3. Storage: Cabbages can be stored in the refrigerator for several weeks. Wrap them in plastic wrap or store them in a plastic bag to prevent them from drying out.
Beyond Cabbage: Other Uses for Plastic Bottle Mini-Greenhouses
This method isn’t just for cabbages! You can use plastic bottle mini-greenhouses to protect a variety of other plants, including:
* Lettuce
* Spinach
* Broccoli
* Cauliflower
* Tomatoes (when
Conclusion
So, there you have it! Growing cabbage with plastic bottles isn’t just a quirky gardening hack; it’s a game-changer for anyone looking to cultivate healthy, thriving cabbages, especially in challenging environments. We’ve explored how this simple method offers a multitude of benefits, from protecting your precious seedlings from pests and harsh weather to conserving water and even boosting soil temperature for faster growth. It’s a cost-effective, environmentally conscious, and surprisingly effective way to ensure a bountiful cabbage harvest.
Think about it: no more battling relentless slugs and snails, no more worrying about sudden frosts nipping your young plants in the bud, and no more wasting precious water that evaporates before it even reaches the roots. The plastic bottle acts as a mini-greenhouse, creating a microclimate perfectly suited for your cabbage to flourish. It’s like giving each plant its own personal bodyguard and hydration system!
But the beauty of this DIY trick lies in its adaptability. Feel free to experiment with different types of plastic bottles. Larger bottles can provide even more protection and insulation, while bottles with darker plastic can help warm the soil more quickly in cooler climates. You can also adjust the size and number of drainage holes based on your local rainfall patterns and soil type. Consider adding a layer of mulch around the base of the bottle to further conserve moisture and suppress weeds.
For those in particularly windy areas, securing the bottles with stakes or burying them slightly deeper can prevent them from being blown away. And if you’re feeling creative, you can even paint the bottles to add a touch of personality to your garden! The possibilities are endless.
Ultimately, growing cabbage with plastic bottles is more than just a gardening technique; it’s a testament to the power of resourcefulness and innovation. It’s about finding clever solutions to common problems and working with nature to achieve your gardening goals. It’s about embracing sustainability and reducing waste while enjoying the satisfaction of harvesting your own delicious, homegrown cabbages.
We wholeheartedly encourage you to give this DIY trick a try. It’s easy, affordable, and incredibly rewarding. Whether you’re a seasoned gardener or a complete beginner, you’ll be amazed at the difference it can make. And once you’ve experienced the benefits firsthand, we’d love to hear about your results! Share your photos, tips, and experiences in the comments below. Let’s build a community of cabbage-growing enthusiasts and inspire others to embrace this simple yet effective method. Happy gardening!
FAQ
What types of plastic bottles work best for growing cabbage?
Almost any type of plastic bottle can be used, but clear or translucent bottles are generally preferred as they allow sunlight to reach the plant. Avoid using bottles that have contained harmful chemicals or pesticides. The size of the bottle will depend on the size of the cabbage variety you are growing. Smaller bottles are suitable for seedlings, while larger bottles are needed as the cabbage matures. Two-liter soda bottles are a popular and readily available option.
How do I prepare the plastic bottle for planting cabbage?
First, thoroughly clean the bottle to remove any residue. Cut off the bottom of the bottle, leaving a few inches to create a protective collar around the plant. You can also remove the cap to allow for ventilation, or drill a few small holes in the sides of the bottle for the same purpose. Make sure to smooth any sharp edges to prevent injury to yourself or the plant.
How does using plastic bottles help protect cabbage from pests?
The plastic bottle acts as a physical barrier, preventing slugs, snails, cutworms, and other ground-dwelling pests from reaching the young cabbage seedlings. It also deters larger pests like rabbits and birds from nibbling on the leaves. This protection is especially crucial in the early stages of growth when the plants are most vulnerable.
Can plastic bottles help with water conservation when growing cabbage?
Yes, the plastic bottle helps to conserve water by reducing evaporation. The enclosed environment traps moisture around the plant, allowing it to absorb water more efficiently. This is particularly beneficial in hot or dry climates. You can also water directly into the bottle, ensuring that the water reaches the roots without being lost to evaporation.
Will using plastic bottles affect the soil temperature around my cabbage plants?
Yes, the plastic bottle can help to increase the soil temperature, especially in cooler climates. The bottle acts as a mini-greenhouse, trapping solar heat and warming the soil around the plant’s roots. This can promote faster growth and earlier harvests. However, in very hot climates, it’s important to provide adequate ventilation to prevent the soil from overheating.
How do I ensure proper ventilation when growing cabbage with plastic bottles?
Proper ventilation is crucial to prevent the buildup of excess humidity and heat inside the bottle. You can achieve this by removing the cap, drilling holes in the sides of the bottle, or slightly lifting the bottle off the ground. Monitor the plants regularly and adjust the ventilation as needed based on the weather conditions.
How long should I keep the plastic bottle around my cabbage plant?
The duration depends on the climate, pest pressure, and the size of the cabbage variety. Generally, you can remove the bottle once the plant has grown large enough to withstand pests and weather conditions, typically after a few weeks or months. However, in areas with severe pest problems or harsh weather, you may want to leave the bottle in place for a longer period.
What are some alternative uses for plastic bottles in the garden besides growing cabbage?
Plastic bottles can be used for a variety of gardening purposes, including creating mini-greenhouses for other seedlings, building self-watering planters, making drip irrigation systems, and even constructing vertical gardens. They are a versatile and sustainable resource for any gardener.
Is growing cabbage with plastic bottles environmentally friendly?
Yes, it is an environmentally friendly practice as it repurposes plastic bottles that would otherwise end up in landfills. It also reduces the need for pesticides and herbicides, which can harm the environment. By using plastic bottles in your garden, you are contributing to a more sustainable and eco-friendly gardening approach.
What if the plastic bottle starts to degrade or break down in the sun?
While most plastic bottles are relatively durable, prolonged exposure to sunlight can cause them to degrade over time. If you notice the bottle becoming brittle or cracking, it’s time to replace it with a new one. You can also choose to use thicker, more durable plastic bottles or apply a UV-resistant coating to prolong their lifespan.
Can I use this method for other plants besides cabbage?
Absolutely! While this article focuses on cabbage, the plastic bottle method can be adapted for a variety of other plants, including tomatoes, peppers, lettuce, and herbs. The key is to choose a bottle size that is appropriate for the plant’s size and growth habit. Experiment and see what works best for you!
What kind of soil is best when growing cabbage with plastic bottles?
Cabbage thrives in well-draining, fertile soil that is rich in organic matter. Amend your soil with compost or well-rotted manure before planting to improve its structure and nutrient content. A slightly acidic soil pH of 6.0 to 7.0 is ideal for cabbage growth.
How often should I water my cabbage plants when using plastic bottles?
Watering frequency will depend on the climate, soil type, and the size of the plant. Generally, you should water deeply whenever the top inch of soil feels dry to the touch. Avoid overwatering, as this can lead to root rot. The plastic bottle helps to retain moisture, so you may need to water less frequently than you would with traditional gardening methods.
What kind of fertilizer should I use for cabbage grown in plastic bottles?
Cabbage is a heavy feeder and benefits from regular fertilization. Use a balanced fertilizer that is rich in nitrogen, phosphorus, and potassium. You can also supplement with organic fertilizers such as compost tea or fish emulsion. Follow the instructions on the fertilizer packaging and avoid over-fertilizing, as this can damage the plants.
How do I know when my cabbage is ready to harvest?
Cabbage is ready to harvest when the head is firm and compact. The size of the head will vary depending on the variety. Gently squeeze the head to check for firmness. If it feels solid, it’s ready to harvest. Use a sharp knife to cut the head from the stem, leaving a few outer leaves intact.
Leave a Comment