

Calendula Container Gardening: Ever dreamed of bursting blooms right outside your door, even if you don’t have a sprawling garden? I know I have! There’s something incredibly satisfying about growing your own flowers, and calendula, with its vibrant colors and medicinal properties, is the perfect place to start. This DIY guide will unlock the secrets to successfully cultivating these sunny beauties in containers, no matter your experience level.
Calendula, also known as pot marigold, boasts a rich history, dating back to ancient civilizations where it was prized for its healing powers. From soothing skin irritations to adding a pop of color to culinary creations, calendula has been a trusted companion for centuries. In many cultures, it symbolizes joy and warmth, making it a delightful addition to any home.
But why Calendula Container Gardening, you might ask? Well, let’s face it, not everyone has the space or time for a traditional garden. Container gardening offers a fantastic solution, allowing you to enjoy the beauty and benefits of fresh flowers even on a small balcony or patio. Plus, calendula is relatively low-maintenance, making it an ideal choice for beginner gardeners. I’m here to show you how easy it is to create a thriving calendula container garden that will brighten your space and your day!
Calendula Container Gardening: A Burst of Sunshine on Your Patio!
Hey there, fellow gardening enthusiasts! I’m so excited to share my love for calendula and how easy it is to grow these cheerful flowers in containers. Whether you have a sprawling garden or just a small balcony, calendula is a fantastic addition. They’re not only beautiful, but also incredibly useful – from attracting pollinators to having medicinal properties. Let’s dive into creating your own vibrant calendula container garden!
Choosing the Right Container and Soil
First things first, we need to set the stage for our calendula to thrive. This means picking the perfect pot and soil.
* Container Size: Calendula isn’t too fussy, but they do need enough space for their roots to spread. I recommend a container that’s at least 12 inches in diameter and 12 inches deep. This gives them plenty of room to grow and prevents them from becoming root-bound.
* Drainage is Key: Make sure your container has drainage holes! Calendula hates sitting in soggy soil, which can lead to root rot. If your pot doesn’t have enough drainage, you can drill a few extra holes in the bottom.
* Material Matters (Sort Of): The material of your container is less important than size and drainage. Terracotta pots are beautiful and allow for good airflow, but they can dry out quickly. Plastic pots retain moisture better, which can be helpful in hot climates. Choose what suits your style and climate best!
* Soil Selection: Calendula prefers well-draining, slightly acidic soil. A good quality potting mix is your best bet. Avoid using garden soil directly in containers, as it can become compacted and doesn’t drain well. I like to amend my potting mix with a bit of compost for added nutrients.
Planting Your Calendula
Now for the fun part – getting those calendula seeds or seedlings into their new home!
1. Prepare the Container: Start by placing a layer of gravel or broken pottery at the bottom of your container to improve drainage. This isn’t strictly necessary, but it can help prevent the drainage holes from becoming clogged.
2. Fill with Soil: Fill the container with your chosen potting mix, leaving about an inch or two of space at the top.
3. Sowing Seeds (Direct Sowing): If you’re starting from seeds, you can sow them directly into the container. Sprinkle the seeds evenly over the surface of the soil and then gently press them in. Cover them with a thin layer of soil (about ¼ inch).
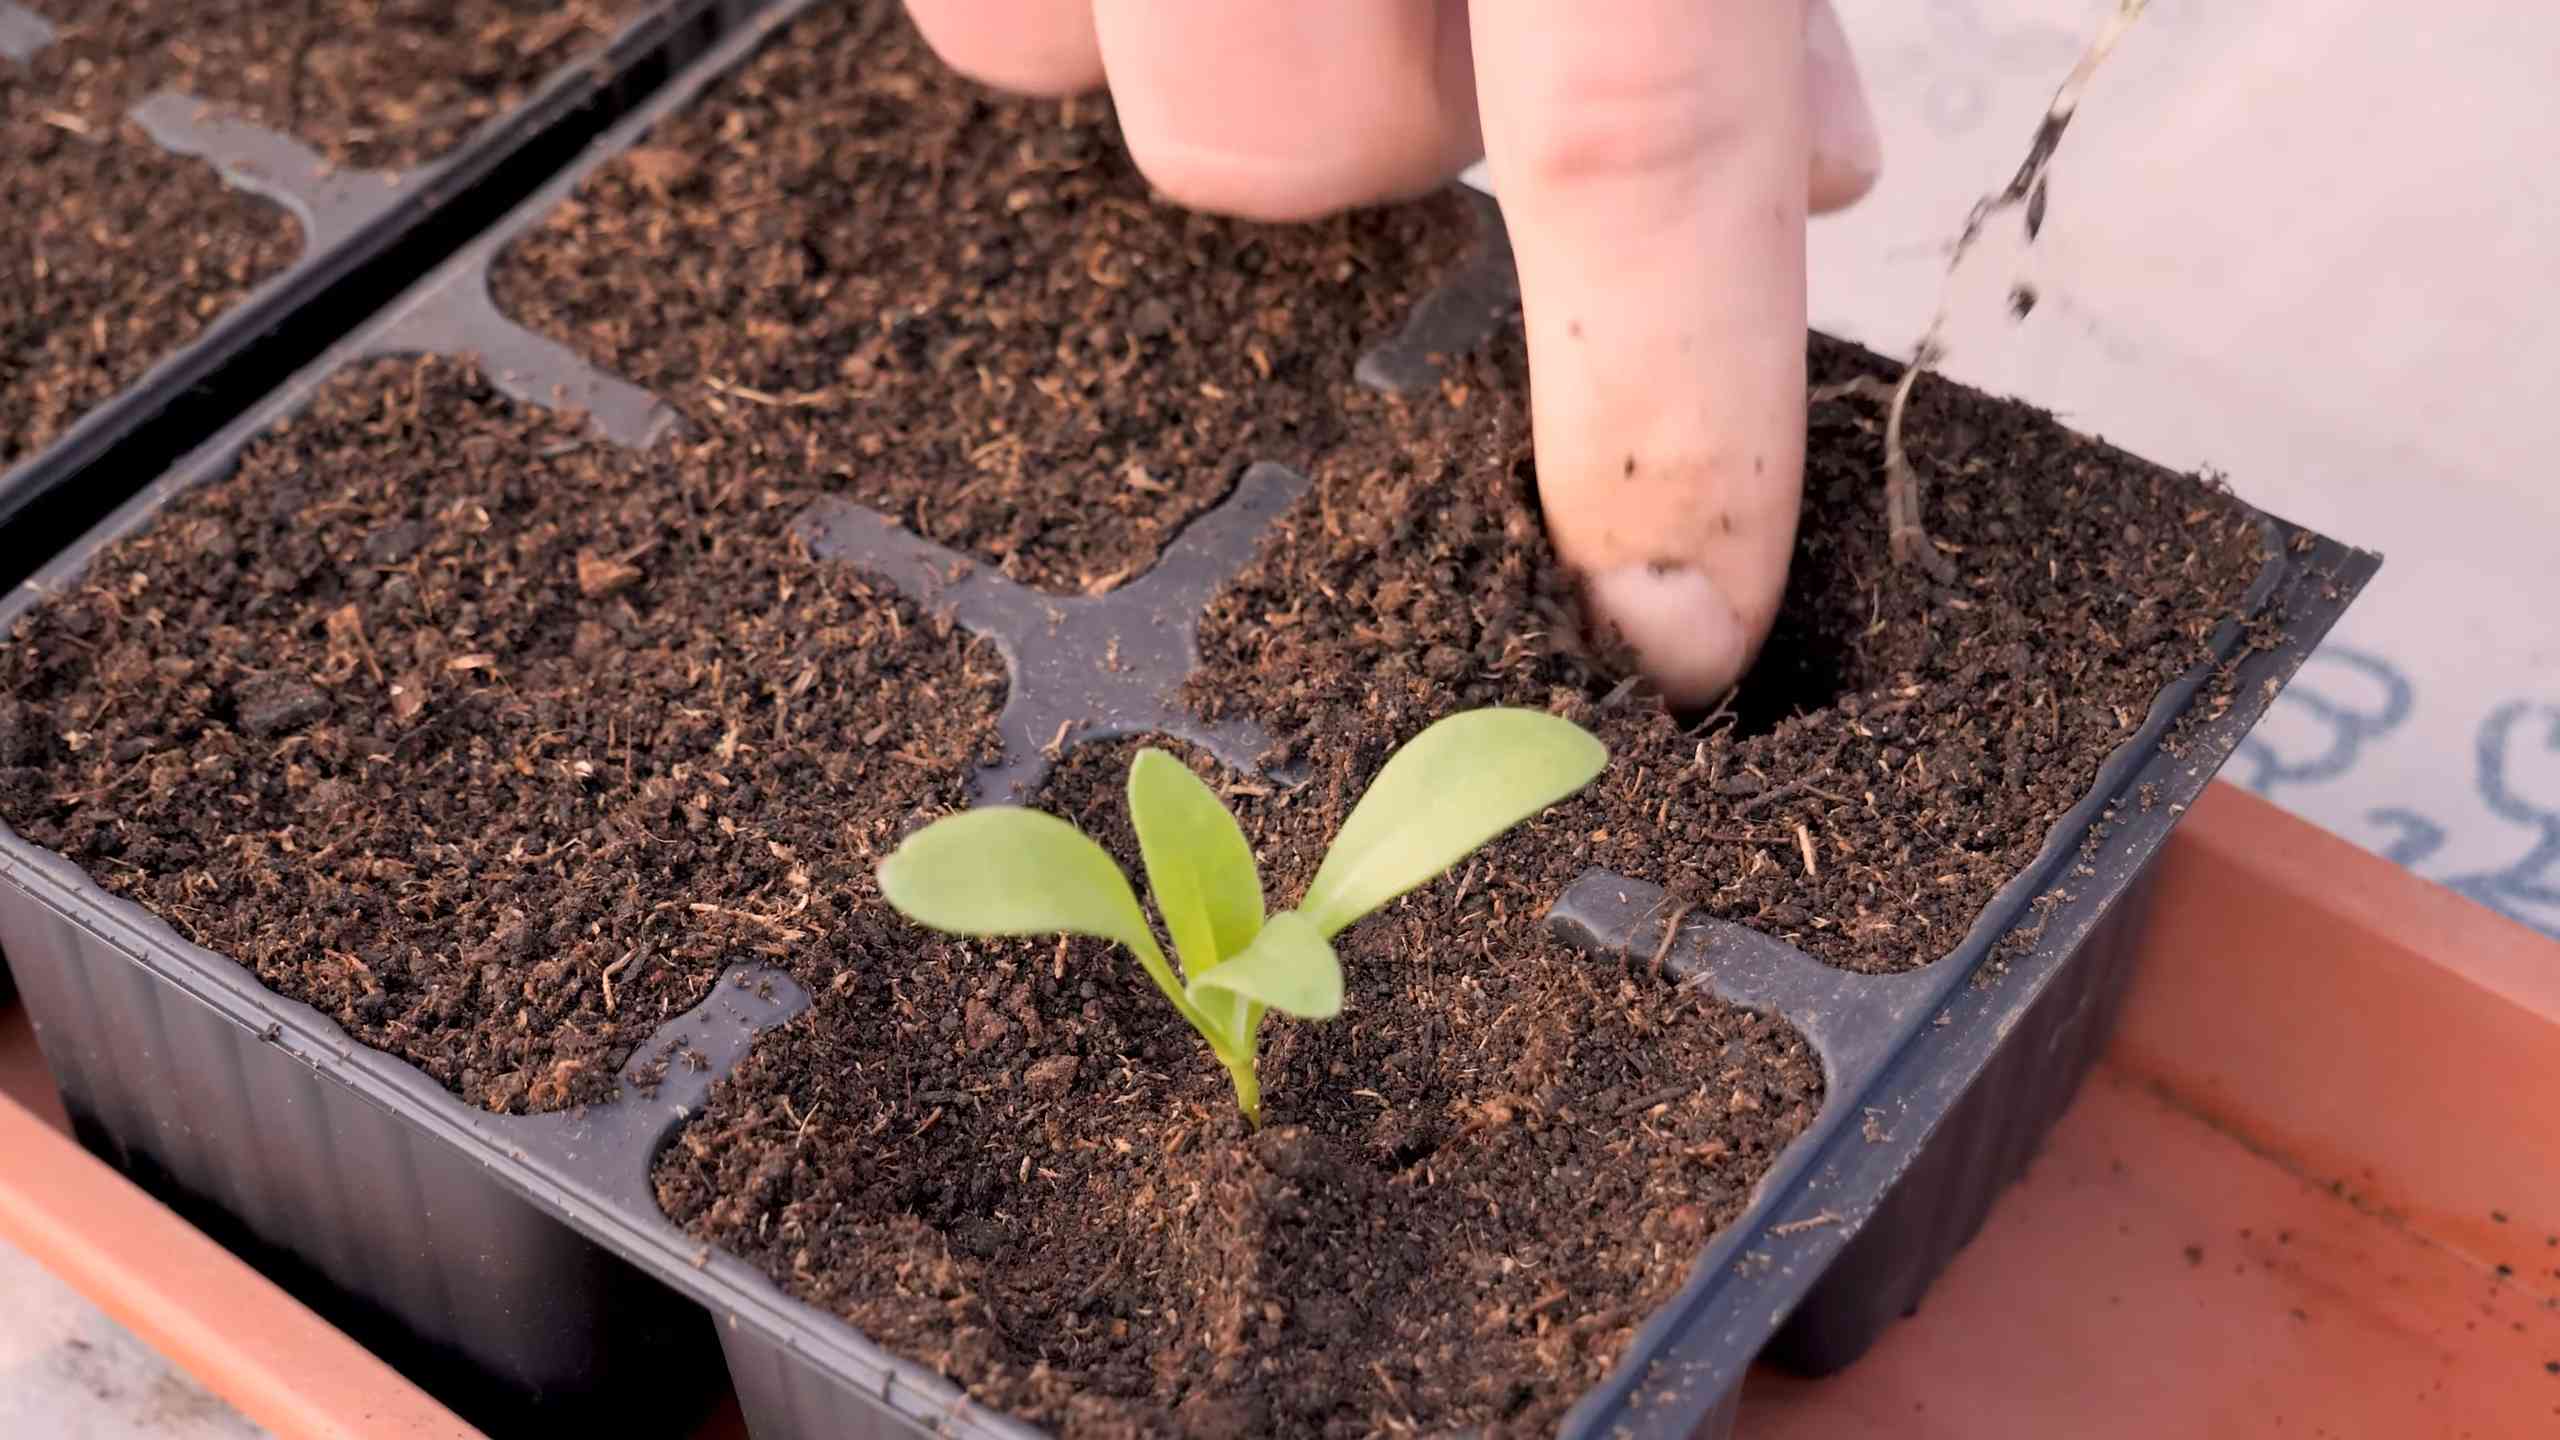
4. Transplanting Seedlings: If you’re using seedlings (which is what I usually do for a quicker start), gently remove them from their nursery pots. Loosen the roots a bit with your fingers.
5. Planting Seedlings (Spacing): Dig a small hole in the soil for each seedling, spacing them about 8-12 inches apart. Place the seedling in the hole, making sure the top of the root ball is level with the surrounding soil.
6. Water Thoroughly: After planting, water the container thoroughly until water drains out of the bottom. This helps settle the soil and encourages the roots to establish.
Caring for Your Calendula
Calendula is relatively low-maintenance, but here are a few tips to keep them happy and blooming:
* Sunlight: Calendula loves sunshine! They need at least 6 hours of direct sunlight per day to thrive. Place your container in a sunny spot on your patio, balcony, or windowsill.
* Watering: Water your calendula regularly, especially during hot, dry weather. The soil should be kept consistently moist, but not soggy. Check the soil moisture by sticking your finger into the soil – if the top inch feels dry, it’s time to water.
* Fertilizing: Calendula isn’t a heavy feeder, but they will benefit from occasional fertilization. I like to use a balanced liquid fertilizer diluted to half strength every few weeks during the growing season.
* Deadheading: Deadheading (removing spent flowers) is crucial for encouraging continuous blooming. Simply pinch or cut off the faded flowers just below the flower head. This prevents the plant from putting energy into seed production and encourages it to produce more flowers.
* Pest Control: Calendula is generally pest-resistant, but aphids can sometimes be a problem. If you notice aphids, you can spray them off with a strong stream of water or use an insecticidal soap.
* Disease Prevention: Good air circulation is important for preventing fungal diseases. Make sure your plants aren’t overcrowded and that they have plenty of space to breathe.
Harvesting and Using Your Calendula
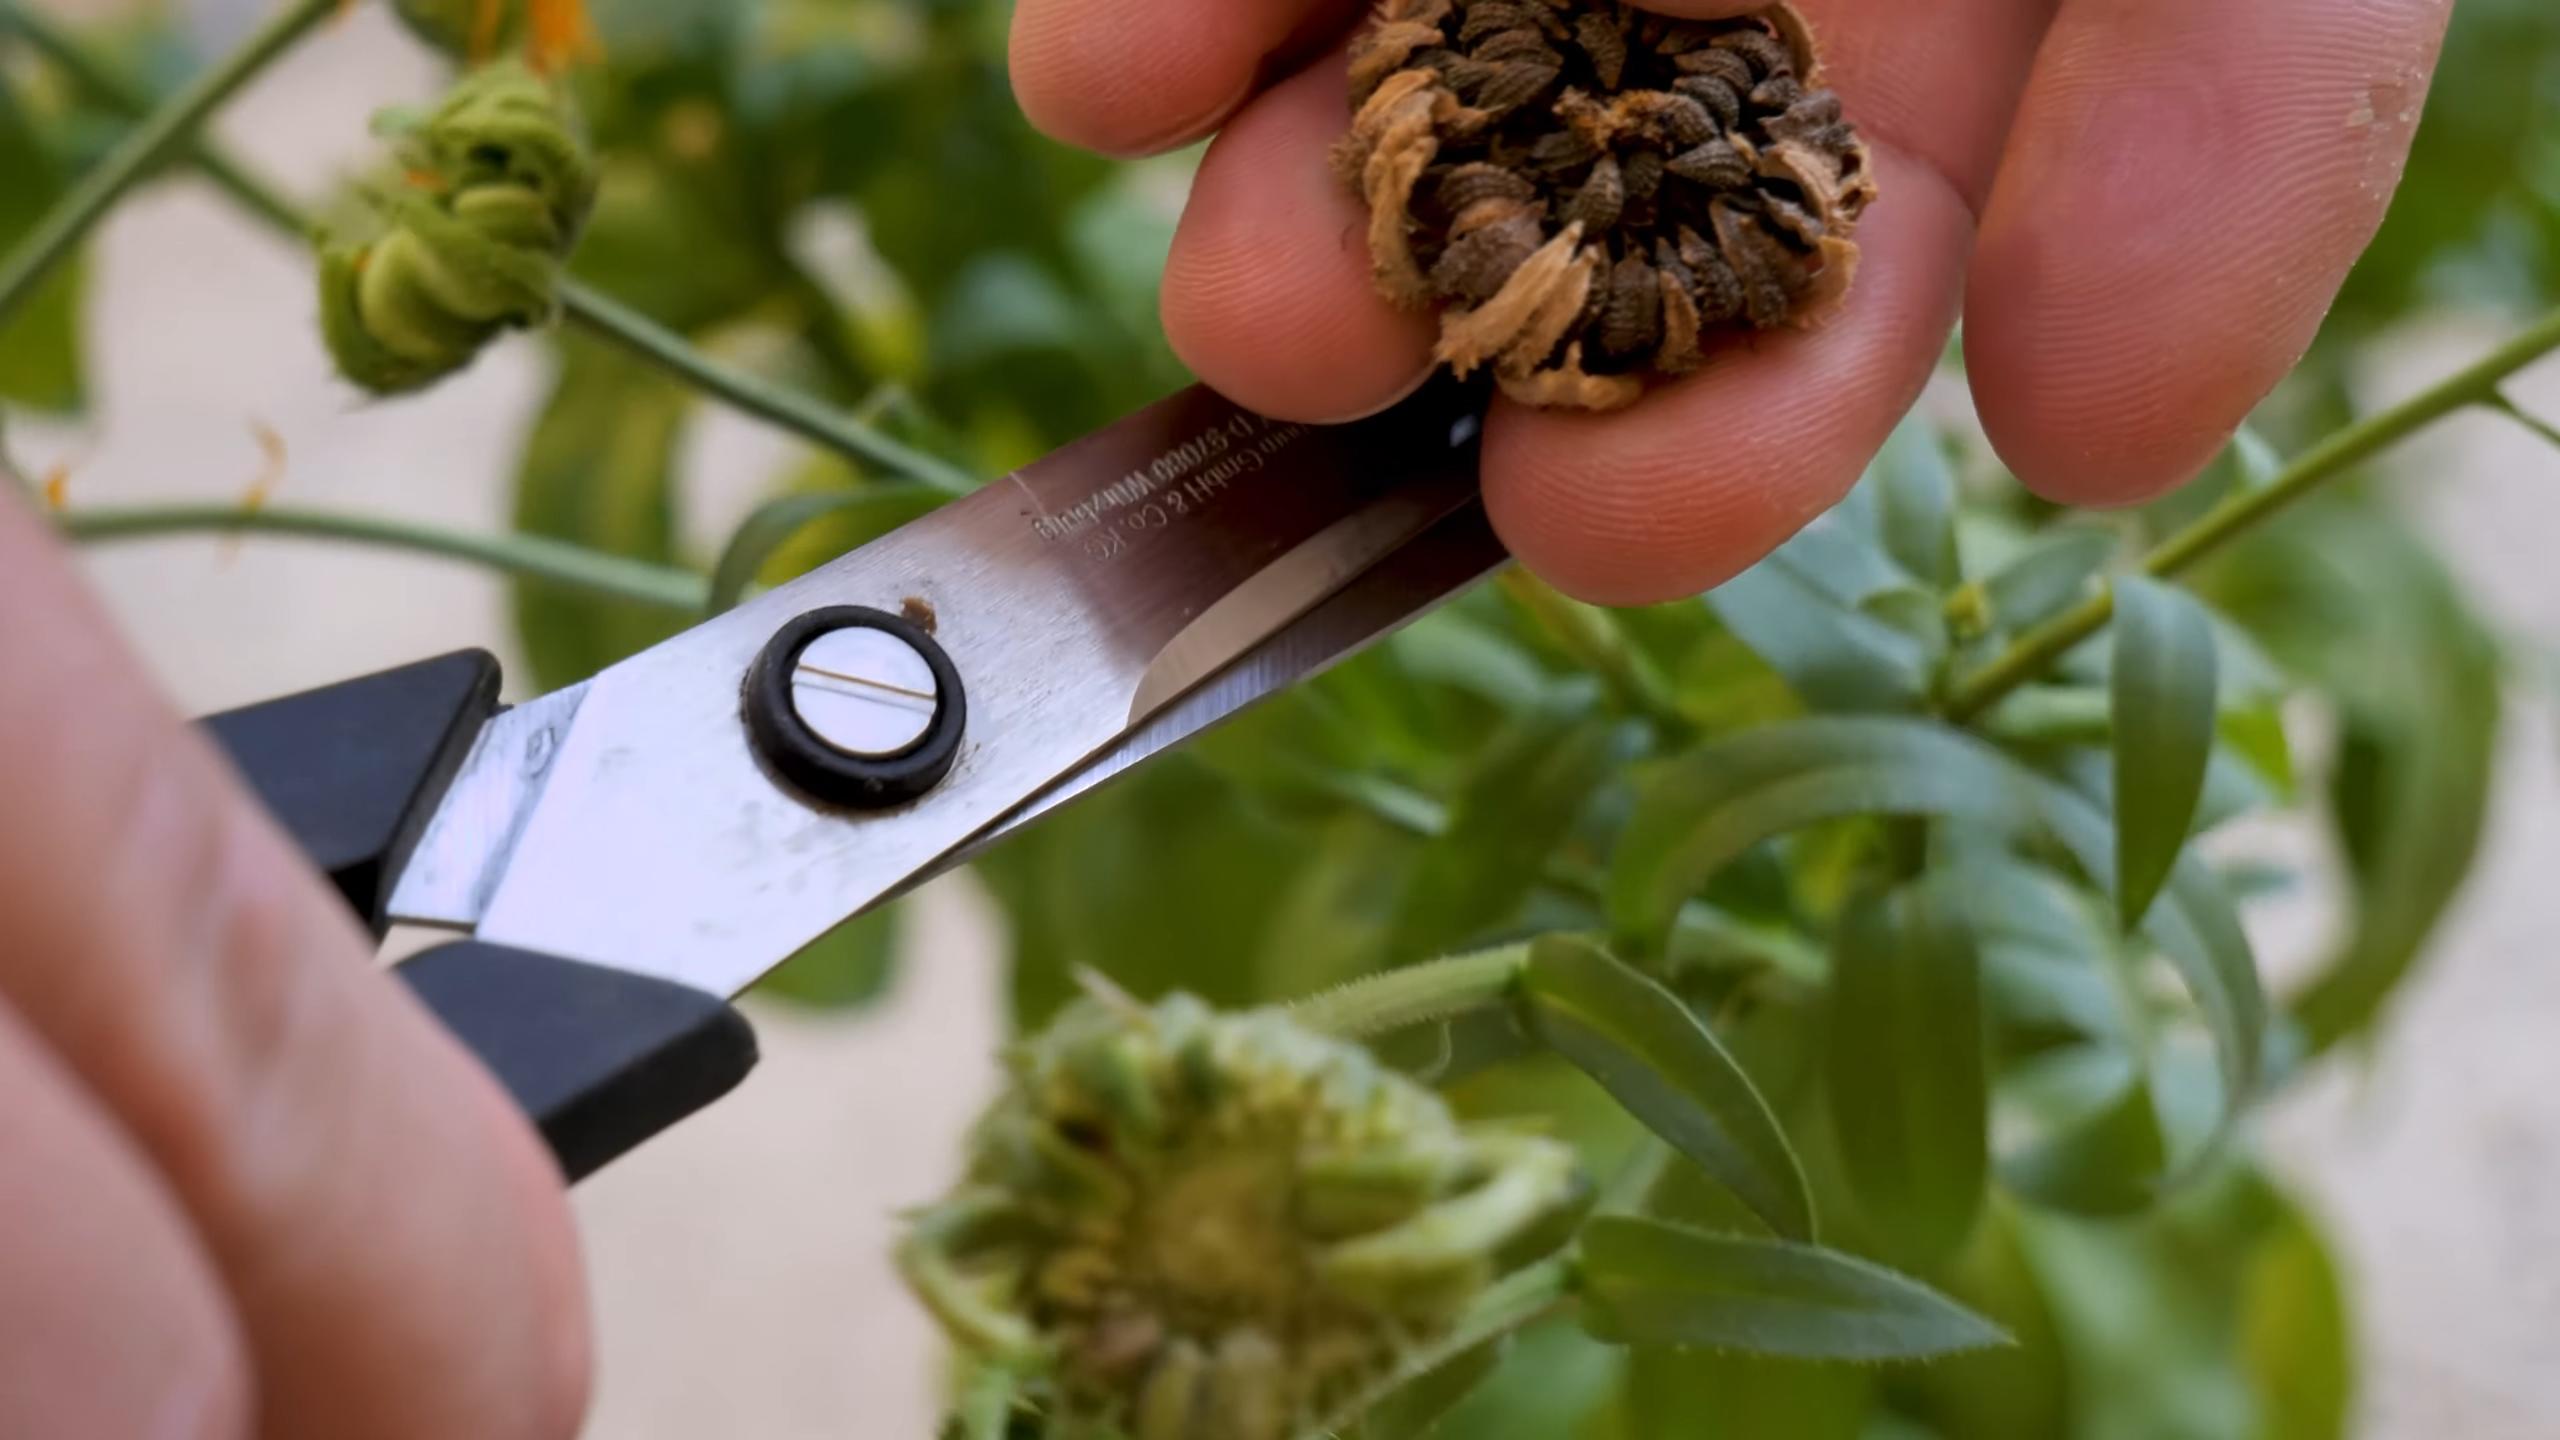
One of the best things about growing calendula is that you can harvest the flowers for various uses!
* When to Harvest: Harvest the flowers when they are fully open, ideally in the morning after the dew has dried.
* How to Harvest: Simply pinch or cut off the flower heads just below the flower.
* Drying Calendula: To dry calendula flowers, spread them out on a screen or tray in a cool, dark, and well-ventilated place. They should be completely dry in about a week. You can also use a dehydrator on a low setting.
* Using Calendula: Dried calendula flowers can be used to make teas, tinctures, salves, and other herbal remedies. They’re known for their anti-inflammatory and wound-healing properties. You can also add fresh calendula petals to salads or use them as a garnish.
Troubleshooting Common Problems
Even with the best care, you might encounter a few problems along the way. Here’s how to troubleshoot some common issues:
* Yellowing Leaves: Yellowing leaves can be a sign of overwatering, underwatering, or nutrient deficiency. Check the soil moisture and adjust your watering accordingly. If the soil is consistently moist, you may be overwatering. If the soil is dry, you may be underwatering. If you suspect a nutrient deficiency, try fertilizing with a balanced fertilizer.
* Lack of Blooms: If your calendula isn’t blooming, it could be due to insufficient sunlight, lack of deadheading, or poor soil. Make sure your plants are getting enough sunlight and that you’re deadheading regularly. You may also want to amend the soil with compost or fertilizer.
* Powdery Mildew: Powdery mildew is a fungal disease that can cause a white, powdery coating on the leaves. To prevent powdery mildew, ensure good air circulation and avoid overhead watering. If you see signs of powdery mildew, you can treat it with a fungicide.
* Aphids: As mentioned earlier, aphids can sometimes be a problem. Spray them off with a strong stream of water or use an insecticidal soap.
Extending the Blooming Season
Want to keep your calendula blooming for as long as possible? Here are a few tips:
* Succession Planting: Plant new seeds or seedlings every few weeks to ensure a continuous supply of blooms.
* Deadheading Regularly: This is the most important thing you can do to encourage continuous blooming.
* Provide Adequate Sunlight: Calendula needs plenty of sunlight to bloom.
* Protect from Frost: Calendula is relatively frost-tolerant, but a hard frost can damage the plants. If frost is predicted, cover your containers with a blanket or move them indoors.
Choosing Calendula Varieties
There are many different varieties of calendula to choose from, each with its own unique characteristics. Here are a few of my favorites:
* ‘Pacific Beauty’: This variety produces large, double flowers in shades of yellow and orange.
* ‘Bronzed Beauty’: This variety has unique bronze-colored petals with dark centers.
* ‘Radio’: This variety has quilled petals that give it a unique, spiky appearance.
* ‘Sherbet Fizz’: This variety has creamy yellow petals with a darker orange center.
Calendula Companion Planting
Calendula is a great companion plant for many vegetables and herbs. It attracts beneficial insects, such as ladybugs and hoverflies, which prey on aphids and other pests. It can also help to deter nematodes in the soil. Some good companion plants for calendula include:
* Tomatoes
* Cucumbers
* Peppers
* Carrots
* Lettuce
* Basil
* Rosemary
Calendula’s Medicinal Properties
Calendula has been used for centuries for its medicinal properties. It’s known for its anti-inflammatory, wound-healing, and antiseptic properties. Calendula can be used to treat a variety of skin conditions, such as eczema, psoriasis, and burns. It can also be used to soothe sore throats and mouth ulcers.
Disclaimer: I am not a medical professional. Always consult with a qualified healthcare provider before using calendula for medicinal purposes.
Final Thoughts
Growing calendula in containers is a rewarding experience. Not only will you have beautiful flowers to enjoy, but you’ll also have a valuable resource for your garden and your health. So, grab a container, some seeds
Conclusion
So, there you have it! Mastering calendula container gardening is not just about planting seeds; it’s about unlocking a world of vibrant color, natural healing, and culinary possibilities right on your doorstep. We’ve explored the simple steps to cultivate these sunny blooms in pots, from selecting the right container and soil to providing optimal sunlight and care. But why is this DIY trick a must-try?
Firstly, calendula is incredibly versatile. Beyond its aesthetic appeal, it boasts potent medicinal properties. Imagine having a readily available source of skin-soothing salves, wound-healing infusions, and even edible petals to brighten up your salads. Secondly, container gardening makes calendula accessible to everyone, regardless of space constraints. Whether you have a sprawling backyard or a tiny balcony, you can enjoy the benefits of these cheerful flowers. Thirdly, it’s a fantastic way to connect with nature and experience the satisfaction of nurturing something from seed to bloom.
This is more than just gardening; it’s a lifestyle choice that promotes well-being and sustainability.
Now, let’s talk about variations. Feel free to experiment with different calendula varieties. ‘Pacific Beauty’ offers a mix of colors, while ‘Bronzed Beauty’ adds a touch of rustic charm. Consider companion planting within your container. Marigolds, nasturtiums, and basil all thrive alongside calendula, creating a beautiful and beneficial ecosystem. You can also try different container materials, from terracotta pots to repurposed buckets, adding your personal touch to your garden. For a truly unique experience, try growing calendula in hanging baskets for a cascading display of golden blooms.
Don’t be afraid to get creative with your calendula container gardening. Add decorative elements like pebbles, shells, or small figurines to personalize your space. Use different potting mixes to see which one your calendula prefers. Experiment with different watering schedules to find the sweet spot that keeps your plants happy and healthy.
The beauty of DIY is that it’s all about learning and adapting.
We wholeheartedly encourage you to embark on this rewarding journey. Start small, be patient, and don’t be discouraged by initial setbacks. Gardening is a learning process, and every mistake is an opportunity to grow (pun intended!). Once you’ve experienced the joy of harvesting your own calendula blooms, you’ll be hooked.
We’re eager to hear about your experiences! Share your photos, tips, and challenges in the comments section below. Let’s create a community of calendula enthusiasts and inspire others to embrace the magic of container gardening. What are you waiting for? Grab your seeds, pots, and soil, and let’s get growing! Remember, even a small pot of calendula can bring a burst of sunshine and healing into your life. So, go ahead and give calendula container gardening a try – you won’t regret it!
Frequently Asked Questions (FAQ)
What is the best size container for calendula?
A container that is at least 12 inches in diameter and 12 inches deep is ideal for calendula. This provides ample space for the roots to grow and allows for good drainage. If you’re planning to grow multiple calendula plants in one container, opt for a larger size to avoid overcrowding. Remember that the bigger the container, the less frequently you’ll need to water.
What type of soil should I use for calendula in containers?
Calendula prefers well-draining soil that is rich in organic matter. A good potting mix specifically formulated for containers is a great choice. You can also amend your own mix by combining equal parts of garden soil, compost, and perlite or vermiculite. Avoid using heavy clay soil, as it can retain too much moisture and lead to root rot. Adding a slow-release fertilizer to the soil at planting time will provide your calendula with essential nutrients throughout the growing season.
How much sunlight does calendula need in a container?
Calendula thrives in full sun, which means at least 6 hours of direct sunlight per day. However, in hotter climates, it can benefit from some afternoon shade to prevent the flowers from scorching. If you’re growing calendula indoors, place it near a sunny window or use grow lights to supplement natural light. Insufficient sunlight can result in leggy growth and fewer blooms.
How often should I water calendula in a container?
Water calendula regularly, especially during hot and dry weather. Check the soil moisture by sticking your finger about an inch deep. If the soil feels dry, it’s time to water. Avoid overwatering, as this can lead to root rot. Water deeply, allowing the excess water to drain out of the bottom of the container. During cooler weather, you can reduce the frequency of watering.
How do I fertilize calendula in a container?
Calendula is not a heavy feeder, but it will benefit from regular fertilization. Use a balanced liquid fertilizer diluted to half strength every 2-3 weeks during the growing season. Alternatively, you can use a slow-release fertilizer at planting time and then supplement with liquid fertilizer as needed. Avoid over-fertilizing, as this can lead to excessive foliage growth at the expense of flowers.
How do I harvest calendula flowers?
Harvest calendula flowers when they are fully open and dry, preferably in the morning after the dew has evaporated. Gently pinch or cut the flower heads off the stem, leaving a short stem attached. You can use the fresh flowers immediately or dry them for later use. To dry calendula flowers, spread them out in a single layer on a screen or tray in a cool, dark, and well-ventilated place. Once they are completely dry, store them in an airtight container.
How can I use calendula flowers?
Calendula flowers have a wide range of uses. They can be used to make skin-soothing salves, creams, and lotions. They can also be infused in oil or water to create medicinal teas and tinctures. In the kitchen, calendula petals can be added to salads, soups, and other dishes for a pop of color and a slightly peppery flavor. They can also be used to make natural dyes for fabrics and crafts.
Are there any pests or diseases that affect calendula in containers?
Calendula is generally pest-resistant, but it can be susceptible to aphids, spider mites, and powdery mildew. Inspect your plants regularly for signs of infestation or disease. If you notice any problems, treat them promptly with organic pest control methods or fungicides. Good air circulation and proper watering can help prevent many common problems.
Can I grow calendula indoors in a container?
Yes, you can grow calendula indoors in a container, but it requires sufficient sunlight or supplemental lighting. Place the container near a sunny window that receives at least 6 hours of direct sunlight per day. If you don’t have enough natural light, use grow lights to supplement. Indoor calendula may require more frequent watering and fertilization than outdoor plants.
How do I deadhead calendula flowers?
Deadheading is the process of removing spent or faded flowers. This encourages the plant to produce more blooms and prevents it from going to seed too quickly. To deadhead calendula, simply pinch or cut off the flower heads below the flower, just above a set of leaves. Regular deadheading will keep your calendula plants blooming profusely throughout the growing season.
Leave a Comment