

Cif cleaning ideas – ever feel like your cleaning routine needs a serious upgrade? I know I have! We’ve all been there, staring at stubborn stains and grime, wondering if there’s a better way than endless scrubbing. Well, you’re in luck! This isn’t just another cleaning article; it’s your passport to a sparkling home, achieved with clever DIY tricks and hacks using, yes, you guessed it, Cif cleaning ideas.
Cleaning, in its essence, is as old as civilization itself. From ancient Egyptians using natron (a naturally occurring salt mixture) to clean their homes, to the Romans employing lye and ash, the quest for a spotless living space has always been a part of human culture. But let’s be honest, nobody wants to spend hours battling dirt. That’s where these DIY solutions come in.
In today’s busy world, time is precious. Who wants to spend their weekends scrubbing when they could be relaxing or pursuing hobbies? These Cif cleaning ideas are designed to save you time, money, and effort. I’m going to share some of my favorite DIY tricks that will transform your cleaning routine from a chore into a breeze. Get ready to unlock the secrets to a cleaner, happier home, one simple hack at a time!
Unlocking the Power of Oven Cleaner: Beyond the Kitchen
Okay, let’s be honest, oven cleaner isn’t exactly the most glamorous product in your cleaning arsenal. But trust me, this stuff is a powerhouse! I’ve discovered some seriously amazing uses for it that go way beyond just scrubbing baked-on grease. Get ready to be amazed by these DIY hacks!
Cleaning Stubborn Stains on Your Oven Door
Let’s start with the obvious, but with a twist! We’re not just cleaning the inside of the oven, but focusing on that often-neglected oven door.
What you’ll need:
* Oven cleaner (I prefer the fume-free kind, but always follow the product’s safety instructions!)
* Paper towels or a microfiber cloth
* Gloves (seriously, don’t skip these!)
* A scraper (optional, for really stubborn spots)
* Water
Step-by-step instructions:
1. Prep the area: Lay down some old newspapers or a drop cloth around the oven to protect your floor.
2. Apply the cleaner: Generously spray the oven cleaner onto the inside of the oven door, focusing on areas with baked-on grease and stains.
3. Let it sit: This is the key! Let the oven cleaner work its magic for at least 20-30 minutes. For really tough stains, you can even let it sit for a few hours. Just make sure to keep an eye on it and don’t let it dry completely.
4. Wipe it away: After the waiting period, use paper towels or a microfiber cloth to wipe away the cleaner. You’ll be amazed at how easily the grease and grime come off!
5. Scrub stubborn spots: If there are any stubborn spots remaining, use a scraper to gently loosen them. Be careful not to scratch the glass!
6. Rinse thoroughly: Once you’ve removed all the cleaner and grime, rinse the oven door thoroughly with water to remove any residue.
7. Dry and admire: Dry the oven door with a clean cloth and admire your sparkling clean oven door!
Reviving Your Grill Grates
Grill grates can get absolutely disgusting, right? Burnt food, grease, and all sorts of gunk. Oven cleaner to the rescue!
What you’ll need:
* Oven cleaner
* Heavy-duty garbage bag
* Gloves
* Scrub brush or steel wool
* Water
* Dish soap
Step-by-step instructions:
1. Bag it up: Place your grill grates inside the heavy-duty garbage bag.
2. Spray generously: Spray the grill grates thoroughly with oven cleaner, making sure to coat all surfaces.
3. Seal and wait: Seal the garbage bag tightly and let it sit for at least 24 hours. This allows the oven cleaner to really penetrate the baked-on grime. I usually do this overnight.
4. Open with caution: After 24 hours, carefully open the garbage bag (outside, if possible, due to the fumes).
5. Scrub-a-dub-dub: Using a scrub brush or steel wool, scrub the grill grates to remove the loosened grime. You’ll be surprised at how easily it comes off!
6. Rinse and wash: Rinse the grill grates thoroughly with water to remove all traces of oven cleaner. Then, wash them with dish soap and water to remove any remaining residue.
7. Dry and grill: Dry the grill grates completely before placing them back on your grill. Get ready for some delicious, grime-free grilling!
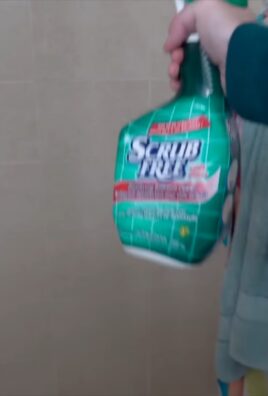
Cleaning Your Shower Door and Tiles
Soap scum and hard water stains can make your shower look perpetually dirty. Oven cleaner can cut through that grime like a hot knife through butter!
What you’ll need:
* Oven cleaner
* Gloves
* Sponge or microfiber cloth
* Water
* Spray bottle (optional)
Step-by-step instructions:
1. Ventilate the area: Open a window or turn on the bathroom fan to ensure proper ventilation.
2. Apply the cleaner: Spray the oven cleaner directly onto the shower door and tiles, focusing on areas with soap scum and hard water stains. If you’re worried about overspray, you can spray the cleaner into a spray bottle and then apply it to the surfaces.
3. Let it sit: Let the oven cleaner sit for 15-20 minutes. Don’t let it dry completely.
4. Wipe and rinse: Use a sponge or microfiber cloth to wipe away the cleaner and grime. Rinse the shower door and tiles thoroughly with water.
5. Repeat if necessary: For really stubborn stains, you may need to repeat the process.
6. Dry and shine: Dry the shower door and tiles with a clean cloth to prevent water spots. Your shower will look sparkling clean!
Removing Rust from Tools and Metal Surfaces
Rust can be a real pain, but oven cleaner can help you remove it and restore your tools and metal surfaces.
What you’ll need:
* Oven cleaner
* Gloves
* Wire brush or steel wool
* Water
* Rust-inhibiting primer (optional)
Step-by-step instructions:
1. Protect the area: Work in a well-ventilated area and protect the surrounding surfaces with a drop cloth.
2. Apply the cleaner: Spray the oven cleaner onto the rusted areas of your tools or metal surfaces.
3. Let it sit: Let the oven cleaner sit for 30-60 minutes, or even longer for heavily rusted items.
4. Scrub away the rust: Using a wire brush or steel wool, scrub away the loosened rust. You may need to apply some elbow grease!
5. Rinse thoroughly: Rinse the tools or metal surfaces thoroughly with water to remove all traces of oven cleaner and rust.
6. Dry and protect: Dry the tools or metal surfaces completely. To prevent future rust, you can apply a rust-inhibiting primer.
Cleaning Your Car’s Wheels
Brake dust and road grime can make your car’s wheels look dull and dirty. Oven cleaner can help you restore their shine!
What you’ll need:
* Oven cleaner
* Gloves
* Wheel brush
* Water
* Hose
Step-by-step instructions:
1. Cool down the wheels: Make sure your car’s wheels are cool to the touch before applying oven cleaner.
2. Spray the wheels: Spray the oven cleaner onto the wheels, focusing on areas with brake dust and grime.
3. Let it sit: Let the oven cleaner sit for 5-10 minutes. Don’t let it dry completely.
4. Scrub the wheels: Use a wheel brush to scrub the wheels, paying attention to the lug nuts and other hard-to-reach areas.
5. Rinse thoroughly: Rinse the wheels thoroughly with water using a hose.
6. Dry and shine: Dry the wheels with a clean cloth to prevent water spots. Your wheels will look like new!
Removing Permanent Marker from Hard Surfaces
Oops! Did your little one get a hold of a permanent marker and decorate your walls or furniture? Don’t panic! Oven cleaner can often remove permanent marker from hard surfaces.
What you’ll need:
* Oven cleaner
* Gloves
* Clean cloth
* Water
Step-by-step instructions:
1. Test in an inconspicuous area: Before applying oven cleaner to the entire stain, test it in an inconspicuous area to make sure it doesn’t damage the surface.
2. Apply the cleaner: Spray a small amount of oven cleaner onto a clean cloth.
3. Gently wipe the stain: Gently wipe the permanent marker stain with the cloth.
4. Rinse with water: Rinse the area with water to remove any residue.
5. Repeat if necessary: You may need to repeat the process a few times to completely remove the stain.
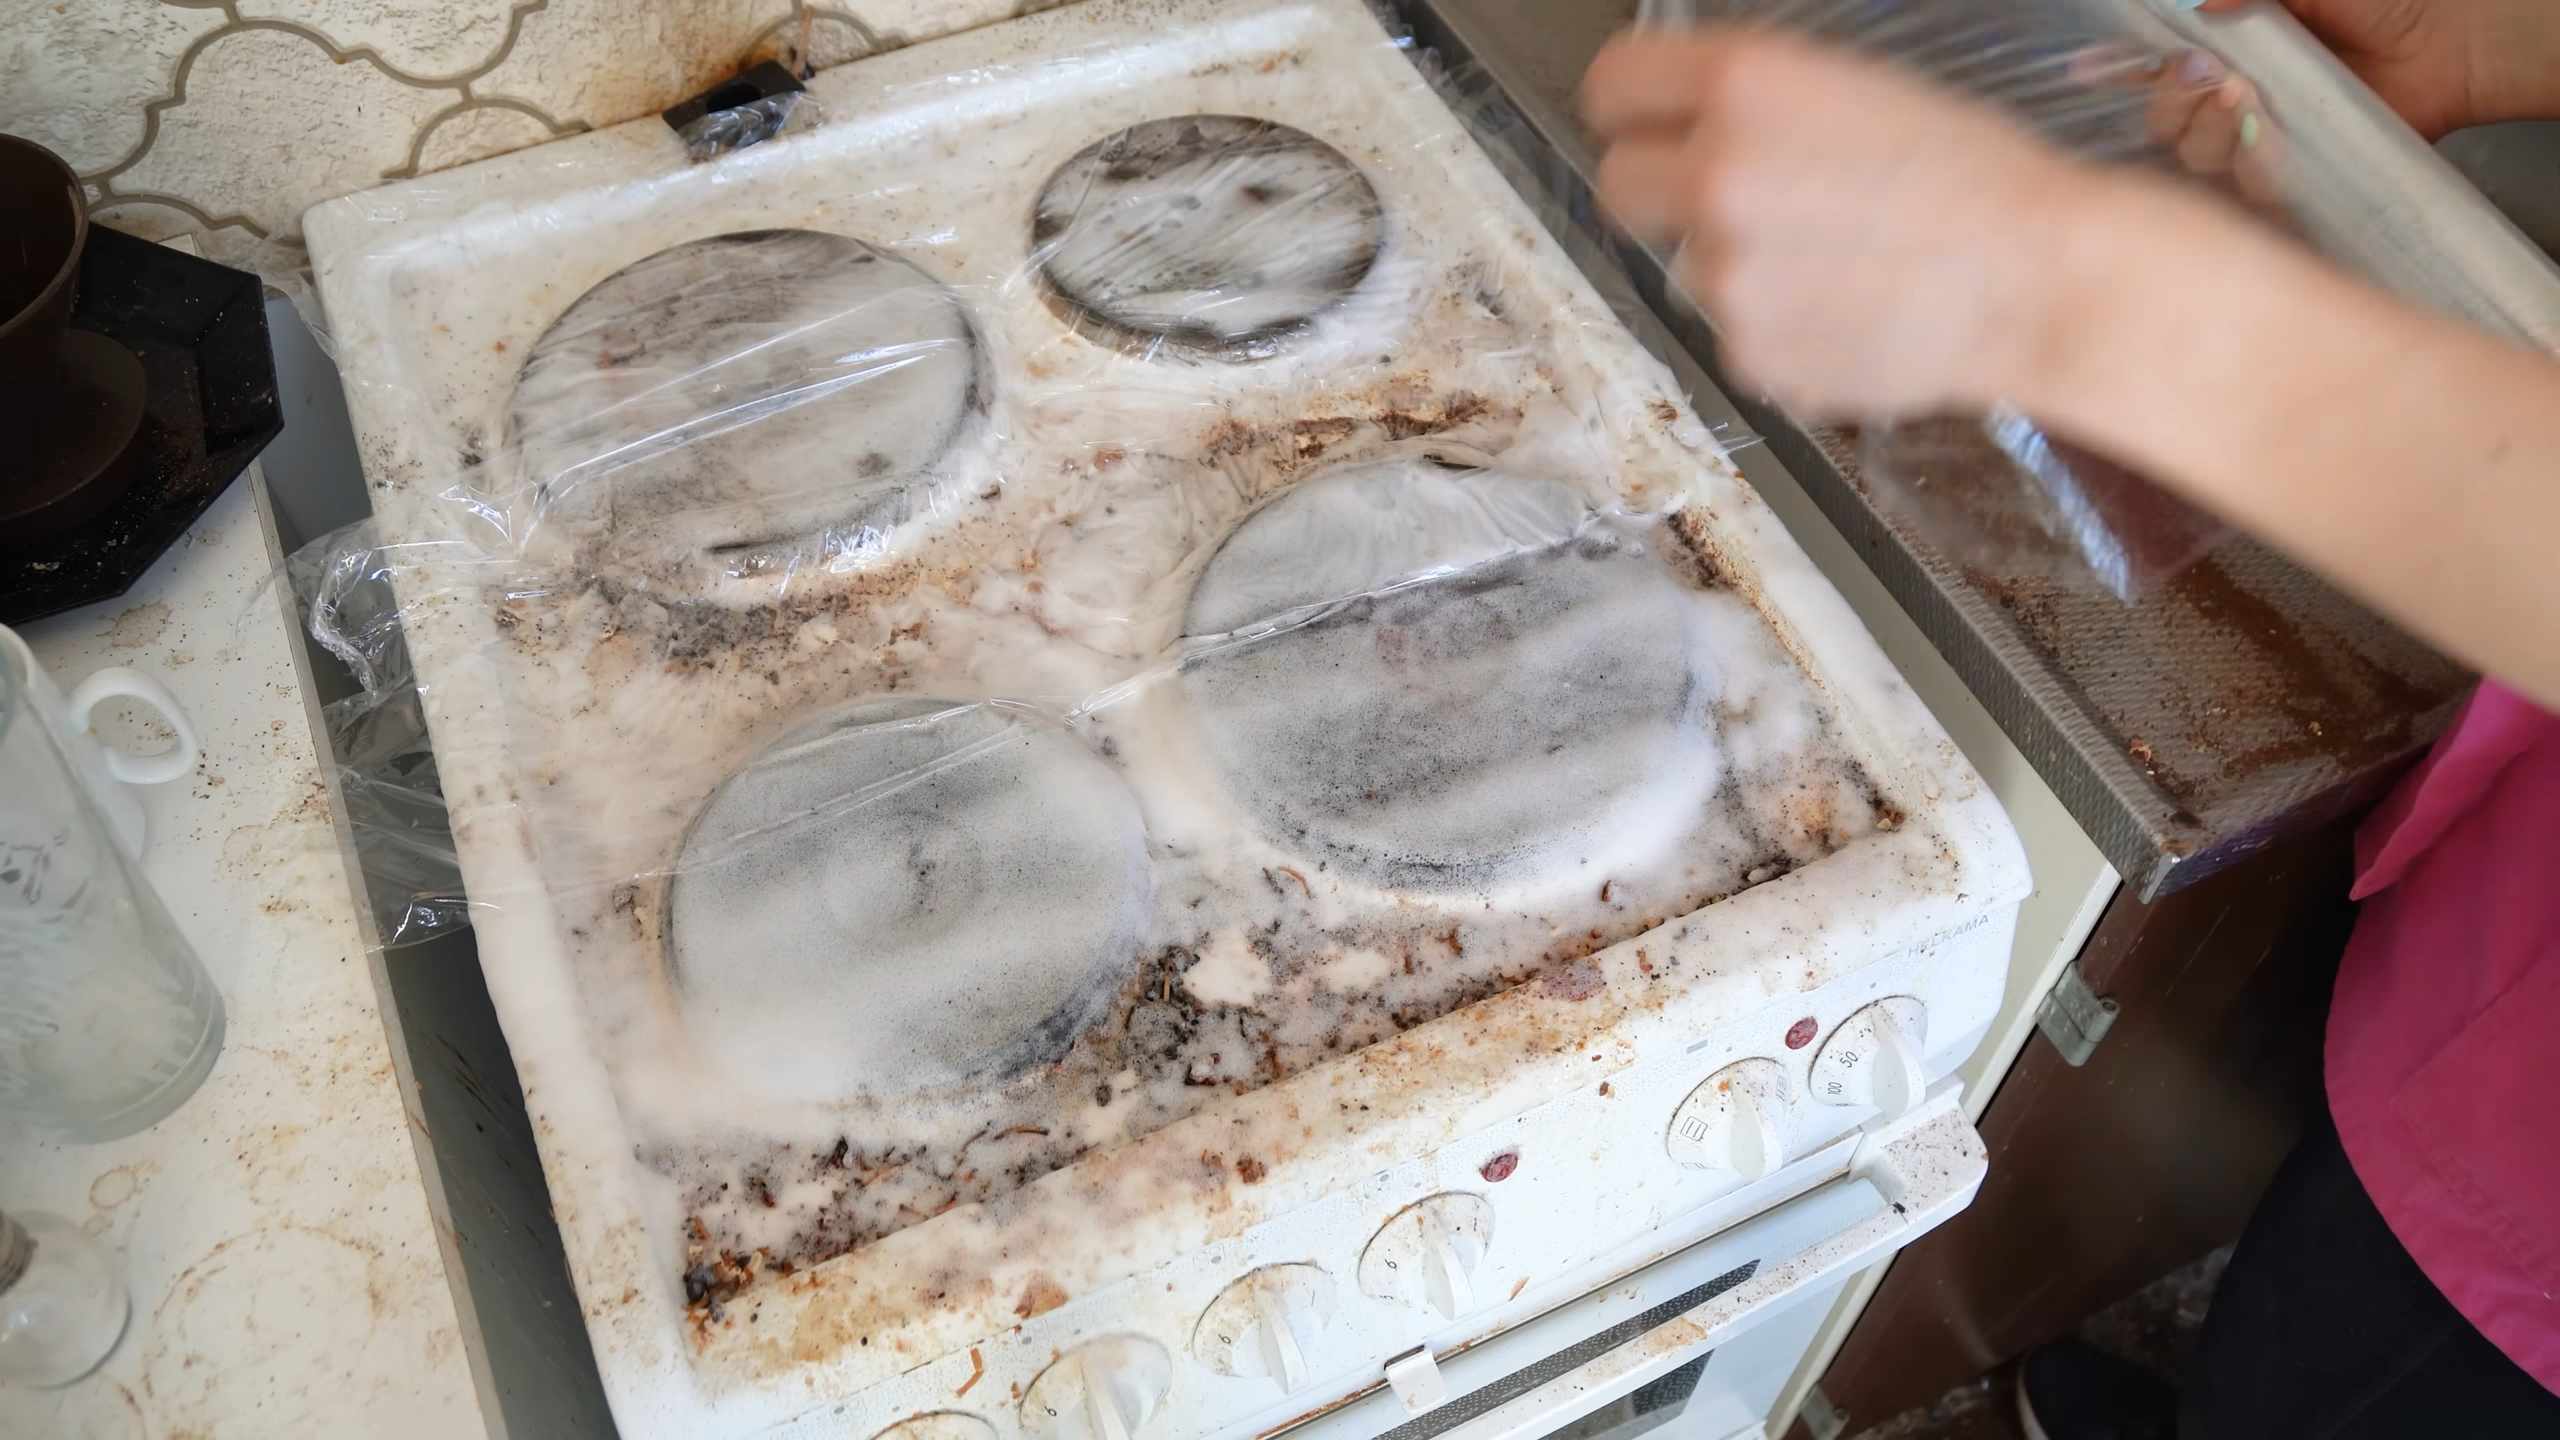
Cleaning Burnt Food from Pots and Pans
We’ve all been there – accidentally burning food in a pot or pan. It’s a nightmare to clean! But oven cleaner can make the job much easier.
What you’ll need:
* Oven cleaner
* Gloves
* Heavy-duty garbage bag
* Scrub brush or steel wool
* Water
* Dish soap
Step-by-step instructions:
1. Bag it up: Place the pot or pan inside the heavy-duty garbage bag.
2. Spray generously: Spray the inside of the pot or pan thoroughly with oven cleaner
Conclusion
So, there you have it! Ditching those expensive, chemical-laden cleaners and embracing this simple, effective DIY Cif cleaning solution is a game-changer for your home. We’ve walked you through the easy steps to create a powerful cleaning paste that tackles grime, grease, and stubborn stains without breaking the bank or compromising your health.
But why is this DIY trick a must-try? It’s more than just saving money (though that’s a definite perk!). It’s about taking control of what you bring into your home. You know exactly what’s in your cleaner, avoiding harsh chemicals and potential allergens that can irritate skin and respiratory systems. Plus, you’re reducing your environmental impact by reusing containers and minimizing plastic waste. It’s a win-win-win!
Beyond the basic recipe, there’s plenty of room for experimentation. Want a more potent citrus scent? Add a few extra drops of lemon or orange essential oil. Dealing with particularly tough stains in the bathroom? A sprinkle of borax can boost the cleaning power. For a gentler scrub, use finely ground pumice instead of baking soda. The possibilities are endless, allowing you to tailor the DIY Cif cleaning paste to your specific needs and preferences.
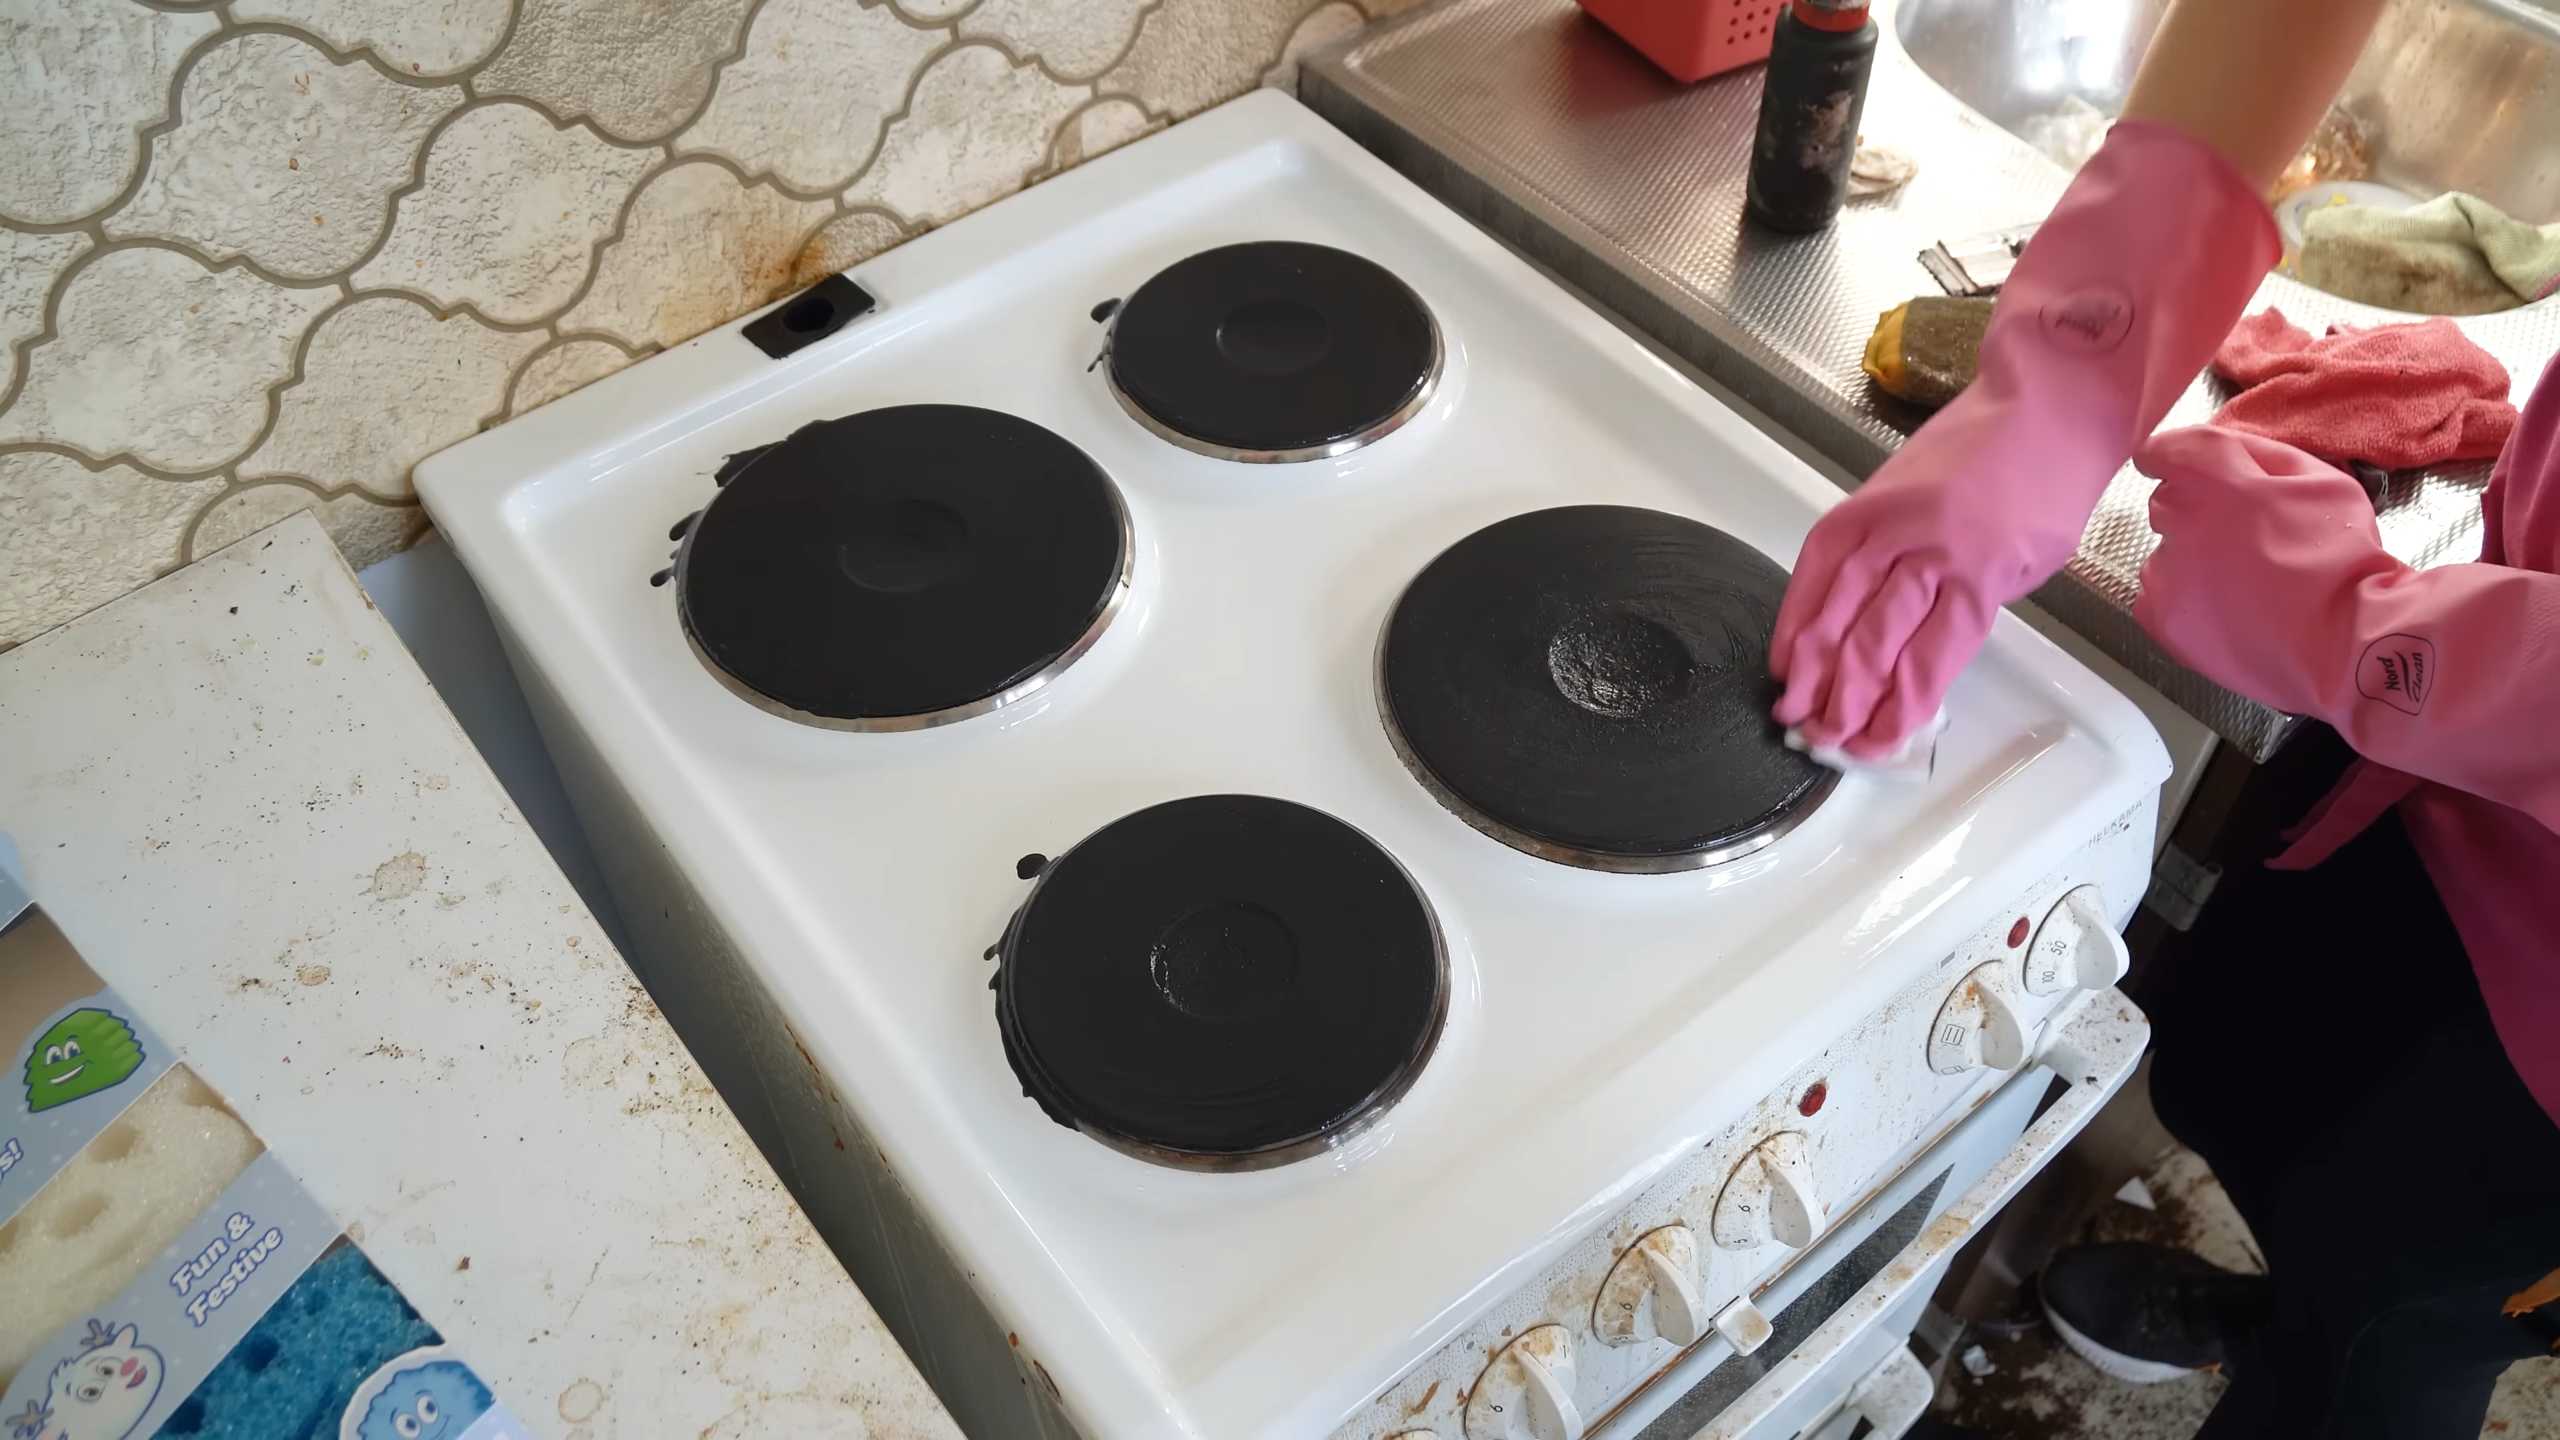
We’ve found this homemade cleaner to be incredibly versatile, working wonders on everything from stovetops and sinks to bathtubs and tile grout. It’s even effective on scuff marks on walls and stubborn stains on shoes! However, as with any cleaning product, it’s always a good idea to test it on an inconspicuous area first, especially on delicate surfaces like painted wood or certain types of plastic.
Don’t just take our word for it, though. We wholeheartedly encourage you to give this DIY Cif cleaning trick a try. Gather your ingredients, follow the simple instructions, and prepare to be amazed by the results. We’re confident that you’ll be thrilled with the cleaning power, the cost savings, and the peace of mind that comes with using a natural, homemade solution.
Once you’ve experienced the magic of this DIY cleaner, we’d love to hear about your experience! Share your tips, variations, and before-and-after photos in the comments below. Let’s build a community of DIY cleaning enthusiasts and help each other create healthier, happier homes. What surfaces did you find it worked best on? Did you add any special ingredients? We’re eager to learn from your experiences and continue refining this fantastic cleaning solution together. So, go ahead, get cleaning, and share your success story! You might just inspire someone else to ditch the store-bought cleaners and embrace the power of DIY.
Frequently Asked Questions (FAQs)
What exactly is Cif, and why should I make a DIY version?
Cif is a popular brand of cleaning products, known particularly for its cream cleaners. These cleaners are effective at removing grime and stains, but they often contain harsh chemicals that can be irritating to the skin, eyes, and respiratory system. A DIY Cif cleaning solution allows you to achieve similar cleaning power using natural, readily available ingredients, avoiding those potentially harmful chemicals. It’s also significantly more cost-effective and environmentally friendly.
What are the basic ingredients for a DIY Cif cleaning paste?
The most common and effective DIY Cif cleaning paste consists of just a few simple ingredients:
* Baking soda: Acts as a gentle abrasive to scrub away dirt and grime.
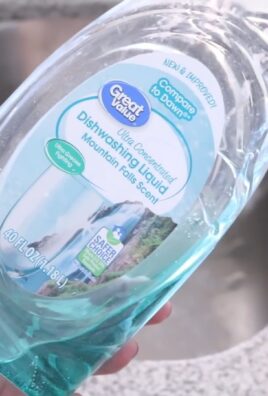
* Liquid soap (such as castile soap or dish soap): Helps to lift grease and emulsify dirt.
* Water: To create the desired paste consistency.
* Optional: Essential oils (like lemon, tea tree, or lavender) for fragrance and added cleaning power.
Can I use different types of soap in my DIY Cif cleaning paste?
Yes, you can experiment with different types of soap. Castile soap is a popular choice due to its natural ingredients and gentle cleaning properties. Dish soap works well for cutting through grease. However, avoid using soaps with added moisturizers, as they may leave a residue. Always test a small area first to ensure the soap doesn’t damage the surface.
Is baking soda abrasive enough to damage surfaces?
Baking soda is generally considered a mild abrasive and is safe for most surfaces. However, it’s always wise to test it on an inconspicuous area first, especially on delicate surfaces like polished stone, painted wood, or certain types of plastic. Avoid using excessive pressure when scrubbing. For more delicate surfaces, consider using a finer abrasive like finely ground pumice.
How do I store my DIY Cif cleaning paste?
Store your DIY Cif cleaning paste in an airtight container in a cool, dry place. A glass jar or a plastic container with a tight-fitting lid works well. Label the container clearly with the ingredients and the date you made it. The paste should last for several weeks, but it’s best to use it within a month for optimal effectiveness.
Can I add essential oils to my DIY Cif cleaning paste? What are the benefits?
Yes, adding essential oils is a great way to enhance the cleaning power and fragrance of your DIY Cif cleaning paste. Lemon, tea tree, and lavender essential oils are popular choices due to their antibacterial and antifungal properties. They also leave a fresh, clean scent. Add a few drops of your favorite essential oil to the paste and mix well.
What surfaces can I safely use my DIY Cif cleaning paste on?
This DIY cleaner is versatile and can be used on a variety of surfaces, including:
* Stovetops
* Sinks
* Bathtubs
* Tile grout
* Countertops (test first)
* Scuff marks on walls
* Shoes (test first)
Always test on an inconspicuous area first, especially on delicate surfaces.
How do I use the DIY Cif cleaning paste?
Apply a small amount of the paste to the surface you want to clean. Use a damp cloth or sponge to scrub gently in a circular motion. Rinse thoroughly with water and dry with a clean cloth. For stubborn stains, let the paste sit on the surface for a few minutes before scrubbing.
Can I use this DIY cleaner to clean my oven?
Yes, you can use this DIY Cif cleaning paste to clean your oven. However, it’s best to use it on a warm (not hot) oven. Apply the paste to the interior surfaces of the oven, avoiding the heating elements. Let it sit for several hours or overnight for best results. Then, scrub thoroughly with a damp cloth or sponge and rinse well with water. You may need to repeat the process for heavily soiled ovens.
Is this DIY Cif cleaning paste safe for septic systems?
Yes, the ingredients in this DIY cleaning paste (baking soda, liquid soap, and water) are generally considered safe for septic systems. However, it’s always a good idea to use cleaning products sparingly and avoid flushing large amounts of any cleaning solution down the drain.
What if my DIY Cif cleaning paste dries out?
If your DIY Cif cleaning paste dries out, simply add a little water to restore it to the desired consistency. Mix well until it forms a smooth paste again.
Can I use this DIY cleaner on stainless steel?
Yes, you can use this DIY cleaner on stainless steel. However, be sure to scrub in the direction of the grain to avoid scratching the surface. Rinse thoroughly with water and dry with a clean cloth to prevent water spots.
What are some variations I can try with this DIY Cif cleaning recipe?
Here are a few variations you can try:
* Add a sprinkle of borax for extra cleaning power on tough stains.
* Use finely ground pumice instead of baking soda for a gentler scrub.
* Add a tablespoon of vinegar for extra grease-cutting power (use with caution on certain surfaces).
* Experiment with different essential oil blends to create your own signature scent.
What if I have sensitive skin?
If you have sensitive skin, it’s always a good idea to wear gloves when using any cleaning product, including this DIY Cif cleaning paste. You can also try using a milder soap, such as castile soap, and avoid adding essential oils that may irritate your skin.
Where can I find the ingredients for this DIY Cif cleaning recipe?
All of the ingredients for this DIY Cif cleaning recipe are readily available at most grocery stores and pharmacies. Baking soda, liquid soap, and water are common household staples. Essential oils can be found at health food stores or online retailers.

Leave a Comment