

Clean and Freshen Sink: Is your kitchen sink looking a little… lackluster? Let’s be honest, it’s probably seen better days. We all know that feeling – the lingering odors, the stubborn stains, and the general feeling that it’s just not as sparkling as it should be. But don’t despair! You don’t need harsh chemicals or expensive cleaners to bring your sink back to life. I’m here to share some simple, effective, and budget-friendly DIY tricks to not only clean your sink but also leave it smelling fresh and inviting.
Throughout history, maintaining a clean and hygienic kitchen space has been paramount. From ancient civilizations using natural remedies to modern-day innovations, the quest for a spotless sink has been a constant. Think about it – our sinks are the workhorses of our kitchens, handling everything from food prep to dishwashing. They deserve a little TLC!
That’s why I’ve put together this guide. These DIY hacks are perfect for anyone who wants to clean and freshen sink without breaking the bank or exposing themselves to harsh chemicals. Whether you’re dealing with a stainless steel, porcelain, or composite sink, I’ve got you covered. Get ready to say goodbye to grime and hello to a sparkling, fresh-smelling sink that you’ll be proud to show off!
DIY Sink Cleaning and Freshening: A Sparkling Transformation!
Hey there, fellow DIY enthusiasts! Are you tired of looking at a dull, grimy sink? I know I was! That’s why I decided to tackle this project and share my tried-and-true method for cleaning and freshening up any sink, whether it’s stainless steel, porcelain, or composite. Get ready to say goodbye to stains, odors, and build-up, and hello to a sparkling clean sink that you’ll actually enjoy using!
What You’ll Need: The Essential Supplies
Before we dive in, let’s gather our supplies. This is a pretty straightforward project, so you probably have most of these items already lying around the house.
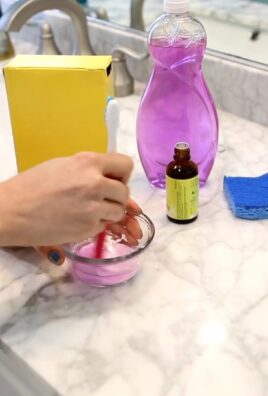
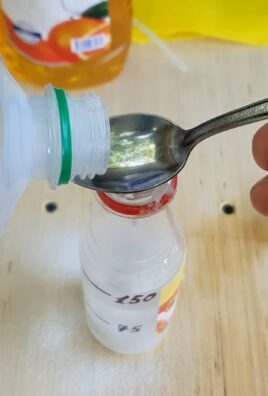
* **Baking Soda:** This is our gentle abrasive and odor absorber.
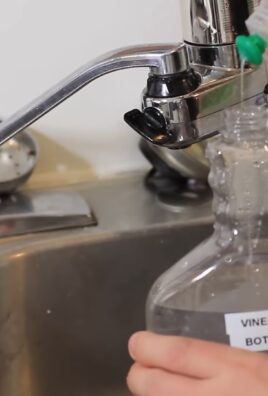
* **White Vinegar:** The acid in vinegar helps break down grime and mineral deposits.
* **Dish Soap:** For general cleaning and degreasing.
* **Lemon (Optional):** Adds a fresh scent and helps cut through grease.
* **Salt (Optional):** Another gentle abrasive, especially good for stubborn stains.
* **Hydrogen Peroxide (Optional):** For disinfecting and brightening.
* **Soft Cloths or Sponges:** Microfiber cloths work wonders!
* **Old Toothbrush:** Perfect for scrubbing around the drain and faucet.
* **Rubber Gloves:** To protect your hands, especially if you have sensitive skin.
* **Spray Bottle:** For easy application of vinegar or hydrogen peroxide.
* **Boiling Water:** To flush out the drain and dissolve grease.
* **Plunger (Just in Case):** Always good to have on hand for minor clogs.
Step-by-Step Guide: From Grimy to Gleaming
Okay, let’s get started! I’ve broken down the process into easy-to-follow steps.
1. **Rinse the Sink:** Begin by rinsing the entire sink with warm water to remove any loose debris or food particles. This will make the cleaning process much more effective.
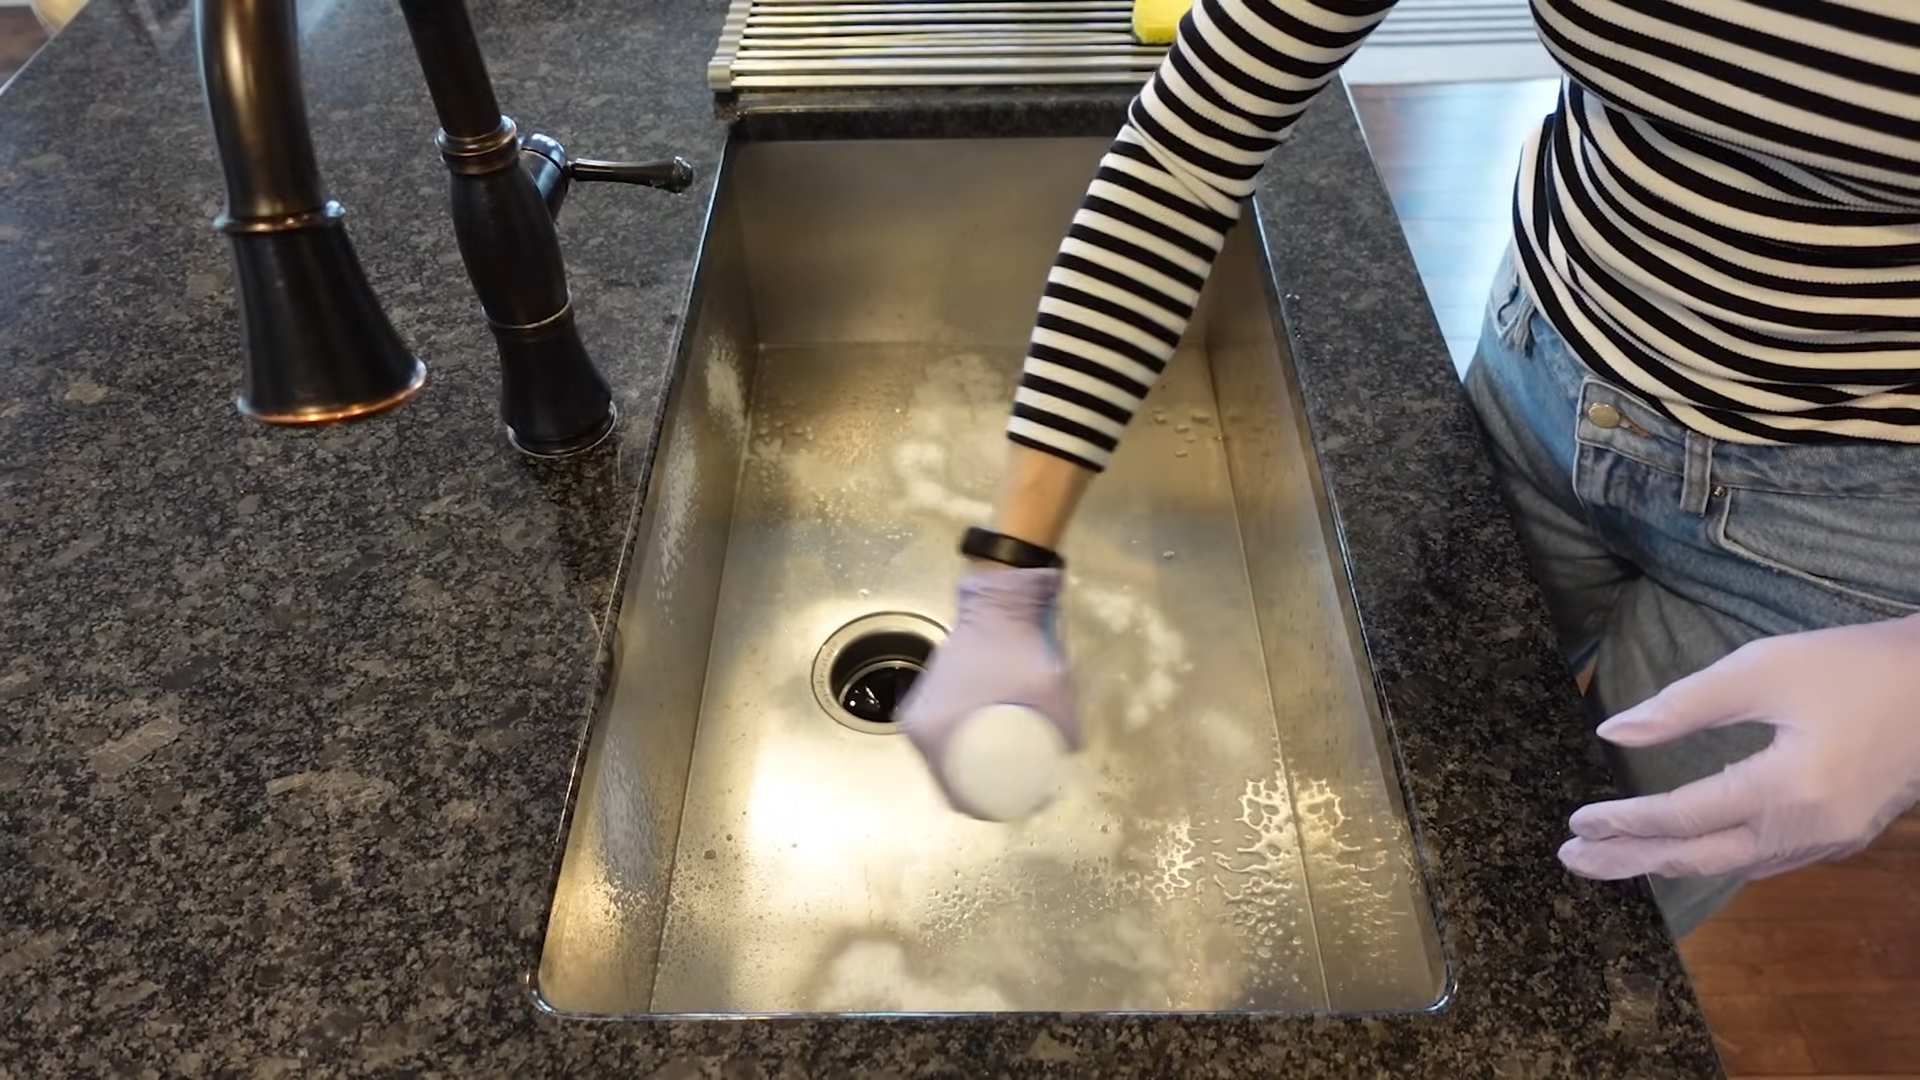
2. **Baking Soda Power:** Generously sprinkle baking soda all over the sink surface, including the sides and bottom. Don’t be shy! The baking soda will act as a gentle abrasive to lift away stains and grime.
3. **Vinegar Fizz:** Now, grab your spray bottle filled with white vinegar and spray it directly onto the baking soda. You’ll notice a fizzing reaction – that’s exactly what we want! The vinegar is reacting with the baking soda to create a powerful cleaning action. Let this mixture sit for about 5-10 minutes. This gives it time to loosen up any stubborn dirt and grime.
4. **Scrub-a-Dub-Dub:** Using a soft cloth or sponge, scrub the entire sink surface, paying extra attention to stained areas and around the drain. For those hard-to-reach spots around the faucet and drain, grab your old toothbrush. It’s perfect for getting into those nooks and crannies.
5. **Rinse Thoroughly:** Once you’ve scrubbed the entire sink, rinse it thoroughly with warm water. Make sure to remove all traces of baking soda and vinegar.
6. **Dish Soap Wash:** Now, let’s give the sink a good wash with dish soap. Apply a small amount of dish soap to a clean sponge or cloth and wash the entire sink surface. This will remove any remaining grease or grime and leave your sink sparkling clean.
7. **Final Rinse:** Rinse the sink thoroughly with warm water one last time to remove all traces of dish soap.
Dealing with Stubborn Stains: The Extra Mile
Sometimes, you might encounter stubborn stains that just won’t budge with the baking soda and vinegar method. Don’t worry, I’ve got a few tricks up my sleeve!
1. **Salt Scrub:** For particularly stubborn stains, try making a paste of salt and water. Apply the paste to the stain and let it sit for a few minutes before scrubbing with a sponge or cloth. The salt acts as a more abrasive cleaner than baking soda.
2. **Lemon Power:** Cut a lemon in half and rub it directly onto the stain. The citric acid in the lemon will help break down the stain and leave a fresh, clean scent. Let the lemon juice sit on the stain for about 10-15 minutes before rinsing.
3. **Hydrogen Peroxide Boost:** For disinfecting and brightening, especially on white sinks, try applying hydrogen peroxide to the stain. Let it sit for about 10-15 minutes before rinsing. **Important Note:** Always test hydrogen peroxide in an inconspicuous area first to ensure it doesn’t discolor your sink.
Freshening Up the Drain: Banishing Bad Odors
A clean sink isn’t complete without a fresh-smelling drain! Here’s how I tackle drain odors:
1. **Baking Soda and Vinegar Flush:** Pour about 1/2 cup of baking soda down the drain, followed by 1 cup of white vinegar. Let it fizz for about 30 minutes. This will help break down any build-up and neutralize odors.
2. **Boiling Water Flush:** After the fizzing has subsided, carefully pour a kettle of boiling water down the drain. This will flush away any remaining debris and help dissolve grease. **Be careful when handling boiling water!**
3. **Lemon Peel Refresh:** For a natural and refreshing scent, toss a few lemon or orange peels down the drain. The citrus oils will help deodorize the drain and leave a pleasant aroma.
Maintaining Your Sparkling Sink: Tips and Tricks
Now that your sink is sparkling clean, let’s talk about how to keep it that way!
* **Rinse After Each Use:** Make it a habit to rinse your sink after each use to prevent food particles and grime from building up.
* **Wipe Down Regularly:** Wipe down your sink with a damp cloth or sponge every day to remove any spills or splatters.
* **Avoid Harsh Chemicals:** Harsh chemicals can damage your sink’s surface, so stick to gentle cleaning solutions like baking soda, vinegar, and dish soap.
* **Protect from Scratches:** Use a sink protector or mat to prevent scratches from pots and pans.
* **Address Clogs Promptly:** If you notice your drain is draining slowly, address the clog promptly to prevent it from becoming a bigger problem. A simple plunger can often do the trick.
Specific Sink Materials: Tailoring Your Approach
The best cleaning method can vary slightly depending on the material of your sink. Here’s a quick guide:
* **Stainless Steel:** Stainless steel is generally durable, but it can be prone to water spots and scratches. Always wipe down your stainless steel sink after each use to prevent water spots. Avoid using abrasive cleaners that can scratch the surface.
* **Porcelain:** Porcelain sinks can be stained easily, so it’s important to clean them regularly. Avoid using abrasive cleaners that can scratch the surface. Baking soda and vinegar are great for removing stains from porcelain sinks.
* **Composite:** Composite sinks are durable and stain-resistant, but they can be damaged by harsh chemicals. Stick to gentle cleaning solutions like dish soap and water.
Troubleshooting Common Sink Problems
Even with regular cleaning, you might encounter some common sink problems. Here’s how to troubleshoot them:
* **Slow Drain:** A slow drain is usually caused by a clog in the drainpipe. Try using a plunger to dislodge the clog. If that doesn’t work, you can try using a drain snake or calling a plumber.
* **Clogged Drain:** A clogged drain is a more severe version of a slow drain. Try using a plunger or drain snake to remove the clog. If you’re unable to remove the clog yourself, you may need to call a plumber.
* **Bad Odor:** A bad odor coming from your sink drain is usually caused by bacteria and food particles that have built up in the drainpipe. Try flushing the drain with baking soda and vinegar, followed by boiling water. You can also try using a drain cleaner.
* **Stains:** Stains on your sink can be caused by a variety of factors, such as hard water, food spills, and rust. Try using baking soda, vinegar, or lemon juice to remove the stains. For stubborn stains, you can try using a commercial stain remover.
I hope this guide helps you achieve a sparkling clean and fresh-smelling sink! Remember, regular cleaning and maintenance are key to keeping your sink looking its best. Happy cleaning!
Conclusion
So, there you have it! A simple, effective, and budget-friendly way to keep your sink sparkling clean and smelling fresh. We’ve walked you through a straightforward method that utilizes ingredients you likely already have in your pantry. Forget harsh chemicals and expensive cleaning products; this DIY approach is not only gentler on your sink’s surface but also on the environment.
Why is this DIY trick a must-try? Because it’s more than just a cleaning solution; it’s a maintenance routine. Regular use of this method prevents the buildup of grime, grease, and unpleasant odors, keeping your sink looking and smelling its best for longer. Think of it as a proactive measure against stubborn stains and costly plumbing issues down the line. Plus, the satisfaction of knowing you’re using natural ingredients to achieve a sparkling clean is a reward in itself.
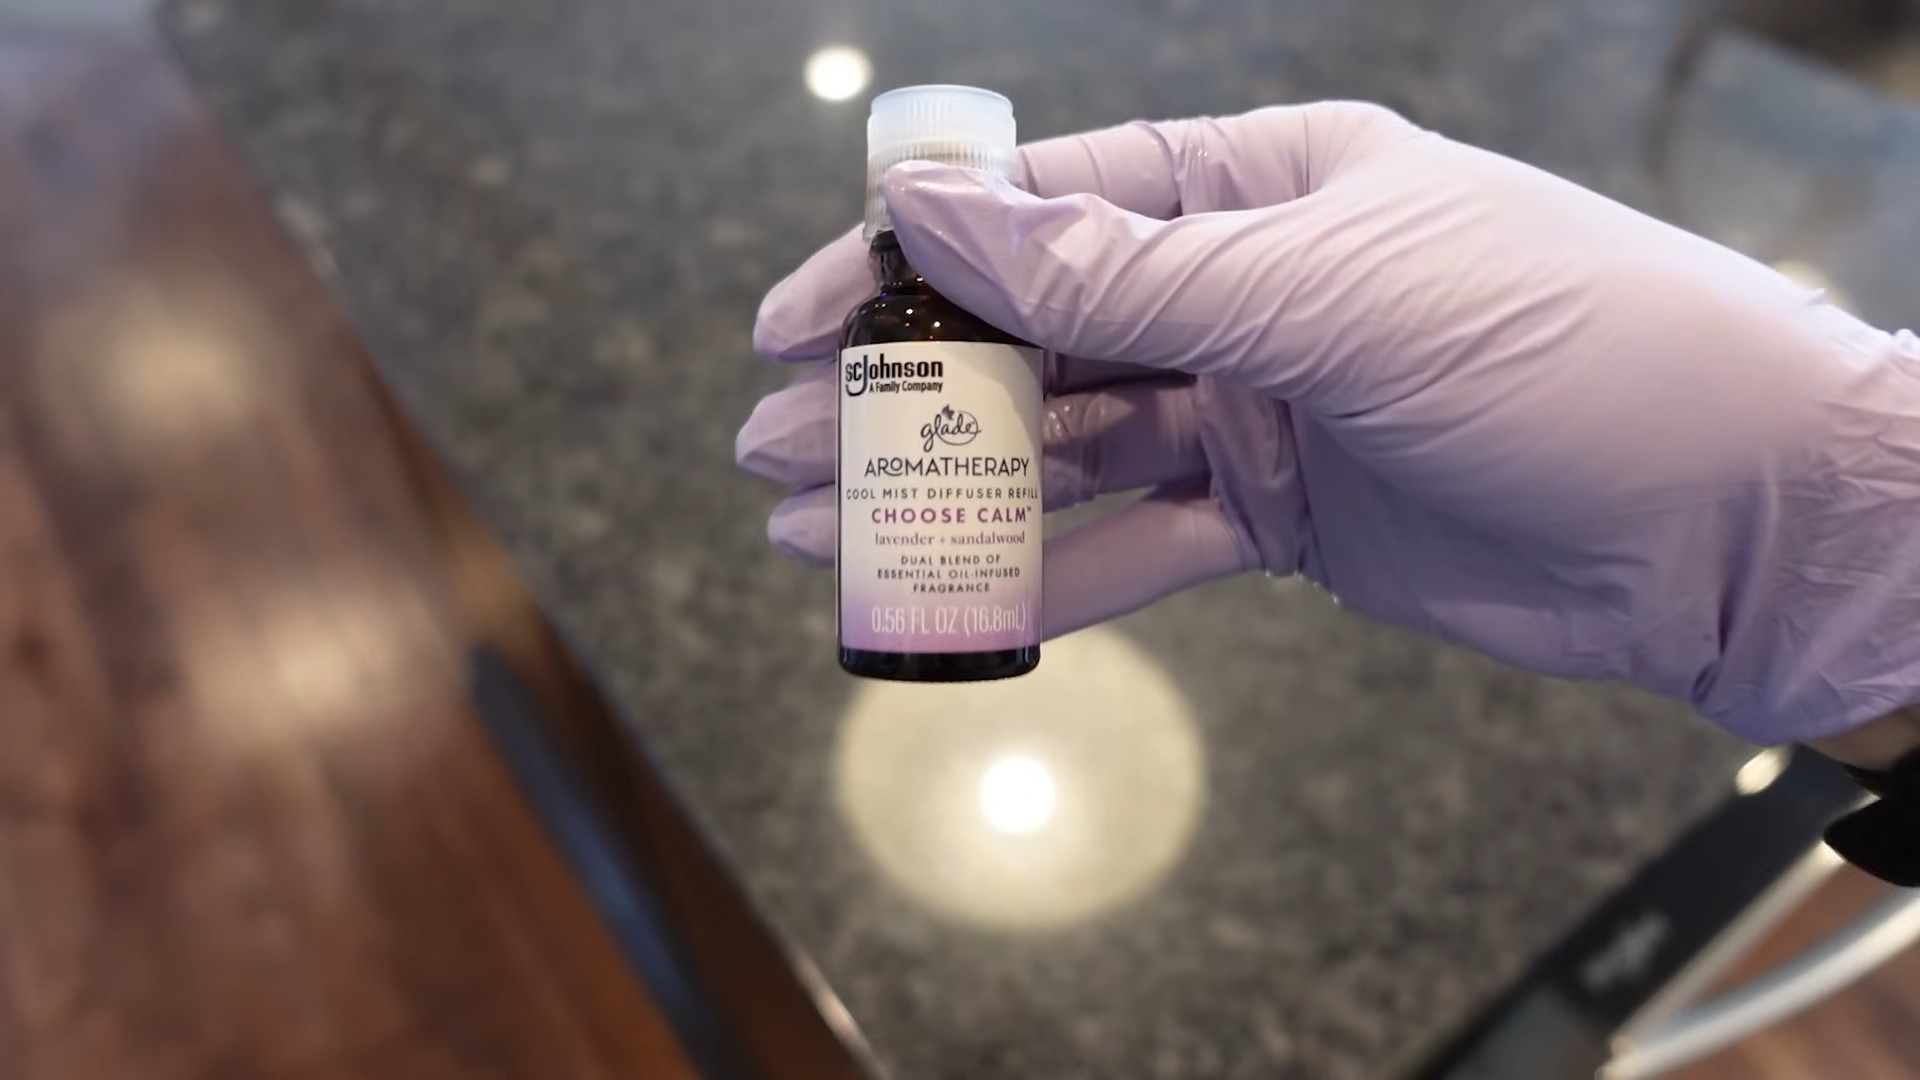
But don’t stop there! Feel free to experiment and personalize this method to suit your preferences. For a boost of disinfecting power, add a few drops of tea tree oil or eucalyptus oil to your baking soda mixture. If you prefer a stronger citrus scent, use lemon juice instead of vinegar. You can even create a paste of baking soda and essential oils for a targeted cleaning treatment on particularly stubborn stains. The possibilities are endless!
We’ve shown you how to clean and freshen your sink with ease, now it’s your turn to put it to the test. We are confident that you’ll be amazed by the results. The combination of baking soda, vinegar (or lemon juice), and hot water creates a powerful cleaning action that effectively removes dirt, grime, and odors, leaving your sink looking and smelling brand new.
Don’t just take our word for it; try this DIY trick for yourself and experience the difference. We encourage you to share your results and any variations you discover in the comments below. Let’s build a community of clean sink enthusiasts and share our tips and tricks for keeping our kitchens sparkling! We’re eager to hear how this method works for you and any creative twists you add to the process. Your feedback will not only help other readers but also inspire us to continue developing and sharing effective DIY cleaning solutions. So, go ahead, give your sink some love, and let us know what you think! We can’t wait to hear from you.
Frequently Asked Questions (FAQ)
Q: How often should I use this DIY cleaning method on my sink?
A: The frequency depends on how often you use your sink and how quickly it gets dirty. For most households, cleaning your sink with this method once or twice a week is sufficient to maintain its cleanliness and freshness. If you notice buildup or odors more frequently, you may want to increase the frequency to every other day. Regular maintenance is key to preventing stubborn stains and unpleasant smells.
Q: Can I use this method on all types of sinks?
A: This DIY cleaning method is generally safe for most types of sinks, including stainless steel, porcelain, and ceramic. However, it’s always a good idea to test a small, inconspicuous area first, especially if you have a more delicate or unusual sink material like copper or stone. Avoid using abrasive scrub brushes or harsh chemicals, as these can scratch or damage the surface of your sink. If you’re unsure about the suitability of this method for your sink, consult the manufacturer’s instructions or a professional cleaner.
Q: What if I don’t have vinegar? Can I use something else?
A: Yes, you can substitute vinegar with lemon juice. Lemon juice is a natural acid that works similarly to vinegar in breaking down grime and odors. It also has a pleasant citrus scent. Use the same amount of lemon juice as you would vinegar in the recipe. In a pinch, you can also try using a diluted solution of citric acid, which is commonly used in canning and preserving.
Q: My sink has a really stubborn stain. Will this method work?
A: This DIY cleaning method is effective for removing many types of stains, but for particularly stubborn stains, you may need to take a few extra steps. First, create a paste of baking soda and water (or lemon juice) and apply it directly to the stain. Let it sit for 15-20 minutes before scrubbing gently with a soft cloth or sponge. You can also try using a specialized stain remover designed for your sink material, following the manufacturer’s instructions carefully. For really tough stains, you may need to repeat the process several times or consult a professional cleaner.
Q: The baking soda and vinegar mixture fizzes a lot. Is that normal?
A: Yes, the fizzing is perfectly normal and is a sign that the baking soda and vinegar are reacting with each other. This reaction creates carbon dioxide gas, which helps to loosen dirt and grime. Be careful not to add too much vinegar at once, as this can cause the mixture to overflow. The fizzing will subside after a few minutes.
Q: Can I use this method to clean my garbage disposal as well?
A: Yes, this method can also help to freshen and clean your garbage disposal. After cleaning your sink, pour the baking soda and vinegar mixture down the drain and let it sit for 15-20 minutes. Then, flush the disposal with hot water for a minute or two. This will help to remove any lingering food particles and odors. For an extra boost of freshness, you can also grind a few lemon or orange peels in the disposal.
Q: What are some other ways to keep my sink clean and fresh?
A: In addition to this DIY cleaning method, there are several other things you can do to maintain a clean and fresh sink. Rinse your sink after each use to prevent food particles and grime from building up. Wipe down the sink with a clean cloth or sponge regularly. Avoid pouring grease or oil down the drain, as this can clog your pipes and create unpleasant odors. Use a sink strainer to catch food particles and prevent them from entering the drain. And finally, consider using a commercial sink cleaner or disinfectant on occasion for a deeper clean.
Q: Is it safe to mix baking soda and vinegar? I’ve heard it can be dangerous.
A: While baking soda and vinegar react to produce carbon dioxide, the reaction is generally safe when used for cleaning purposes in a well-ventilated area. The amount of carbon dioxide produced is not typically enough to be harmful. However, it’s important to avoid mixing large quantities of baking soda and vinegar in a closed container, as this could create pressure and potentially cause the container to explode. When using this method to clean and freshen sink, ensure adequate ventilation and avoid inhaling the fumes directly. If you have any concerns, consult a professional cleaner or refer to safety guidelines for using household cleaning products.
Leave a Comment