

Plastic Wrap DIY Tricks
I’ve always loved the satisfying feeling of a project well done, especially when it involves repurposing everyday items. That’s why I’m so excited to share some amazing Plastic Wrap DIY Tricks with you today! Forget expensive store-bought solutions – we’re diving into the world of creative reuse, transforming humble plastic wrap into surprisingly useful tools and clever hacks for around the house. From preserving the freshness of your favorite fruits to creating ingenious cleaning solutions, these simple tricks will not only save you money but also reduce your environmental impact.
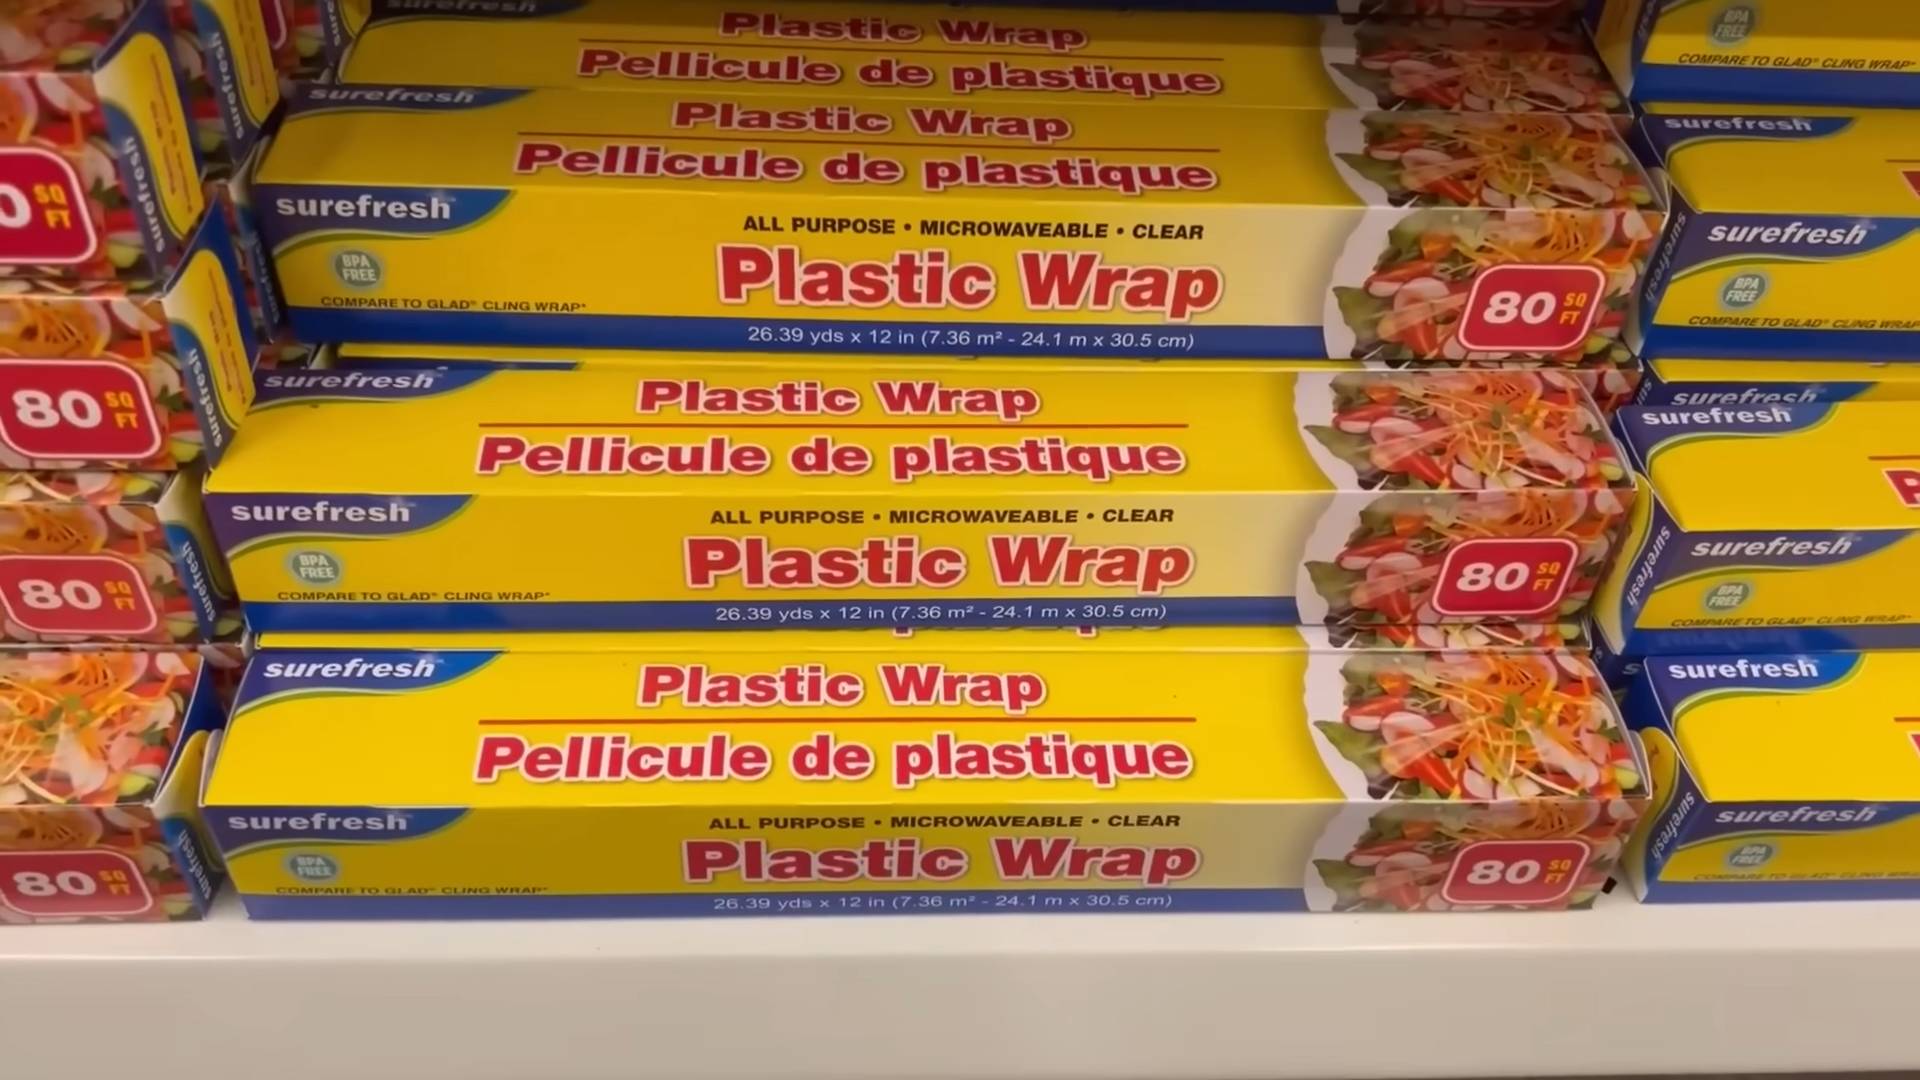
The use of plastic wrap, while a relatively modern invention, has quickly become a staple in kitchens worldwide. Its ability to seal in freshness and protect food has revolutionized food storage. But its utility extends far beyond the refrigerator! For generations, people have found creative ways to use everyday materials, and this resourceful spirit is what inspires these Plastic Wrap DIY Tricks.
Why do you need these tricks? Because they’re practical, cost-effective, and surprisingly versatile! Whether you’re a seasoned DIY enthusiast or a complete beginner, these Plastic Wrap DIY Tricks offer simple solutions to common household problems. Imagine effortlessly cleaning delicate surfaces, protecting your furniture from scratches, or keeping your herbs vibrant for longer – all thanks to a roll of plastic wrap you probably already have in your pantry. Let’s unlock the hidden potential of this everyday item and transform our homes with these ingenious hacks!
Get Ready to be Amazed!
Let’s get started and discover the amazing world of plastic wrap DIY!
Building a Custom Bookshelf from Reclaimed Wood
I love the look of reclaimed wood, and I’ve always wanted a unique bookshelf. So, I decided to build my own! This project took a bit of time, but the result is a beautiful, one-of-a-kind piece I’m incredibly proud of. Here’s how I did it:
Gathering Your Materials
- Reclaimed wood planks (I used about 10, varying in width and length – aim for a total length that fits your space). Make sure the wood is clean and relatively dry.
- Wood glue
- Wood screws (various lengths, depending on the thickness of your planks)
- Wood filler
- Sandpaper (various grits, starting with coarser and moving to finer)
- Wood stain (your choice of color – I used a dark walnut)
- Polyurethane sealant (to protect the finish)
- Drill with various drill bits
- Level
- Measuring tape
- Safety glasses
- Work gloves
- Clamps (helpful for holding pieces together while the glue dries)
Preparing the Wood
1. Clean the wood: Before you start, give your reclaimed wood planks a good cleaning. I used a wire brush to remove any loose debris and then wiped them down with a damp cloth. Let them dry completely.
2. Assess and cut: Measure the space where you want your bookshelf to go. Then, lay out your planks to determine the best arrangement. You might need to cut some planks to size to achieve the desired look and fit. Use a saw (circular saw or hand saw, depending on your comfort level and the wood’s thickness) to make your cuts. Always wear safety glasses when using power tools.
3. Sanding is key: Sand each plank thoroughly, starting with a coarser grit sandpaper (like 80-grit) to remove any rough spots or splinters. Gradually move to finer grits (120-grit, then 220-grit) for a smoother finish. Sanding is crucial for a professional-looking result. Take your time and sand in the direction of the wood grain.
Assembling the Bookshelf
1. Laying the foundation: Choose your longest and most stable planks for the base of your bookshelf. Arrange them side-by-side, ensuring they are level and flush with each other.
2. Glue and screw: Apply a generous amount of wood glue along the edges where the planks meet. Then, clamp the planks together firmly. Once the glue is set, pre-drill pilot holes and screw the planks together using wood screws. Pre-drilling prevents the wood from splitting.
3. Building the shelves: For each shelf, select planks of similar length and width. Repeat the glue and screw process to assemble the shelves. Make sure the shelves are level and evenly spaced. I used a level to check the alignment frequently.
4. Attaching the shelves to the base: Once the shelves are assembled, attach them to the base using wood glue and screws. Again, pre-drill pilot holes to prevent splitting. Ensure the shelves are securely attached and level.
5. Filling gaps: After assembling the bookshelf, you might notice some small gaps between the planks. Use wood filler to fill these gaps. Let the filler dry completely, then sand it smooth.
Finishing Touches
1. Stain application: Once the wood filler is dry and sanded, apply your chosen wood stain. Follow the manufacturer’s instructions carefully. I applied two coats, allowing each coat to dry completely before applying the next.
2. Sealing the deal: After the stain has dried, apply a few coats of polyurethane sealant. This will protect your bookshelf from moisture and wear. Again, let each coat dry completely before applying the next. This step is essential for longevity.
3. Final sanding (optional): After the sealant has dried, you might want to lightly sand the surface with very fine-grit sandpaper (like 320-grit) to remove any imperfections. This is optional, but it can give your bookshelf an even smoother finish.
Placement and Enjoyment
1. Find the perfect spot: Carefully place your newly built bookshelf in its designated spot. Admire your handiwork!
2. Fill it with books: The best part – fill your beautiful, custom-built bookshelf with your favorite books and enjoy!
Tips for Success:
- Take your time. This is a project that benefits from careful attention to detail.
- Use quality materials. The better the materials, the better the final product will be.
- Don’t be afraid to ask for help. If you’re unsure about any step, don’t hesitate to seek assistance from a more experienced DIYer.
- Have fun! Building something with your own hands is a rewarding experience.
Safety First:
Always wear safety glasses and work gloves when using power tools. Work in a well-ventilated area when using stains and sealants. Follow the manufacturer’s instructions for all materials used.
Conclusion
So there you have it! Our comprehensive guide to amazing plastic wrap DIY tricks. We’ve explored a range of uses, from clever kitchen hacks to ingenious organizational solutions and even some surprisingly effective cleaning methods. This isn’t just about saving money; it’s about unlocking the hidden potential of a readily available household item. By embracing these plastic wrap DIY tricks, you’re not only simplifying your life but also contributing to a more sustainable lifestyle by reducing waste and finding creative alternatives to single-use products. The versatility of plastic wrap is truly remarkable, and the satisfaction of achieving impressive results with such a simple material is incredibly rewarding. This isn’t just about cleaning or organizing; it’s about empowerment – the empowerment that comes from knowing you can tackle everyday challenges with resourcefulness and ingenuity.
Beyond the specific tricks we’ve detailed, the possibilities are virtually endless. Experiment with different types of plastic wrap – some are thicker and more durable than others, making them ideal for specific tasks. Consider using colored plastic wrap for a more visually appealing outcome, especially when organizing or wrapping gifts. For instance, you could use clear plastic wrap for food storage and colored wrap for crafting projects, keeping your supplies neatly organized and easily identifiable. Don’t be afraid to adapt the techniques to suit your own needs and preferences. The beauty of these DIY solutions lies in their adaptability. You can tailor them to fit your unique circumstances and the specific challenges you face. Perhaps you’ll discover even more innovative uses for plastic wrap that we haven’t even touched upon!
We strongly encourage you to try these plastic wrap DIY tricks and share your experiences with us. Whether you’re a seasoned DIY enthusiast or a complete beginner, there’s something here for everyone. Let us know in the comments section which trick you found most helpful, or if you’ve developed your own ingenious plastic wrap hacks. Your feedback and creative contributions will inspire others and help us continue to expand this resource. Let’s build a community of resourceful individuals who are committed to making the most of everyday materials and embracing the spirit of DIY innovation. Join the conversation and let’s unlock the full potential of plastic wrap together!
Frequently Asked Questions
Can I use any type of plastic wrap for these DIY tricks?
While most plastic wrap will work, the thickness and clinginess can affect the results. Thicker wraps are better for more robust tasks like protecting furniture or creating sturdy organizers. Thinner wraps are suitable for delicate items or food wrapping. Experiment to find what works best for each specific trick. Avoid using plastic wrap that is already damaged or torn, as this could compromise the effectiveness of your DIY project.
Is plastic wrap safe for food storage?
Yes, most standard plastic wraps are safe for food storage, but always check the packaging for specific instructions and guidelines. Ensure the wrap is specifically labeled as food-safe. Avoid using plastic wrap that has been exposed to high heat or sharp objects, as this could compromise its integrity and potentially contaminate your food. For long-term storage, consider using alternative food preservation methods.
How do I dispose of used plastic wrap responsibly?
The disposal of plastic wrap varies depending on your local recycling guidelines. Some municipalities accept plastic wrap in their curbside recycling programs, while others require it to be taken to designated drop-off locations. Check with your local waste management authority for specific instructions on how to dispose of plastic wrap responsibly. If recycling isn’t an option, consider reducing your plastic wrap consumption by opting for reusable alternatives whenever possible.
Are there any health concerns associated with using plastic wrap?
While generally safe for short-term use, prolonged exposure to certain chemicals in some plastic wraps might raise concerns. Always opt for food-grade plastic wrap for food storage and follow the manufacturer’s instructions. Proper ventilation is also important when using plastic wrap for DIY projects, especially in enclosed spaces. If you have any specific health concerns, consult a healthcare professional.
What are some alternative uses for plastic wrap besides the ones mentioned?
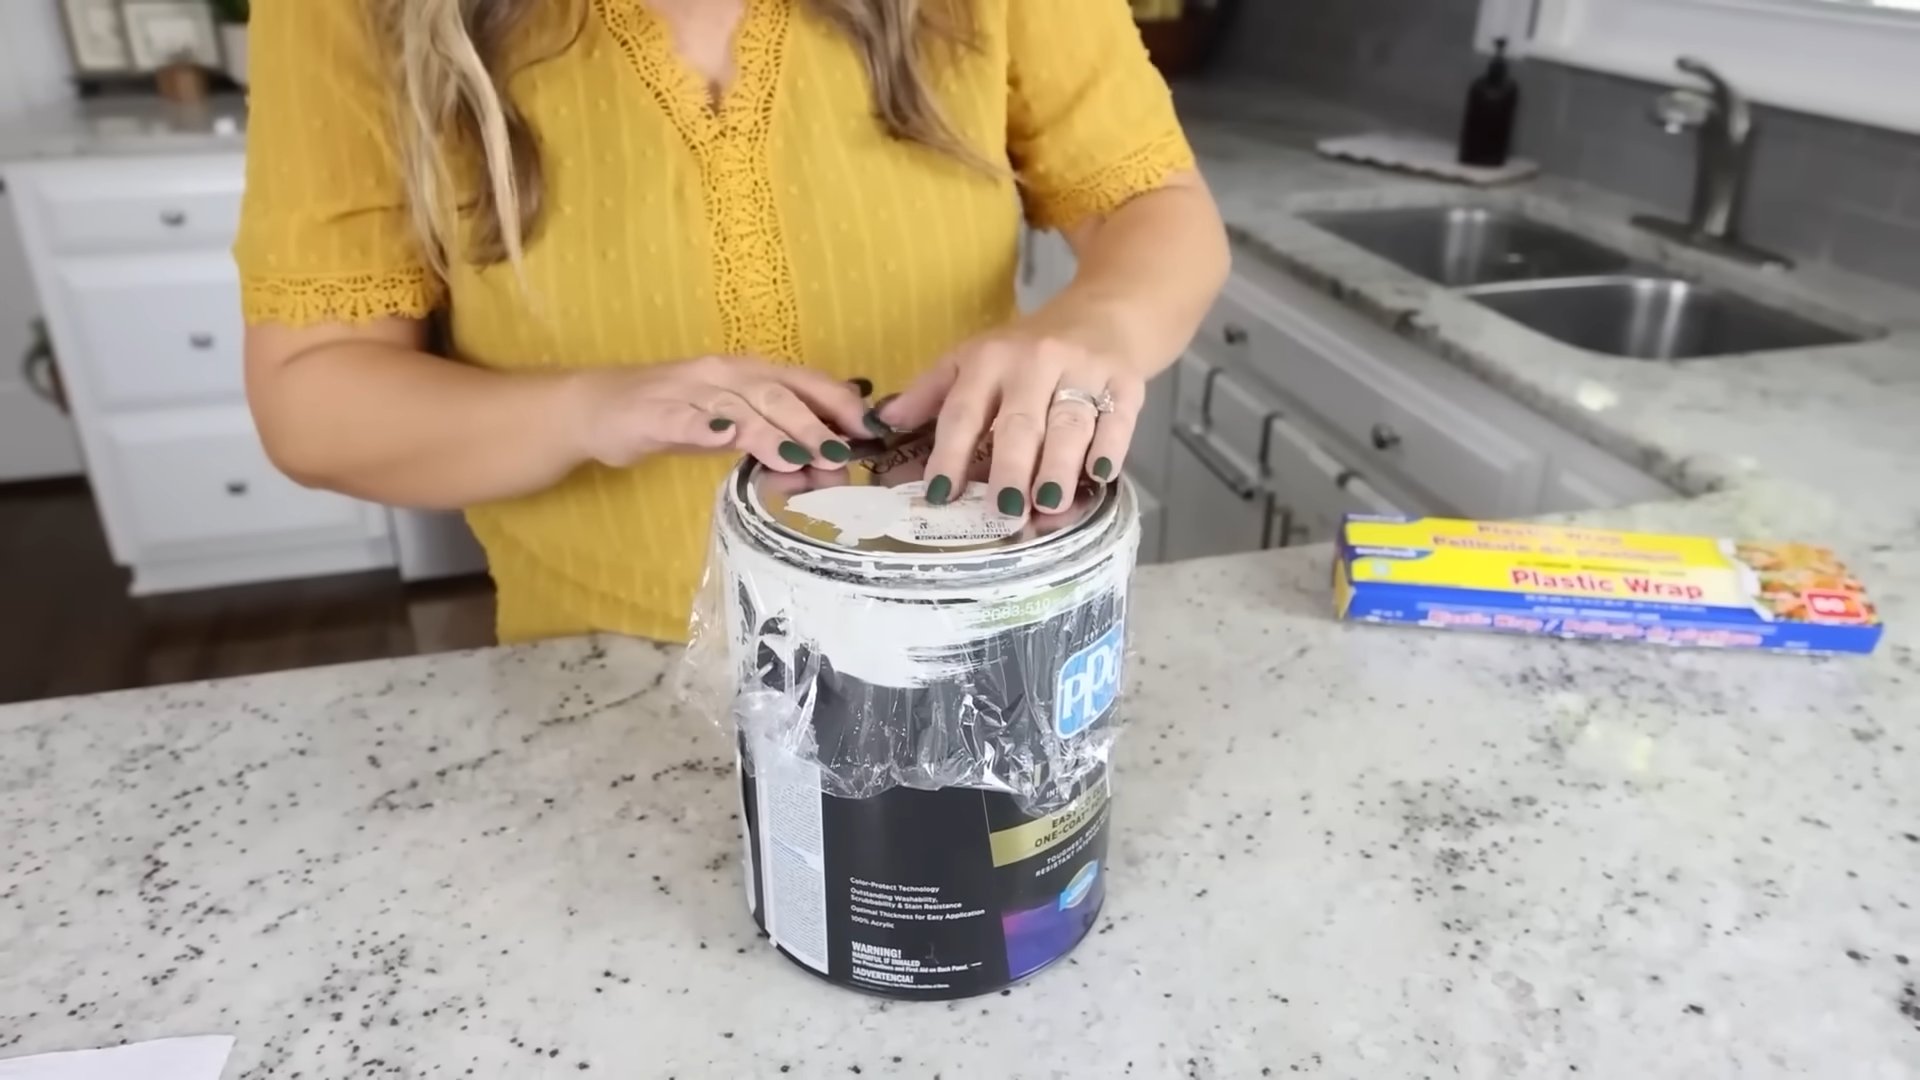
The applications are truly vast! Consider using plastic wrap to protect surfaces during painting projects, to create temporary stencils for crafts, or to cover plants during unexpected frost. You can also use it to keep your tools organized in your toolbox or to wrap around the ends of paintbrushes to prevent them from drying out. The possibilities are limited only by your imagination! Experiment and discover new and creative uses for this versatile material. Remember to always prioritize safety and choose the appropriate type of plastic wrap for each task.
Can I reuse plastic wrap?
While it’s generally not recommended to reuse plastic wrap for food storage due to potential contamination, you can often reuse it for other DIY projects. For example, if you’ve used plastic wrap to protect a surface during painting, you can reuse the clean portion for another project. However, always inspect the wrap for any damage or contamination before reusing it. Prioritize hygiene and safety when reusing any material. Remember, responsible disposal is key when reuse is not possible.

Leave a Comment