

Clove infused vinegar benefits are something I’ve recently discovered, and let me tell you, it’s a game-changer for my home and garden! Have you ever wished you could tackle pesky garden problems with a natural, cost-effective solution? Well, you’re in the right place. For centuries, cloves have been prized for their potent medicinal and aromatic properties, dating back to ancient spice routes where they were traded like gold. Vinegar, too, has a long history as a cleaning and preserving agent.
But what happens when you combine these two powerhouses? Magic, that’s what! In this DIY guide, I’ll show you how to harness the incredible clove infused vinegar benefits to create a multi-purpose solution that will revolutionize your gardening routine. From warding off unwanted pests to boosting plant health, this simple concoction is a must-have for any eco-conscious gardener.
Let’s face it, nobody wants to rely on harsh chemicals in their garden. Not only are they harmful to the environment, but they can also be detrimental to our health. That’s why I’m so excited to share this natural alternative with you. Get ready to unlock the secrets of clove infused vinegar and transform your garden into a thriving, chemical-free oasis!
Growing Fiery Chilis: A Beginner’s Guide to a Bountiful Harvest
So, you want to grow your own chilis? Awesome! Get ready for a rewarding experience that will spice up your life (literally!). I’ve been growing chilis for years, and I’m here to share my secrets to help you avoid common pitfalls and achieve a fantastic harvest, even if you’re a complete beginner.
Choosing Your Chili Variety
Before we get our hands dirty, let’s talk about chili varieties. The world of chilis is vast and exciting, ranging from mild bell peppers to scorching habaneros. Here’s a quick rundown to help you choose:
* Mild Chilis: If you’re new to the chili game, start with milder varieties like Anaheim, Poblano, or Jalapeño. These are great for adding flavor without overwhelming heat.
* Medium Chilis: Step it up a notch with Serrano, Cayenne, or Thai chilis. These offer a noticeable kick but are still manageable for most palates.
* Hot Chilis: Feeling adventurous? Try Habanero, Scotch Bonnet, or Bird’s Eye chilis. Be warned, these pack some serious heat!
* Super-Hot Chilis: Proceed with caution! Ghost peppers, Carolina Reapers, and Trinidad Scorpions are not for the faint of heart. Handle these with gloves and avoid touching your eyes.
Consider your climate too. Some varieties thrive in warmer climates, while others are more tolerant of cooler temperatures. Check the seed packet or plant label for specific recommendations.
Starting Your Chili Seeds
You can either buy chili seedlings from a nursery or start your own seeds indoors. Starting from seed gives you more control over the process and allows you to choose from a wider variety of chilis.
Here’s how to start your chili seeds indoors:
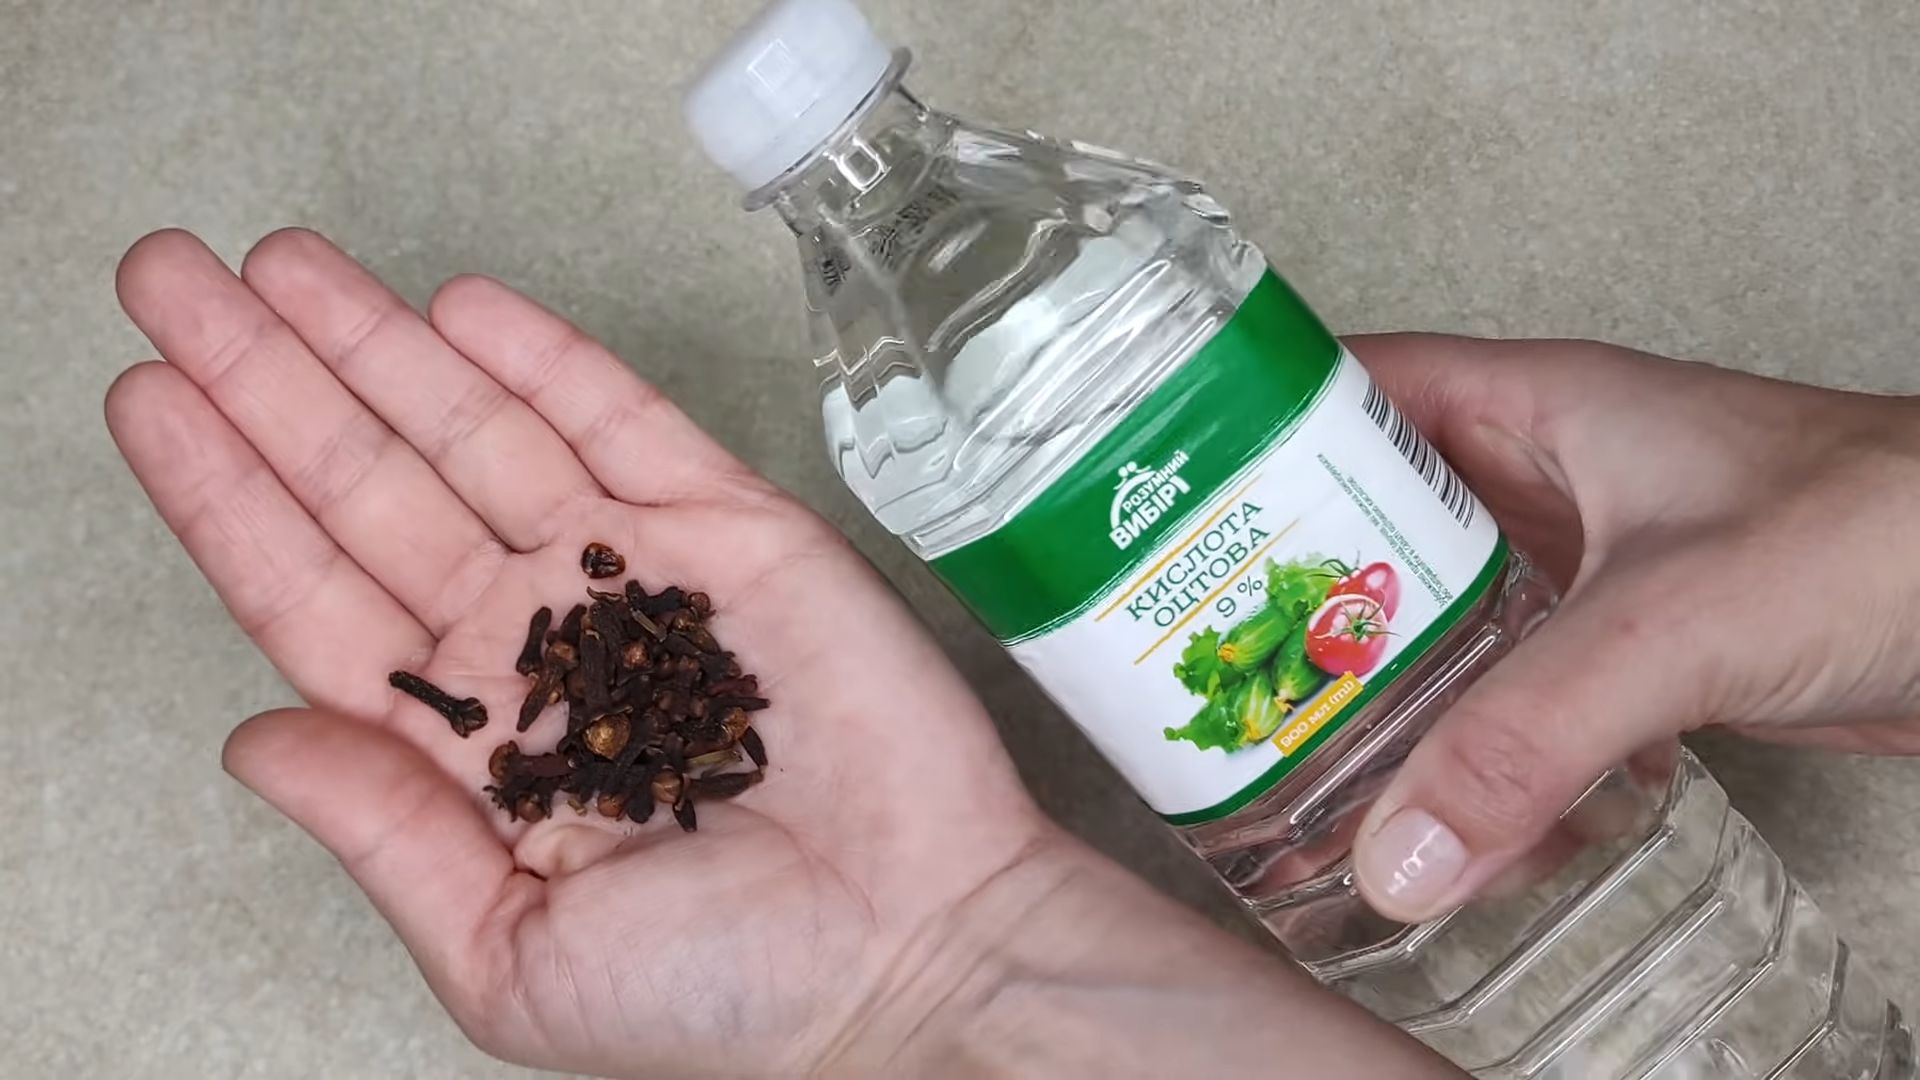
1. Gather Your Supplies: You’ll need chili seeds, seed starting trays or small pots, seed starting mix (a light, well-draining soil), a spray bottle, and a heat mat (optional but recommended).
2. Sow the Seeds: Fill your seed starting trays or pots with seed starting mix. Moisten the soil with the spray bottle. Sow the seeds about ¼ inch deep, placing 2-3 seeds per cell or pot.
3. Provide Warmth and Moisture: Cover the trays or pots with a clear plastic lid or plastic wrap to create a humid environment. Place them on a heat mat if you have one. Keep the soil consistently moist but not soggy.
4. Wait for Germination: Chili seeds can take anywhere from 7 to 21 days to germinate, depending on the variety and temperature. Be patient! Once the seedlings emerge, remove the plastic cover and move them to a sunny location or under grow lights.
5. Thin the Seedlings: Once the seedlings have their first true leaves (the second set of leaves), thin them out by snipping off the weaker seedlings at the soil line. Leave only the strongest seedling in each cell or pot.
Transplanting Your Chili Seedlings
Once your seedlings have grown a few inches tall and the weather has warmed up, it’s time to transplant them outdoors.
1. Harden Off the Seedlings: Before transplanting, you need to “harden off” the seedlings. This means gradually exposing them to outdoor conditions to help them adjust. Start by placing them outside for an hour or two each day, gradually increasing the time over a week or two.
2. Choose a Sunny Location: Chilis need at least 6-8 hours of sunlight per day. Choose a location in your garden that gets plenty of sun.
3. Prepare the Soil: Chilis prefer well-draining soil that is rich in organic matter. Amend your soil with compost or aged manure before planting.
4. Transplant the Seedlings: Dig a hole that is slightly larger than the root ball of the seedling. Gently remove the seedling from its pot and place it in the hole. Backfill with soil and water thoroughly. Space the plants about 18-24 inches apart.
Caring for Your Chili Plants
Now that your chili plants are in the ground, it’s time to provide them with the care they need to thrive.
* Watering: Water your chili plants regularly, especially during hot, dry weather. Aim to keep the soil consistently moist but not soggy. Water deeply and less frequently, rather than shallowly and often.
* Fertilizing: Feed your chili plants with a balanced fertilizer every few weeks. Look for a fertilizer that is specifically formulated for vegetables or tomatoes. You can also use organic fertilizers like compost tea or fish emulsion.
* Pruning: Pruning your chili plants can help to improve air circulation and encourage bushier growth. Remove any yellowing or dead leaves. You can also pinch off the tips of the branches to encourage more branching.
* Pest and Disease Control: Keep an eye out for pests and diseases. Common pests include aphids, spider mites, and whiteflies. Diseases include fungal infections like powdery mildew and blossom end rot. Treat any problems promptly with organic pest control methods or fungicides.
Supporting Your Chili Plants
As your chili plants grow, they may need some support to prevent them from falling over, especially when they are laden with fruit.
* Staking: Use stakes to support individual plants. Drive a stake into the ground near the plant and tie the stem to the stake with soft twine.
* Caging: Use tomato cages to support multiple plants. Place the cage over the plant when it is young and let it grow up through the cage.
Harvesting Your Chilis
The moment you’ve been waiting for! Harvesting your chilis is the most rewarding part of the process.
* When to Harvest: The timing of the harvest depends on the variety of chili and your personal preference. Most chilis are ready to harvest when they have reached their mature color and size. Some people prefer to harvest them when they are still green, while others prefer to wait until they turn red, yellow, or orange.
* How to Harvest: Use scissors or pruning shears to cut the chilis from the plant. Be careful not to damage the plant.
Troubleshooting Common Chili Growing Problems
Even with the best care, you may encounter some problems along the way. Here are some common issues and how to address them:
* Blossom End Rot: This is a common problem that causes the bottom of the chili to rot. It is usually caused by a calcium deficiency. To prevent blossom end rot, make sure your soil is rich in calcium and water your plants consistently.
* Aphids: These tiny insects can suck the sap from your chili plants, causing them to weaken and yellow. Spray them with a strong stream of water or use insecticidal soap.
* Spider Mites: These tiny pests can also suck the sap from your chili plants, causing them to develop yellow spots. Spray them with a strong stream of water or use insecticidal soap.
* Powdery Mildew: This fungal disease causes a white, powdery coating on the leaves of your chili plants. Improve air circulation and spray with a fungicide.
Saving Chili Seeds for Next Year
If you want to grow the same variety of chilis next year, you can save the seeds from your current crop.
1. Choose Ripe Chilis: Select the healthiest and most flavorful chilis from your plants.
2. Extract the Seeds: Cut the chilis open and remove the seeds.
3. Dry the Seeds: Spread the seeds out on a paper towel and let them dry completely for several days.
4. Store the Seeds: Store the dried seeds in an airtight container in a cool, dark, and dry place.
Extra Tips for Chili Growing Success
Here are a few extra tips to help you grow the best chilis possible:
* Use a Soil Thermometer: A soil thermometer can help you monitor the soil temperature and ensure that it is warm enough for your chili plants to thrive.
* Mulch Your Plants: Mulching your chili plants with straw, wood chips, or other organic materials can help to retain moisture, suppress weeds, and regulate soil temperature.
* Rotate Your Crops: Rotate your crops each year to prevent the buildup of pests and diseases in the soil.
* Experiment with Different Varieties: Don’t be afraid to experiment with different varieties of chilis to find your favorites.
* Join a Chili Growing Community: Connect with other chili growers online or in your local area to share tips and advice.
Growing chilis is a fun and rewarding experience. With a little bit of knowledge and effort, you can enjoy a bountiful harvest of delicious, spicy chilis. Happy growing!
Conclusion
So, there you have it! Transforming ordinary vinegar into a potent, aromatic, and incredibly useful clove infused vinegar is not just a fun DIY project; it’s a game-changer for your cleaning routine, your health, and even your culinary adventures. We’ve explored the myriad benefits, from its powerful antimicrobial properties that make it an exceptional natural cleaner to its potential therapeutic applications and its surprising versatility in the kitchen.
Why is this a must-try? Because it’s simple, cost-effective, and empowers you to create a truly natural and effective product with ingredients you likely already have in your pantry. In a world increasingly concerned with harsh chemicals and hidden ingredients, taking control of what you use in your home is a powerful and rewarding experience. Plus, the warm, spicy aroma of cloves is a welcome departure from the often-pungent smell of commercial cleaning products.
But the beauty of this DIY trick lies in its adaptability. Feel free to experiment with different types of vinegar. White vinegar provides the most neutral base, allowing the clove scent to shine through, but apple cider vinegar offers its own set of health benefits and a slightly sweeter flavor profile. You can also adjust the concentration of cloves to suit your preferences. For a more intense infusion, use more cloves or allow the mixture to steep for a longer period.
Consider adding other complementary herbs and spices to create your own signature blend. A few sprigs of rosemary, a cinnamon stick, or a handful of orange peels can add depth and complexity to the aroma and enhance the cleaning or therapeutic properties of the vinegar. Imagine a clove and orange infused vinegar for a festive holiday cleaner, or a clove and rosemary blend for a refreshing kitchen spray.
Beyond cleaning, explore the potential of clove infused vinegar in your beauty routine. Diluted with water, it can be used as a hair rinse to add shine and combat dandruff, or as a toner to balance oily skin. Remember to always perform a patch test before applying any new product to your skin.
And don’t forget the culinary possibilities! A splash of clove infused vinegar can add a unique and unexpected twist to marinades, salad dressings, and even sauces. Use it sparingly, as the flavor can be quite potent, but the subtle warmth and spice can elevate your dishes to a new level.
We are confident that once you experience the benefits of clove infused vinegar firsthand, you’ll wonder how you ever lived without it. It’s a simple yet powerful way to embrace a more natural and sustainable lifestyle.
So, what are you waiting for? Gather your ingredients, follow our easy instructions, and embark on this exciting DIY adventure. We encourage you to try this amazing DIY trick and share your experiences with us! Let us know what variations you’ve tried, how you’re using your clove infused vinegar, and any tips or tricks you’ve discovered along the way. Your feedback is invaluable and helps us create even better content for our community. Share your photos and stories on social media using #CloveInfusedVinegarDIY – we can’t wait to see what you create!
Frequently Asked Questions
What are the specific benefits of using clove infused vinegar?
Clove infused vinegar offers a wide range of benefits due to the combined properties of vinegar and cloves. Vinegar, particularly white vinegar, is a natural disinfectant and cleaner, effective against many common household germs and bacteria. Cloves, on the other hand, are rich in eugenol, a powerful antiseptic, anti-inflammatory, and antioxidant compound. When combined, they create a potent solution that can be used for cleaning, disinfecting, and even for certain health and beauty applications. Specifically, clove infused vinegar can be used as a natural cleaner for surfaces, a deodorizer, a hair rinse to combat dandruff, a skin toner (when diluted), and even as a flavoring agent in cooking. The eugenol in cloves also provides a pleasant, warm aroma that can help to freshen the air.
What type of vinegar is best for making clove infused vinegar?
While you can use various types of vinegar, white vinegar is generally recommended as the best base for clove infusion. This is because white vinegar has a neutral color and scent, allowing the clove aroma to be the dominant fragrance. Apple cider vinegar is another viable option, offering its own set of health benefits and a slightly sweeter flavor. However, its distinct apple scent might slightly alter the final aroma of the infused vinegar. Balsamic vinegar is not recommended due to its strong flavor and dark color, which would mask the clove properties. Ultimately, the choice depends on your personal preference and intended use.
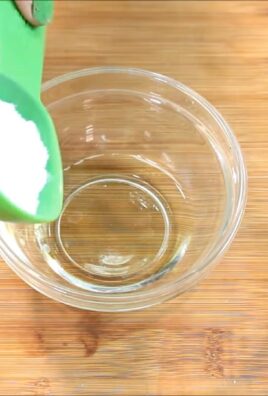
How long does it take for the cloves to infuse the vinegar?
The infusion time can vary depending on the desired strength of the clove aroma and potency. Generally, it’s recommended to allow the cloves to steep in the vinegar for at least 2 weeks. However, for a stronger infusion, you can let it sit for up to 4 weeks. During this time, store the mixture in a cool, dark place, away from direct sunlight. Shake the jar every few days to ensure even distribution of the cloves. After the infusion period, strain the vinegar to remove the cloves.
How do I store clove infused vinegar?
Clove infused vinegar should be stored in an airtight container in a cool, dark place, away from direct sunlight and heat. This will help to preserve its potency and aroma. Properly stored, clove infused vinegar can last for several months, even up to a year. Check for any changes in color, scent, or clarity, which could indicate spoilage.
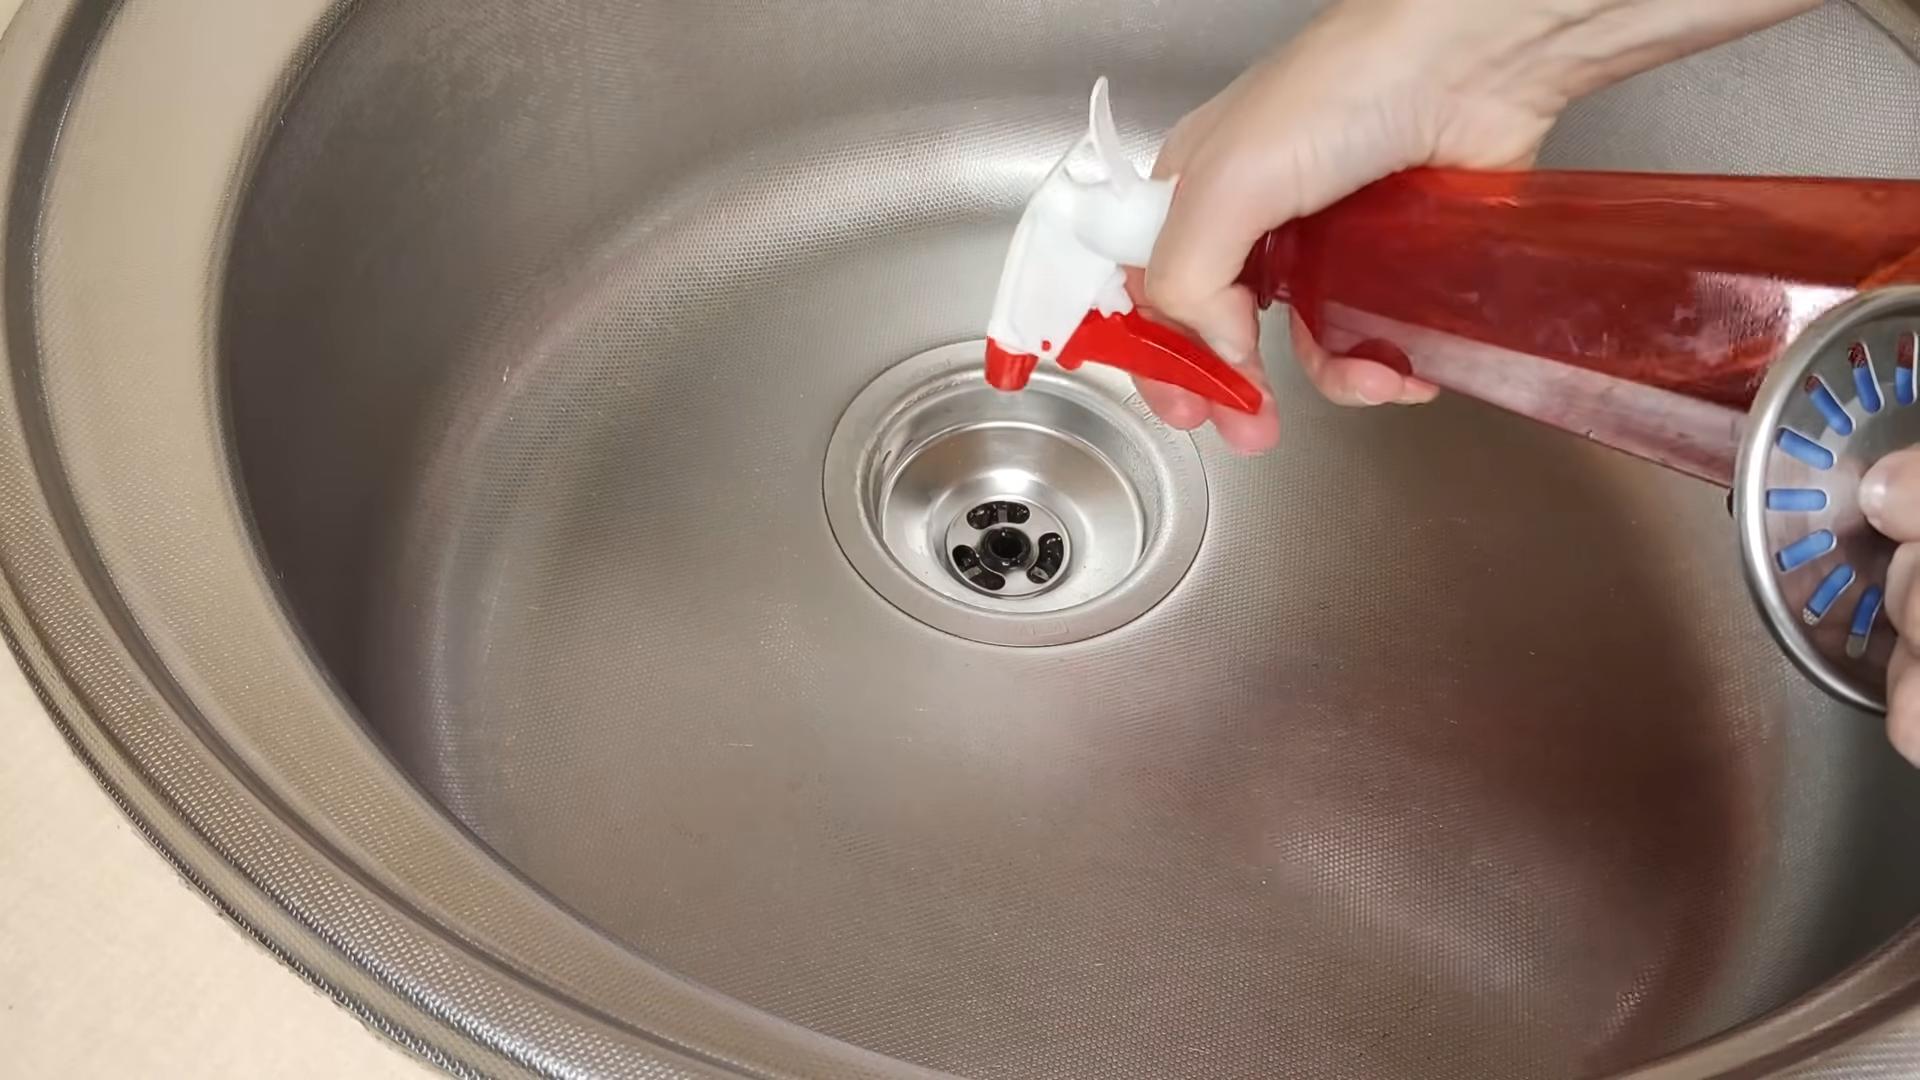
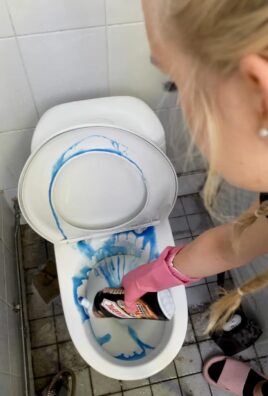
Can I use clove infused vinegar for cleaning? If so, how?
Yes, clove infused vinegar is an excellent natural cleaner. To use it for cleaning, dilute it with water in a spray bottle. A common ratio is 1:1 (equal parts vinegar and water), but you can adjust the concentration depending on the surface you’re cleaning and the level of grime. Spray the solution onto surfaces like countertops, sinks, and bathroom fixtures, and wipe clean with a cloth. Avoid using it on delicate surfaces like marble or granite, as the acidity of the vinegar can damage them. Clove infused vinegar is particularly effective for removing soap scum, hard water stains, and mildew.
Is clove infused vinegar safe to use on my skin or hair?
When diluted, clove infused vinegar can be used on skin and hair, but caution is advised. For skin, dilute it significantly with water (e.g., 1 tablespoon of infused vinegar per cup of water) and use it as a toner after cleansing. Always perform a patch test on a small area of skin before applying it to your entire face to check for any adverse reactions. For hair, dilute it similarly and use it as a final rinse after shampooing to add shine and combat dandruff. Avoid contact with eyes. If irritation occurs, discontinue use immediately.
Can I use clove infused vinegar in cooking?
Yes, clove infused vinegar can be used in cooking, but sparingly. Its strong flavor can easily overpower a dish. Use it as a flavoring agent in marinades, salad dressings, or sauces. Start with a small amount and taste as you go, adding more until you achieve the desired flavor. It pairs well with savory dishes, particularly those featuring meats, vegetables, or grains.
Are there any precautions I should take when making or using clove infused vinegar?
When making clove infused vinegar, use high-quality cloves and vinegar for the best results. Ensure that the jar you’re using is clean and airtight. When using clove infused vinegar, avoid contact with eyes and sensitive skin. If you have any allergies to cloves or vinegar, avoid using it altogether. Always dilute it before applying it to skin or hair. Keep it out of reach of children and pets.
Can I add other herbs or spices to my clove infused vinegar?
Absolutely! Experimenting with different herbs and spices can create unique and personalized infusions. Cinnamon sticks, rosemary sprigs, orange peels, lemon peels, and lavender buds are all excellent additions. Consider the intended use of the vinegar when choosing your herbs and spices. For example, rosemary and lemon are great for cleaning, while lavender and chamomile are soothing for skin.
Where can I find high-quality cloves for making clove infused vinegar?
You can find high-quality cloves at most grocery stores, spice shops, and online retailers. Look for whole cloves that are plump, fragrant, and unbroken. Avoid cloves that are shriveled, dull in color, or have a weak aroma. Organic cloves are a good option if you prefer to use organic ingredients.
Leave a Comment