

Corn Growing Bag: Ever dreamt of harvesting your own sweet, juicy corn right from your backyard, even if you’re short on space? I know I have! Forget sprawling fields; with a simple DIY corn growing bag, that dream can become a delicious reality. This isn’t just about growing corn; it’s about connecting with the earth, enjoying fresh produce, and experiencing the satisfaction of nurturing something from seed to table.
The concept of container gardening, including using bags, has been around for centuries, with roots tracing back to ancient civilizations who utilized pots and other vessels to cultivate plants in limited spaces. While not specifically “corn growing bags,” the ingenuity of adapting to environmental constraints has always been a driving force in agriculture. Today, with increasing urbanization and a growing desire for sustainable living, the corn growing bag offers a practical and accessible solution for anyone wanting to grow their own food.
Why do you need this DIY trick? Because fresh, homegrown corn tastes infinitely better than anything you can buy at the store! Plus, knowing exactly where your food comes from and how it was grown is incredibly empowering. A corn growing bag allows you to control the soil quality, watering, and sunlight exposure, leading to healthier, more flavorful corn. So, let’s dive in and discover how to create your own little cornfield, no matter how small your space!
DIY Corn Growing Bag: From Seed to Stalk in a Sack!
Hey there, fellow gardening enthusiasts! Ever dreamed of having fresh, homegrown corn but thought you didn’t have the space? Well, I’m here to tell you that you absolutely can, even if you only have a balcony or a small patio! We’re going to create a corn growing bag, a super simple and effective way to cultivate this delicious crop in a limited space. Get ready to enjoy the sweet taste of success!
What You’ll Need:
Before we dive in, let’s gather our supplies. This is a pretty straightforward project, so you probably have a lot of this stuff lying around already.
* A Large, Sturdy Bag: Think burlap, heavy-duty plastic (like a feed sack), or even a reinforced grow bag. The bigger, the better! Aim for something at least 24 inches in diameter and 36 inches tall. This gives the corn roots plenty of room to spread out.
* Potting Mix: This is crucial! Don’t skimp on quality. A well-draining potting mix amended with compost is ideal. Avoid using garden soil directly, as it can compact too much in a container.
* Compost: As mentioned above, compost is your friend. It adds nutrients and improves soil structure.
* Slow-Release Fertilizer: Corn is a heavy feeder, so a slow-release fertilizer will provide a steady stream of nutrients throughout the growing season. Look for a balanced formula (e.g., 10-10-10).
* Corn Seeds: Choose a variety that’s suitable for your climate and growing season. Look for “early maturing” varieties if you live in an area with a shorter summer.
* Watering Can or Hose: Essential for keeping your corn happy and hydrated.
* Measuring Cup or Scoop: For accurate fertilizer application.
* Gloves: To keep your hands clean and protected.
* Optional: Stakes or bamboo poles for support (especially if you live in a windy area).
Preparing the Bag:
This is where we get our hands dirty! Don’t worry, it’s the fun kind of dirty.
1. Choose Your Location: Corn needs at least 6-8 hours of direct sunlight per day. Pick a spot that gets plenty of sunshine. A south-facing location is usually best.
2. Prepare the Bag: If you’re using a burlap bag, you might want to line it with a plastic bag (with drainage holes poked in the bottom) to help retain moisture. This isn’t strictly necessary, but it can be helpful. If you’re using a plastic feed sack, make sure it’s clean and free of any residue.
3. Drainage Holes: This is super important! Make sure your bag has plenty of drainage holes in the bottom. You don’t want your corn roots sitting in soggy soil. I usually poke about 6-8 holes, spaced evenly around the bottom of the bag.
4. Position the Bag: Place the bag in its final location *before* you fill it with soil. Once it’s full, it will be very heavy and difficult to move.
Filling the Bag:
Now for the main event – filling our corn growing bag with the good stuff!
1. Layer the Bottom: Start by adding a layer of gravel or small stones to the bottom of the bag. This will further improve drainage. About 2-3 inches should do the trick.
2. Mix Your Soil: In a large container or wheelbarrow, mix your potting mix, compost, and slow-release fertilizer. I usually use a ratio of about 2 parts potting mix, 1 part compost, and follow the fertilizer instructions on the package. Mix everything thoroughly to ensure the fertilizer is evenly distributed.
3. Fill the Bag: Gradually fill the bag with your soil mixture, leaving about 4-6 inches of space at the top. This will make watering easier and prevent soil from splashing out.
4. Water Thoroughly: Once the bag is filled, water it thoroughly until water drains out of the bottom. This will help settle the soil and prepare it for planting.
Planting the Corn:
Time to get those seeds in the ground!
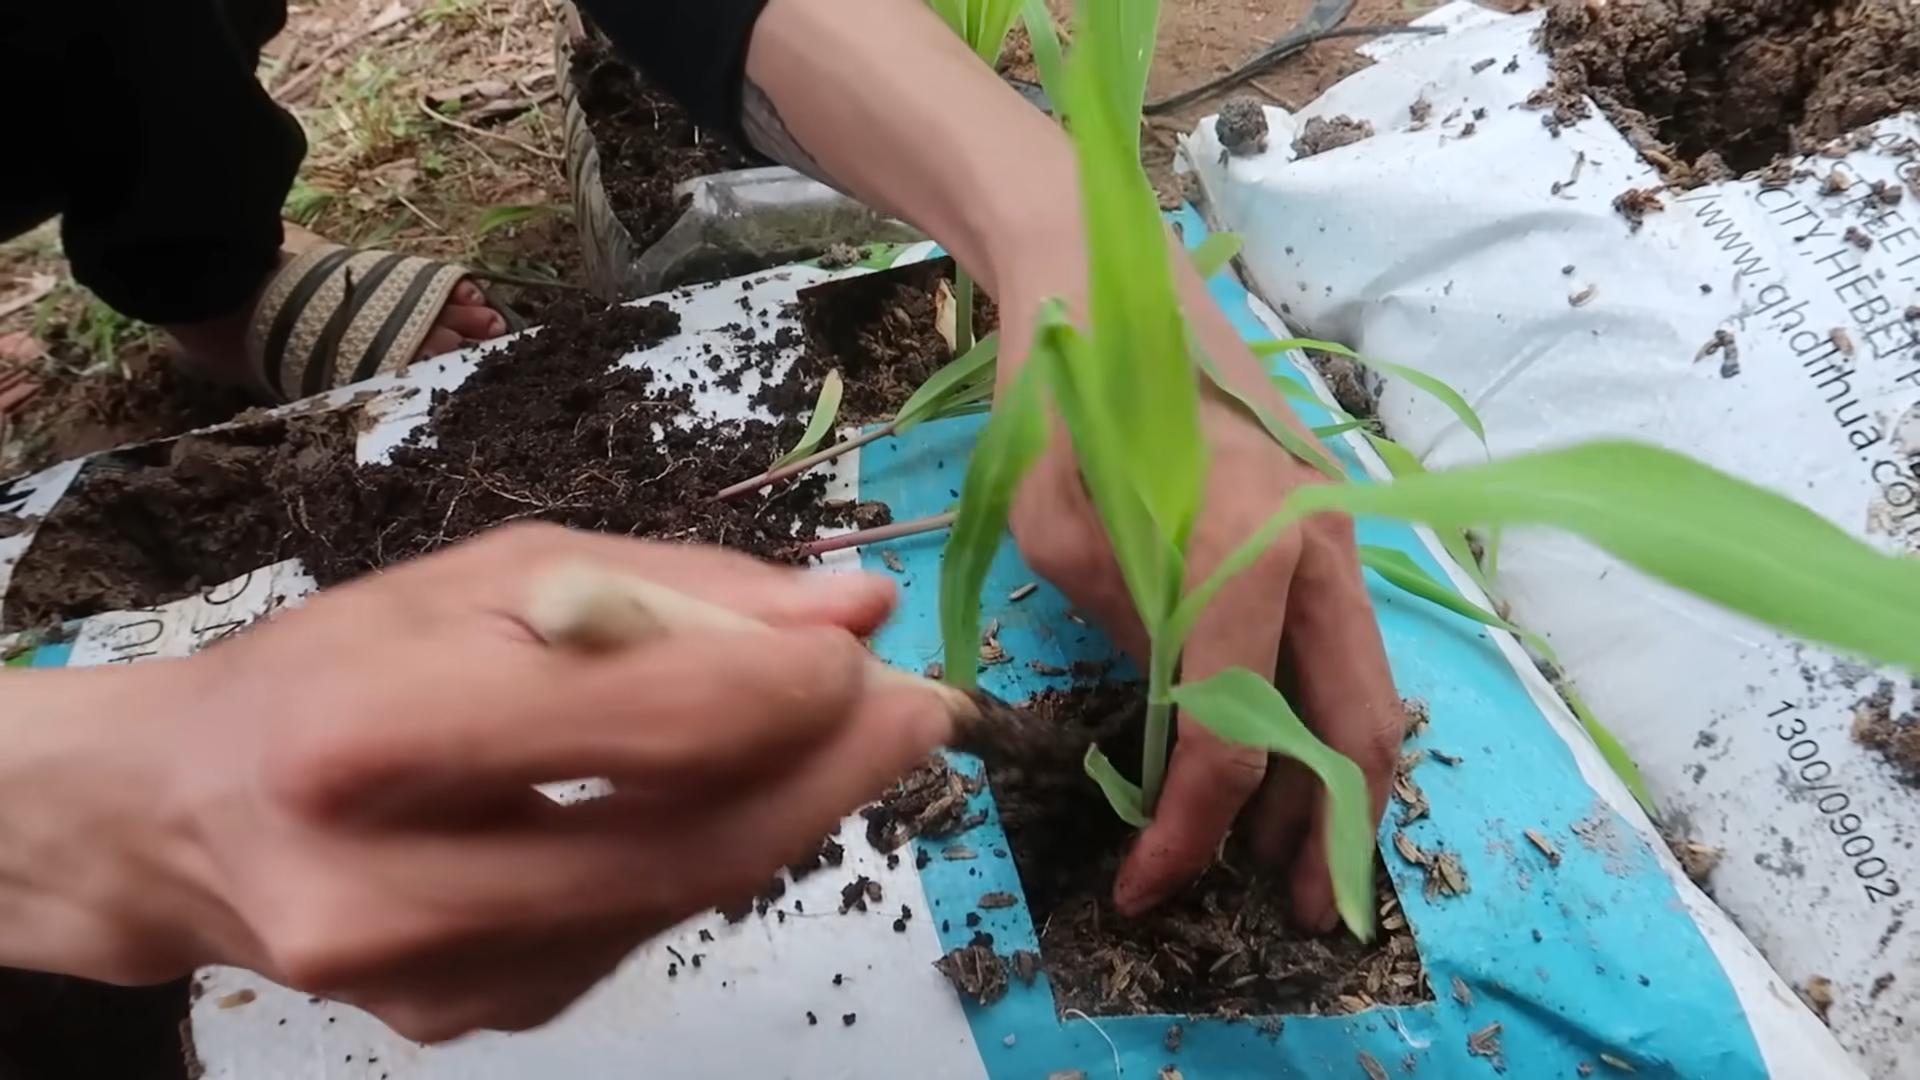
1. Spacing: Corn needs to be planted in blocks, rather than rows, for proper pollination. Plant your seeds about 6-8 inches apart in a grid pattern. This will ensure that the corn stalks can pollinate each other effectively.
2. Planting Depth: Plant the seeds about 1-2 inches deep. Use your finger to make a small hole, drop in the seed, and then gently cover it with soil.
3. Number of Seeds: I usually plant 2-3 seeds per hole to increase the chances of germination. Once the seedlings emerge, you can thin them out to the strongest one per hole.
4. Water Again: After planting, water the bag gently to moisten the soil around the seeds.
Caring for Your Corn:
Now comes the waiting game, but don’t worry, there are still things you need to do to ensure a successful harvest.
1. Watering: Corn needs consistent moisture, especially during hot weather. Water deeply whenever the top inch of soil feels dry to the touch. Avoid overwatering, as this can lead to root rot.
2. Fertilizing: Corn is a heavy feeder, so you’ll need to supplement the slow-release fertilizer with additional feedings throughout the growing season. I usually use a liquid fertilizer (like fish emulsion or seaweed extract) every 2-3 weeks. Follow the instructions on the fertilizer package.
3. Weeding: Keep the bag free of weeds, as they can compete with the corn for nutrients and water. Hand-pull any weeds that you see.
4. Support: As the corn stalks grow taller, they may need some support, especially if you live in a windy area. You can use stakes or bamboo poles to prop them up. Tie the stalks loosely to the stakes with twine.
5. Pollination: Corn is wind-pollinated, so you may need to give it a little help, especially if you’re growing it in a sheltered location. When the tassels (the male flowers at the top of the stalk) appear, gently shake the stalks to release the pollen. You can also use a small paintbrush to transfer pollen from the tassels to the silks (the female flowers that emerge from the developing ears of corn).
6. Pest Control: Keep an eye out for pests like corn earworms and aphids. You can usually control these pests with organic methods, such as hand-picking, insecticidal soap, or neem oil.
Harvesting Your Corn:
The moment we’ve all been waiting for!
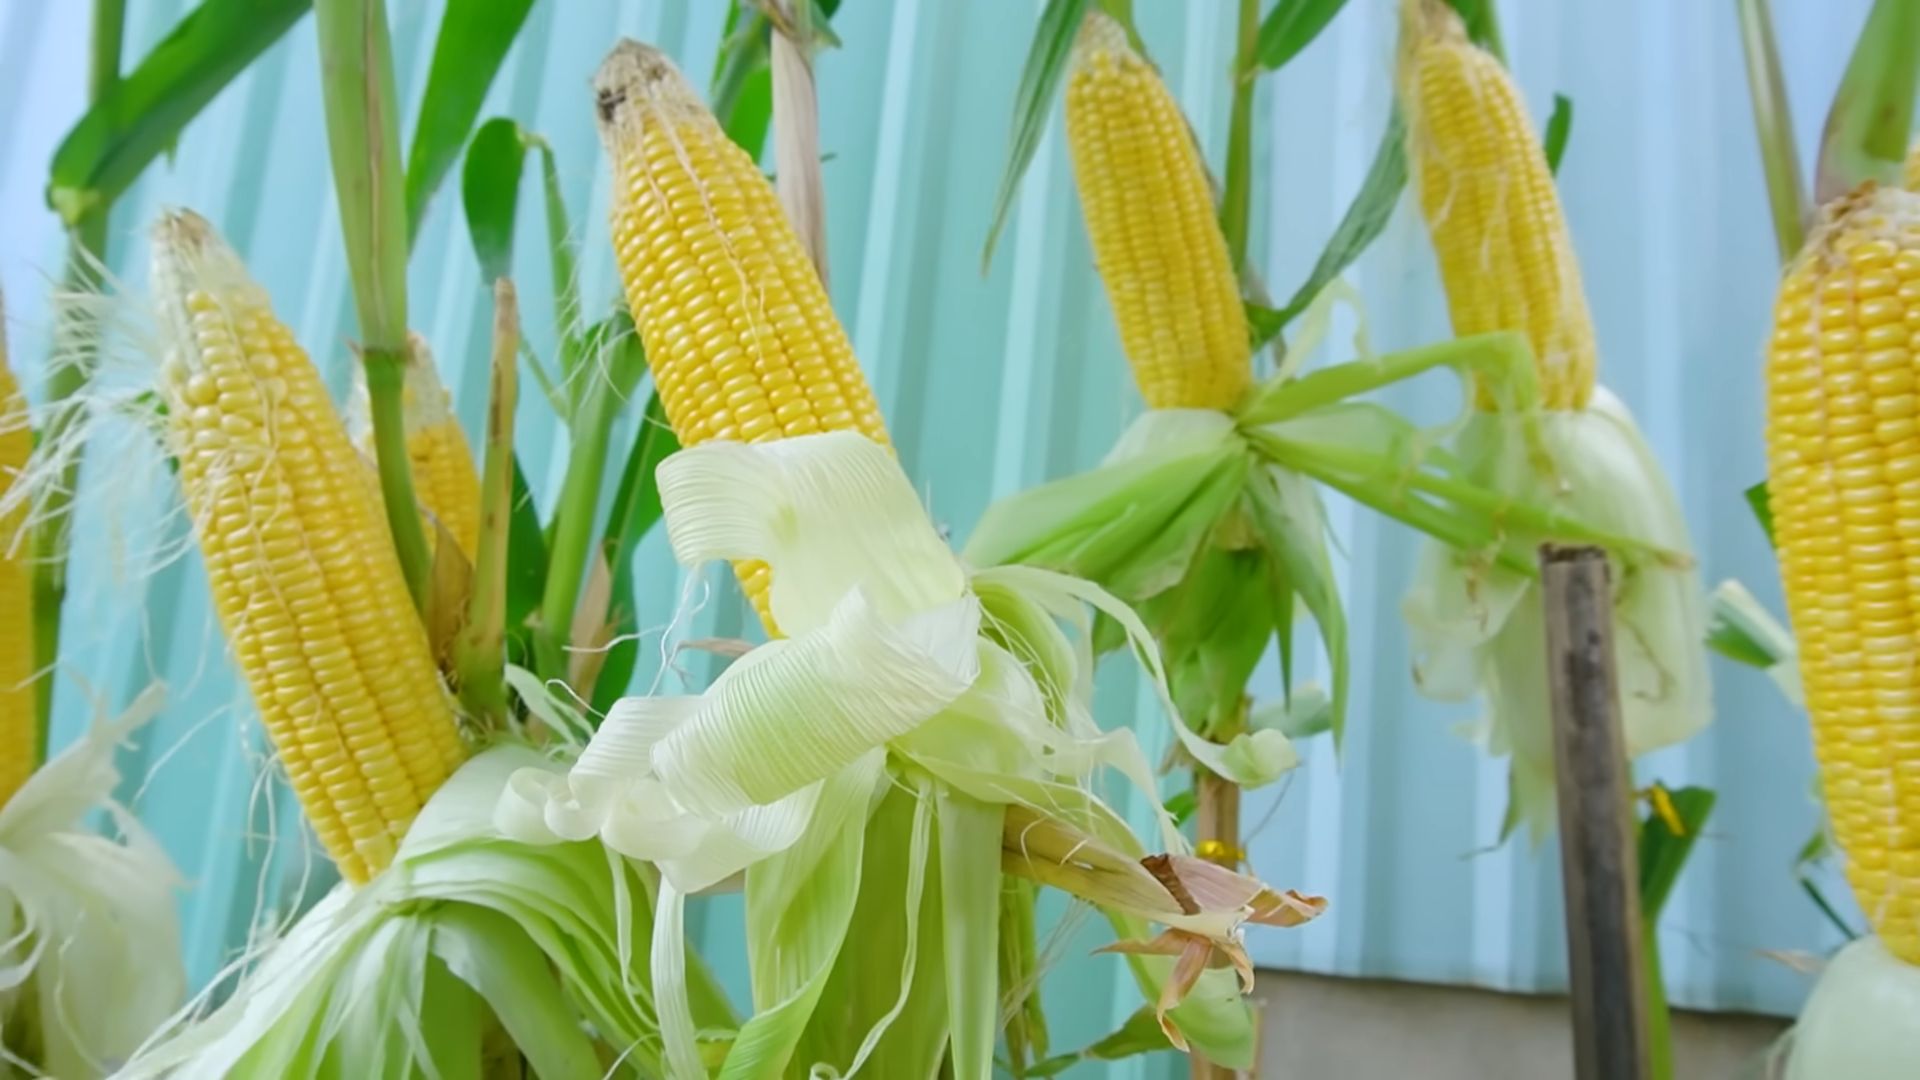
1. Timing: Corn is usually ready to harvest about 2-3 weeks after the silks turn brown and dry. The ears should feel plump and full.
2. Check for Ripeness: To check for ripeness, peel back a small portion of the husk and puncture a kernel with your fingernail. If the liquid that comes out is milky, the corn is ready to harvest. If it’s clear, it needs more time.
3. Harvesting: To harvest the corn, grasp the ear firmly and twist it downward. It should snap off easily from the stalk.
4. Enjoy! Now it’s time to enjoy the fruits (or rather, vegetables) of your labor! Freshly harvested corn is incredibly sweet and delicious. You can grill it, boil it, roast it, or use it in your favorite recipes.
Troubleshooting:
Even with the best planning, things can sometimes go wrong. Here are a few common problems and how to fix them:
* Poor Germination: If your seeds don’t germinate, it could be due to several factors, such as old seeds, cold soil, or overwatering. Make sure you’re using fresh seeds and that the soil is warm enough. Avoid overwatering, as this can cause the seeds to rot.
* Yellow Leaves: Yellow leaves can indicate a nutrient deficiency, usually nitrogen. Fertilize with a nitrogen-rich fertilizer.
* Stunted Growth: Stunted growth can be caused by a variety of factors, such as poor soil, lack of sunlight, or pests. Make sure your corn is getting enough sunlight and that the soil is well-draining and nutrient-rich. Check for pests and treat them accordingly.
* Poor Pollination: If your ears of corn are not filling out properly, it could be due to poor pollination. Make sure you’re planting your corn in a block pattern and that you’re helping with pollination by shaking the stalks or using a paintbrush to transfer pollen.
Tips for Success:
Here are a few extra tips to help you grow the best corn possible:
* Choose the Right Variety: Select a corn variety that’s well-suited for your climate and growing season.
* Start with Good Soil
Conclusion
So, there you have it! Creating your own corn growing bag is not just a cost-effective alternative to store-bought options; it’s a gateway to a more sustainable and rewarding gardening experience. We’ve walked you through the simple steps, highlighting the benefits of drainage, soil composition, and space efficiency. But why is this DIY trick a must-try?
Firstly, it empowers you to take control of your garden. You’re no longer reliant on commercially produced bags, often made with materials that contribute to environmental waste. Instead, you’re repurposing materials, reducing your carbon footprint, and actively participating in a greener lifestyle. Imagine the satisfaction of harvesting sweet, juicy corn that you nurtured from seed to table, all within a container you crafted yourself!
Secondly, the flexibility of a DIY corn growing bag is unmatched. You can tailor the size and shape to perfectly fit your available space, whether it’s a sunny balcony, a small patio, or a corner of your backyard. This is especially beneficial for urban gardeners or those with limited land. Plus, you can customize the soil mix to optimize it for corn growth, ensuring your plants receive the nutrients they need to thrive.
Consider these variations to elevate your corn growing bag experience:
* Vertical Support System: For taller corn varieties, incorporate a simple trellis or stake system within the bag to provide support as the plants grow. This will prevent them from toppling over in windy conditions.
* Companion Planting: Maximize your space by planting companion plants like beans or squash around the base of your corn stalks. These plants can help improve soil health, deter pests, and even provide shade for the corn roots.
* DIY Watering System: Integrate a simple drip irrigation system into your corn growing bag to ensure consistent and efficient watering. This can be as simple as burying a perforated hose within the soil.
* Material Variations: While we suggested using burlap or heavy-duty plastic, experiment with other materials like old feed sacks or even repurposed tires (with proper drainage holes, of course!).
Ultimately, creating your own corn growing bag is about more than just saving money; it’s about connecting with nature, fostering creativity, and enjoying the fruits (or rather, the corn!) of your labor.
We wholeheartedly encourage you to give this DIY trick a try. It’s a fun, educational, and rewarding project that will bring you closer to your food source. And most importantly, don’t forget to share your experience with us! We’d love to see your creations, hear about your successes (and challenges!), and learn from your unique adaptations. Post photos of your corn growing bag on social media using #DIYCornBag and tag us so we can celebrate your gardening journey with you. Happy growing!
Frequently Asked Questions (FAQ)
What type of soil is best for growing corn in a bag?
Corn is a heavy feeder, meaning it requires a nutrient-rich soil to thrive. A well-draining loamy soil is ideal. You can create your own mix by combining equal parts of garden soil, compost, and peat moss or coco coir. Adding a slow-release fertilizer specifically formulated for vegetables will also provide your corn plants with the essential nutrients they need throughout the growing season. Ensure the pH level is slightly acidic to neutral, around 6.0 to 7.0. You can test your soil’s pH using a readily available soil testing kit from your local garden center.
How often should I water my corn growing bag?
Watering frequency depends on several factors, including the weather, the size of your bag, and the stage of growth of your corn plants. Generally, you should aim to keep the soil consistently moist but not waterlogged. Check the soil moisture level by sticking your finger about an inch or two into the soil. If it feels dry, it’s time to water. During hot, dry weather, you may need to water daily, while during cooler, wetter periods, you can reduce the frequency. Ensure the bag has adequate drainage to prevent root rot. A good rule of thumb is to water deeply until you see water draining from the bottom of the bag.
How much sunlight does corn need when grown in a bag?
Corn requires at least 6-8 hours of direct sunlight per day to produce a good yield. Choose a location for your corn growing bag that receives ample sunlight throughout the day. If you live in a particularly hot climate, some afternoon shade may be beneficial to prevent the plants from overheating. Monitor your plants closely and adjust their location if necessary to ensure they are receiving enough sunlight. Insufficient sunlight can lead to stunted growth and reduced corn production.
What size bag is best for growing corn?
The ideal size for a corn growing bag depends on the variety of corn you’re growing. However, as a general guideline, a bag that is at least 18 inches in diameter and 24 inches deep is recommended. This will provide enough space for the roots to develop properly and support the growth of the plants. Remember that corn is typically planted in blocks for proper pollination, so you’ll need multiple bags or a very large container to accommodate several plants. Consider the mature height of the corn variety you’re growing when choosing the bag size. Taller varieties will require larger bags to provide adequate support.
How do I pollinate corn grown in a bag?
Corn is wind-pollinated, meaning the pollen from the tassels (the male flowers at the top of the plant) needs to reach the silks (the female flowers that emerge from the developing ears of corn). When growing corn in a bag, you may need to assist with pollination, especially if the plants are sheltered from the wind. You can do this by gently shaking the tassels to release the pollen or by cutting off a tassel and brushing it against the silks. Repeat this process every day for several days until the silks begin to turn brown, indicating that pollination has been successful. Planting your corn in a block formation, rather than a single row, will also increase the chances of successful pollination.
What are some common pests and diseases that affect corn grown in bags, and how can I prevent them?
Common pests that can affect corn include corn earworms, aphids, and spider mites. Diseases include corn smut and various fungal infections. To prevent these problems, start by using healthy, disease-resistant seeds. Regularly inspect your plants for signs of pests or diseases. If you spot any problems, take action immediately. You can use organic pest control methods, such as insecticidal soap or neem oil, to control pests. Ensure good air circulation around the plants to prevent fungal diseases. Avoid overwatering, as this can create a favorable environment for fungal growth. Crop rotation (if possible with container gardening) and removing any infected plant debris can also help prevent the spread of diseases.
Can I reuse the soil from my corn growing bag?
While you can technically reuse the soil, it’s generally recommended to amend it before replanting. Corn is a heavy feeder, so the soil will likely be depleted of nutrients after a growing season. To replenish the soil, mix in plenty of compost, aged manure, or other organic matter. You may also want to add a slow-release fertilizer to provide the plants with the nutrients they need. Consider testing the soil pH and adjusting it as needed. If you suspect the soil may be contaminated with pests or diseases, it’s best to discard it and start with fresh soil.
How do I know when my corn is ready to harvest from the growing bag?
Several indicators will tell you when your corn is ready to harvest. The silks will turn brown and dry, and the ears will feel plump and full. You can also gently peel back a portion of the husk and puncture a kernel with your fingernail. If the liquid that comes out is milky, the corn is ready to harvest. If the liquid is clear, it’s not quite ready. If it’s thick and doughy, it’s overripe. Harvest the corn in the morning when the sugars are at their peak.
Leave a Comment