

Easy Sweet Potato Gardening: Your Guide to a Bountiful Harvest
Easy sweet potato gardening might sound like a dream, but I’m here to tell you it’s entirely achievable! Forget expensive grocery store prices and enjoy the unparalleled taste of homegrown sweet potatoes. This article is your passport to a rewarding gardening experience, packed with simple, effective Easy Sweet Potato Gardening techniques and DIY projects that will transform your backyard into a sweet potato paradise.
Sweet potatoes hold a rich history, cultivated for centuries across the globe. From their origins in Central and South America to their widespread adoption across continents, these versatile tubers have nourished generations. Their cultural significance is undeniable, featuring prominently in countless cuisines and traditions. But you don’t need to be a seasoned gardener to tap into this delicious legacy!
Why Grow Your Own Sweet Potatoes?
Let’s be honest, there’s nothing quite like the taste of a freshly harvested sweet potato, bursting with natural sweetness and flavor. Growing your own offers unparalleled control over the quality and freshness of your produce. Plus, it’s incredibly rewarding to nurture a plant from a simple slip to a bountiful harvest. This Easy Sweet Potato Gardening guide is designed to empower you, even if you’re a complete beginner. You’ll learn everything from preparing the soil to harvesting your delicious crop, all with simple, easy-to-follow instructions and clever DIY solutions.
So, are you ready to embark on this delicious journey? Let’s get started with our easy sweet potato gardening tips and tricks!
Amazing Garlic Kitchen Hacks: From Prep to Preservation
Garlic. The pungent, powerful, and utterly delicious ingredient that elevates countless dishes. But let’s be honest, dealing with garlic can be a bit of a messy affair. This guide will walk you through some of my favorite garlic hacks, making your garlic-infused culinary adventures easier and more enjoyable.
Section 1: Effortless Garlic Peeling
Peeling garlic is often the biggest hurdle. These methods will make it a breeze!
- The Shake Method: This is my go-to! Place a few cloves of garlic in a bowl and cover with another bowl, then shake vigorously for about 30 seconds. The skins will magically separate from the cloves.
- The Microwave Method: Place your garlic cloves in a microwave-safe bowl and microwave on high for 15-20 seconds. The heat loosens the skins, making them easy to peel.
- The Pressure Method: Place garlic cloves on a cutting board and cover with the bottom of a heavy bowl or pan. Press down firmly to crack the cloves. The skins should come off easily.
- The Rolling Method: Place garlic cloves on a cutting board and use the flat side of a chef’s knife to roll over them, applying firm pressure. This will crack the cloves and loosen the skins.
- Shake Method Detailed Instructions: Place 5-10 garlic cloves (depending on your needs) in a medium-sized bowl. Invert another bowl of similar size on top. Hold both bowls firmly and shake vigorously back and forth for 20-30 seconds. You’ll hear the cloves rattling. Separate the bowls and marvel at the easily peeled garlic!
- Microwave Method Detailed Instructions: Place your garlic cloves in a microwave-safe bowl. Microwave on high for 15-20 seconds. Check the cloves – if they aren’t easily peelable, microwave in 5-second increments until they are. Be careful not to overcook them, as they might become mushy.
- Pressure Method Detailed Instructions: Place your garlic cloves on a sturdy cutting board. Place the bottom of a heavy bowl or pan on top of the garlic. Press down firmly and evenly. The cloves will crack, making peeling much simpler. If some cloves remain stubborn, gently press them individually with the flat side of a knife.
- Rolling Method Detailed Instructions: Place your garlic cloves on a cutting board. Use the flat side of a chef’s knife, applying firm but gentle pressure, to roll over each clove. Roll back and forth several times. The cloves will crack, and the skins will loosen. You can then easily peel them off with your fingers.
Section 2: Mincing Mastery
Mincing garlic is another common task. Here are some tips to make it efficient and consistent.
- The Knife Method: The classic approach, but it requires a bit of practice for even mincing.
- The Garlic Press Method: A quick and easy option for perfectly minced garlic.
- The Food Processor Method: Ideal for large quantities of garlic.
- Knife Method Detailed Instructions: First, peel your garlic cloves using your preferred method from Section 1. Place the cloves on a cutting board and, using the flat side of your chef’s knife, roughly chop them. Then, stack the chopped pieces and, using a rocking motion, finely mince the garlic. Practice makes perfect – the more you do it, the better you’ll get at achieving a consistent mince.
- Garlic Press Method Detailed Instructions: Peel your garlic cloves. Place one clove at a time into the garlic press and firmly squeeze the handle. The minced garlic will be expelled from the press. This method is great for small batches and ensures consistent mincing.
- Food Processor Method Detailed Instructions: Peel your garlic cloves. Add them to a food processor and pulse until finely minced. Be careful not to over-process, as this can result in a garlic paste. Start with short pulses and check the consistency frequently.
Section 3: Garlic Storage Solutions
Proper storage is key to keeping your garlic fresh and flavorful for longer.
- Storing Whole Heads: Store whole heads of garlic in a cool, dark, and dry place. A pantry or cupboard is ideal.
- Storing Peeled Cloves: Peeled cloves don’t last as long. Store them in an airtight container in the refrigerator for up to a week. Freezing is a better option for longer storage.
- Freezing Garlic: Freezing garlic is a great way to preserve it for months. You can freeze whole cloves, minced garlic, or garlic paste in freezer bags or ice cube trays.
- Storing Whole Heads Detailed Instructions: Keep your garlic heads in a well-ventilated container or basket in a cool, dark, and dry place. Avoid storing them in direct sunlight or near heat sources. This method can keep your garlic fresh for several months.
- Storing Peeled Cloves Detailed Instructions: Place peeled garlic cloves in an airtight container. Store in the refrigerator for up to a week. After a week, the garlic may start to lose its flavor and become less crisp.
- Freezing Garlic Detailed Instructions: For whole cloves, simply place them in a freezer bag and freeze. For minced garlic, mince your garlic and place it in a freezer bag or ice cube tray. Once frozen, transfer the cubes to a freezer bag for easier storage. Garlic paste can also be frozen in the same way. Frozen garlic can last for several months.
Section 4: Beyond the Basics: Garlic Infused Oil
Making your own garlic-infused oil is a fantastic way to add extra flavor to your cooking. It’s surprisingly easy!
- Gather your ingredients: You’ll need extra virgin olive oil (the best quality you can find), whole garlic cloves (unpeeled), and a clean, sterilized jar.
- Prepare the garlic: Lightly crush the garlic cloves with the flat side of a knife to release their aroma. You don’t need to peel them.
- Combine and store: Pack the garlic cloves tightly into the jar. Pour in enough olive oil to completely submerge the garlic. Seal the jar tightly. Store in a cool, dark place for at least 2 weeks, allowing the flavors to infuse. The longer it infuses, the stronger the garlic flavor will be.
- Strain and enjoy: After 2 weeks (or longer), strain the oil through a fine-mesh sieve or cheesecloth to remove the garlic cloves. Store the infused oil in a clean, airtight container in the refrigerator. It will keep for several weeks.
Important Note:
Never store garlic-infused oil at room temperature for extended periods. This can create a breeding ground for harmful bacteria, such as Clostridium botulinum.
Conclusion
So there you have it – your guide to effortlessly growing delicious sweet potatoes in your own backyard! This easy sweet potato gardening method is a must-try for several reasons. Firstly, it’s incredibly rewarding to cultivate your own food, knowing exactly where it comes from and how it was grown. Secondly, homegrown sweet potatoes boast an unparalleled flavor and freshness that simply can’t be matched by store-bought varieties. The sweetness is more intense, the texture is smoother, and the overall experience of biting into a perfectly ripened sweet potato from your garden is truly unforgettable. Finally, and perhaps most importantly, this method is remarkably simple, even for beginner gardeners. With minimal effort and a little patience, you can enjoy a bountiful harvest of these nutritious and versatile root vegetables. This easy sweet potato gardening technique empowers you to take control of your food source and experience the joy of growing your own produce.
This easy sweet potato gardening method opens up a world of possibilities. Experiment with different varieties of sweet potatoes to discover your favorites. Some varieties are known for their extra-sweet flavor, while others offer a drier, firmer texture ideal for baking or frying. You can also explore companion planting, incorporating other vegetables like beans or marigolds into your sweet potato patch to improve soil health and deter pests. Consider using different growing mediums, such as raised beds or containers, to adapt the method to your specific space and conditions. For those with limited space, container gardening is a fantastic option, allowing you to grow sweet potatoes even on a balcony or patio. Don’t be afraid to get creative and tailor this method to your own gardening style and preferences. The possibilities are truly endless!
We strongly encourage you to give this easy sweet potato gardening technique a try. Share your experience with us! We’d love to hear about your successes, challenges, and any unique variations you discover along the way. Post pictures of your thriving sweet potato plants and your delicious harvest on social media using the hashtag #EasySweetPotatoGardening. Connect with other gardening enthusiasts and share your tips and tricks. Let’s build a community of home gardeners who are passionate about growing their own food and enjoying the fruits (or rather, roots!) of their labor. Remember, even small successes in the garden can bring immense satisfaction. So, grab some sweet potato slips, prepare your soil, and embark on this rewarding gardening adventure. You won’t regret it!
Frequently Asked Questions
What type of soil is best for growing sweet potatoes?
Sweet potatoes thrive in well-drained, sandy loam soil. Avoid heavy clay soils, which can retain too much moisture and lead to root rot. Amend heavy clay soils with organic matter like compost to improve drainage. A slightly acidic to neutral pH (6.0-7.0) is ideal.
When is the best time to plant sweet potato slips?
The best time to plant sweet potato slips is after the last frost and when the soil has warmed up to at least 60-70°F (15-21°C). This typically falls between late spring and early summer, depending on your climate.
How much sunlight do sweet potatoes need?
Sweet potatoes need at least 6-8 hours of direct sunlight per day to thrive. Choose a sunny location in your garden for optimal growth.
How often should I water my sweet potatoes?
Water your sweet potatoes regularly, especially during dry periods. Aim for consistently moist soil, but avoid overwatering, which can lead to root rot. Check the soil moisture regularly and water deeply when the top inch or two feels dry.
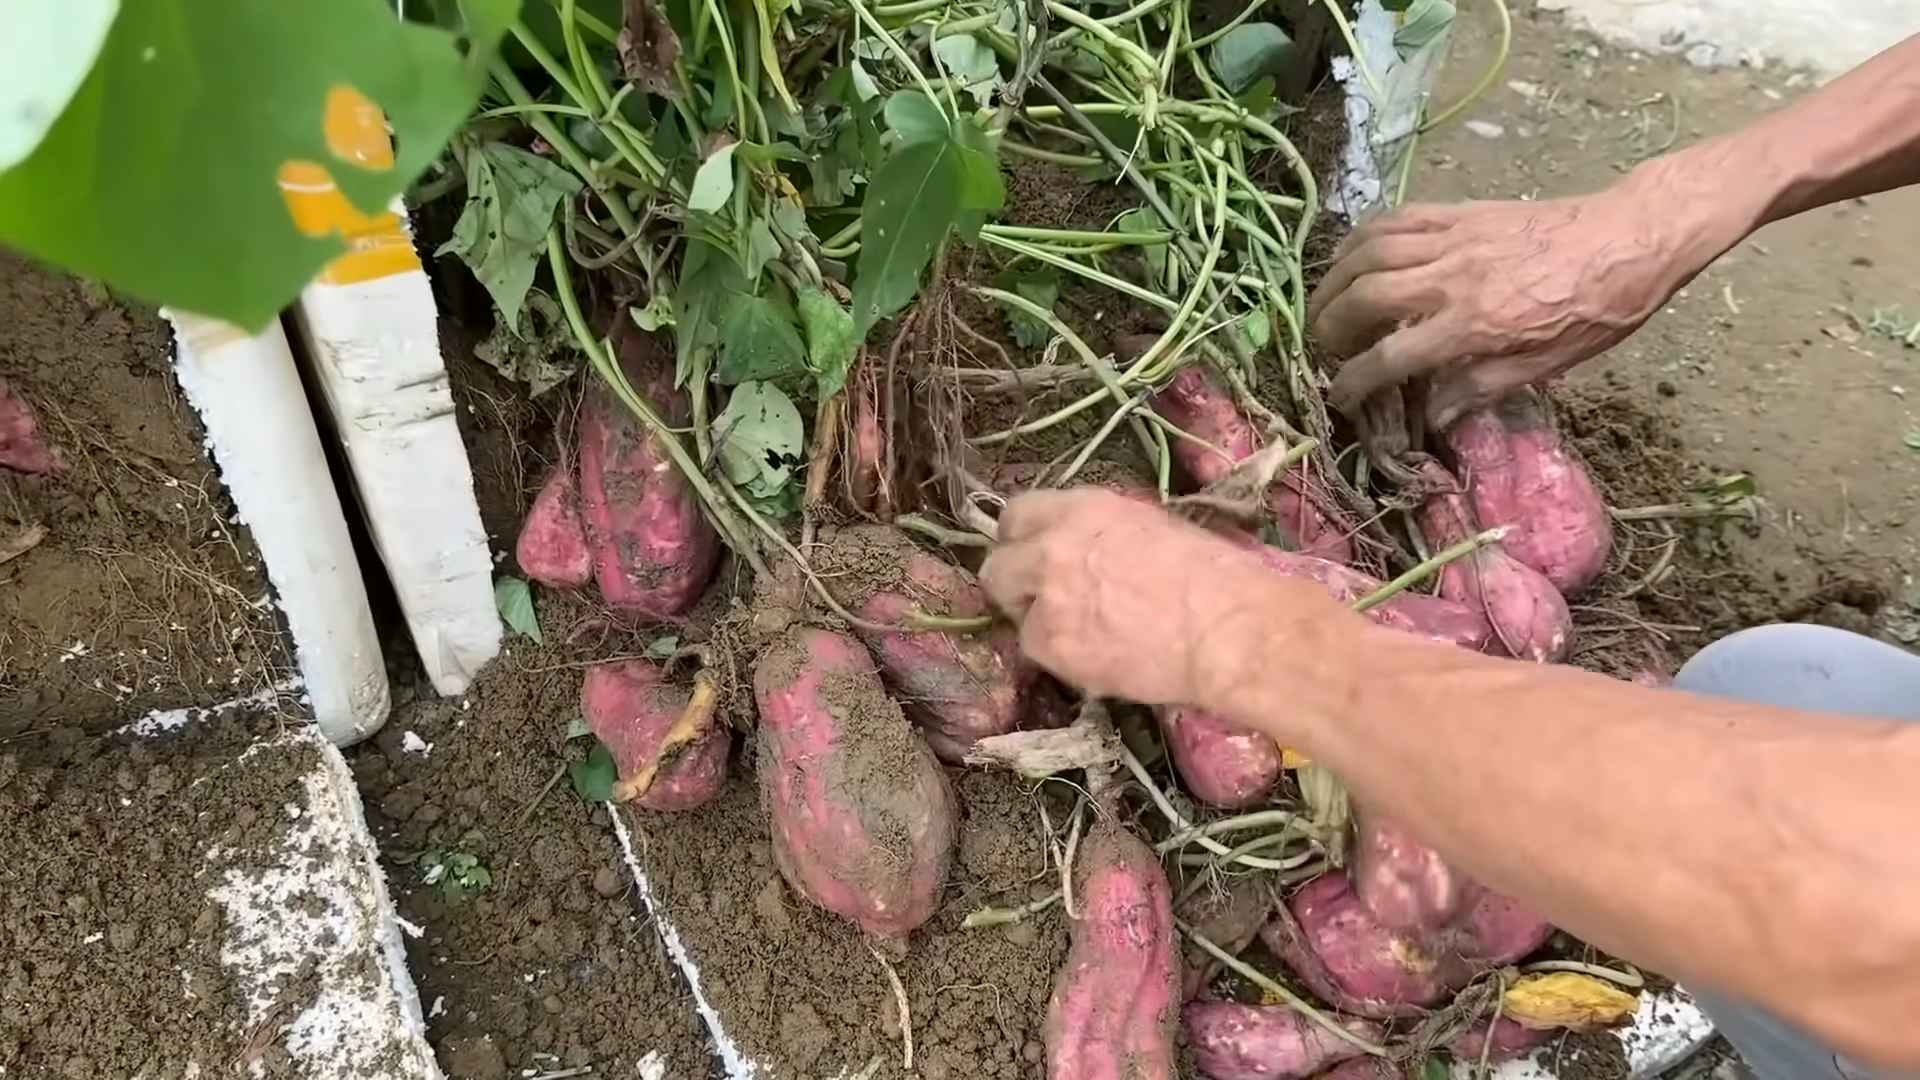
How do I harvest sweet potatoes?
Sweet potatoes are typically ready for harvest 3-4 months after planting, usually in the fall. The leaves will begin to yellow and die back, signaling that it’s time to harvest. Carefully dig up the sweet potatoes, being careful not to damage them. Allow them to cure in a warm, dry place for a few weeks before storing.
What are some common problems when growing sweet potatoes?
Some common problems include root rot (due to overwatering or poorly drained soil), insect pests (such as sweet potato weevils), and diseases (such as fungal leaf spots). Proper soil preparation, adequate drainage, and regular monitoring can help prevent these issues. Consider using organic pest control methods if necessary.
Can I grow sweet potatoes in containers?
Yes, you can absolutely grow sweet potatoes in containers! Choose large containers (at least 12 inches deep) with drainage holes. Use a well-draining potting mix and ensure the containers receive ample sunlight.
What can I do with my harvested sweet potatoes?
The possibilities are endless! You can roast, bake, boil, fry, or mash your homegrown sweet potatoes. They’re delicious in soups, stews, casseroles, and even desserts. Enjoy the incredible flavor and freshness of your own homegrown sweet potatoes!
My sweet potato plants are not producing many potatoes. What could be wrong?
Several factors can affect sweet potato yield. Insufficient sunlight, poor soil drainage, inadequate watering, or nutrient deficiencies can all limit production. Review the growing conditions and ensure you’re meeting the plant’s needs. Consider soil testing to determine if nutrient levels are adequate. Also, ensure you are using healthy slips for planting.
Can I save seeds from my sweet potatoes to plant next year?
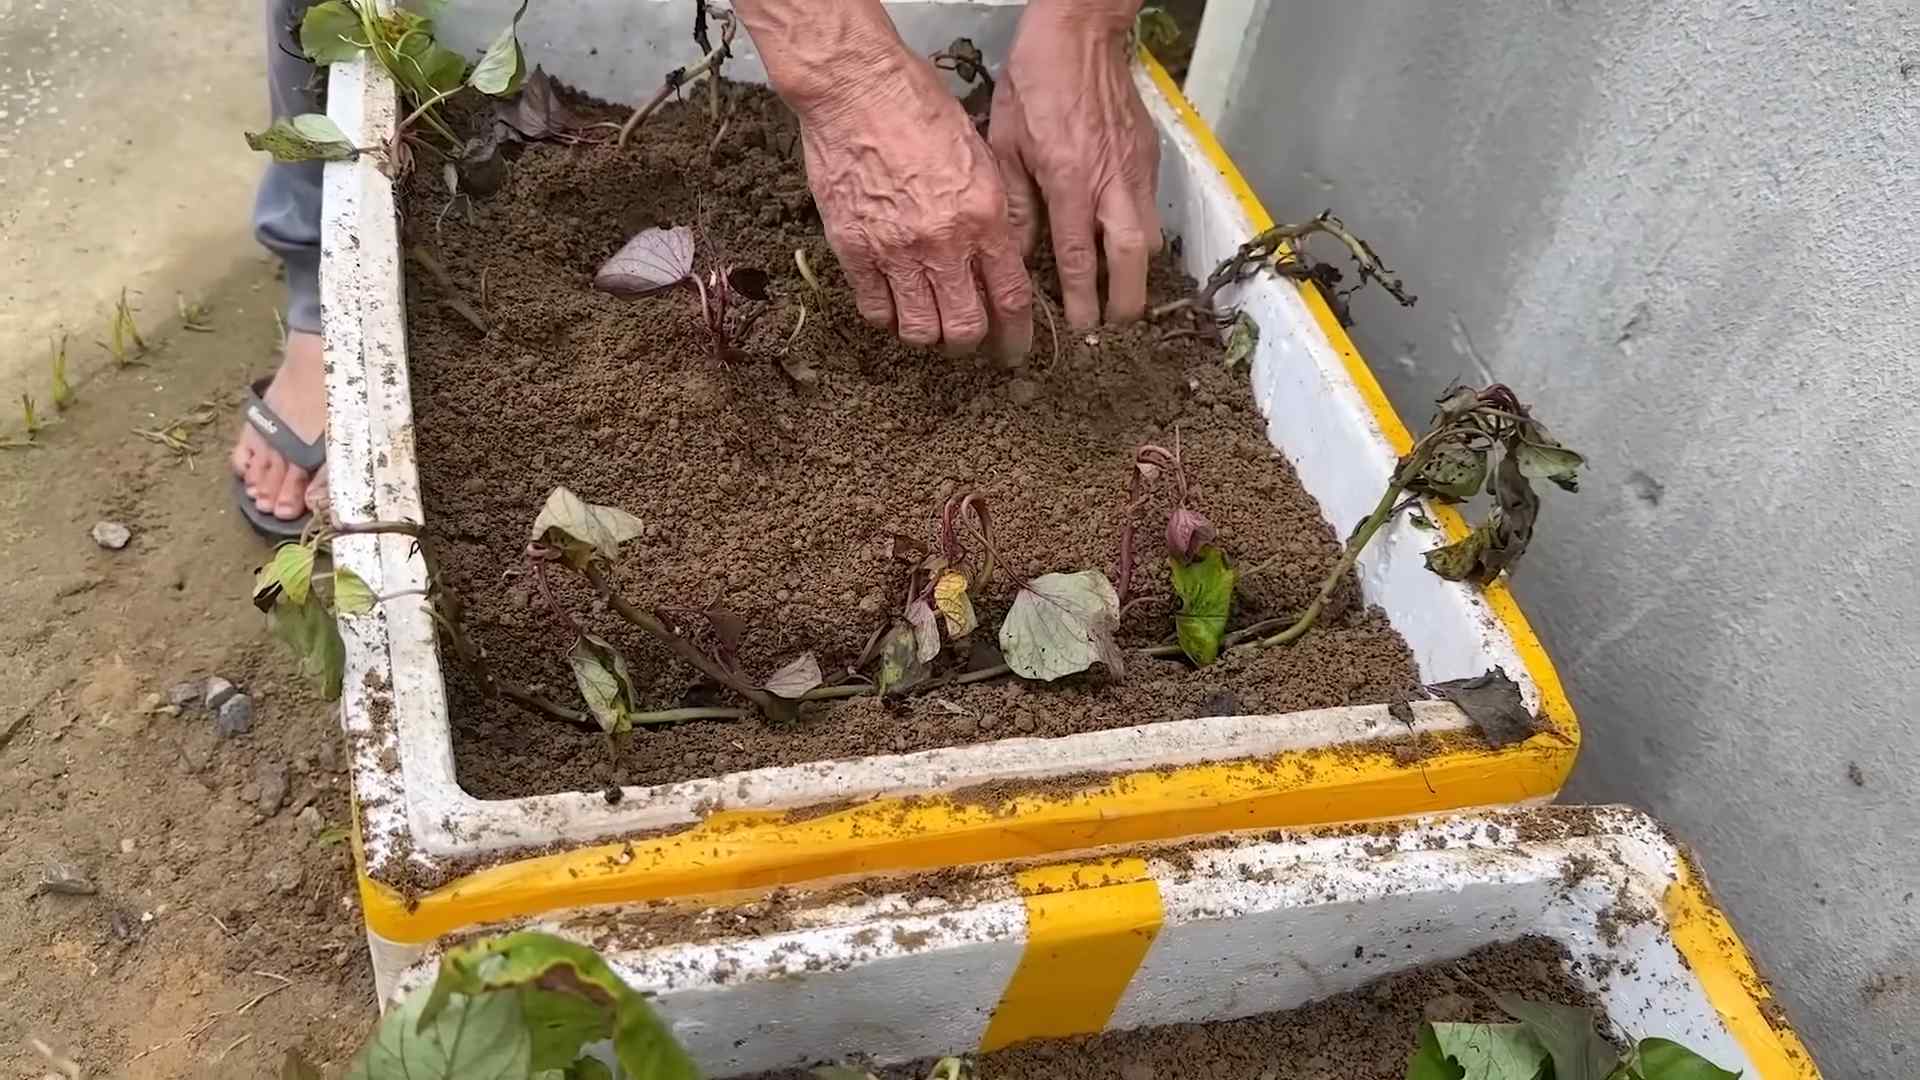
Sweet potatoes are not grown from seeds. They are propagated vegetatively using slips (cuttings from the vines). You can save slips from your harvest to plant the following year, or purchase new slips from a reputable supplier.


Leave a Comment