

Dawn dish soap cleaning hacks – who knew such a humble household staple could be a secret weapon against grime and gunk all around your home? I’m constantly amazed by the versatility of this blue bottle, and I’m excited to share some of my favorite DIY cleaning tricks using it.
For generations, Dawn has been trusted for its grease-cutting power, but its uses extend far beyond just washing dishes. Think about it: our grandmothers probably used a simpler version of this same soap for countless cleaning tasks! It’s a testament to its effectiveness and gentle formula.
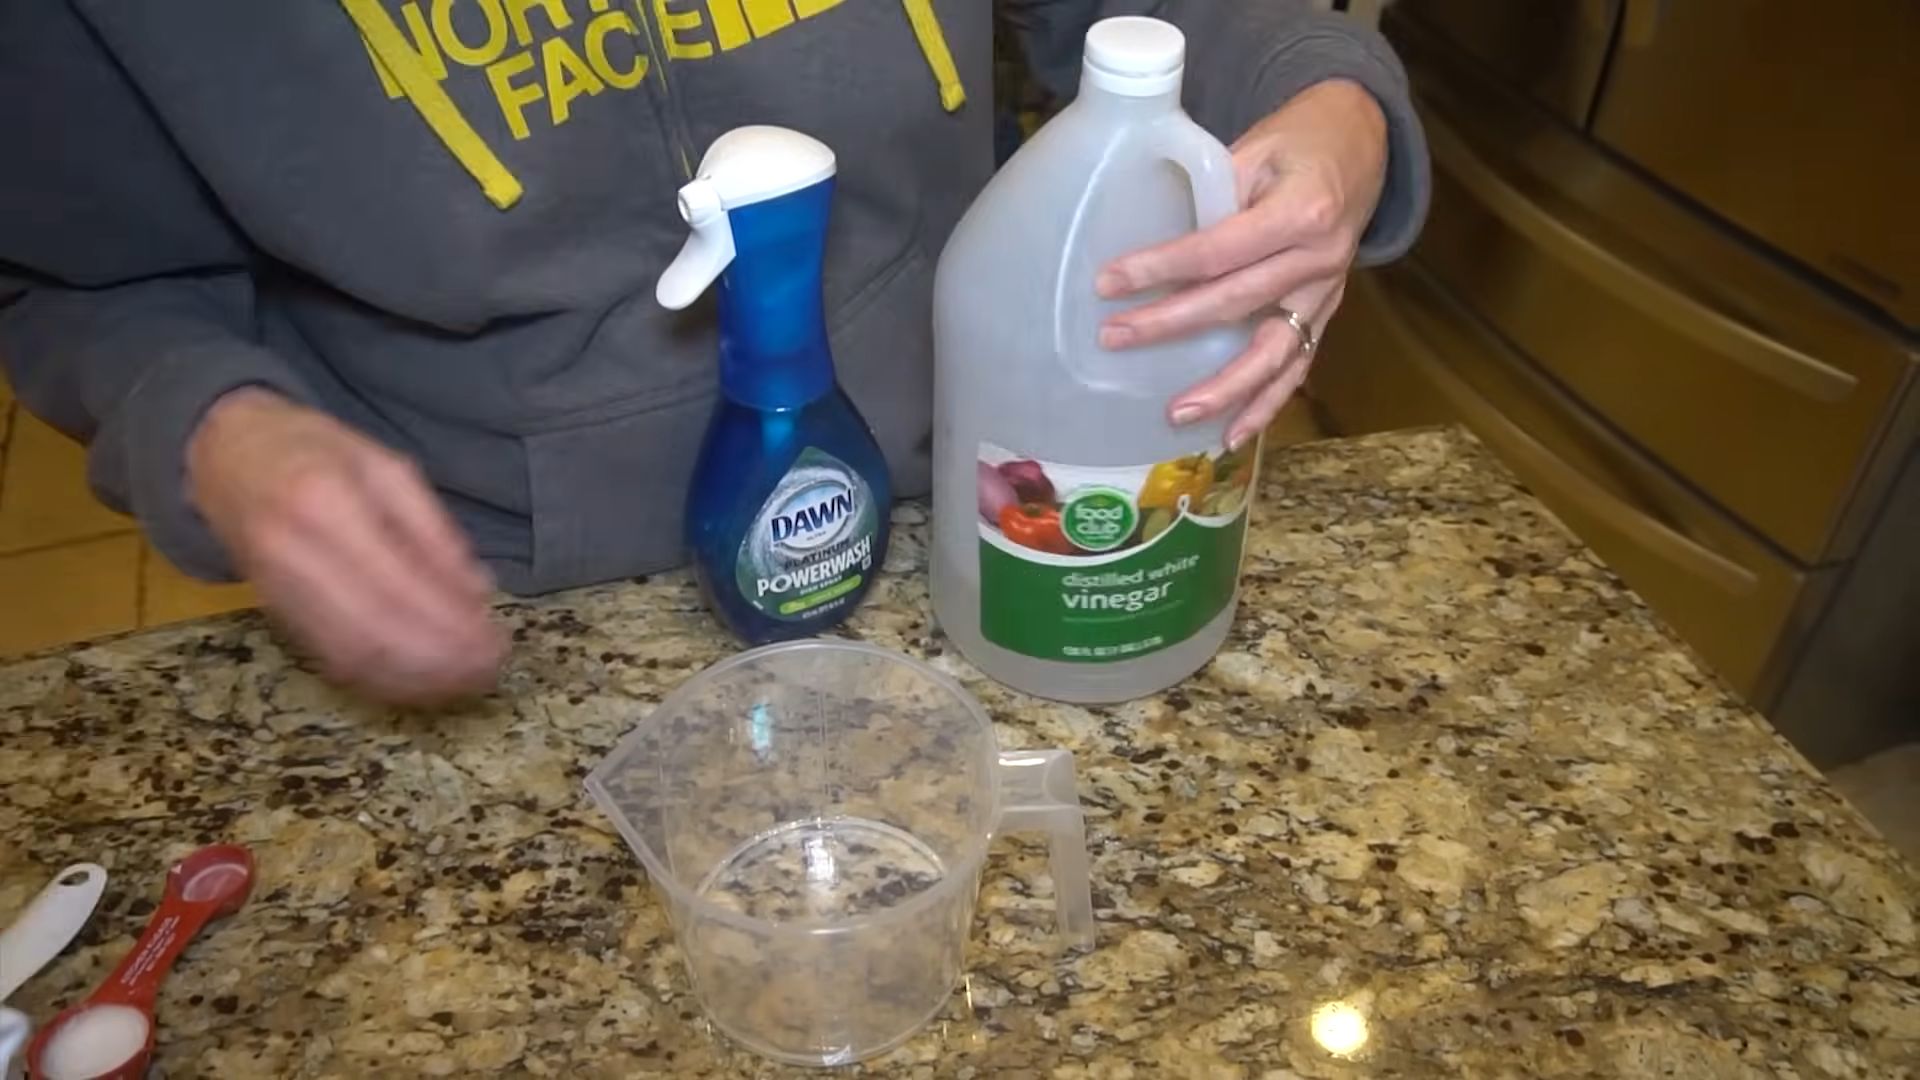
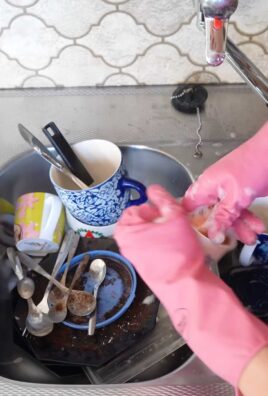
Let’s face it, nobody enjoys spending hours scrubbing and struggling with stubborn stains. That’s where these Dawn dish soap cleaning hacks come in! I’m going to show you how to tackle everything from greasy stovetops to grimy bathroom tiles with minimal effort and maximum results. These DIY solutions are not only incredibly effective, but they’re also budget-friendly and often safer than harsh chemical cleaners. So, ditch the elbow grease and get ready to discover the amazing cleaning power of Dawn!
Growing Sweet Potatoes in Your Backyard: A Comprehensive Guide
Hey there, fellow gardening enthusiasts! I’m so excited to share my experience and knowledge on growing sweet potatoes right in your own backyard. It’s surprisingly easy and incredibly rewarding. Nothing beats the taste of homegrown sweet potatoes, and the vibrant vines add a beautiful touch to any garden. Let’s dive in!
Choosing the Right Sweet Potato Variety
Before we get our hands dirty, let’s talk about choosing the right sweet potato variety for your region. Different varieties thrive in different climates and have varying maturity times.
* Beauregard: This is a popular choice, known for its orange flesh and relatively short growing season (around 90-100 days). It’s a reliable producer and widely available.
* Georgia Jet: If you’re in a cooler climate with a shorter growing season, Georgia Jet is a great option. It matures in about 90 days and produces reddish-orange sweet potatoes.
* Centennial: Another classic variety with orange flesh and a slightly longer growing season (around 100-110 days). It’s known for its excellent flavor.
* Japanese Sweet Potato (Muraski): For something a little different, try Japanese sweet potatoes. They have purple skin and white flesh that turns golden when cooked. They have a nutty, slightly sweet flavor.
* Okinawan Sweet Potato: These are another purple-fleshed variety, but with a slightly sweeter taste than the Japanese variety.
Consider your local climate, growing season length, and personal taste preferences when making your choice. Your local nursery or agricultural extension office can provide valuable recommendations for varieties that perform well in your area.
Preparing Your Garden Bed
Sweet potatoes need well-drained, loose soil to thrive. They also prefer slightly acidic soil with a pH between 5.5 and 6.5. Here’s how I prepare my garden bed:
* Sunlight: Sweet potatoes need at least 6-8 hours of direct sunlight per day. Choose a location in your yard that receives plenty of sun.
* Soil Testing: I always recommend testing your soil before planting. You can purchase a soil testing kit at your local garden center or send a sample to your local agricultural extension office. This will tell you the pH of your soil and whether it’s lacking any essential nutrients.
* Soil Amendment: Based on your soil test results, amend your soil accordingly. If your soil is too alkaline, you can add sulfur or peat moss to lower the pH. If it’s too acidic, add lime.
* Adding Organic Matter: Sweet potatoes love organic matter! I like to incorporate plenty of compost, well-rotted manure, or leaf mold into the soil. This improves drainage, aeration, and fertility.
* Creating Raised Beds or Hills: Sweet potatoes grow best in raised beds or hills. This helps with drainage and allows the roots to expand easily. I usually create hills that are about 12 inches high and 3 feet apart.
Starting Sweet Potato Slips
Sweet potato slips are the sprouts that grow from the sweet potatoes themselves. You can purchase slips from a nursery, but it’s also easy (and more economical!) to start your own. Here’s how I do it:
1. Choose Healthy Sweet Potatoes: Select firm, healthy sweet potatoes that are free from blemishes or soft spots. Organic sweet potatoes are ideal, as they haven’t been treated with sprout inhibitors.
2. Sprouting Method: There are two main methods for sprouting sweet potatoes:
* Water Method: Suspend the sweet potato in a jar or glass of water, with the bottom half submerged. You can use toothpicks to hold it in place. Place the jar in a warm, sunny location.
* Soil Method: Bury the sweet potato horizontally in a container filled with moist potting mix. Leave the top of the sweet potato slightly exposed. Place the container in a warm, sunny location.
3. Maintain Moisture: Keep the water or soil consistently moist.
4. Wait for Sprouts: In a few weeks, you should start to see sprouts (slips) emerging from the sweet potato.
5. Separate the Slips: Once the slips are about 6-8 inches long, gently twist them off the sweet potato.
6. Rooting the Slips: Place the slips in a jar of water, making sure the bottom inch or two is submerged. In a few days, roots will start to develop.
Planting Your Sweet Potato Slips
Now that you have your rooted slips, it’s time to plant them in your prepared garden bed.
1. Timing: Wait until the soil has warmed up to at least 60°F (15°C) and all danger of frost has passed. This is usually a few weeks after the last frost date in your area.
2. Spacing: Plant the slips about 12-18 inches apart in rows that are 3-4 feet apart.
3. Planting Depth: Dig a small hole and plant the slip deep enough so that only the top leaves are above the soil.
4. Watering: Water the newly planted slips thoroughly.
Caring for Your Sweet Potato Plants
Sweet potatoes are relatively low-maintenance plants, but here are a few things you can do to ensure a bountiful harvest:
* Watering: Water regularly, especially during dry periods. Sweet potatoes need consistent moisture, but avoid overwatering, which can lead to root rot.
* Weeding: Keep the garden bed free of weeds, which can compete with the sweet potatoes for nutrients and water.
* Fertilizing: Sweet potatoes don’t need a lot of fertilizer. In fact, too much nitrogen can lead to excessive vine growth and fewer sweet potatoes. If your soil is poor, you can apply a balanced fertilizer (10-10-10) at planting time.
* Vine Training: As the vines grow, they may start to spread out and take over your garden. You can train them to grow in a specific direction by gently guiding them along the ground. You can also prune the vines if they become too unruly.
* Pest Control: Sweet potatoes are generally pest-resistant, but they can be susceptible to certain pests, such as sweet potato weevils and flea beetles. Inspect your plants regularly for signs of pests and take appropriate action if necessary. Organic pest control methods, such as insecticidal soap or neem oil, are often effective.
Harvesting Your Sweet Potatoes
The moment we’ve all been waiting for! Harvesting your sweet potatoes is the most rewarding part of the process.
1. Timing: Sweet potatoes are typically ready to harvest about 90-120 days after planting, depending on the variety. A good indicator is when the leaves start to turn yellow and the vines begin to die back.
2. Weather: Choose a dry day for harvesting. Avoid harvesting after a heavy rain, as the soil will be too wet.
3. Digging: Use a garden fork or shovel to carefully dig up the sweet potatoes. Be careful not to damage the tubers. Start digging a foot or so away from the plant to avoid spearing the sweet potatoes.
4. Handling: Gently brush off any excess soil from the sweet potatoes. Avoid washing them, as this can shorten their storage life.
5. Curing: Curing is an essential step in the sweet potato harvesting process. It allows the skins to harden and the starches to convert to sugars, resulting in a sweeter, more flavorful sweet potato.
* Curing Process: Place the sweet potatoes in a warm, humid location (80-85°F or 27-29°C) for about 7-10 days. A greenhouse, garage, or shed can work well. You can also use a humidifier to increase the humidity.
* Arrangement: Arrange the sweet potatoes in a single layer, making sure they don’t touch each other.
6. Storage: After curing, store the sweet potatoes in a cool, dry, and dark location (55-60°F or 13-16°C). A basement or root cellar is ideal.
* Storage Containers: Store the sweet potatoes in well-ventilated containers, such as cardboard boxes or baskets.
* Avoid Refrigeration: Do not refrigerate sweet potatoes, as this will cause them to develop a hard core and lose their flavor.
* Check Regularly: Check the sweet potatoes regularly for signs of spoilage. Discard any that are soft, rotten, or have blemishes.
Troubleshooting Common Problems
Even with the best care, you may encounter some problems while growing sweet potatoes. Here are a few common issues and how to address them:
* Slips Not Rooting: If your slips are not rooting in water, try changing the water every few days. You can also add a rooting hormone to the water.
* Yellowing
Conclusion
So, there you have it! This simple yet incredibly effective Dawn dish soap cleaning hack is a game-changer for anyone looking to simplify their cleaning routine and achieve sparkling results without harsh chemicals. We’ve explored how Dawn, a staple in most kitchens, can be transformed into a multi-purpose cleaning powerhouse, tackling everything from greasy stovetops to stubborn laundry stains.
Why is this a must-try? Because it’s economical, readily available, and surprisingly powerful. Think about the money you’ll save by reducing your reliance on specialized cleaning products. Imagine the peace of mind knowing you’re using a gentler solution, especially around children and pets. And consider the satisfaction of seeing grime and dirt disappear with minimal effort. This isn’t just about cleaning; it’s about creating a healthier, more efficient, and more sustainable home.
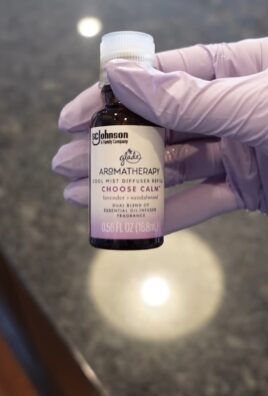
But don’t stop there! The beauty of this DIY approach lies in its adaptability. Feel free to experiment with variations to suit your specific needs. For instance, if you’re dealing with particularly stubborn grease, try adding a tablespoon of baking soda to your Dawn solution for extra scrubbing power. For a refreshing scent, infuse your cleaning spray with a few drops of your favorite essential oil, like lemon or lavender. If you’re cleaning delicate surfaces, dilute the Dawn solution even further to prevent any potential damage. You can also try using different types of Dawn dish soap, such as the Platinum version for extra grease-fighting power, or the Free & Clear version for sensitive skin.
Remember to always test your cleaning solution on an inconspicuous area first, especially when dealing with delicate fabrics or surfaces. This simple precaution can save you from potential damage and ensure the best possible results.
We’re confident that once you try this Dawn dish soap cleaning hack, you’ll wonder how you ever lived without it. It’s a testament to the power of simple solutions and a reminder that sometimes, the best cleaning products are already hiding in plain sight.
Now, it’s your turn! We encourage you to give these cleaning hacks a try and share your experiences with us. What surfaces did you clean? What variations did you experiment with? Did you discover any new uses for Dawn dish soap? We’re eager to hear your stories and learn from your insights. Share your tips, tricks, and before-and-after photos in the comments below. Let’s build a community of savvy cleaners who are passionate about creating sparkling homes with simple, effective, and eco-friendly solutions. Your feedback will not only help others but also inspire us to continue exploring and sharing innovative cleaning hacks. So, grab your bottle of Dawn, get cleaning, and let us know what you think! We can’t wait to hear from you.
Frequently Asked Questions (FAQ)
Is Dawn dish soap safe to use on all surfaces?
While Dawn dish soap is generally considered safe for most surfaces, it’s always best to test it on an inconspicuous area first, especially when dealing with delicate materials like painted walls, wood furniture, or certain types of fabrics. Diluting the solution with water can also help minimize the risk of damage. Avoid using Dawn on surfaces that are specifically labeled as requiring specialized cleaning products. For example, some types of stone countertops may require pH-neutral cleaners to prevent etching.
Can I use any brand of dish soap instead of Dawn?
While other brands of dish soap may work to some extent, Dawn is often recommended due to its superior grease-cutting abilities and gentle formula. Dawn is specifically formulated to break down grease and oil, making it highly effective for cleaning a wide range of surfaces. Other dish soaps may not be as effective at removing stubborn grime or may contain harsh chemicals that could damage certain materials. However, if you don’t have Dawn on hand, you can certainly experiment with other brands, but be sure to test them on an inconspicuous area first.
How do I dilute Dawn dish soap for cleaning?
The dilution ratio will depend on the specific cleaning task. For general cleaning, a good starting point is to mix a few drops of Dawn dish soap with a cup of water. For tougher jobs, you can increase the concentration of Dawn, but be careful not to use too much, as it can leave a soapy residue. For delicate surfaces, dilute the solution even further. A good rule of thumb is to start with a weaker solution and gradually increase the concentration until you achieve the desired cleaning power.
Can I use Dawn dish soap to clean my car?
Yes, Dawn dish soap can be used to wash your car, but it’s important to use it sparingly and rinse thoroughly. Dawn is effective at removing dirt and grime from car surfaces, but it can also strip away wax, which protects the paint. Therefore, it’s best to use Dawn only when necessary, such as when you need to remove stubborn grease or oil. After washing your car with Dawn, be sure to reapply wax to protect the paint. You can also find car-specific soaps that are designed to clean without stripping wax.
Is Dawn dish soap safe for septic systems?
Dawn dish soap is generally considered safe for septic systems when used in moderation. However, it’s important to avoid using excessive amounts of Dawn, as this can disrupt the balance of bacteria in the septic tank. If you have a septic system, it’s best to use a small amount of Dawn and to avoid pouring large quantities of it down the drain. You can also look for septic-safe dish soaps that are specifically formulated to be gentle on septic systems.
How can I remove soapy residue after cleaning with Dawn?
If you notice a soapy residue after cleaning with Dawn, simply rinse the surface thoroughly with clean water. You can also use a clean, damp cloth to wipe away any remaining residue. For stubborn residue, try adding a small amount of white vinegar to the rinse water. Vinegar is a natural cleaning agent that can help dissolve soap scum and leave surfaces sparkling clean.
Can I use Dawn dish soap to remove stains from clothing?
Yes, Dawn dish soap can be an effective stain remover for clothing, especially for grease and oil stains. To use Dawn as a stain remover, apply a small amount of Dawn directly to the stain and gently rub it in. Let it sit for a few minutes, then rinse with warm water. You can then wash the garment as usual. Be sure to test the Dawn on an inconspicuous area of the fabric first to ensure that it doesn’t cause any discoloration.
What are some other uses for Dawn dish soap besides cleaning?
Dawn dish soap has a wide range of uses beyond cleaning. It can be used to remove poison ivy oil, clean eyeglasses, unclog drains, and even remove fleas from pets. Its gentle formula and grease-cutting abilities make it a versatile solution for a variety of household tasks. However, it’s important to use caution and to research any specific application before using Dawn in an unconventional way.

Leave a Comment