

Dish Soap and Vinegar Cleaner: Your secret weapon for a sparkling home, naturally! Are you tired of harsh chemicals and overpowering scents in your cleaning products? Do you dream of a spotless home without breaking the bank or harming the environment? Well, you’re in the right place! For generations, resourceful homemakers have turned to simple, readily available ingredients to keep their homes clean and fresh. Think back to your grandmother’s cleaning rituals – chances are, she had a few tricks up her sleeve involving vinegar and soap!
This DIY dish soap and vinegar cleaner isn’t just a trend; it’s a return to simpler, more sustainable living. In a world saturated with complex cleaning solutions, sometimes the best answers are the most straightforward. I’m going to show you how to create a powerful, all-purpose cleaner using just two common household items. This is a game-changer for anyone looking to reduce their exposure to harsh chemicals, save money, and embrace a more eco-friendly lifestyle. Plus, it’s incredibly easy to make! So, ditch those expensive, store-bought cleaners and let’s get started on creating your own effective and natural cleaning solution!
DIY All-Purpose Dish Soap and Vinegar Cleaner: A Sparkling Home Awaits!
Okay, friends, let’s ditch those expensive, chemical-laden cleaners and whip up something amazing right in our own kitchens! This DIY dish soap and vinegar cleaner is a powerhouse for tackling grime, grease, and everyday messes. It’s super easy, budget-friendly, and uses ingredients you probably already have. Trust me, once you try this, you’ll be hooked!
Why Vinegar and Dish Soap?
Vinegar is a natural disinfectant and degreaser. Its acidity helps cut through grease and grime, and it’s fantastic for removing hard water stains. Dish soap, on the other hand, is a surfactant, meaning it helps to lift dirt and grease away from surfaces. When combined, they create a cleaning dream team!
What You’ll Need:
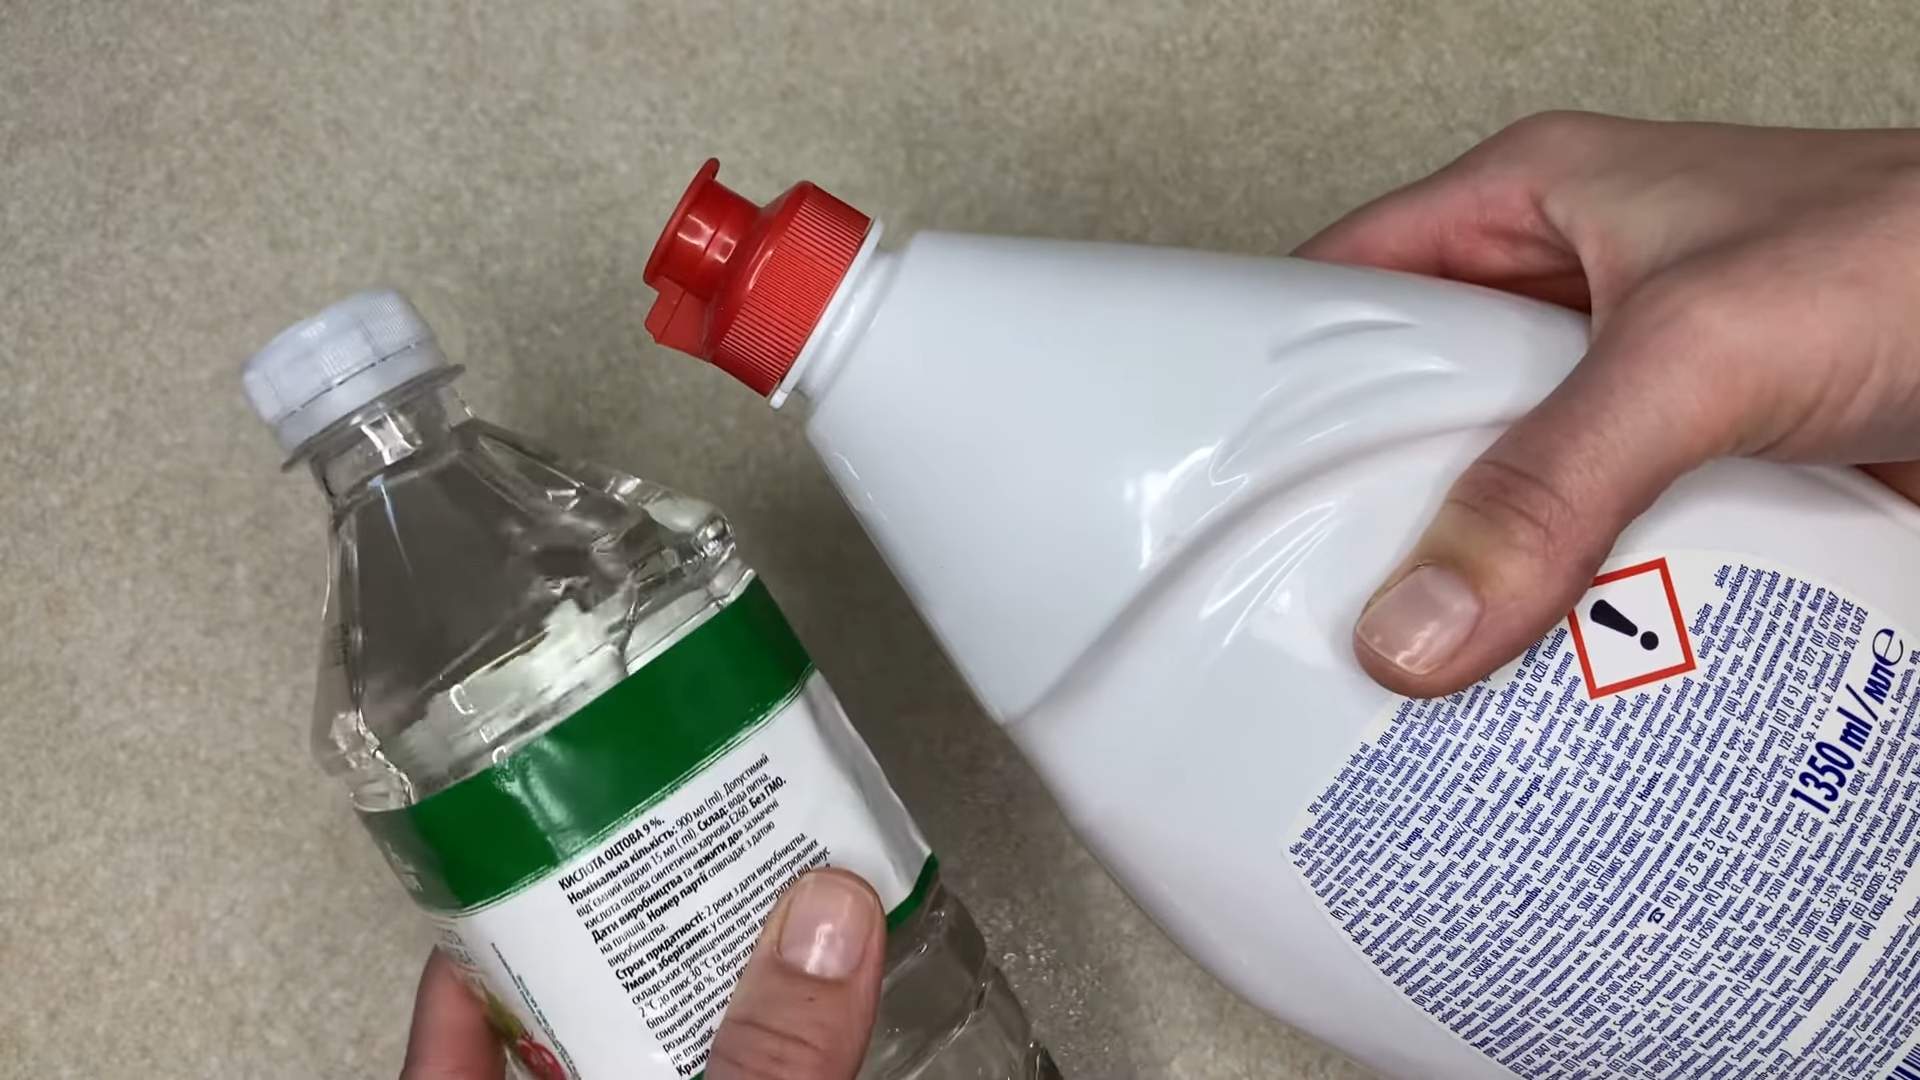
* White Vinegar
* Dish Soap (I recommend a clear, unscented variety to avoid any weird color combinations or overpowering smells. Dawn works great!)
* Spray Bottle (A clean, empty one, of course!)
* Measuring Cup or Spoons
* Water (Optional, for dilution)
* Essential Oils (Optional, for fragrance. Lemon, lavender, or tea tree oil are great choices!)
Step-by-Step Instructions:
1. Gather Your Supplies: First things first, let’s get everything organized. Find your white vinegar, dish soap, spray bottle, measuring tools, and any optional ingredients like water or essential oils. Having everything within reach will make the process smooth and efficient.
2. Prepare the Vinegar: This is where things get a little debated. Some people swear by heating the vinegar, while others prefer it straight from the bottle. Heating the vinegar can supposedly increase its cleaning power, but it’s not strictly necessary. If you choose to heat it, microwave it for about 2 minutes, or until it’s warm but not boiling. Be careful not to overheat it! Let it cool slightly before proceeding. If you’re skipping the heating step, just pour the vinegar directly into your measuring cup.
3. Measure the Vinegar: Now, let’s measure out our vinegar. I usually go for a 1:1 ratio of vinegar to dish soap, but you can adjust this based on your needs. For a standard spray bottle (around 16 ounces), I’d recommend using about 1 cup of white vinegar. Pour the measured vinegar into your spray bottle.
4. Add the Dish Soap: This is the tricky part! Dish soap and vinegar can sometimes react and create a clumpy mess. To avoid this, add the dish soap *slowly* and gently. I recommend using about 1 cup of dish soap for that 16-ounce spray bottle. Pour it in a thin stream, trying to avoid excessive bubbling.
5. Dilute (Optional): If you find the mixture too strong or the scent of vinegar overpowering, you can add some water to dilute it. I usually add about 1/2 cup of water to my 16-ounce spray bottle. This is entirely optional, so feel free to skip it if you prefer a more concentrated cleaner.
6. Add Essential Oils (Optional): If you want to add a pleasant scent to your cleaner, now’s the time! Essential oils are a great way to customize your cleaner and add some aromatherapy benefits. I usually add about 10-20 drops of my favorite essential oil. Lemon, lavender, tea tree, and eucalyptus are all great choices. Just be sure to use pure essential oils, not fragrance oils.
7. Close and Shake Gently: Secure the spray nozzle onto the bottle tightly. Now, gently shake the bottle to combine all the ingredients. Avoid shaking too vigorously, as this can create excessive bubbles. A gentle swirl is all you need.
8. Label Your Bottle: This is super important! You don’t want anyone accidentally using this cleaner for something else. Clearly label your bottle with “Dish Soap and Vinegar Cleaner” and maybe even a warning to avoid contact with eyes.
Where to Use Your DIY Cleaner:
This cleaner is incredibly versatile! Here are some of my favorite places to use it:
* Kitchen Counters: It’s fantastic for wiping down kitchen counters after cooking. It cuts through grease and grime like a champ.
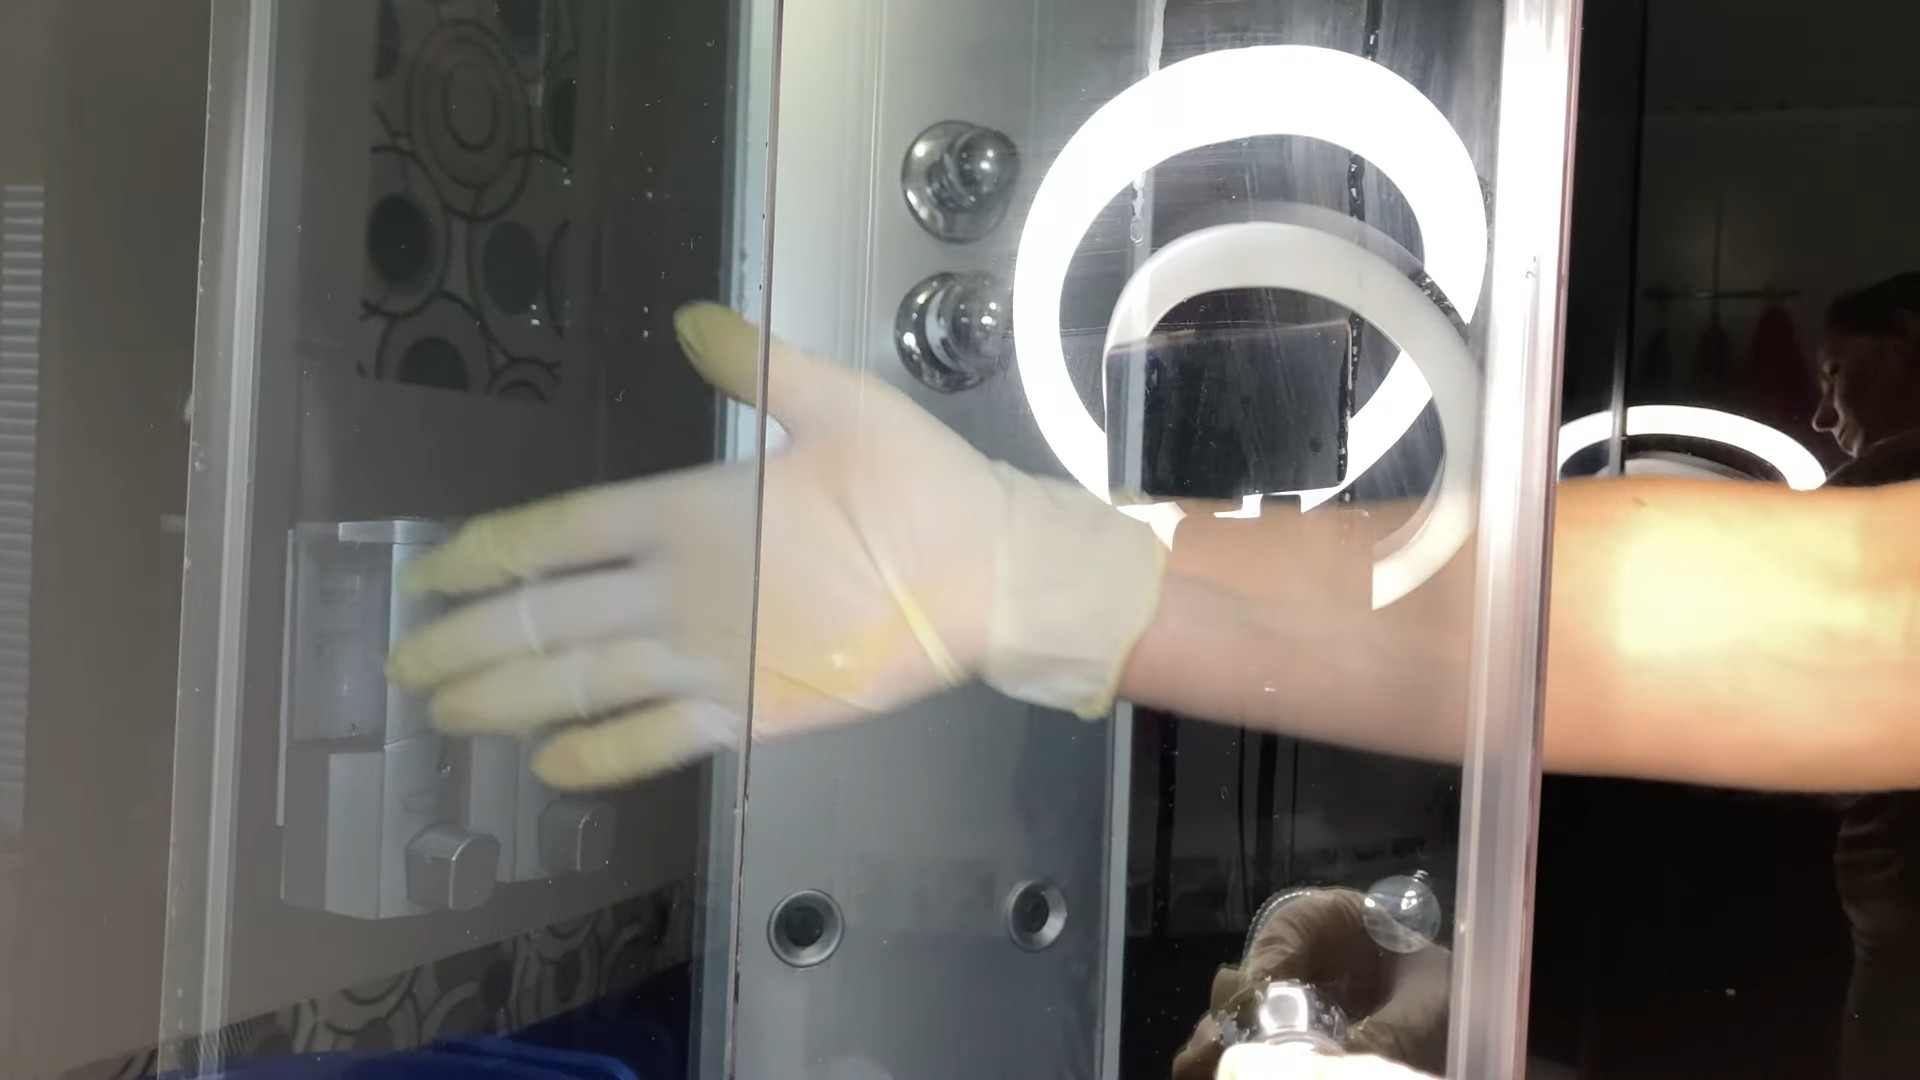
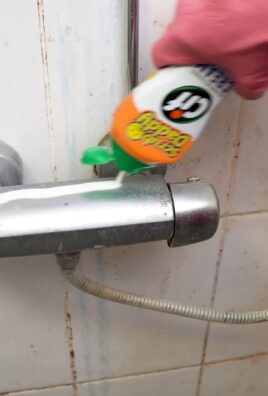
* Bathroom Surfaces: Use it to clean bathroom sinks, toilets, and showers. It’s great for removing soap scum and hard water stains.
* Mirrors and Windows: This cleaner leaves mirrors and windows sparkling clean without any streaks.
* Floors: Dilute the cleaner with water and use it to mop your floors. It’s safe for most floor types, but always test it in an inconspicuous area first.
* Appliances: Wipe down your appliances with this cleaner to remove fingerprints and smudges.
* Inside the Microwave: Heat a cup of the diluted cleaner in the microwave for a few minutes to loosen grime, then wipe clean.
* Dishwasher: Pour a cup of the cleaner into the bottom of your empty dishwasher and run a cycle to freshen it up.
Areas to Avoid:
While this cleaner is generally safe, there are a few surfaces you should avoid:
* Natural Stone: Vinegar can etch natural stone surfaces like granite and marble.
* Waxed Furniture: The acidity of vinegar can damage waxed furniture.
* Electronics: Avoid spraying this cleaner directly onto electronics.
* Unsealed Grout: Vinegar can damage unsealed grout.
Tips and Tricks:
* Test in an Inconspicuous Area: Before using this cleaner on any surface, always test it in a small, inconspicuous area to make sure it doesn’t damage the finish.
* Use a Microfiber Cloth: Microfiber cloths are great for cleaning because they trap dirt and grime without scratching surfaces.
* Rinse Thoroughly: After cleaning, rinse the surface with clean water to remove any residue.
* Adjust the Ratio: Feel free to adjust the ratio of vinegar to dish soap based on your needs. If you’re cleaning a particularly greasy surface, you might want to use more vinegar.
* Experiment with Essential Oils: Have fun experimenting with different essential oil combinations to create your own signature scent.
* Make Small Batches: It’s best to make small batches of this cleaner as needed, as the ingredients can separate over time.
* For stubborn stains: Let the cleaner sit on the stain for a few minutes before wiping it away.
* Always use caution: When mixing cleaning products, even natural ones, it’s always a good idea to wear gloves and eye protection.
Troubleshooting:
* Cloudy Mixture: If your mixture turns cloudy, it’s likely due to the type of dish soap you’re using. Try using a different brand or a clear, unscented variety.
* Clumpy Mixture: If your mixture becomes clumpy, it’s likely due to a reaction between the vinegar and dish soap. Try adding the dish soap more slowly and gently.
* Strong Vinegar Smell: If the vinegar smell is too strong, try diluting the cleaner with more water or adding more essential oils.
Safety First!
Even though this is a natural cleaner, it’s still important to take some safety precautions:
* Keep out of reach of children and pets.
* Avoid contact with eyes. If contact occurs, rinse thoroughly with water.
* Do not ingest.
* Do not mix with bleach or other harsh chemicals.
Final Thoughts:
There you have it! A simple, effective, and affordable DIY dish soap and vinegar cleaner that will leave your home sparkling. I hope you enjoy making and using this cleaner as much as I do. Happy cleaning!
Conclusion
So, there you have it! A simple, effective, and incredibly affordable way to tackle grime and grease using just two common household ingredients: dish soap and vinegar. This DIY dish soap and vinegar cleaner isn’t just about saving money; it’s about creating a cleaning solution that’s both powerful and surprisingly gentle. It’s a win-win for your wallet and your home.
Why is this DIY trick a must-try? Because it works! The combination of dish soap, which cuts through grease and lifts dirt, and vinegar, a natural disinfectant and deodorizer, creates a synergistic effect that’s often more effective than many commercial cleaners. Plus, you control exactly what goes into your cleaner, avoiding harsh chemicals and artificial fragrances that can irritate sensitive skin or trigger allergies.
But the best part? The possibilities are endless! Feel free to experiment with different types of dish soap to find your favorite scent and cleaning power. For extra stubborn stains, try adding a tablespoon of baking soda to the mix. The fizzing action can help loosen grime and make it easier to wipe away. If you prefer a more fragrant cleaner, add a few drops of your favorite essential oil, such as lemon, lavender, or tea tree oil, for an added boost of freshness and aromatherapy benefits. Just be sure to use essential oils that are safe for the surfaces you’re cleaning.
Consider these variations to tailor the cleaner to your specific needs:
* **For glass and mirrors:** Reduce the amount of dish soap to just a few drops to prevent streaking.
* **For floors:** Use a diluted solution and test it in an inconspicuous area first to ensure it doesn’t damage the finish.
* **For bathroom cleaning:** Add a few drops of tea tree oil for its antibacterial properties.
We’re confident that once you try this DIY dish soap and vinegar cleaner, you’ll be amazed by its effectiveness and versatility. It’s a simple, sustainable, and satisfying way to keep your home clean and fresh.
So, ditch the expensive commercial cleaners and give this DIY trick a try! We encourage you to experiment with different variations and find the perfect combination for your cleaning needs. And most importantly, we want to hear about your experience! Share your tips, tricks, and success stories in the comments below. Let’s build a community of DIY cleaning enthusiasts who are saving money, reducing waste, and creating healthier homes, one spray bottle at a time. We can’t wait to see what you create!
Frequently Asked Questions
Is it safe to mix dish soap and vinegar?
Yes, it is generally safe to mix dish soap and vinegar. However, it’s crucial to use *dish soap* and not *dishwashing detergent*. Dishwashing detergent contains chemicals that can react with vinegar to create harmful fumes. Dish soap, on the other hand, is designed for handwashing dishes and is typically milder. When in doubt, always test a small amount of the mixture in a well-ventilated area before using it extensively.
What kind of vinegar should I use?
White distilled vinegar is the best choice for cleaning. It’s inexpensive, readily available, and has a high acidity level, making it effective at cutting through grease and grime. Avoid using flavored vinegars, as they may leave a sticky residue or stain surfaces. Apple cider vinegar can be used as a substitute, but it may not be as effective as white distilled vinegar due to its lower acidity.
Can I use this cleaner on all surfaces?
While this DIY cleaner is generally safe for most surfaces, it’s always a good idea to test it in an inconspicuous area first, especially on delicate or porous materials like marble, granite, or wood. The acidity of vinegar can potentially damage these surfaces over time. Avoid using it on waxed furniture, as it can strip the wax. For surfaces that are sensitive to acid, consider using a diluted solution or opting for a different cleaning method altogether.
How long does the cleaner last?
This DIY cleaner doesn’t contain any preservatives, so it’s best to use it within a few weeks. Over time, the vinegar may lose some of its potency. To ensure optimal cleaning power, make a fresh batch every month or so. Store the cleaner in a labeled spray bottle in a cool, dark place.
What if the cleaner leaves streaks?
Streaking is usually caused by using too much dish soap. Try reducing the amount of dish soap in your mixture to just a few drops. You can also wipe the surface with a clean, dry microfiber cloth after cleaning to remove any residue and prevent streaks. Using distilled water instead of tap water can also help minimize streaking, as tap water often contains minerals that can leave deposits.
Can I add essential oils to the cleaner?
Yes, you can add essential oils to this DIY cleaner for added fragrance and antibacterial benefits. Lemon, lavender, tea tree, and eucalyptus are popular choices. Add a few drops of your favorite essential oil to the mixture and shake well before each use. Be sure to use essential oils that are safe for the surfaces you’re cleaning and avoid using them around pets or children who may be sensitive to them.
Is this cleaner safe for pets and children?
This DIY cleaner is generally safer than commercial cleaners, as it doesn’t contain harsh chemicals or artificial fragrances. However, it’s still important to keep it out of reach of pets and children. Vinegar can be irritating if ingested, and some essential oils can be toxic to pets. Store the cleaner in a labeled spray bottle and keep it in a secure location. If your pet or child accidentally ingests the cleaner, contact your veterinarian or poison control center immediately.
Can I use this cleaner to clean my oven?
While this cleaner can be used to clean lightly soiled ovens, it may not be effective for removing baked-on grease and grime. For heavily soiled ovens, you may need to use a stronger cleaning solution or a specialized oven cleaner. To use this cleaner in your oven, spray it on the interior surfaces and let it sit for a few minutes. Then, scrub the surfaces with a sponge or brush and wipe clean with a damp cloth. Be sure to rinse thoroughly to remove any residue.
Can I use this cleaner to clean my toilet?
Yes, this cleaner can be used to clean your toilet. The vinegar will help to disinfect and deodorize the bowl, while the dish soap will help to remove stains and grime. Simply spray the cleaner into the toilet bowl and let it sit for a few minutes. Then, scrub the bowl with a toilet brush and flush. For stubborn stains, you can add a tablespoon of baking soda to the bowl before scrubbing.
How does this cleaner compare to commercial cleaners?
This DIY cleaner is a more natural and eco-friendly alternative to commercial cleaners. It’s also much more affordable, as it only requires two common household ingredients. While it may not be as powerful as some commercial cleaners, it’s still effective at cleaning most surfaces and removing grease and grime. Plus, you have complete control over the ingredients, so you can avoid harsh chemicals and artificial fragrances that can be harmful to your health and the environment.
Leave a Comment