

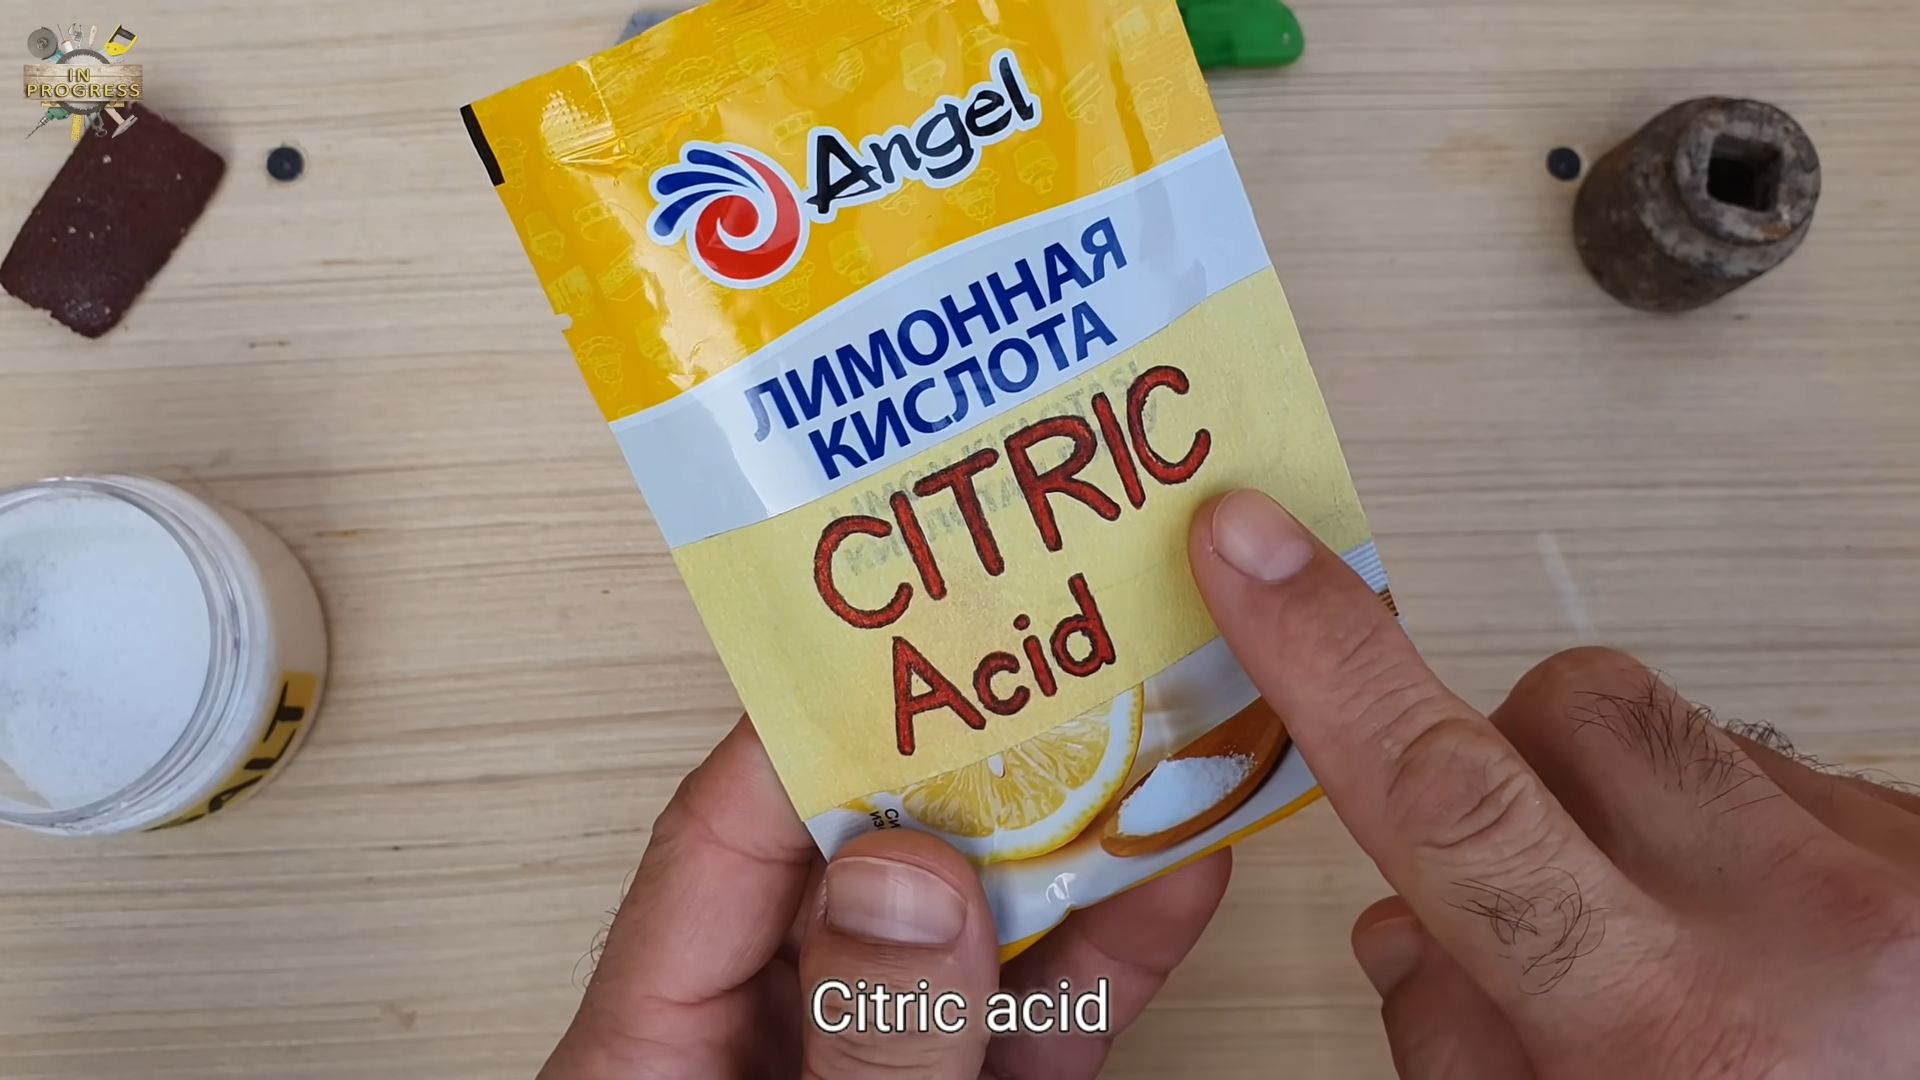
Hydrogen Peroxide and Salt Mix: Your Secret Weapon for a Thriving Garden! Ever feel like your garden is a constant battle against weeds, pests, and diseases? I know I have! It can be incredibly frustrating to pour your heart and soul into nurturing your plants, only to watch them struggle. But what if I told you there’s a simple, inexpensive solution hiding in your pantry?
For generations, gardeners have sought natural and effective ways to protect their precious plants. While the exact origins of using hydrogen peroxide and salt in the garden are a bit hazy, the individual components have long been recognized for their beneficial properties. Hydrogen peroxide, for example, has been used for wound care and disinfection for decades, while salt has been used in various agricultural practices throughout history. Combining them creates a powerful, yet gentle, solution for many common gardening woes.
That’s where this DIY trick comes in! A hydrogen peroxide and salt mix can be a game-changer for your home garden. It’s a fantastic alternative to harsh chemicals, offering a more eco-friendly approach to tackling common problems. Whether you’re battling fungal infections, struggling with stubborn weeds, or simply want to give your plants a boost, this simple concoction can help. I’m going to show you exactly how to make and use this amazing mix to unlock the full potential of your garden. Get ready to say goodbye to garden frustrations and hello to healthy, vibrant plants!
Growing Carrots at Home: A Beginner’s Guide
Hey there, fellow gardening enthusiasts! Ever dreamt of pulling fresh, crunchy carrots straight from your own backyard? Well, dream no more! Growing carrots at home is surprisingly easy and rewarding. I’m going to walk you through everything you need to know, from choosing the right variety to harvesting your delicious bounty. Let’s get started!
Choosing the Right Carrot Variety
Not all carrots are created equal! Different varieties thrive in different conditions and offer unique flavors and textures. Here’s a quick rundown to help you pick the perfect carrot for your garden:
* Nantes: These are classic, cylindrical carrots with a sweet flavor and smooth texture. They’re relatively short (around 6-8 inches) and mature quickly, making them a great choice for beginners.
* Danvers: These are longer, tapered carrots with a slightly stronger flavor. They’re known for their good storage qualities, so you can enjoy them for longer after harvesting.
* Chantenay: These are short, stubby carrots with a broad shoulder. They’re very adaptable to different soil types and are a good choice for heavier or rockier soils.
* Imperator: These are the long, slender carrots you often see in supermarkets. They require loose, well-drained soil to grow properly.
* Novelty Carrots: Don’t be afraid to experiment with colorful varieties like purple, yellow, or white carrots! They add a fun twist to your garden and your plate.
Consider your local climate and soil conditions when making your choice. Check seed packets for specific recommendations. I personally love Nantes for their sweetness and ease of growth!
Preparing Your Carrot Bed
Carrots need loose, well-drained soil to grow long and straight. Rocky or compacted soil can lead to stunted or misshapen carrots. Here’s how to prepare your carrot bed for success:
* Location, Location, Location: Carrots need at least 6-8 hours of sunlight per day. Choose a sunny spot in your garden.
* Soil Testing: It’s always a good idea to test your soil’s pH and nutrient levels. Carrots prefer a slightly acidic soil (pH 6.0-6.8). You can purchase a soil testing kit at most garden centers.
* Dig Deep: Carrots need room to grow downwards. Dig down at least 12 inches, removing any rocks, stones, or debris.
* Amend the Soil: Amend your soil with plenty of compost or well-rotted manure. This will improve drainage, add nutrients, and create a loose, friable texture.
* Rake it Smooth: Rake the soil surface smooth and level. This will make it easier to sow your seeds evenly.
Important Tip: Avoid using fresh manure, as it can cause forked roots.
Sowing Carrot Seeds
Carrot seeds are tiny, so sowing them evenly can be a bit tricky. Here’s my method for getting the best results:
1. Timing is Key: Sow carrot seeds directly into the garden 2-3 weeks before the last expected frost in spring. You can also sow them in late summer for a fall harvest. Check your local frost dates for accurate timing.
2. Create Furrows: Use a hoe or trowel to create shallow furrows about 1/4 to 1/2 inch deep and 1-2 inches apart.
3. Sow Sparsely: Sprinkle the carrot seeds thinly along the furrows. Try to avoid clumping them together, as this will require more thinning later.
4. Cover Gently: Gently cover the seeds with a thin layer of soil or compost.
5. Water Thoroughly: Water the bed gently but thoroughly. Keep the soil consistently moist until the seeds germinate.
6. Mark Your Rows: Label your rows with the carrot variety and planting date. This will help you keep track of your progress.
Pro Tip: Mix the tiny carrot seeds with sand before sowing. This will help you spread them more evenly.
Caring for Your Carrot Plants
Once your carrot seeds have germinated, it’s important to provide them with the right care to ensure a healthy and abundant harvest.
1. Thinning: This is crucial! When the seedlings are about 2 inches tall, thin them to about 1-2 inches apart. When they are 4 inches tall, thin them again to 3-4 inches apart. This gives the carrots enough space to develop properly. Don’t be afraid to pull out the extra seedlings – it’s better to have fewer, larger carrots than a crowded bed of small ones.
2. Watering: Carrots need consistent moisture, especially during hot, dry weather. Water deeply and regularly, aiming for about 1 inch of water per week. Avoid overhead watering, as this can promote fungal diseases.
3. Weeding: Keep your carrot bed free of weeds. Weeds compete with carrots for nutrients and water. Hand-pull weeds carefully to avoid disturbing the carrot roots.
4. Fertilizing: Carrots don’t need a lot of fertilizer, but a light feeding of a balanced fertilizer can help them grow. Apply fertilizer according to the package directions. Avoid fertilizers that are high in nitrogen, as this can promote leafy growth at the expense of root development.
5. Pest Control: Carrots can be susceptible to certain pests, such as carrot rust flies and nematodes. Monitor your plants regularly for signs of infestation. Use organic pest control methods, such as insecticidal soap or neem oil, if necessary.
My Secret Weapon: I like to mulch around my carrot plants with straw or shredded leaves. This helps to retain moisture, suppress weeds, and regulate soil temperature.
Harvesting Your Carrots
The moment you’ve been waiting for! Harvesting your carrots is the most rewarding part of the process.
1. Check Maturity: Carrots are typically ready to harvest 60-80 days after sowing, depending on the variety. Check the seed packet for specific maturity dates.
2. Loosen the Soil: Before pulling your carrots, loosen the soil around them with a garden fork or trowel. This will make it easier to pull them out without breaking them.
3. Gently Pull: Grasp the carrot tops near the base and gently pull upwards with a twisting motion. If the carrots are difficult to pull, loosen the soil further.
4. Wash and Store: Wash your harvested carrots thoroughly to remove any dirt. Store them in the refrigerator in a plastic bag or container. They should keep for several weeks.
Harvesting Tip: Harvest carrots on a cool, dry day. This will help them store better.
Troubleshooting Common Carrot Problems
Even with the best care, you might encounter some problems when growing carrots. Here are a few common issues and how to address them:
* Forked Roots: This is usually caused by compacted soil or rocks in the soil. Make sure to prepare your carrot bed properly and remove any obstacles.
* Stunted Growth: This can be caused by poor soil, lack of sunlight, or insufficient watering. Amend your soil with compost, choose a sunny location, and water regularly.
* Carrot Rust Flies: These pests lay their eggs near the base of carrot plants, and the larvae tunnel into the roots. Use row covers to prevent the flies from laying eggs.
* Nematodes: These microscopic worms can damage carrot roots. Rotate your crops regularly and use nematode-resistant varieties.
Enjoying Your Homegrown Carrots
Congratulations! You’ve successfully grown carrots at home. Now it’s time to enjoy the fruits (or rather, roots) of your labor.
* Eat Them Fresh: Nothing beats the taste of a freshly harvested carrot. Enjoy them raw as a snack, in salads, or with dips.
* Cook Them: Carrots can be roasted, steamed, boiled, or added to soups and stews.
* Juice Them: Carrot juice is a healthy and delicious way to get your daily dose of vitamins.
* Preserve Them: Carrots can be pickled, canned, or frozen for later use.
My Favorite Recipe: Roasted carrots with honey and thyme. Simply toss carrots with olive oil, honey, thyme, salt, and pepper, and roast them in the oven until tender and slightly caramelized. Delicious!
Growing carrots at home is a rewarding experience that anyone can enjoy. With a little planning and effort, you can have a steady supply of fresh, delicious carrots right from your own garden. So get out there and start planting! Happy gardening!
Conclusion
So, there you have it! This simple yet incredibly effective hydrogen peroxide and salt mix is a game-changer for anyone looking to tackle stubborn stains, brighten surfaces, and disinfect without harsh chemicals. We’ve walked you through the easy steps, highlighted the versatility, and even offered some creative variations to tailor the solution to your specific needs.
Why is this DIY trick a must-try? Because it’s cost-effective, readily available, and environmentally friendly. Forget expensive, store-bought cleaners packed with questionable ingredients. With just two common household items – hydrogen peroxide and salt – you can create a powerful cleaning agent that rivals, and often surpasses, the performance of commercial products. Think about the savings, the reduced environmental impact, and the peace of mind knowing exactly what you’re using in your home.
But the benefits extend beyond just cleaning. The gentle bleaching action of hydrogen peroxide, combined with the abrasive power of salt, makes this mix ideal for whitening grout, removing mildew, and even brightening dingy laundry. It’s a multi-purpose solution that simplifies your cleaning routine and declutters your cleaning cabinet.
Looking for variations? Consider adding a few drops of your favorite essential oil for a pleasant scent. Lemon, tea tree, or lavender oil not only add fragrance but also boast their own antibacterial and antifungal properties, further enhancing the cleaning power of the mix. For tougher stains, you can increase the concentration of hydrogen peroxide or let the mixture sit for a longer period before scrubbing. Always test on an inconspicuous area first, especially when dealing with delicate surfaces.
Another variation is to use different types of salt. While table salt works perfectly well, you can experiment with coarser salts like sea salt or Epsom salt for added scrubbing power. Epsom salt, in particular, can be beneficial for cleaning bathroom tiles and fixtures due to its mineral content.
We’re confident that once you try this hydrogen peroxide and salt mix, you’ll be amazed by its effectiveness and versatility. It’s a simple, sustainable, and powerful solution that deserves a place in every home.
Now, it’s your turn! We encourage you to give this DIY trick a try and share your experience with us. Let us know what you used it for, what variations you tried, and what results you achieved. Your feedback is invaluable and helps us refine and improve our recipes and tips. Share your photos and stories in the comments below – we can’t wait to hear from you! Let’s revolutionize our cleaning routines, one DIY solution at a time.
Frequently Asked Questions (FAQ)
What exactly is the ratio of hydrogen peroxide to salt for the best results?
The ideal ratio is generally 2 parts hydrogen peroxide to 1 part salt. For example, you could use 1/2 cup of hydrogen peroxide and 1/4 cup of salt. However, this is just a starting point. You can adjust the ratio depending on the specific task. For tougher stains or heavily soiled areas, you might want to increase the amount of salt for added abrasive power. For more delicate surfaces, you might want to reduce the amount of salt to prevent scratching. Always test on an inconspicuous area first to ensure the mixture doesn’t damage the surface. Remember, the consistency should be a paste-like texture that’s easy to apply and scrub.
Is it safe to use this hydrogen peroxide and salt mix on all surfaces?
While this mix is generally safe for many surfaces, it’s crucial to exercise caution and test it on an inconspicuous area before applying it to the entire surface. Avoid using it on delicate or porous materials like unsealed granite, marble, or certain types of fabrics. The hydrogen peroxide can potentially bleach or discolor these surfaces. Also, be careful when using it on colored surfaces, as the hydrogen peroxide can sometimes lighten the color. Always rinse the treated area thoroughly with water after cleaning to remove any residue. If you’re unsure about a particular surface, it’s always best to err on the side of caution and test a small, hidden area first.
How long should I let the hydrogen peroxide and salt mix sit on a stain before scrubbing?
The amount of time you let the mixture sit depends on the severity of the stain. For light stains, 5-10 minutes may be sufficient. For tougher, more stubborn stains, you might need to let it sit for 30 minutes or even longer. In some cases, you can even leave it on overnight, but be sure to monitor the area to ensure it doesn’t cause any damage or discoloration. Covering the treated area with plastic wrap can help keep the mixture moist and prevent it from drying out, which can enhance its effectiveness. After the allotted time, scrub the area gently with a brush or sponge and rinse thoroughly with water.
Can I use this mix to clean my teeth or as a mouthwash?
No, this hydrogen peroxide and salt mix is not intended for oral hygiene purposes. While hydrogen peroxide is sometimes used in diluted form as a mouthwash, the concentration in this mix is not controlled and could be harmful if ingested. Additionally, the salt can be abrasive and damage tooth enamel. There are specifically formulated mouthwashes and dental products that contain hydrogen peroxide in safe and effective concentrations. Always consult with your dentist before using any new oral hygiene products.
How should I store any leftover hydrogen peroxide and salt mix?
It’s generally best to make the hydrogen peroxide and salt mix fresh each time you need it, as the hydrogen peroxide can lose its potency over time, especially when exposed to light and air. However, if you do have leftover mix, store it in an airtight container in a cool, dark place. Be sure to label the container clearly to avoid any confusion. Keep it out of reach of children and pets. It’s important to note that the mixture may separate over time, so you’ll need to stir it well before using it again. However, even when stored properly, the effectiveness of the mixture may diminish over time.
What safety precautions should I take when using this mix?
Always wear gloves when handling hydrogen peroxide, as it can irritate the skin. Avoid getting the mixture in your eyes. If contact occurs, rinse immediately with plenty of water. Work in a well-ventilated area to avoid inhaling the fumes. While hydrogen peroxide is generally considered safe, it can be irritating to the respiratory system in high concentrations. Keep the mixture out of reach of children and pets. Never mix hydrogen peroxide with other cleaning products, especially bleach, as this can create dangerous fumes.
Can I use this mix to clean mold and mildew?
Yes, the hydrogen peroxide and salt mix can be effective for cleaning mold and mildew, especially in bathrooms and other damp areas. The hydrogen peroxide acts as a disinfectant and bleaching agent, while the salt helps to scrub away the mold and mildew. Apply the mixture to the affected area, let it sit for 10-15 minutes, and then scrub with a brush or sponge. Rinse thoroughly with water. For stubborn mold and mildew, you may need to repeat the process. Be sure to address the underlying cause of the mold and mildew, such as poor ventilation or leaks, to prevent it from returning.
What kind of salt is best to use for this mix?
Table salt is the most commonly used and readily available option for this mix, and it works perfectly well for most cleaning tasks. However, you can experiment with other types of salt for different purposes. Coarse salt, such as sea salt or kosher salt, can provide more abrasive power for scrubbing tough stains. Epsom salt can be beneficial for cleaning bathroom tiles and fixtures due to its mineral content. The choice of salt ultimately depends on the specific task and your personal preference.


Leave a Comment