

DIY Laundry Soap and Vinegar Cleaner: Tired of spending a fortune on laundry detergents and cleaners filled with harsh chemicals? I know I was! It felt like I was constantly battling stains and odors while simultaneously worrying about the impact on my skin and the environment. But what if I told you there’s a simple, cost-effective, and eco-friendly solution hiding in your pantry?
The history of homemade cleaning solutions stretches back centuries, long before the advent of commercial products. Our grandmothers and great-grandmothers relied on natural ingredients like vinegar and soap to keep their homes sparkling clean. They understood the power of simple, readily available resources. This tradition is not only economical but also connects us to a more sustainable way of living.
In today’s world, where we’re increasingly conscious of what we put in and around our homes, the need for natural alternatives is greater than ever. That’s why I’m so excited to share my favorite DIY Laundry Soap and Vinegar Cleaner recipes with you. These aren’t just any recipes; they’re tried-and-true methods that will leave your clothes fresh, your surfaces sparkling, and your wallet a little heavier. Plus, you’ll have the satisfaction of knowing exactly what’s going into your cleaning products. Let’s ditch the chemicals and embrace the power of homemade!
Growing Pink Radishes in Containers: A Beginner’s Guide
Hey there, fellow gardening enthusiasts! Ever thought about growing your own radishes? They’re super easy, quick, and add a delightful peppery crunch to salads and snacks. And the best part? You don’t need a huge garden! Container gardening is perfect for radishes, especially the adorable pink ones. Let’s dive into how you can grow your own batch of vibrant pink radishes right on your patio, balcony, or even a sunny windowsill.
Choosing the Right Container and Soil
First things first, we need to get our setup ready. This is crucial for happy radishes!
* Container Size: Radishes don’t need a ton of space, but they do need some depth. Aim for a container that’s at least 6 inches deep and wide. A 12-inch pot is even better, especially if you plan on planting multiple radishes. Remember, overcrowding can lead to smaller radishes.
* Drainage is Key: Make sure your container has drainage holes! Radishes hate soggy soil. If your container doesn’t have holes, you can drill some yourself.
* Soil Matters: Radishes thrive in loose, well-draining soil. A good potting mix is your best bet. Avoid using garden soil directly in containers, as it can compact and hinder drainage. I personally like to mix in some compost for extra nutrients.
Planting Your Pink Radish Seeds
Now for the fun part – planting!
1. Prepare the Soil: Fill your container with your chosen potting mix, leaving about an inch of space at the top. Gently pat the soil down to remove any large air pockets.
2. Sowing the Seeds: Radish seeds are small, so you don’t need to bury them deep. Create shallow furrows (about ½ inch deep) in the soil. Space the furrows about an inch apart.
3. Seed Spacing: Sprinkle the radish seeds into the furrows, spacing them about an inch apart. Don’t overcrowd them! If you accidentally drop too many seeds in one spot, you can thin them out later.
4. Cover and Water: Gently cover the seeds with soil and lightly water the surface. You want the soil to be moist, but not soggy. A spray bottle works well for this.
5. Location, Location, Location: Place your container in a spot that gets at least 6 hours of sunlight per day. Radishes love sunshine! If you’re growing them indoors, a sunny windowsill is perfect.
Caring for Your Radish Plants
Radishes are relatively low-maintenance, but they do need a little TLC.
1. Watering: Keep the soil consistently moist, but not waterlogged. Water when the top inch of soil feels dry to the touch. Overwatering can lead to root rot, so be careful!
2. Thinning (If Necessary): If your radishes are growing too close together, thin them out when they’re about an inch tall. This will give them more room to grow and develop properly. Simply snip off the extra seedlings at the soil line.
3. Fertilizing (Optional): Radishes don’t need a lot of fertilizer, but a light feeding of a balanced liquid fertilizer every couple of weeks can help them grow faster. Follow the instructions on the fertilizer package. I usually skip this step, but it can give them a little boost.
4. Weed Control: Keep an eye out for weeds and remove them promptly. Weeds can compete with your radishes for nutrients and water.
Harvesting Your Pink Radishes
This is the most rewarding part! Radishes are fast growers, so you won’t have to wait long.
1. Timing is Everything: Most radish varieties are ready to harvest in about 3-4 weeks. Check the seed packet for the specific maturity time of your variety.
2. Signs of Maturity: The tops of the radishes will start to peek out of the soil. Gently brush away some soil to check the size of the radish. They should be about an inch in diameter.
3. Harvesting Technique: Gently pull the radishes out of the soil by the greens. If they’re difficult to pull, loosen the soil around them with a small trowel.
4. Succession Planting: To enjoy a continuous harvest of radishes, plant a new batch of seeds every couple of weeks. This is called succession planting.
Troubleshooting Common Radish Problems
Even with the best care, you might encounter a few problems. Here’s how to deal with them:
* Bolting: Bolting is when radishes flower prematurely, usually due to hot weather or inconsistent watering. Bolted radishes become bitter and tough. To prevent bolting, plant radishes in the spring or fall, when the weather is cooler. Also, make sure to water them consistently.
* Root Maggots: Root maggots are small, white larvae that feed on radish roots. They can cause the roots to become tunneled and damaged. To prevent root maggots, cover your container with a row cover. You can also use diatomaceous earth around the base of the plants.
* Flea Beetles: Flea beetles are small, jumping insects that chew small holes in radish leaves. They can be controlled with insecticidal soap or neem oil.
* Splitting: Radishes can split if they experience inconsistent watering. Make sure to water them regularly, especially during dry spells.
Choosing the Right Radish Variety
While we’re focusing on pink radishes, there are tons of varieties to choose from! Here are a few popular pink radish options:
* French Breakfast: These are elongated radishes with a mild flavor and a beautiful pink and white color.
* Cherry Belle: These are round, bright red radishes with a crisp texture and a slightly spicy flavor.
* Pink Beauty: As the name suggests, these are stunning pink radishes with a mild, sweet flavor.
Creative Ways to Use Your Homegrown Radishes
Now that you’ve harvested your beautiful pink radishes, it’s time to enjoy them! Here are a few ideas:
* Salads: Thinly sliced radishes add a peppery crunch to salads.
* Snacks: Eat them raw with a sprinkle of salt or dip them in hummus.
* Sandwiches: Add sliced radishes to sandwiches for a bit of zing.
* Radish Greens: Don’t throw away the greens! They’re edible and nutritious. You can sauté them, add them to soups, or use them in pesto.
* Pickled Radishes: Pickled radishes are a delicious and tangy condiment.
Section: Enhancing Your Container Garden for Radishes
Let’s talk about some extra steps you can take to really make your radish container garden thrive. These aren’t strictly necessary, but they can definitely give you an edge!
Improving Soil Drainage
Even with good potting mix, drainage can sometimes be an issue, especially in humid climates. Here are a few tricks I’ve learned:
* Add Perlite or Vermiculite: Mixing perlite or vermiculite into your potting mix will improve drainage and aeration. I usually add about 20% perlite to my mix.
* Elevate Your Container: Place your container on bricks or pot feet to allow for better drainage. This prevents the container from sitting directly on the ground, which can block the drainage holes.
* Use a Fabric Pot: Fabric pots are breathable and allow for excellent drainage. They also help to prevent root circling.
Companion Planting for Radishes
Companion planting is the practice of planting different plants together to benefit each other. Here are a few good companions for radishes:
* Carrots: Radishes help to deter carrot root flies.
* Lettuce: Radishes provide shade for lettuce, which can help to prevent bolting.
* Nasturtiums: Nasturtiums attract aphids away from radishes.
* Marigolds: Marigolds deter nematodes and other pests.
Protecting Your Radishes from Pests Naturally
We already touched on some pest control methods, but here are a few more natural ways to keep your radishes pest-free:
* Neem Oil: Neem oil is a natural insecticide that can be used to control a variety of pests.
* Diatomaceous Earth: Diatomaceous earth is a natural powder made from fossilized algae. It’s effective against many pests, including root maggots and flea beetles.
* Handpicking: If you only have a few pests, you can simply pick them off by hand.
* Attract Beneficial Insects: Plant flowers that attract beneficial insects, such as ladybugs and lacewings. These insects will prey on pests that attack your radishes.
Extending Your Radish Growing Season
Radishes are cool-season crops, but you can extend your growing season with a
Conclusion
So, there you have it! Ditching the harsh chemicals and embracing the power of homemade laundry solutions is not just a trend; it’s a conscious choice for a healthier home, a happier planet, and a lighter wallet. This DIY laundry soap and vinegar cleaner combination is a game-changer, offering a potent yet gentle cleaning experience that rivals, and often surpasses, store-bought alternatives.
Why is this a must-try? Because it’s effective, economical, and eco-friendly. You’re in complete control of the ingredients, eliminating the mystery chemicals that often lurk in commercial detergents. You’ll be amazed at how well this simple formula tackles dirt, grime, and odors, leaving your clothes fresh, clean, and soft. Plus, the vinegar acts as a natural fabric softener and brightener, saving you even more money and reducing your environmental footprint.
But the beauty of DIY lies in its adaptability. Feel free to experiment with different essential oils to create your signature scent. Lavender, lemon, tea tree, and eucalyptus are all fantastic options, each offering unique aromatherapy benefits. For extra stain-fighting power, consider adding a scoop of borax to your laundry soap recipe, especially for heavily soiled items. If you have hard water, increasing the amount of vinegar in your rinse cycle can help prevent mineral buildup and keep your clothes looking their best. You can also create a concentrated version of the laundry soap by reducing the water content, making it easier to store and use.
Don’t be intimidated by the “DIY” label. This recipe is incredibly simple to follow, requiring minimal effort and readily available ingredients. The satisfaction of creating your own cleaning products is immense, knowing that you’re contributing to a healthier and more sustainable lifestyle.
We wholeheartedly encourage you to give this DIY laundry soap and vinegar cleaner a try. You’ll be surprised at how easy it is to make the switch and how much you’ll love the results. Once you experience the difference, you’ll never want to go back to store-bought detergents again.
And most importantly, we want to hear about your experience! Share your tips, variations, and results in the comments below. Let’s build a community of DIY enthusiasts who are passionate about creating a cleaner, greener, and healthier world, one load of laundry at a time. Your feedback will not only help others but also inspire us to continue exploring and sharing innovative DIY solutions. Embrace the power of homemade and discover the joy of clean, naturally!
Frequently Asked Questions
What kind of soap should I use for the DIY laundry soap?
The best type of soap to use is a pure, unscented castile soap bar or flakes. Castile soap is made from vegetable oils, making it gentle on fabrics and skin. Avoid using soaps with added moisturizers or fragrances, as these can leave a residue on your clothes. Dr. Bronner’s and Kirk’s are popular brands, but any pure castile soap will work well. Grate the soap finely for easier dissolving.
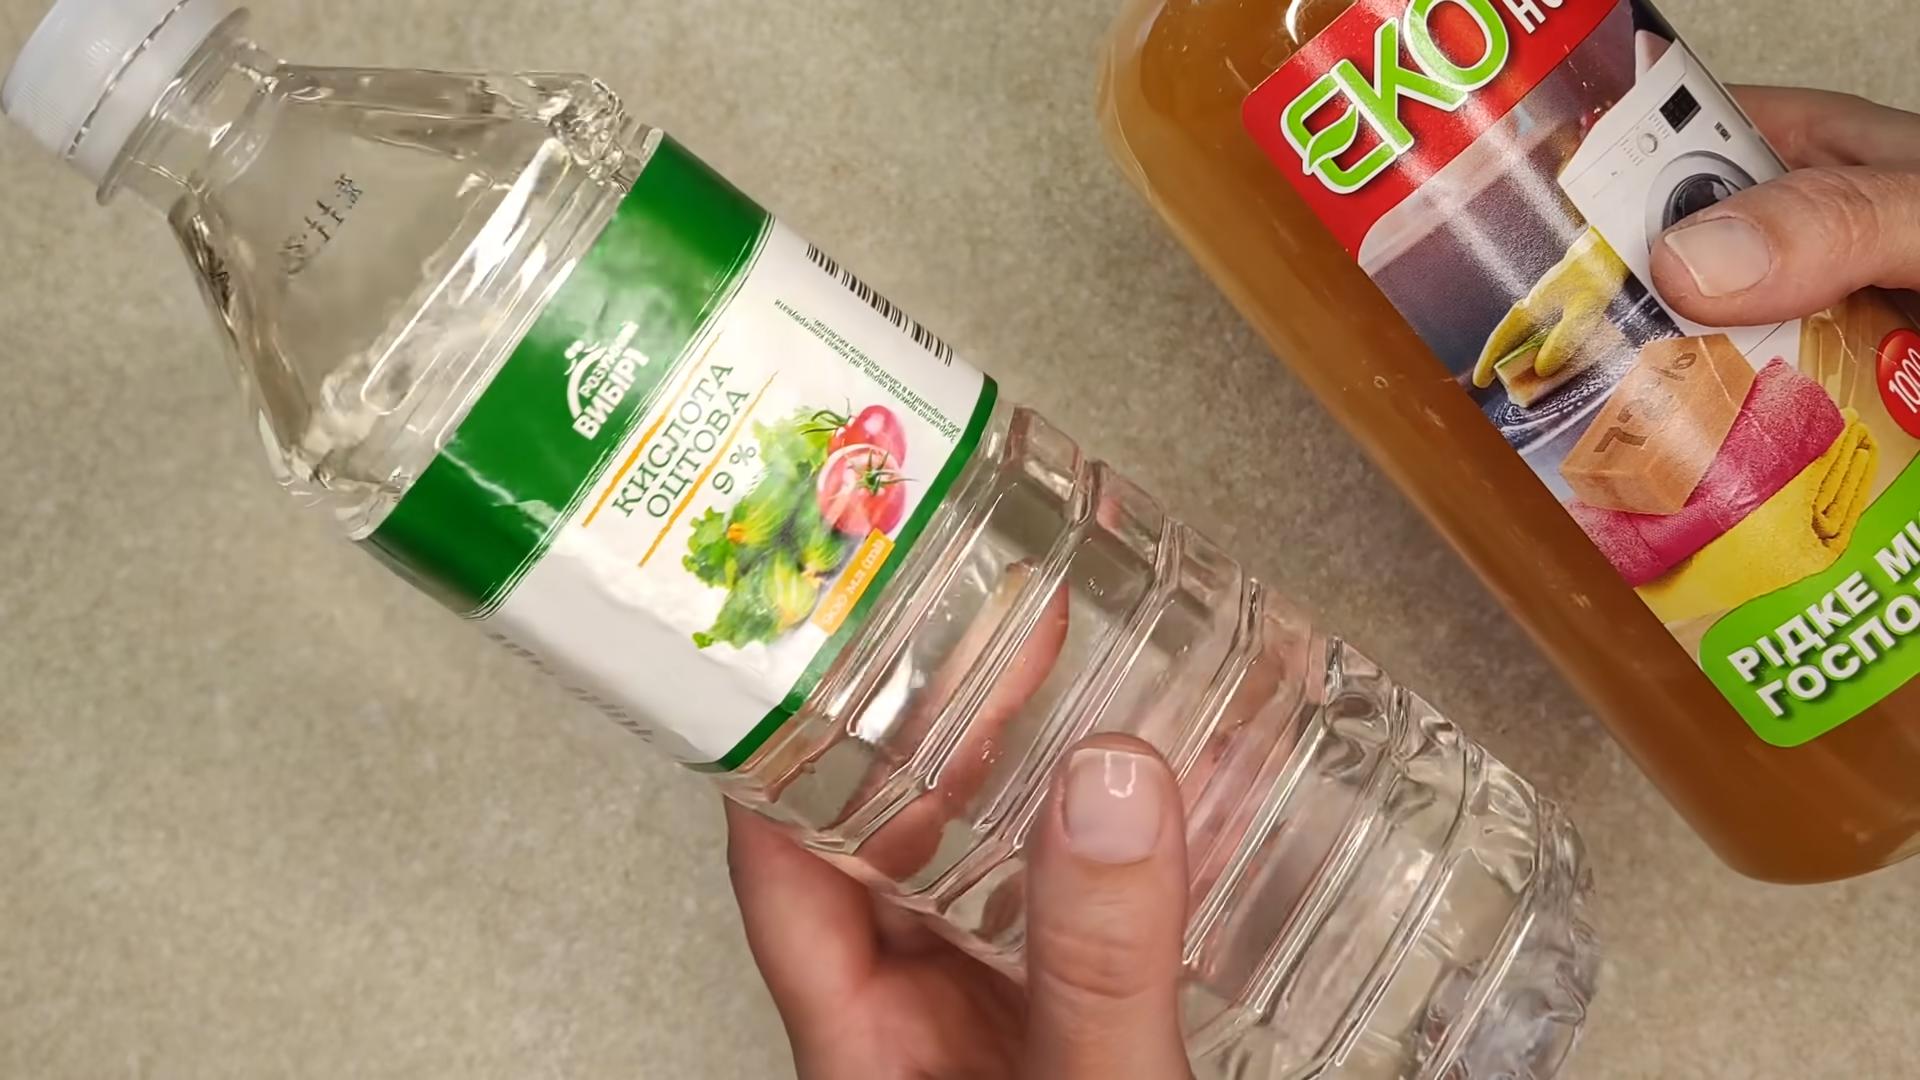
Can I use any type of vinegar for the rinse cycle?
White distilled vinegar is the recommended choice for laundry. It’s inexpensive, readily available, and effective at softening fabrics, removing odors, and brightening whites. Avoid using colored vinegars, such as apple cider vinegar or balsamic vinegar, as they may stain your clothes. The acidity of the vinegar helps to neutralize alkaline residues from the laundry soap, leaving your clothes feeling soft and fresh.
How much laundry soap and vinegar should I use per load?
For a standard load of laundry, use about 1-2 tablespoons of the DIY laundry soap. The exact amount will depend on the size of your load and the level of soil. For the vinegar rinse, add 1/2 cup of white distilled vinegar to the fabric softener dispenser or directly into the washing machine during the rinse cycle. Adjust the amount of vinegar based on your water hardness; use more for hard water and less for soft water.
Is this DIY laundry soap safe for all types of fabrics?
This DIY laundry soap is generally safe for most fabrics, including cotton, linen, and synthetic blends. However, it’s always a good idea to test a small, inconspicuous area of delicate fabrics like silk or wool before washing an entire garment. Avoid using this laundry soap on fabrics that require special care, such as dry-clean-only items.
Will the vinegar make my clothes smell like vinegar?
No, the vinegar smell will dissipate during the drying process. You won’t be left with any lingering vinegar odor on your clothes. In fact, the vinegar helps to neutralize other odors, leaving your clothes smelling fresh and clean. If you’re still concerned about the smell, you can add a few drops of your favorite essential oil to the vinegar before adding it to the rinse cycle.
How should I store the DIY laundry soap?
Store the DIY laundry soap in an airtight container in a cool, dry place. A glass jar or plastic container with a tight-fitting lid works well. If you live in a humid climate, the laundry soap may clump together over time. If this happens, simply break it up with a spoon or fork before using.
Can I use this DIY laundry soap in a high-efficiency (HE) washing machine?
Yes, this DIY laundry soap is safe to use in HE washing machines. However, it’s important to use the correct amount of soap to avoid oversudsing. HE machines use less water than traditional washing machines, so you’ll need to use less soap. Start with 1 tablespoon of laundry soap per load and adjust as needed. Also, make sure to add the vinegar to the designated compartment for fabric softener.
What if I have hard water?
Hard water can make it difficult for laundry soap to lather and clean effectively. If you have hard water, you may need to use more laundry soap and vinegar to achieve the desired results. You can also add a water softener, such as borax, to your laundry to help improve the cleaning power of the soap. Increasing the amount of vinegar in the rinse cycle can also help to prevent mineral buildup on your clothes.
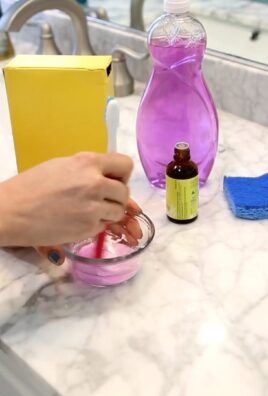
Can I add essential oils to the laundry soap?
Yes, you can add essential oils to the laundry soap to give it a pleasant scent. Add a few drops of your favorite essential oil to the melted soap mixture before it cools and hardens. Lavender, lemon, tea tree, and eucalyptus are all popular choices. Be sure to use pure, therapeutic-grade essential oils for the best results.
What are the benefits of using DIY laundry soap and vinegar cleaner?
The benefits of using DIY laundry soap and vinegar cleaner are numerous. It’s more economical than store-bought detergents, as you’re using inexpensive and readily available ingredients. It’s also more eco-friendly, as you’re reducing your consumption of plastic packaging and harsh chemicals. DIY laundry soap is gentler on fabrics and skin, making it a great choice for people with sensitivities or allergies. Plus, you have complete control over the ingredients, ensuring that you’re using only the best and safest products for your family and the environment.


Leave a Comment