

DIY pan cleaning hacks are a lifesaver, trust me! How many times have you stared into the abyss of a burnt, greasy pan, dreading the scrubbing marathon ahead? I know I have, countless times! But what if I told you that you could reclaim your precious time and energy with some simple, yet incredibly effective, DIY solutions?
For generations, resourceful cooks have passed down their secret methods for tackling stubborn pan stains. Think of it as a culinary tradition, a whispered knowledge shared between grandmothers and their eager apprentices. These aren’t just cleaning tips; they’re a testament to human ingenuity and our constant quest to make life a little easier.
In today’s busy world, who has hours to spend scrubbing? That’s where these DIY pan cleaning hacks come in. They’re not just about saving time; they’re about reclaiming your sanity! Imagine effortlessly removing burnt-on food, restoring your pans to their former glory, and feeling a sense of accomplishment without breaking a sweat. This article is your guide to unlocking those secrets, using everyday ingredients you probably already have in your pantry. Get ready to say goodbye to endless scrubbing and hello to sparkling clean pans!
DIY: Restore Your Burnt Pans to Their Former Glory!
Okay, let’s face it. We’ve all been there. You’re multitasking, maybe trying a new recipe, and suddenly… smoke! You rush to the stove only to find a pan with a thick layer of burnt-on food that seems impossible to remove. Don’t despair! Before you toss that pan in the trash, I’m going to show you a super effective DIY cleaning hack that will bring it back to life. This method is surprisingly simple, uses ingredients you probably already have in your pantry, and is way cheaper than buying a new pan.
What You’ll Need: The Arsenal of Clean
Before we dive in, let’s gather our supplies. This is a pretty straightforward operation, so you won’t need anything too fancy.
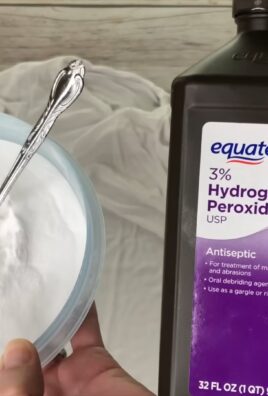
* Baking Soda: This is our main cleaning agent. Its mild abrasive properties help lift the burnt food without scratching the pan.
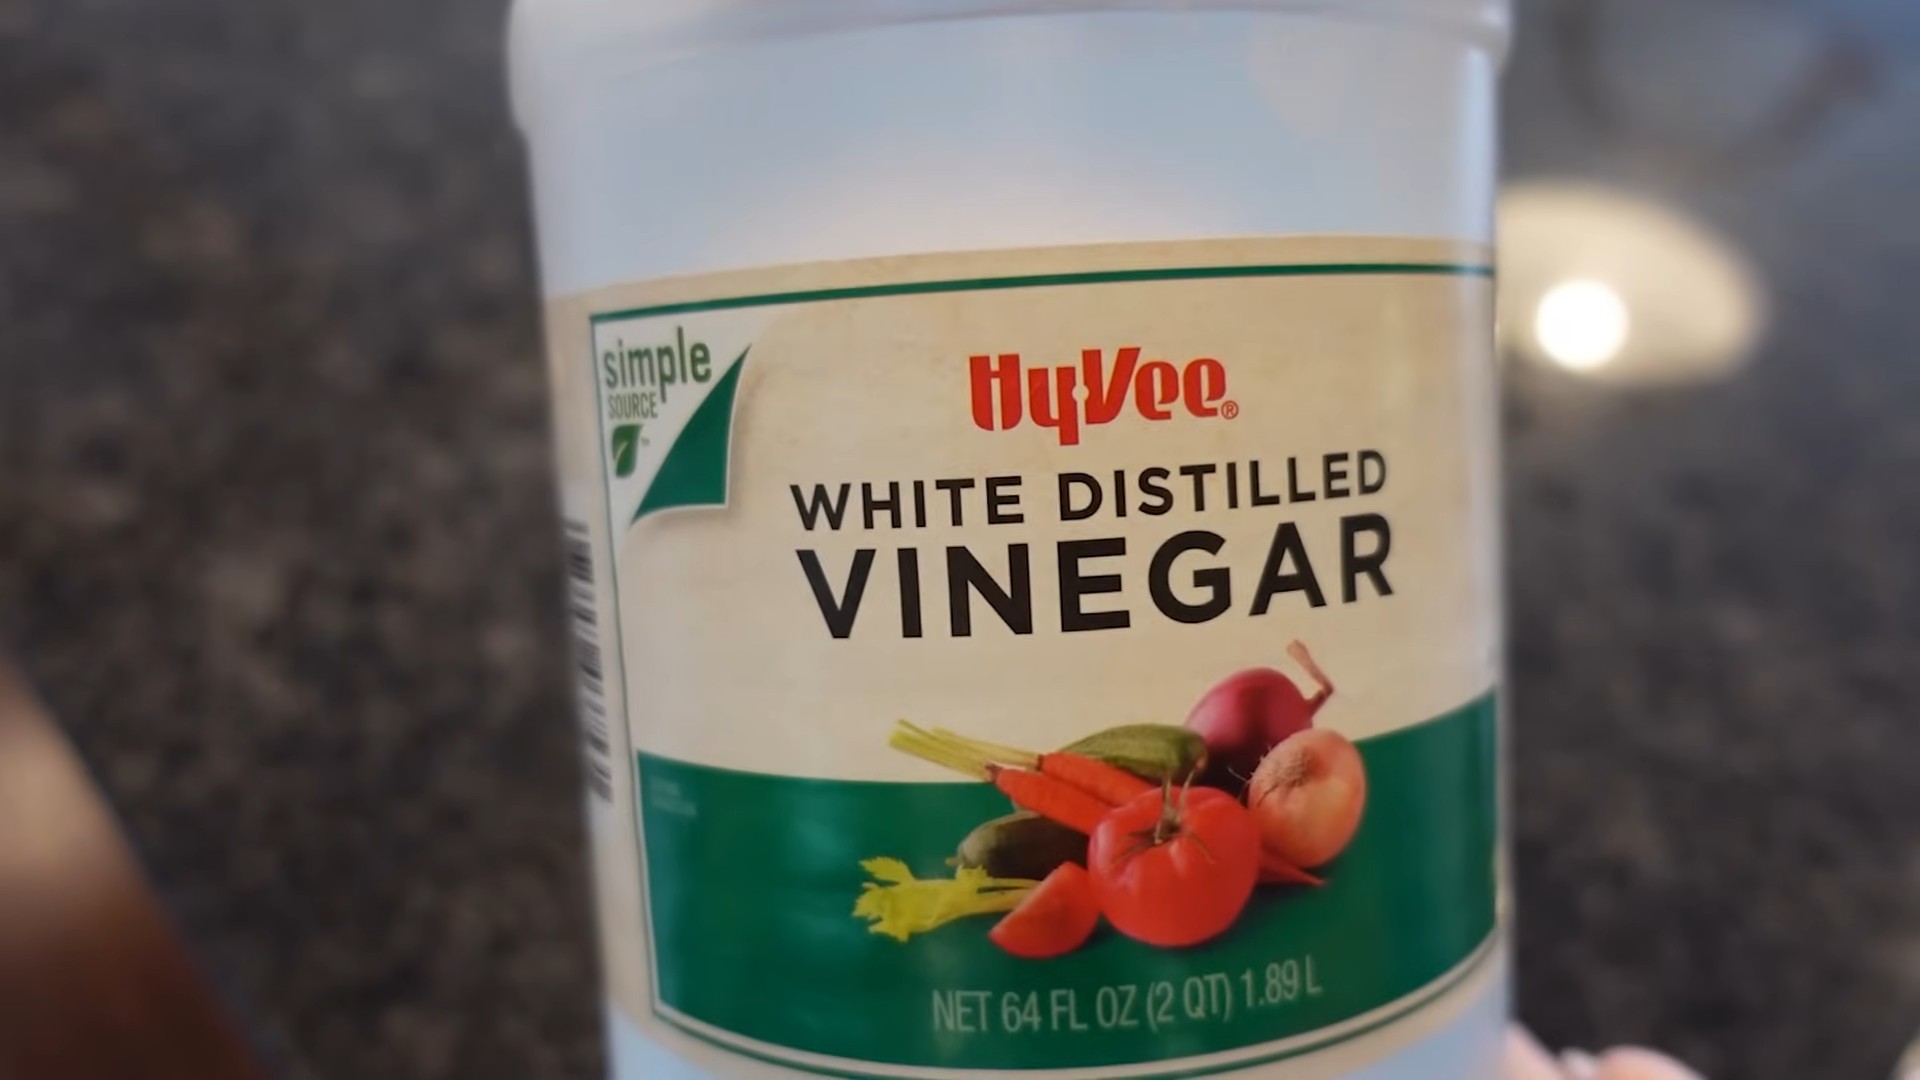
* White Vinegar: The acid in vinegar reacts with the baking soda to create a powerful cleaning fizz.
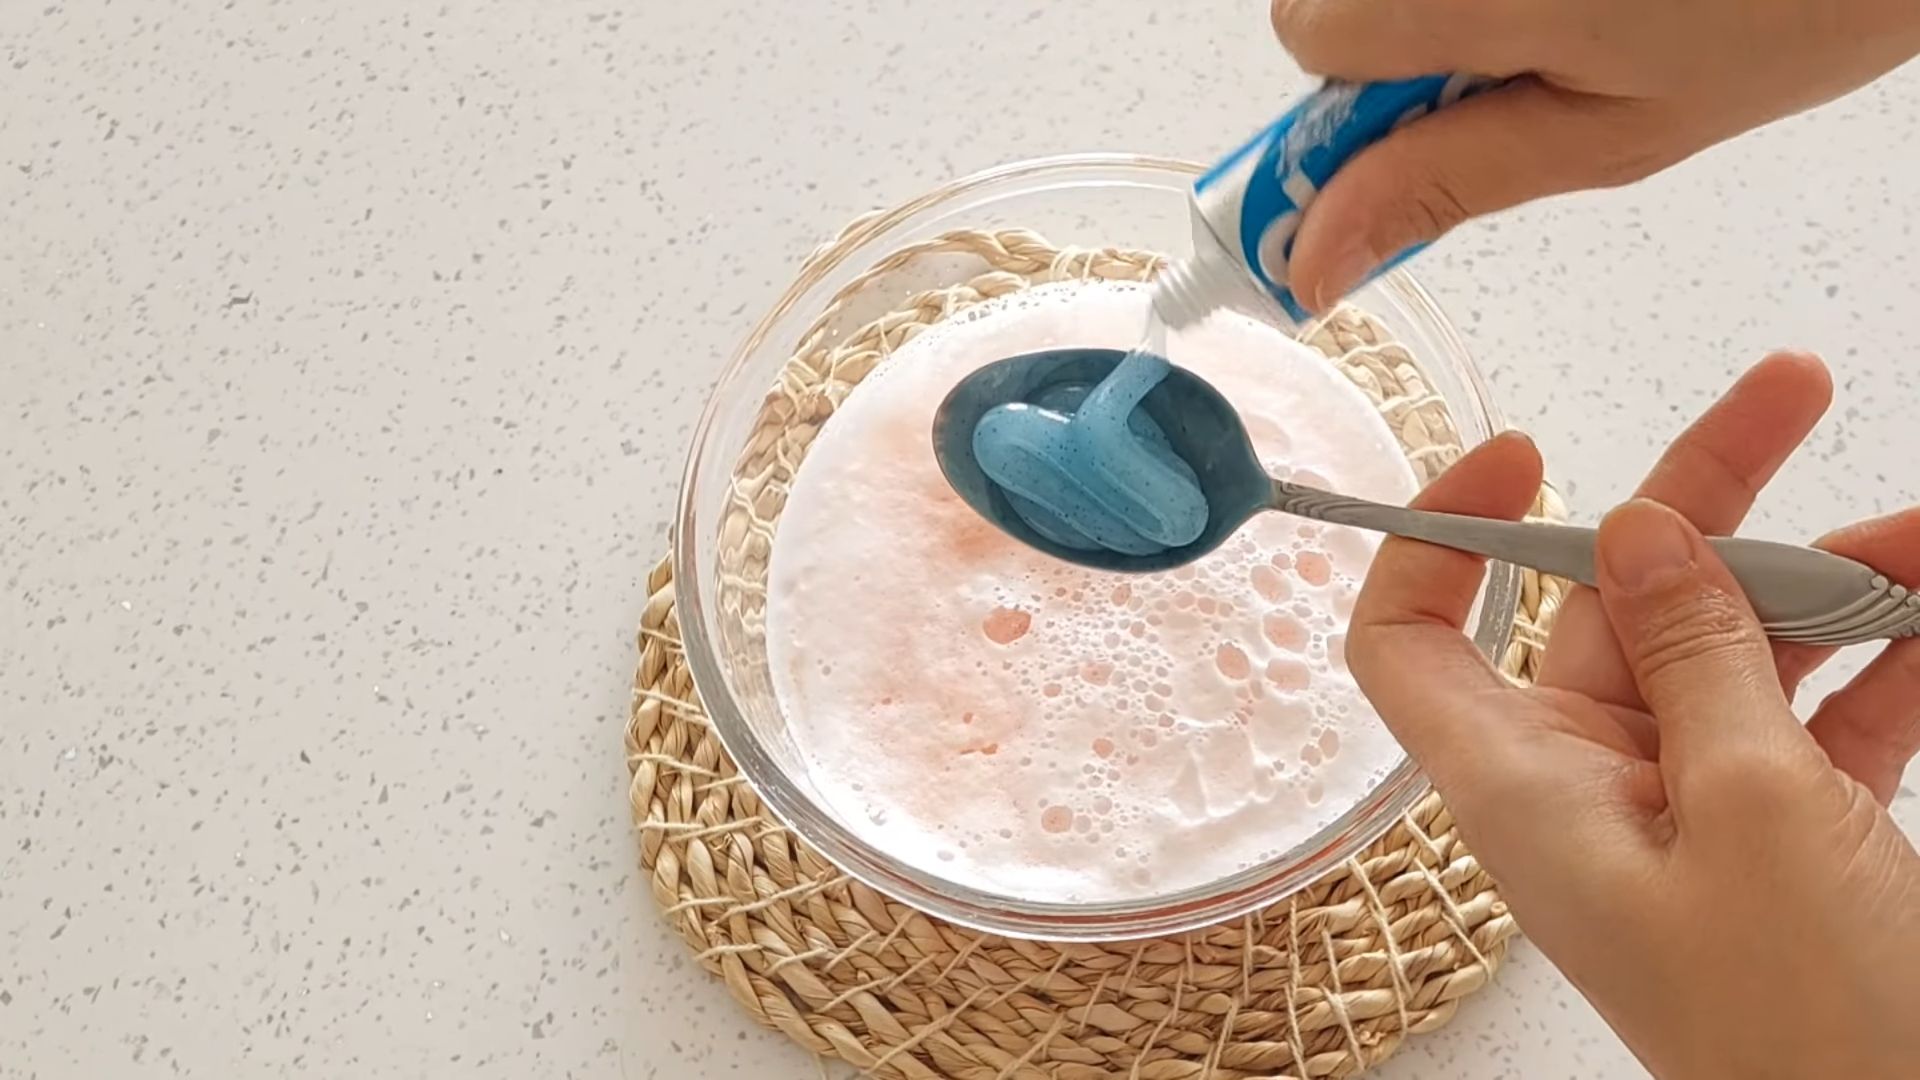
* Dish Soap: A little dish soap helps to cut through grease and grime.
* Water: We’ll need water to create our cleaning solution and for rinsing.
* Scrubbing Sponge or Pad: Choose a non-scratch scrubbing sponge or pad to avoid damaging your pan’s surface. For really stubborn spots, you might need a more abrasive pad, but test it in an inconspicuous area first!
* Soft Cloth or Towel: For drying the pan after cleaning.
* Optional: Rubber Gloves: If you have sensitive skin, you might want to wear rubber gloves to protect your hands.
* Optional: Old Toothbrush: Great for getting into tight corners and crevices.
Step-by-Step: The Pan Rescue Mission
Alright, let’s get down to business! Follow these steps carefully, and you’ll be amazed at the results.
1. Assess the Damage: Take a good look at your burnt pan. How thick is the burnt layer? This will give you an idea of how much elbow grease you’ll need to apply. For lightly burnt pans, you might get away with a single treatment. For heavily burnt pans, you might need to repeat the process.
2. Cover the Burnt Area with Baking Soda: Generously sprinkle baking soda over the entire burnt area of the pan. Make sure the baking soda completely covers the burnt food. Don’t be shy – the more, the merrier!
3. Pour Vinegar Over the Baking Soda: Slowly pour white vinegar over the baking soda. You’ll see it start to fizz and bubble. This is the chemical reaction that’s going to help loosen the burnt food. Pour enough vinegar to cover the baking soda and create a thin layer of liquid.
4. Add Water and Dish Soap: Add about a cup of water to the pan. Then, squirt in a generous amount of dish soap. The dish soap will help to cut through any grease and grime that’s mixed in with the burnt food.
5. Bring to a Boil: Place the pan on the stovetop and bring the mixture to a boil over medium heat. As it boils, use a wooden spoon or spatula to gently scrape the bottom of the pan. This will help to loosen the burnt food even further.
6. Simmer for 10-15 Minutes: Once the mixture is boiling, reduce the heat to low and let it simmer for 10-15 minutes. Keep an eye on the pan to make sure the liquid doesn’t boil away completely. If it starts to get too dry, add a little more water.
7. Let it Cool: Turn off the heat and let the pan cool completely. This is important because the hot pan can be dangerous to handle, and the cooling process allows the cleaning solution to continue working its magic.
8. Scrub Away the Residue: Once the pan is cool enough to handle, pour out the cleaning solution. Now it’s time to scrub! Use your non-scratch scrubbing sponge or pad to scrub away the remaining burnt food. You should find that it comes off much easier than before. If you encounter any stubborn spots, try using a more abrasive pad, but be careful not to scratch the pan’s surface.
9. Rinse Thoroughly: Rinse the pan thoroughly with warm water to remove any remaining baking soda, vinegar, and dish soap.
10. Inspect and Repeat (If Necessary): Take a close look at the pan. If there are still any burnt spots remaining, repeat the process from step 2. For really stubborn cases, you might need to let the baking soda and vinegar mixture soak in the pan overnight before scrubbing.
11. Dry Completely: Once you’re satisfied with the cleanliness of the pan, dry it completely with a soft cloth or towel. This will prevent rust from forming.
Tackling Tough Spots: Advanced Techniques
Sometimes, the burnt food is really stubborn and requires a little extra effort. Here are a few advanced techniques you can try:
* Baking Soda Paste: For particularly stubborn spots, make a paste of baking soda and water. Apply the paste directly to the burnt area and let it sit for several hours or even overnight. Then, scrub it away with a scrubbing sponge or pad.
* Salt Scrub: If you’re dealing with a stainless steel pan, you can try using a salt scrub. Sprinkle a generous amount of salt over the burnt area and scrub it with a damp sponge. The salt will act as a mild abrasive to help remove the burnt food.
* Boiling with Lemon: For a fresh-smelling alternative, try boiling water with lemon slices in the pan. The citric acid in the lemon will help to loosen the burnt food. Simply fill the pan with water, add a few lemon slices, and bring it to a boil. Let it simmer for 15-20 minutes, then let it cool and scrub.
* Oven Cleaner (Use with Caution!): As a last resort, you can try using oven cleaner. However, be extremely careful when using oven cleaner, as it’s a very harsh chemical. Wear gloves and eye protection, and make sure to ventilate the area well. Follow the instructions on the oven cleaner label carefully. This is generally not recommended for non-stick pans.
Preventing Future Burns: A Few Tips
Prevention is always better than cure! Here are a few tips to help you avoid burning your pans in the future:
* Pay Attention: This might seem obvious, but the most important thing is to pay attention to what you’re cooking. Don’t get distracted by other tasks.
* Use the Right Heat: Use the appropriate heat setting for the type of food you’re cooking. High heat is great for searing, but it’s also more likely to cause burning.
* Stir Frequently: Stir your food frequently to prevent it from sticking to the bottom of the pan.
* Add Liquid: If your food starts to stick, add a little liquid, such as water, broth, or wine.
* Don’t Overfill the Pan: Overfilling the pan can cause the food to cook unevenly and increase the risk of burning.
* Clean Your Pans Regularly: Clean your pans regularly to prevent food from building up and burning on.
Important Considerations for Different Pan Types
The method I described above is generally safe for most types of pans, but there are a few things to keep in mind depending on the material of your pan:
* Stainless Steel: Stainless steel pans are very durable and can withstand a lot of scrubbing. You can use more abrasive pads on stainless steel pans without worrying about scratching them.
* Non-Stick: Non-stick pans are more delicate and require a gentler approach. Avoid using abrasive pads or harsh chemicals, as these can damage the non-stick coating. Stick to non-scratch sponges and gentle scrubbing.
* Cast Iron: Cast iron pans require special care. Avoid using soap on cast iron pans, as it can strip away the seasoning. Instead, scrub the pan with hot water and a stiff brush. After cleaning, dry the pan thoroughly and season it with oil.
* Aluminum: Aluminum pans can be discolored by acidic foods, such as tomatoes and vinegar. To prevent discoloration, avoid cooking acidic foods in aluminum pans.
Final Thoughts: A Sparkling Clean Pan is Within Reach!
So there you have it! A simple, effective, and affordable DIY pan cleaning hack that will save you from throwing away your burnt pans. Remember to be patient, persistent, and always test any cleaning method in an inconspicuous area first. With a little elbow grease and the right ingredients, you can restore your pans to their former glory and enjoy cooking without the fear of burnt-on food. Happy cleaning!
Conclusion
So, there you have it! This simple, yet incredibly effective, DIY pan cleaning hack is a game-changer for anyone who spends time in the kitchen. Forget spending hours scrubbing away at stubborn, burnt-on food residue. Forget harsh chemicals that leave lingering odors and potentially damage your cookware. This method is not only gentle and eco-friendly, but it also delivers sparkling clean results with minimal effort.
Why is this a must-try? Because it saves you time, money, and frustration. Think about all the expensive cleaning products you’ve purchased in the past, only to be disappointed by their performance. This DIY solution utilizes ingredients you likely already have in your pantry: baking soda, dish soap, and vinegar. It’s a cost-effective alternative that’s just as, if not more, effective than commercial cleaners.
Beyond the basic method, there are a few variations you can explore to tailor the cleaning process to your specific needs. For instance, if you’re dealing with particularly stubborn stains, you can add a tablespoon of salt to the baking soda paste for extra abrasive power. For cast iron pans, be sure to re-season them after cleaning to maintain their protective coating. You can also use this method on other cookware, such as stainless steel pots and pans, oven racks, and even glass baking dishes. Just be mindful of the material and adjust the soaking time accordingly.
Consider adding a few drops of your favorite essential oil, like lemon or lavender, to the baking soda paste for a fresh, clean scent. This is a great way to eliminate any lingering odors from burnt food and leave your kitchen smelling delightful. Another variation is to use cream of tartar instead of baking soda for a slightly different abrasive action. Experiment and see what works best for you and your cookware.
We are confident that this DIY pan cleaning hack will become your go-to solution for tackling even the most challenging cleaning tasks. It’s a simple, effective, and eco-friendly way to keep your cookware looking its best.
Now, it’s your turn! We encourage you to try this DIY pan cleaning hack and see the amazing results for yourself. Don’t be afraid to experiment with the variations and find what works best for your specific needs. And most importantly, share your experience with us! Let us know in the comments below how this hack worked for you, what variations you tried, and any tips or tricks you discovered along the way. We love hearing from our readers and learning from your experiences. Together, we can make kitchen cleaning a breeze!
Frequently Asked Questions (FAQ)
What types of pans can I use this DIY cleaning hack on?
This DIY pan cleaning hack is generally safe for most types of cookware, including stainless steel, glass, enamel-coated, and even some non-stick surfaces. However, it’s crucial to exercise caution and test a small, inconspicuous area first, especially with delicate or antique cookware. Avoid using abrasive scrubbers on non-stick surfaces, as this can damage the coating. For cast iron pans, remember to re-season them after cleaning to prevent rusting. Always refer to the manufacturer’s instructions for your specific cookware before attempting any cleaning method.
How long should I let the baking soda paste sit on the pan?
The soaking time depends on the severity of the burnt-on food residue. For lightly soiled pans, 30 minutes to an hour may be sufficient. For more stubborn stains, you may need to let the paste sit overnight. Check the pan periodically to see if the residue is loosening. If it’s still difficult to remove, reapply the paste and let it sit for a longer period. Remember to keep the paste moist by occasionally spritzing it with water.
Can I use this method on non-stick pans?
Yes, you can use this method on non-stick pans, but with extra caution. Avoid using abrasive scrubbers or excessive force, as this can damage the non-stick coating. Instead, use a soft sponge or cloth to gently scrub the pan after soaking. If the residue is particularly stubborn, you can try using a plastic scraper to loosen it before scrubbing. Always rinse the pan thoroughly with warm water and dry it completely.
What if the burnt-on food is still stuck after soaking and scrubbing?
If the burnt-on food is still stubbornly clinging to the pan, don’t despair! You can try repeating the process, applying a fresh layer of baking soda paste and letting it sit for a longer period. Alternatively, you can try boiling a mixture of water and vinegar in the pan for a few minutes to help loosen the residue. Be sure to ventilate your kitchen well when boiling vinegar, as it can have a strong odor. After boiling, let the pan cool slightly before attempting to scrub it again.
Is vinegar necessary for this cleaning hack?
While vinegar isn’t strictly necessary, it can significantly enhance the cleaning power of the baking soda paste. The combination of baking soda and vinegar creates a chemical reaction that helps to lift and loosen burnt-on food residue. If you don’t have vinegar on hand, you can still use the baking soda paste with dish soap and water, but it may require more soaking and scrubbing.
Can I use this method to clean oven racks?
Yes, this method is excellent for cleaning oven racks! Simply soak the racks in a solution of hot water, baking soda, and dish soap in a large tub or bathtub. You may need to let them soak overnight for best results. After soaking, scrub the racks with a stiff brush or sponge to remove any remaining residue. Rinse thoroughly with clean water and dry completely before placing them back in the oven.
How can I prevent food from burning on my pans in the first place?
Prevention is always better than cure! To prevent food from burning on your pans, use a lower heat setting, especially when cooking delicate foods. Avoid overcrowding the pan, as this can lower the temperature and cause food to stick. Use enough oil or cooking spray to prevent food from sticking to the surface. Stir food frequently to ensure even cooking and prevent burning. And finally, don’t leave food unattended while cooking!
What are some other uses for baking soda in the kitchen?
Baking soda is a versatile cleaning agent with many uses beyond cleaning pans. It can be used to deodorize your refrigerator, clean your microwave, remove stains from countertops, and even unclog drains. It’s a natural and effective alternative to harsh chemical cleaners, making it a valuable addition to any kitchen.
Is this DIY pan cleaning hack safe for the environment?
Yes, this DIY pan cleaning hack is much safer for the environment than using harsh chemical cleaners. Baking soda, vinegar, and dish soap are all biodegradable and non-toxic, making them a more sustainable choice for cleaning your cookware. By using this method, you can reduce your reliance on harmful chemicals and help protect the environment.
Leave a Comment