

DIY tomato planter projects are a fantastic way to bring the joy of fresh, homegrown tomatoes right to your doorstep, even if you’re short on space or gardening experience! Imagine biting into a juicy, sun-ripened tomato that you nurtured from a tiny seedling – there’s nothing quite like it. But let’s be honest, traditional gardening can feel intimidating, right? All that digging, weeding, and the sheer amount of space required can be a real deterrent.
For centuries, humans have cultivated tomatoes, tracing back to their origins in South America. The Aztecs and Incas were among the first to enjoy these vibrant fruits, and their cultivation gradually spread across the globe. Now, you can participate in this rich history, even with limited resources! That’s where the magic of DIY comes in.
This article is your ultimate guide to creating your very own DIY tomato planter. We’ll explore simple, budget-friendly methods that transform everyday items into thriving tomato havens. Whether you’re repurposing old buckets, constructing a self-watering system, or optimizing your balcony space, these hacks will empower you to grow delicious tomatoes with ease. Say goodbye to store-bought, flavorless tomatoes and hello to a bountiful harvest from your own personalized garden! I’m excited to show you how easy and rewarding it can be!
DIY Upside-Down Tomato Planter: A Bountiful Harvest Hanging Around!
Hey there, fellow gardening enthusiasts! I’m so excited to share one of my favorite DIY projects with you: creating an upside-down tomato planter. Not only is it a super cool way to grow tomatoes, but it also saves space, keeps pests at bay, and adds a unique touch to your garden or balcony. Trust me, once you see those juicy tomatoes dangling down, you’ll be hooked!
This project is perfect for beginners, and I’ll walk you through every step. Let’s get started!
What You’ll Need:
Before we dive in, let’s gather all the necessary materials. Here’s a list of what you’ll need to create your own upside-down tomato planter:
* A sturdy 5-gallon bucket (plastic is ideal)
* A healthy tomato seedling (choose a variety suitable for container gardening, like cherry or Roma)
* Potting mix (high-quality, well-draining)
* A utility knife or drill with a large drill bit (for creating the drainage and planting holes)
* Landscape fabric or burlap (to line the bucket and prevent soil from falling out)
* Scissors
* Gloves (optional, but recommended for handling soil)
* Watering can or hose
* A sturdy hook or chain (for hanging the planter)
* Measuring tape or ruler
* Safety glasses (when using the utility knife or drill)
Preparing the Bucket: The Foundation of Your Hanging Garden
This is where we transform a simple bucket into a tomato-growing haven. Safety first, always!
1. Drill Drainage Holes: Flip the bucket upside down. Using your drill and a large drill bit (around 1/2 inch), drill several drainage holes in the bottom of the bucket. I usually go for about 5-6 holes, evenly spaced. These holes are crucial for preventing waterlogging and ensuring healthy root growth. If you don’t have a drill, you can carefully use a utility knife to create small slits, but be extra cautious.
2. Cut the Planting Hole: Now, for the main event! We need to create a hole in the bottom of the bucket large enough to accommodate your tomato seedling. I usually aim for a 2-3 inch diameter hole.
* Using a Utility Knife: Carefully score a circle on the bottom of the bucket using your measuring tape and marker. Then, slowly and steadily, cut along the scored line. Take your time and use multiple passes to avoid slipping.
* Using a Drill: If you have a large hole saw attachment for your drill, this is the easiest method. Simply attach the hole saw and drill a hole in the center of the bucket bottom. If you don’t have a hole saw, you can drill a series of smaller holes along the circle you marked and then carefully cut out the remaining plastic with your utility knife.
3. Line the Bucket: To prevent soil from escaping through the drainage holes and the planting hole, we’ll line the bucket with landscape fabric or burlap.
* Cut a piece of landscape fabric or burlap that’s large enough to cover the inside of the bucket, with some overlap at the top.
* Place the fabric inside the bucket and mold it to the shape of the bucket.
* Use scissors to trim the fabric around the drainage holes and the planting hole, leaving a small border.
* Fold the excess fabric over the top edge of the bucket to create a neat finish. You can secure it with a few dabs of hot glue if you want, but it’s usually not necessary.
Planting Your Tomato Seedling: Upside-Down and Ready to Grow!
This is the trickiest part, but don’t worry, I’ll guide you through it.
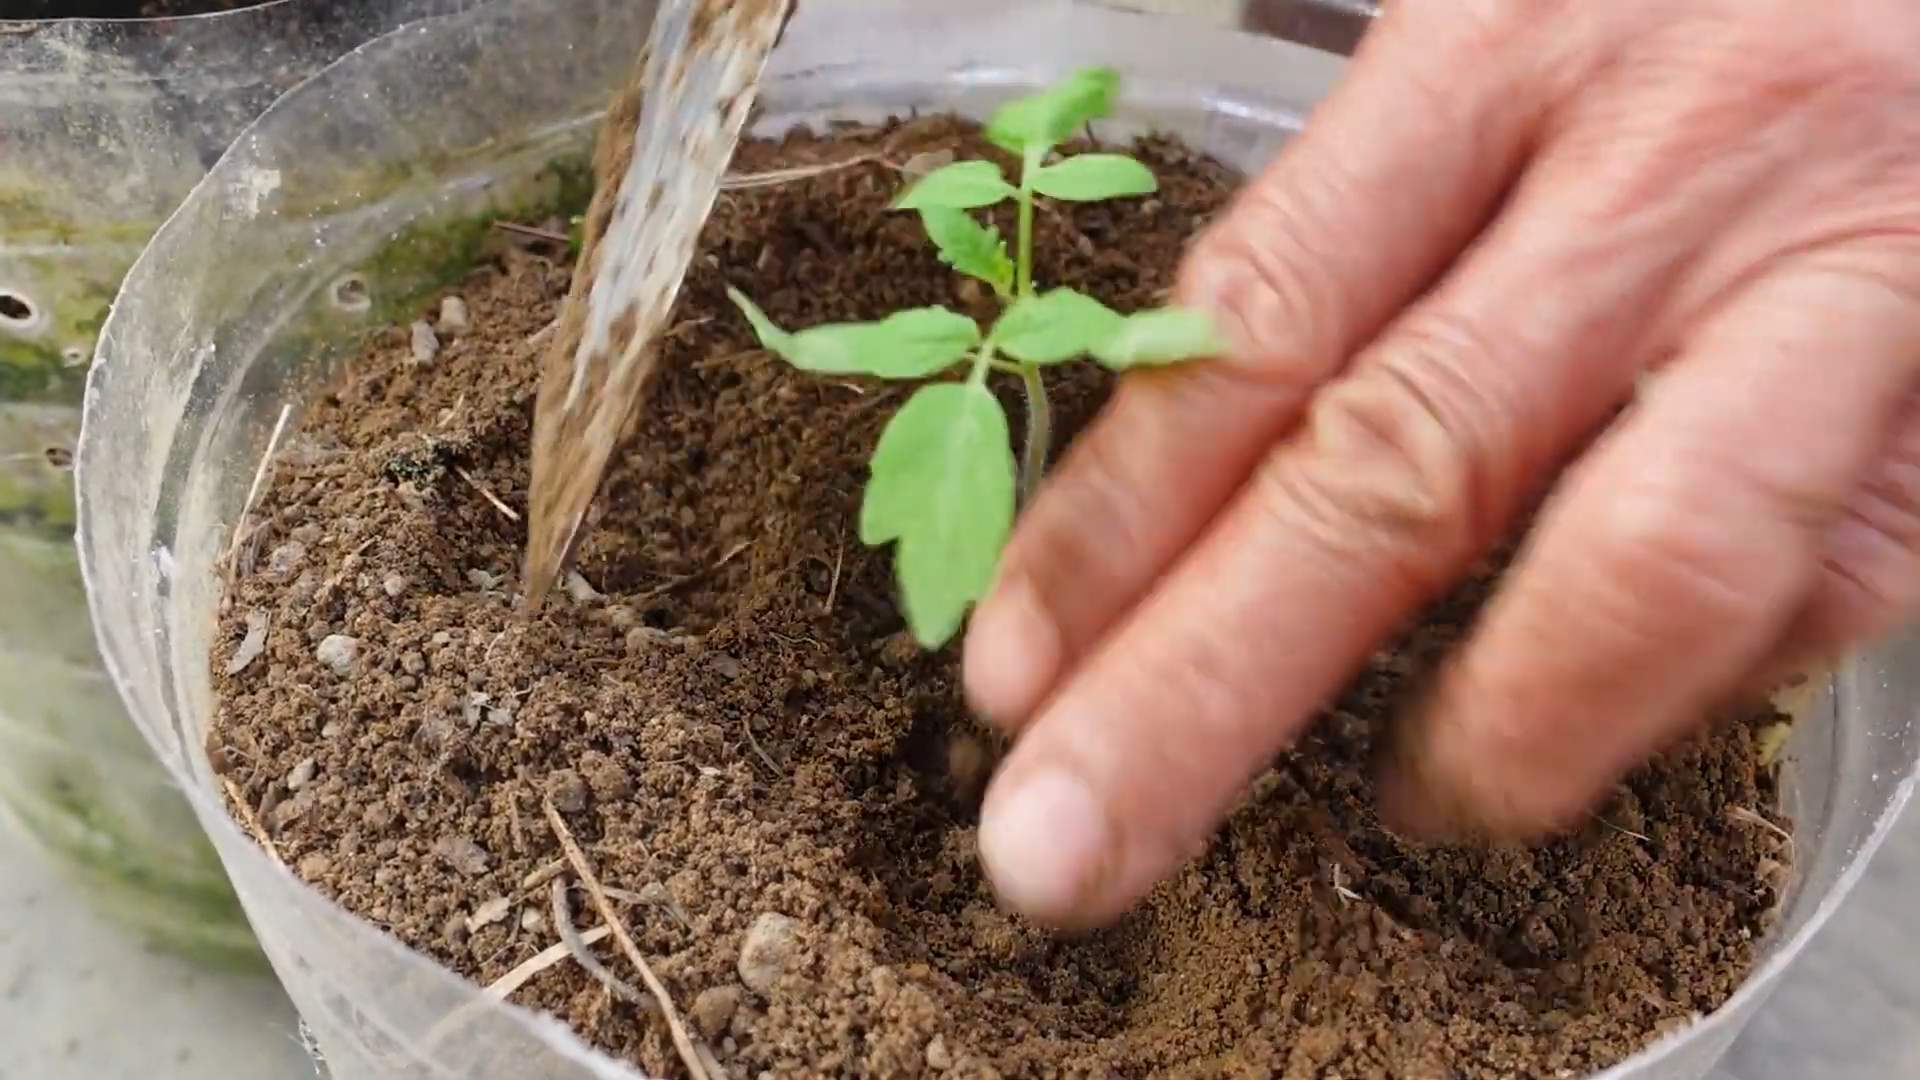
1. Prepare the Seedling: Gently remove your tomato seedling from its container. Be careful not to damage the roots. If the roots are tightly bound, gently loosen them with your fingers.
2. Insert the Seedling: This is where things get a little interesting. Carefully turn the bucket upside down. Gently feed the tomato seedling through the hole in the bottom of the bucket, with the leaves and stem pointing downwards.
3. Secure the Seedling: To prevent the seedling from falling out, you can use a small piece of foam or fabric to create a collar around the stem. This will help hold the seedling in place while you fill the bucket with soil. I sometimes use a piece of an old sponge.
4. Add Potting Mix: While holding the seedling in place, slowly add potting mix to the bucket. Gently pack the soil around the roots of the seedling, making sure to fill all the gaps. Continue adding soil until the bucket is almost full, leaving a few inches of space at the top.
5. Water Thoroughly: Once the bucket is filled with soil, water the tomato seedling thoroughly. This will help settle the soil and encourage root growth.
Hanging Your Planter: A Suspended Oasis
Now for the grand finale – hanging your beautiful upside-down tomato planter!
1. Attach the Hanging Mechanism: Depending on the type of hook or chain you’re using, attach it securely to the bucket. Make sure the hook or chain is strong enough to support the weight of the bucket filled with soil and a mature tomato plant. I usually use a heavy-duty S-hook and a length of chain. Drill holes near the top rim of the bucket if needed to attach the chain securely.
2. Choose a Location: Select a sunny location for your hanging planter. Tomatoes need at least 6-8 hours of sunlight per day to thrive. Make sure the location is also easily accessible for watering and harvesting.
3. Hang the Planter: Carefully lift the bucket and hang it from a sturdy support, such as a tree branch, a pergola, or a strong hook attached to your balcony railing.
Caring for Your Upside-Down Tomato Plant: Nurturing Your Hanging Harvest
Now that your planter is hanging, it’s time to provide the care your tomato plant needs to flourish.
1. Watering: Water your tomato plant regularly, especially during hot, dry weather. Check the soil moisture by sticking your finger into the soil. If the top inch of soil feels dry, it’s time to water. Water deeply, until water drains out of the drainage holes.
2. Fertilizing: Feed your tomato plant with a balanced fertilizer every 2-3 weeks. Follow the instructions on the fertilizer package. I prefer using a liquid fertilizer diluted in water.
3. Sunlight: Ensure your tomato plant receives at least 6-8 hours of sunlight per day. If your plant isn’t getting enough sunlight, you may need to move it to a sunnier location.
4. Pruning: Prune your tomato plant regularly to encourage fruit production. Remove any suckers (small shoots that grow between the main stem and the branches) to direct the plant’s energy towards producing tomatoes.
5. Pest Control: Keep an eye out for pests, such as aphids, whiteflies, and tomato hornworms. If you spot any pests, treat them with an appropriate insecticide or organic pest control method. I like using neem oil for a natural solution.
6. Support: As your tomato plant grows, it may need additional support. You can use twine or plant clips to tie the stems to the hanging chain or hook.
Troubleshooting: Addressing Common Issues
Even with the best care, you might encounter some challenges. Here are a few common issues and how to address them:
* Yellowing Leaves: This could be a sign of overwatering, underwatering, or nutrient deficiency. Check the soil moisture and adjust your watering schedule accordingly. Fertilize your plant with a balanced fertilizer.
* Blossom End Rot: This is a condition where the bottom of the tomatoes turns black and rotten. It’s usually caused by calcium deficiency. Add calcium to the soil or use a calcium-rich fertilizer. Ensure consistent watering to help the plant absorb calcium.
* Lack of Fruit: This could be due to insufficient sunlight, poor pollination, or nutrient deficiency. Make sure your plant is getting enough sunlight. You can also hand-pollinate the flowers by gently shaking the plant or using a small brush to transfer pollen from one flower to another. Fertilize your plant with a fertilizer that’s high in phosphorus.
Harvesting: The Sweet Reward
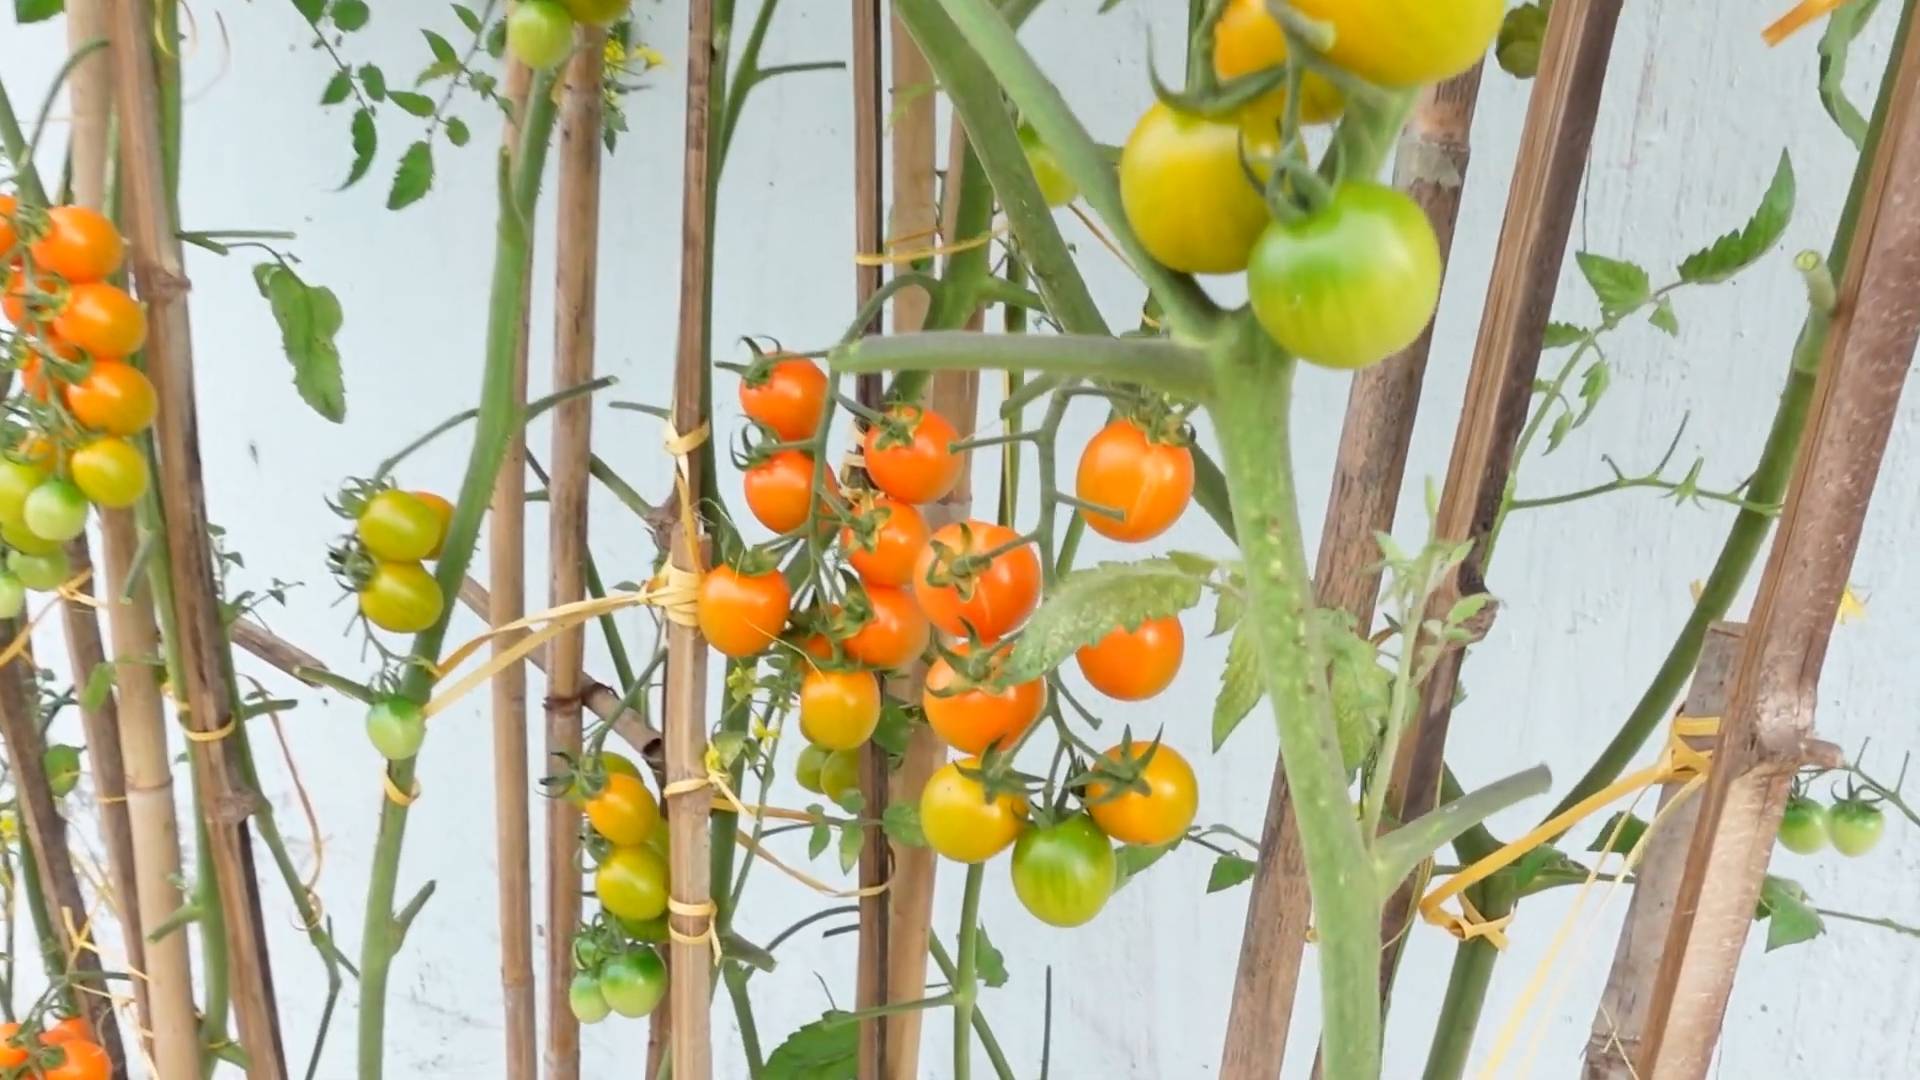
After all your hard work, it’s time to reap the rewards! Your tomatoes will be ready to harvest when they are fully colored and slightly soft to the touch. Gently twist the tomatoes off the vine. Enjoy your homegrown tomatoes in salads, sauces, or simply as a delicious snack!
I hope you found this guide helpful. Happy gardening, and enjoy your bountiful upside-down tomato harvest!
Conclusion
So, there you have it! Transforming a simple bucket into a thriving DIY tomato planter is not just a fun weekend project; it’s a gateway to fresh, flavorful tomatoes right at your doorstep. We’ve walked you through the steps, from selecting the right bucket to ensuring proper drainage and soil composition. But why is this DIY trick a must-try?
Firstly, it’s incredibly cost-effective. Compared to purchasing pre-made planters, especially larger ones suitable for tomatoes, this method saves you a significant amount of money. You’re repurposing materials, reducing waste, and creating something beautiful and productive. Secondly, it’s customizable. You have complete control over the size, color, and even the decorative elements of your planter. Want a rustic look? Use a weathered bucket. Prefer a modern aesthetic? Paint it a vibrant color. The possibilities are endless.
Thirdly, and perhaps most importantly, it’s incredibly rewarding. There’s nothing quite like nurturing a plant from seedling to harvest and enjoying the fruits (or vegetables, in this case!) of your labor. Knowing that you grew those delicious tomatoes yourself adds a special touch to every meal.
But the journey doesn’t end here! Consider these suggestions and variations to further personalize your DIY tomato planter experience:
* Vertical Gardening: Stack multiple buckets on top of each other, creating a vertical tomato garden for small spaces. Ensure each bucket has adequate drainage and support.
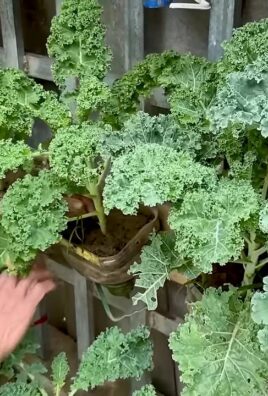
* Companion Planting: Plant basil or marigolds alongside your tomatoes to deter pests and improve flavor. These companion plants thrive in similar conditions and offer mutual benefits.
* Self-Watering System: Incorporate a self-watering reservoir at the bottom of your bucket to reduce the frequency of watering. This is especially useful if you live in a hot climate or tend to forget to water your plants regularly. You can achieve this by placing a smaller container with holes inside the main bucket, separated by a layer of gravel.
* Upside-Down Tomato Planter: For a unique twist, try growing your tomatoes upside down! This method can help prevent soilborne diseases and improve air circulation. You’ll need to modify the bucket to create a hole at the bottom for the tomato plant to emerge.
* Tomato Varieties: Experiment with different tomato varieties to find your favorites. Cherry tomatoes, Roma tomatoes, and heirloom varieties all have unique flavors and characteristics. Consider your climate and growing conditions when selecting your tomato plants.
We’re confident that you’ll find this DIY tomato planter project to be both enjoyable and fruitful. It’s a simple yet effective way to grow your own food, connect with nature, and add a touch of green to your living space.
So, what are you waiting for? Gather your supplies, follow our instructions, and get ready to enjoy a bountiful harvest of homegrown tomatoes. We encourage you to try this DIY trick and share your experiences with us! Post photos of your finished planters and your delicious tomatoes on social media using #DIYTomatoPlanter. We can’t wait to see what you create! Let us know if you have any questions or tips to share. Happy gardening!
Frequently Asked Questions (FAQ)
What type of bucket is best for a DIY tomato planter?
The ideal bucket for a DIY tomato planter is a food-grade plastic bucket that is at least 5 gallons in size. Food-grade buckets are safe for growing edible plants and won’t leach harmful chemicals into the soil. Avoid using buckets that have previously contained chemicals or other non-food items. The size is important because tomato plants need ample space for their roots to grow. A smaller bucket may restrict root growth and limit the plant’s ability to produce fruit. You can often find used food-grade buckets at bakeries, restaurants, or grocery stores. Just be sure to clean them thoroughly before using them for your tomato plants.
How many drainage holes should I drill in the bucket?
You should drill at least four to five drainage holes in the bottom of the bucket. These holes are crucial for preventing waterlogging, which can lead to root rot and other problems. The holes should be approximately 1/2 inch in diameter and evenly spaced around the bottom of the bucket. If you live in a particularly rainy area, you may want to drill a few extra holes to ensure adequate drainage. You can also add a layer of gravel or rocks to the bottom of the bucket to further improve drainage.
What type of soil should I use for my tomato planter?
The best type of soil for a DIY tomato planter is a well-draining potting mix that is specifically formulated for vegetables. Avoid using garden soil, as it can be too heavy and compact, which can restrict root growth. Look for a potting mix that contains a blend of peat moss, perlite, and vermiculite. These ingredients help to improve drainage, aeration, and water retention. You can also add compost to the potting mix to provide additional nutrients for your tomato plants.
How often should I water my tomato plants in a bucket?
The frequency of watering will depend on several factors, including the weather, the size of the bucket, and the type of soil you are using. In general, you should water your tomato plants whenever the top inch of soil feels dry to the touch. During hot, dry weather, you may need to water them daily. Be sure to water deeply, until the water drains out of the drainage holes. Avoid overwatering, as this can lead to root rot. A good rule of thumb is to water thoroughly but infrequently.
How much sunlight do tomato plants need?
Tomato plants need at least 6-8 hours of direct sunlight per day to thrive. Choose a location for your DIY tomato planter that receives plenty of sunlight throughout the day. If you live in a particularly hot climate, you may want to provide some afternoon shade to prevent the plants from overheating. If you don’t have a sunny spot in your yard, you can use grow lights to supplement the sunlight.
Do I need to fertilize my tomato plants in a bucket?
Yes, tomato plants are heavy feeders and require regular fertilization to produce a bountiful harvest. Use a fertilizer that is specifically formulated for tomatoes or vegetables. Follow the instructions on the fertilizer package for application rates and frequency. You can also add compost to the soil to provide additional nutrients. A balanced fertilizer with an NPK ratio (nitrogen, phosphorus, potassium) of 5-10-5 or 10-10-10 is generally a good choice.
How do I prevent pests and diseases from affecting my tomato plants?
There are several things you can do to prevent pests and diseases from affecting your tomato plants. First, choose disease-resistant tomato varieties. Second, practice good sanitation by removing any dead or diseased leaves from the plants. Third, water the plants at the base to avoid wetting the foliage, which can promote fungal diseases. Fourth, use organic pest control methods, such as insecticidal soap or neem oil, to control pests. Fifth, consider companion planting with basil or marigolds, which can help to deter pests. Regularly inspect your plants for signs of pests or diseases and take action promptly if you notice any problems.
Can I grow different types of tomatoes in the same bucket?
While it’s technically possible to grow different types of tomatoes in the same large bucket, it’s generally not recommended. Different tomato varieties may have different growth habits, nutrient requirements, and susceptibility to diseases. This can make it difficult to provide the optimal growing conditions for all of the plants. It’s best to grow one type of tomato plant per bucket to ensure that each plant receives the care it needs to thrive.
How do I know when my tomatoes are ripe?
The color of the tomato will change from green to red, yellow, or orange, depending on the variety. The tomato should also feel slightly soft to the touch. Gently squeeze the tomato; if it gives slightly, it’s ripe. The stem should also easily detach from the plant when the tomato is ripe. The best way to determine if a tomato is ripe is to taste it! Ripe tomatoes will have a sweet, juicy flavor.
What do I do with my tomato plants at the end of the growing season?
At the end of the growing season, after the first frost, you can remove the tomato plants from the buckets and compost them. Be sure to remove any diseased leaves or stems before composting them. You can also save the seeds from your favorite tomato varieties to plant next year. To save seeds, scoop out the seeds and pulp from a ripe tomato and place them in a jar with a little water. Let the mixture ferment for a few days, then rinse the seeds and dry them thoroughly before storing them in an airtight container.
Leave a Comment