

DIY vinegar cleaner recipe: It’s more than just a kitchen staple; it’s your secret weapon for a sparkling, eco-friendly home! Have you ever wondered if you could ditch those harsh chemicals and still achieve a pristine clean? Well, you absolutely can! For generations, vinegar has been a go-to cleaning agent, with evidence of its use dating back to ancient civilizations. From the Romans to our grandmothers, vinegar’s cleaning prowess has been a trusted household secret.
But why should you embrace a DIY vinegar cleaner recipe today? In a world increasingly conscious of environmental impact and the potential health risks associated with synthetic chemicals, creating your own cleaner is a smart and responsible choice. Plus, let’s be honest, who doesn’t love saving money? Store-bought cleaners can be expensive, but with a few simple ingredients, you can whip up a powerful and effective cleaner for pennies on the dollar. I’m going to show you how to make a simple yet effective vinegar cleaner that will leave your home sparkling and smelling fresh, without breaking the bank or harming the planet. Get ready to unlock the cleaning power of vinegar!
DIY All-Purpose Vinegar Cleaner: Your Guide to a Sparkling Home
Hey there, fellow DIY enthusiasts! Are you tired of harsh chemicals and sky-high prices for your cleaning supplies? I know I was! That’s why I’m so excited to share my go-to recipe for an all-purpose vinegar cleaner. It’s incredibly effective, budget-friendly, and uses ingredients you probably already have in your pantry. Get ready to ditch those store-bought cleaners and embrace the power of vinegar!
Why Vinegar?
Vinegar, specifically white distilled vinegar, is a cleaning powerhouse. Its acidity helps to dissolve grime, cut through grease, and kill bacteria. Plus, it’s a natural deodorizer! While the smell might be a bit strong at first, it dissipates quickly, leaving your home fresh and clean.
What You’ll Need:
Before we dive in, let’s gather our supplies. This recipe is super simple, so you won’t need much:
* White distilled vinegar
* Water (distilled water is best, but tap water works too)
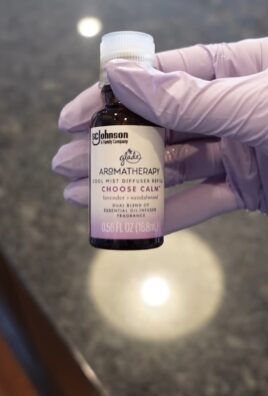
* Essential oils (optional, but highly recommended for a pleasant scent) – I love lemon, lavender, tea tree, or eucalyptus.
* Spray bottle (a clean, empty one, of course!)
* Measuring cup or spoons
* Funnel (optional, but makes pouring easier)
The Basic Recipe:
This is the foundation of our all-purpose cleaner. We’ll adjust it slightly depending on the specific cleaning task later on.
1. Prepare Your Spray Bottle: Make sure your spray bottle is clean and dry. Any residue from previous cleaners could react with the vinegar.
2. Combine Vinegar and Water: In your measuring cup, combine equal parts white distilled vinegar and water. A 1:1 ratio is perfect for most surfaces. For example, you can use 1 cup of vinegar and 1 cup of water.
3. Add Essential Oils (Optional): This is where you can customize your cleaner! Add 10-20 drops of your favorite essential oils per cup of solution. I usually go for around 15 drops for a good balance of scent and cleaning power.
4. Mix Well: Give the mixture a good stir to ensure the essential oils are evenly distributed.
5. Pour into Spray Bottle: Using a funnel (if you have one), carefully pour the mixture into your spray bottle.
6. Label Your Bottle: This is important! Clearly label your bottle as “Vinegar Cleaner” so you don’t accidentally mix it up with something else.
Cleaning Different Surfaces:
Now that we have our basic cleaner, let’s talk about how to use it on different surfaces. Remember to always test a small, inconspicuous area first to ensure the cleaner doesn’t damage the material.
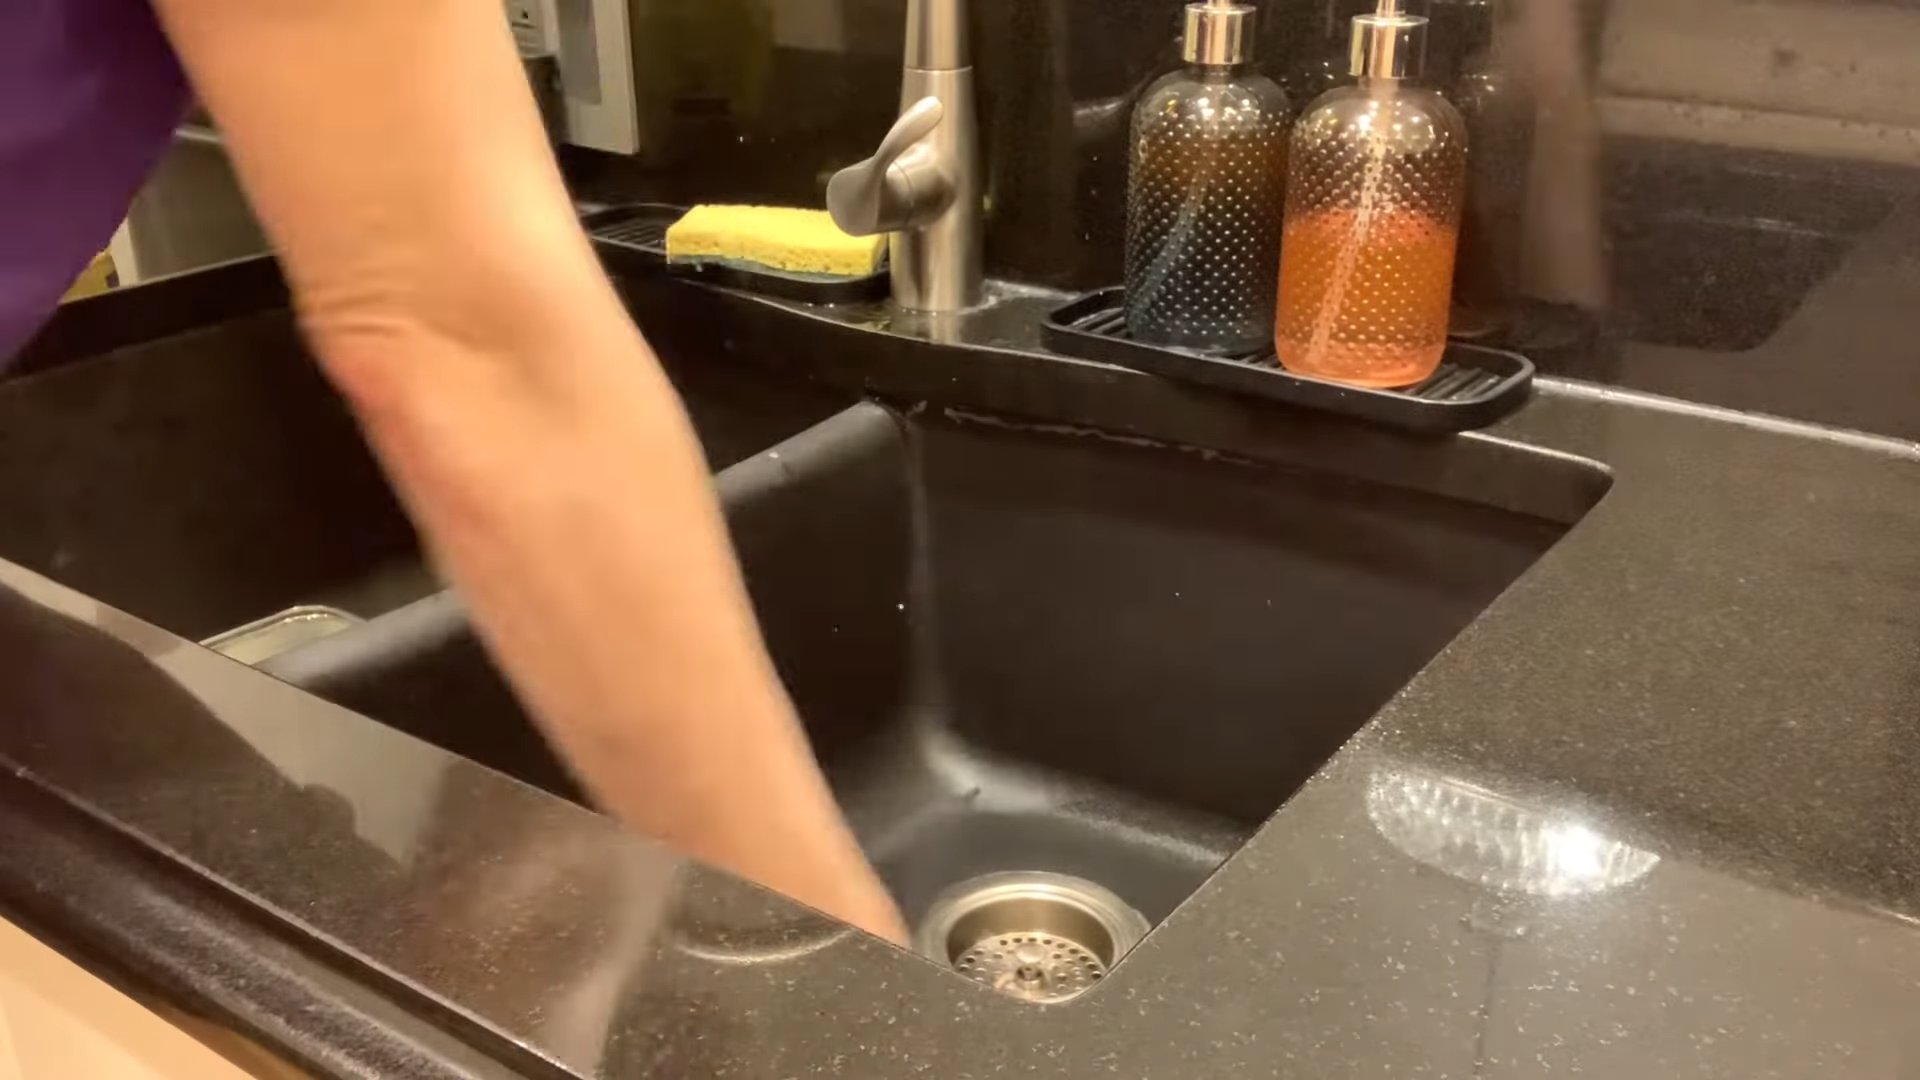
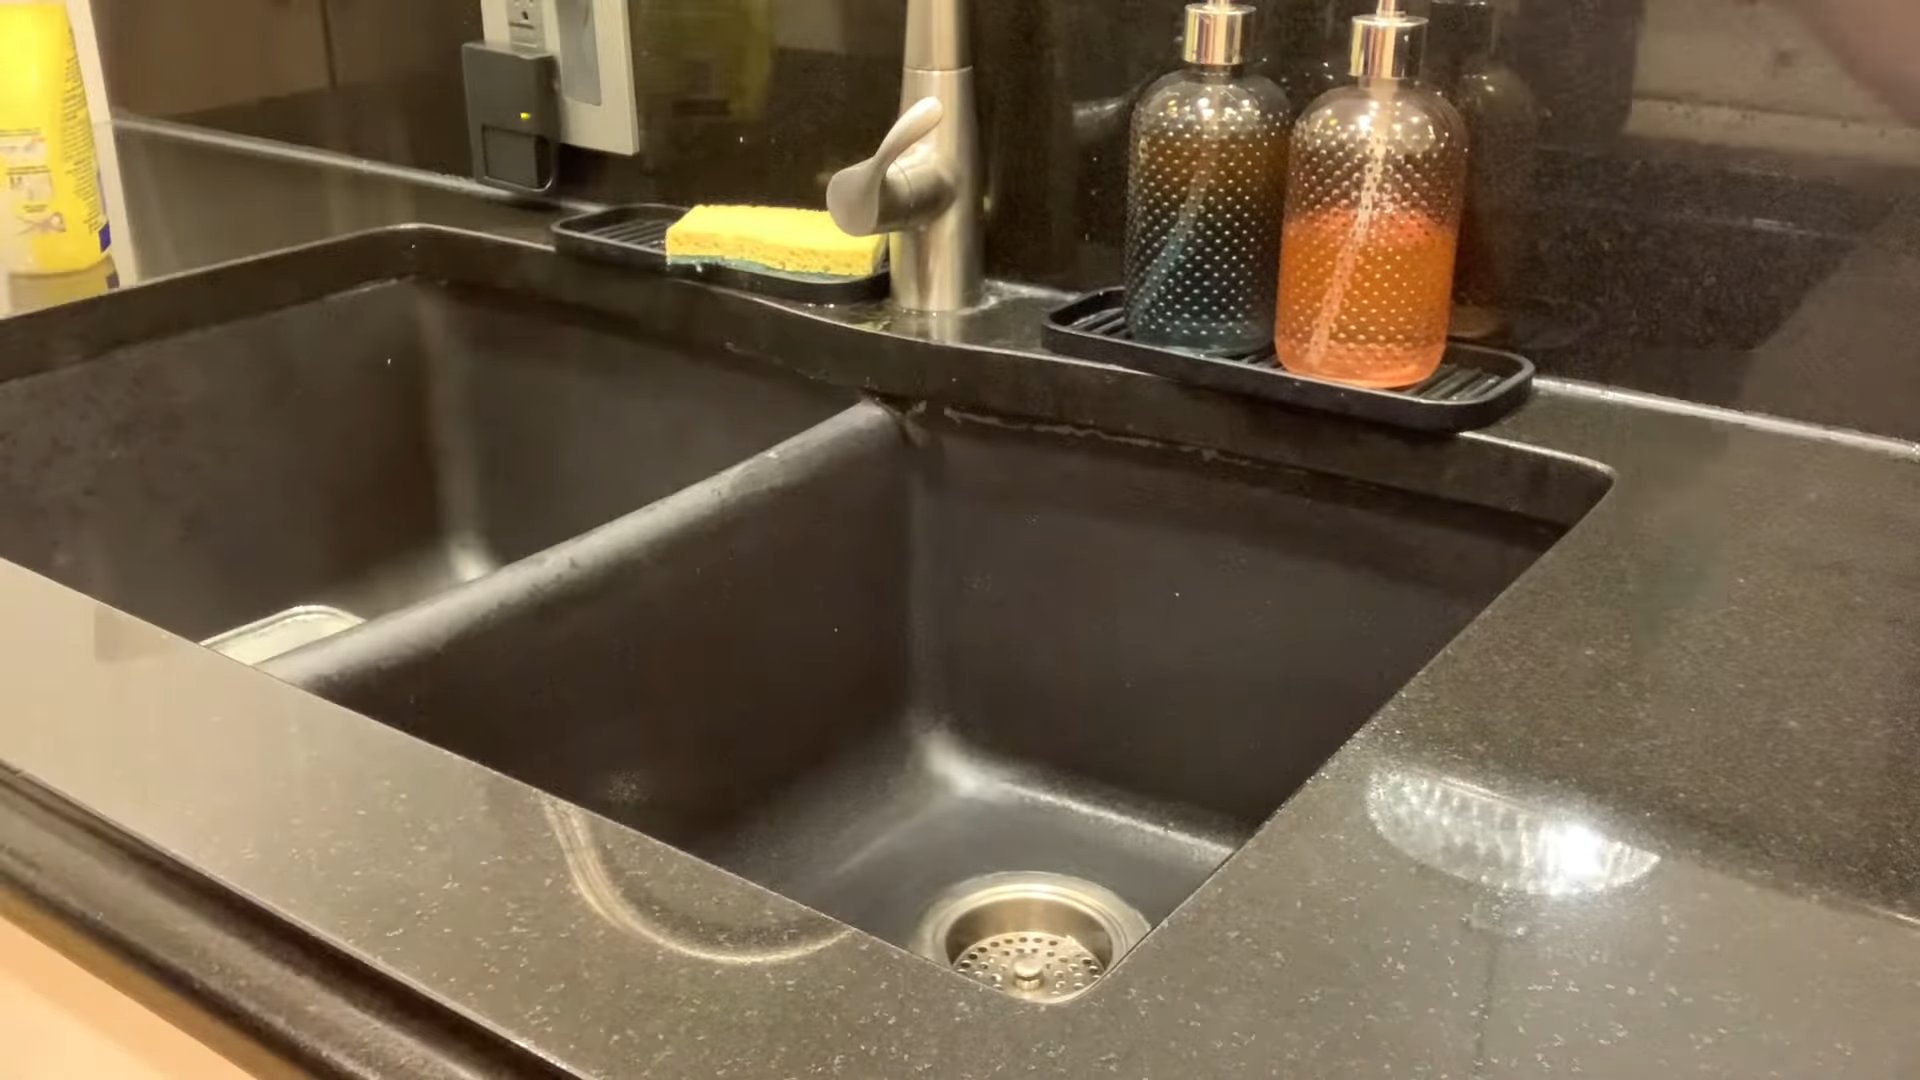
Cleaning Kitchen Surfaces:
This cleaner is fantastic for kitchen counters, stovetops (once cooled down!), and sinks.
1. Spray the Surface: Lightly spray the surface you want to clean.
2. Let it Sit: Allow the cleaner to sit for a minute or two to loosen any grime.
3. Wipe Clean: Use a clean cloth or sponge to wipe the surface clean.
4. Rinse (Optional): If you’re concerned about the vinegar smell, you can rinse the surface with water after wiping. However, I usually find that the smell dissipates quickly enough on its own.
Important Note: Avoid using vinegar on granite, marble, or other natural stone surfaces, as it can etch and damage them.
Cleaning Bathroom Surfaces:
Vinegar is great for tackling soap scum, mildew, and hard water stains in the bathroom.
1. Spray the Surface: Spray the shower walls, tub, sink, and toilet (exterior) with the vinegar cleaner.
2. Let it Sit: Allow the cleaner to sit for 5-10 minutes to really break down the grime. For stubborn stains, you can even let it sit longer.
3. Scrub (If Necessary): Use a scrub brush or sponge to scrub away any stubborn stains.
4. Rinse Thoroughly: Rinse the surfaces thoroughly with water.
5. Dry with a Clean Cloth: Dry the surfaces with a clean cloth to prevent water spots.
For Showerheads: To remove mineral buildup from your showerhead, fill a plastic bag with vinegar and secure it around the showerhead so that the showerhead is submerged in the vinegar. Let it soak for a few hours or overnight, then remove the bag and run the shower to flush out any remaining vinegar and debris.
Cleaning Floors:
You can use vinegar to clean many types of floors, but again, avoid using it on natural stone.
1. Dilute the Cleaner: For floors, you’ll want to dilute the vinegar cleaner even further. Mix 1/2 cup of vinegar with a gallon of warm water.
2. Mop the Floor: Use a mop to clean the floor with the diluted vinegar solution.
3. Rinse (Optional): If you’re concerned about the vinegar smell or residue, you can rinse the floor with clean water after mopping.
4. Dry the Floor: Allow the floor to air dry or use a clean towel to dry it.
Important Note: Always check your flooring manufacturer’s recommendations before using any cleaning product, including vinegar.
Cleaning Windows and Mirrors:
Vinegar is an excellent glass cleaner, leaving windows and mirrors streak-free.
1. Dilute the Cleaner: Mix equal parts vinegar and water in a spray bottle.
2. Spray the Surface: Lightly spray the window or mirror with the vinegar cleaner.
3. Wipe Clean: Use a clean microfiber cloth to wipe the surface clean.
4. Buff Dry: Buff the surface dry with another clean microfiber cloth to remove any streaks.
Deodorizing:
Vinegar is a natural deodorizer and can be used to eliminate odors in various areas of your home.
1. Odor Absorber: Place a bowl of vinegar in a room to absorb odors. You can leave it out overnight or for several days, depending on the severity of the odor.
2. Fabric Refresher: Mix equal parts vinegar and water in a spray bottle and lightly spray fabrics to eliminate odors. Test in an inconspicuous area first to ensure the fabric is colorfast.
3. Garbage Disposal: Pour 1 cup of vinegar down the garbage disposal to freshen it up and eliminate odors. Let it sit for 30 minutes, then run the disposal with cold water.
Troubleshooting:
Sometimes, things don’t go exactly as planned. Here are a few common issues and how to fix them:
* Strong Vinegar Smell: Don’t worry, the vinegar smell will dissipate quickly. You can also add more essential oils to mask the scent.
* Streaks on Windows: Make sure you’re using a clean microfiber cloth and buffing the surface dry.
* Cleaner Not Effective: You may need to increase the concentration of vinegar in the solution. Try using a 2:1 ratio of vinegar to water for tougher cleaning tasks.
* Surface Damage: If you notice any damage to a surface, stop using the vinegar cleaner immediately and consult a professional cleaner.
Variations and Customizations:
The beauty of this DIY cleaner is that you can customize it to suit your specific needs and preferences. Here are a few ideas:
* Citrus Infusion: Add citrus peels (lemon, orange, grapefruit) to your vinegar for a few weeks to infuse it with a fresh, citrusy scent. Strain the vinegar before using it in your cleaner.
* Herb Infusion: Infuse your vinegar with herbs like lavender, rosemary, or thyme for a unique and aromatic cleaner.
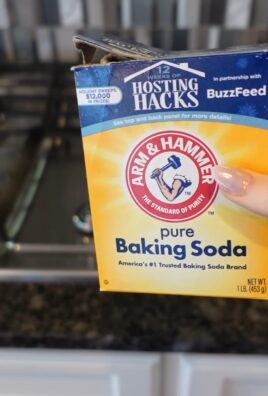
* Baking Soda Boost: For extra cleaning power, add a tablespoon of baking soda to your vinegar cleaner. Be careful, as this will cause the mixture to fizz. Use it immediately and don’t store it in a closed container.
* Castile Soap Addition: Add a teaspoon of castile soap to your vinegar cleaner for extra grease-cutting power.
Safety Precautions:
While vinegar is a natural cleaner, it’s still important to take some safety precautions:
* Avoid Mixing with Bleach: Never mix vinegar with bleach, as this can create toxic fumes.
* Keep Out of Reach of Children and Pets: Store your vinegar cleaner in a safe place, out of reach of children and pets.
* Wear Gloves: If you have sensitive skin, wear gloves when using the vinegar cleaner.
* Ventilate the Area: When cleaning in enclosed spaces, make sure to ventilate the area well.
Final Thoughts:
I hope you found this guide helpful! Making your own all-purpose vinegar cleaner is a simple, affordable, and eco-friendly way to keep your home sparkling clean. So, ditch those harsh chemicals and embrace the power of vinegar! Happy cleaning!
Conclusion
So, there you have it! Transforming ordinary vinegar into a powerful, versatile, and eco-friendly cleaner is not just a cost-effective alternative to store-bought products; it’s a conscious choice for a healthier home and planet. This DIY vinegar cleaner recipe is a game-changer, simplifying your cleaning routine while minimizing your environmental impact.
Why is this a must-try? Because it works! The acetic acid in vinegar is a natural disinfectant, effectively cutting through grease, grime, and hard water stains. It’s safe for most surfaces (always test in an inconspicuous area first!), and it’s incredibly simple to make. You’re essentially creating a cleaning powerhouse with just two ingredients: vinegar and water. Plus, you get to control what goes into your cleaner, avoiding harsh chemicals and artificial fragrances that can irritate sensitive skin or trigger allergies.
But the beauty of this DIY trick lies in its adaptability. Feel free to experiment with different essential oils to create your signature scent. Lavender, lemon, tea tree, and eucalyptus are all excellent choices, offering not only a pleasant aroma but also additional antibacterial and antifungal properties. For extra cleaning power, consider adding a tablespoon of baking soda to your spray bottle (be mindful of potential fizzing!). You can also infuse your vinegar with citrus peels for a few weeks before mixing it with water for a naturally scented and even more potent cleaner. Orange and lemon peels are particularly effective at cutting through grease and leaving a fresh, clean scent.
Don’t limit yourself to just general cleaning! This DIY vinegar cleaner is fantastic for cleaning windows and mirrors (streak-free shine guaranteed!), disinfecting cutting boards, removing soap scum from showers, and even freshening up your laundry. It’s a true multi-purpose marvel.
We wholeheartedly encourage you to give this DIY vinegar cleaner recipe a try. It’s easy, affordable, and effective. Once you experience the cleaning power and versatility of this simple solution, you’ll wonder why you ever relied on expensive, chemical-laden cleaners in the first place.
But don’t just take our word for it! We’re eager to hear about your experiences. Did you try a particular essential oil blend? Did you discover a new use for your DIY vinegar cleaner? Share your tips, tricks, and success stories in the comments below. Let’s build a community of eco-conscious cleaners and inspire others to embrace the power of DIY! Your feedback is invaluable and will help us refine and improve this recipe for everyone. So, grab your vinegar, water, and favorite essential oils, and get ready to transform your cleaning routine! We can’t wait to hear what you think.
Frequently Asked Questions (FAQ)
1. What type of vinegar should I use for my DIY cleaner?
White distilled vinegar is the best choice for cleaning. It’s inexpensive, readily available, and has a high acidity level, making it effective at disinfecting and removing grime. Avoid using other types of vinegar, such as apple cider vinegar or balsamic vinegar, as they may contain sugars or coloring that could leave a sticky residue or stain surfaces.
2. What is the ideal vinegar to water ratio for the cleaner?
The standard ratio is a 1:1 mixture of vinegar and water. This is generally effective for most cleaning tasks. However, you can adjust the ratio depending on the specific job. For tougher stains or heavily soiled areas, you can use a stronger solution with more vinegar (e.g., 2:1 vinegar to water). For lighter cleaning or delicate surfaces, you can use a weaker solution (e.g., 1:2 vinegar to water). Always test in an inconspicuous area first, regardless of the ratio.
3. Can I use this DIY vinegar cleaner on all surfaces?
No, vinegar is acidic and can damage certain surfaces. Avoid using it on natural stone surfaces like marble, granite, and limestone, as it can etch and dull the finish. It’s also not recommended for use on waxed wood, cast iron, or aluminum. Always test the cleaner in an inconspicuous area before applying it to a larger surface to ensure it doesn’t cause any damage or discoloration.
4. How do I add essential oils to my DIY vinegar cleaner?
Essential oils not only add a pleasant scent but also provide additional cleaning and disinfecting properties. To add essential oils, simply add a few drops (typically 10-20 drops per 16-ounce spray bottle) to your vinegar and water mixture. Shake well before each use to ensure the oils are properly dispersed. Some popular essential oil choices include lavender, lemon, tea tree, eucalyptus, and orange.
5. How long does the DIY vinegar cleaner last?
The DIY vinegar cleaner has a long shelf life and can last indefinitely. Vinegar is a natural preservative, so it won’t spoil or go bad. However, the scent of the essential oils may fade over time. To maintain the fragrance, you can add a few more drops of essential oil as needed. Store the cleaner in a cool, dark place to help preserve its potency and fragrance.
6. Can I use this cleaner to disinfect surfaces?
Yes, vinegar has disinfecting properties due to its acetic acid content. It can kill many common household germs and bacteria. However, it’s important to note that vinegar is not as strong as commercial disinfectants like bleach. For heavily soiled or contaminated surfaces, you may need to use a stronger disinfectant. For everyday cleaning and disinfecting, the DIY vinegar cleaner is a safe and effective option.
7. What if I don’t like the smell of vinegar?
The strong smell of vinegar is a common concern for many people. Fortunately, the scent dissipates quickly after cleaning. Adding essential oils can also help to mask the vinegar smell and leave a more pleasant fragrance. Citrus peels infused in the vinegar before mixing with water also help. You can also try using a milder vinegar, such as cleaning vinegar, which has a slightly lower acidity level and a less pungent odor.
8. Can I mix vinegar with baking soda for cleaning?
While vinegar and baking soda are both effective cleaning agents, mixing them together in a closed container is not recommended. The combination creates carbon dioxide gas, which can build up pressure and potentially cause the container to explode. However, you can use them separately. For example, you can sprinkle baking soda on a surface, then spray it with vinegar to create a fizzing action that helps to loosen dirt and grime. Just be sure to rinse the surface thoroughly afterward.
9. Is this DIY vinegar cleaner safe for pets and children?
Yes, the DIY vinegar cleaner is generally safe for pets and children, as it doesn’t contain harsh chemicals or toxins. However, it’s still important to keep it out of reach of children and pets to prevent accidental ingestion. If ingested, vinegar can cause mild irritation to the mouth and throat. If you’re concerned about the smell, you can use essential oils that are known to be safe for pets and children, such as lavender or chamomile.
10. How do I store my DIY vinegar cleaner?
Store your DIY vinegar cleaner in a clean, labeled spray bottle. A dark-colored bottle can help protect the essential oils from light degradation. Keep the bottle in a cool, dark place away from direct sunlight and heat. Be sure to label the bottle clearly to avoid confusion with other liquids. And as always, keep it out of reach of children and pets.
Leave a Comment