

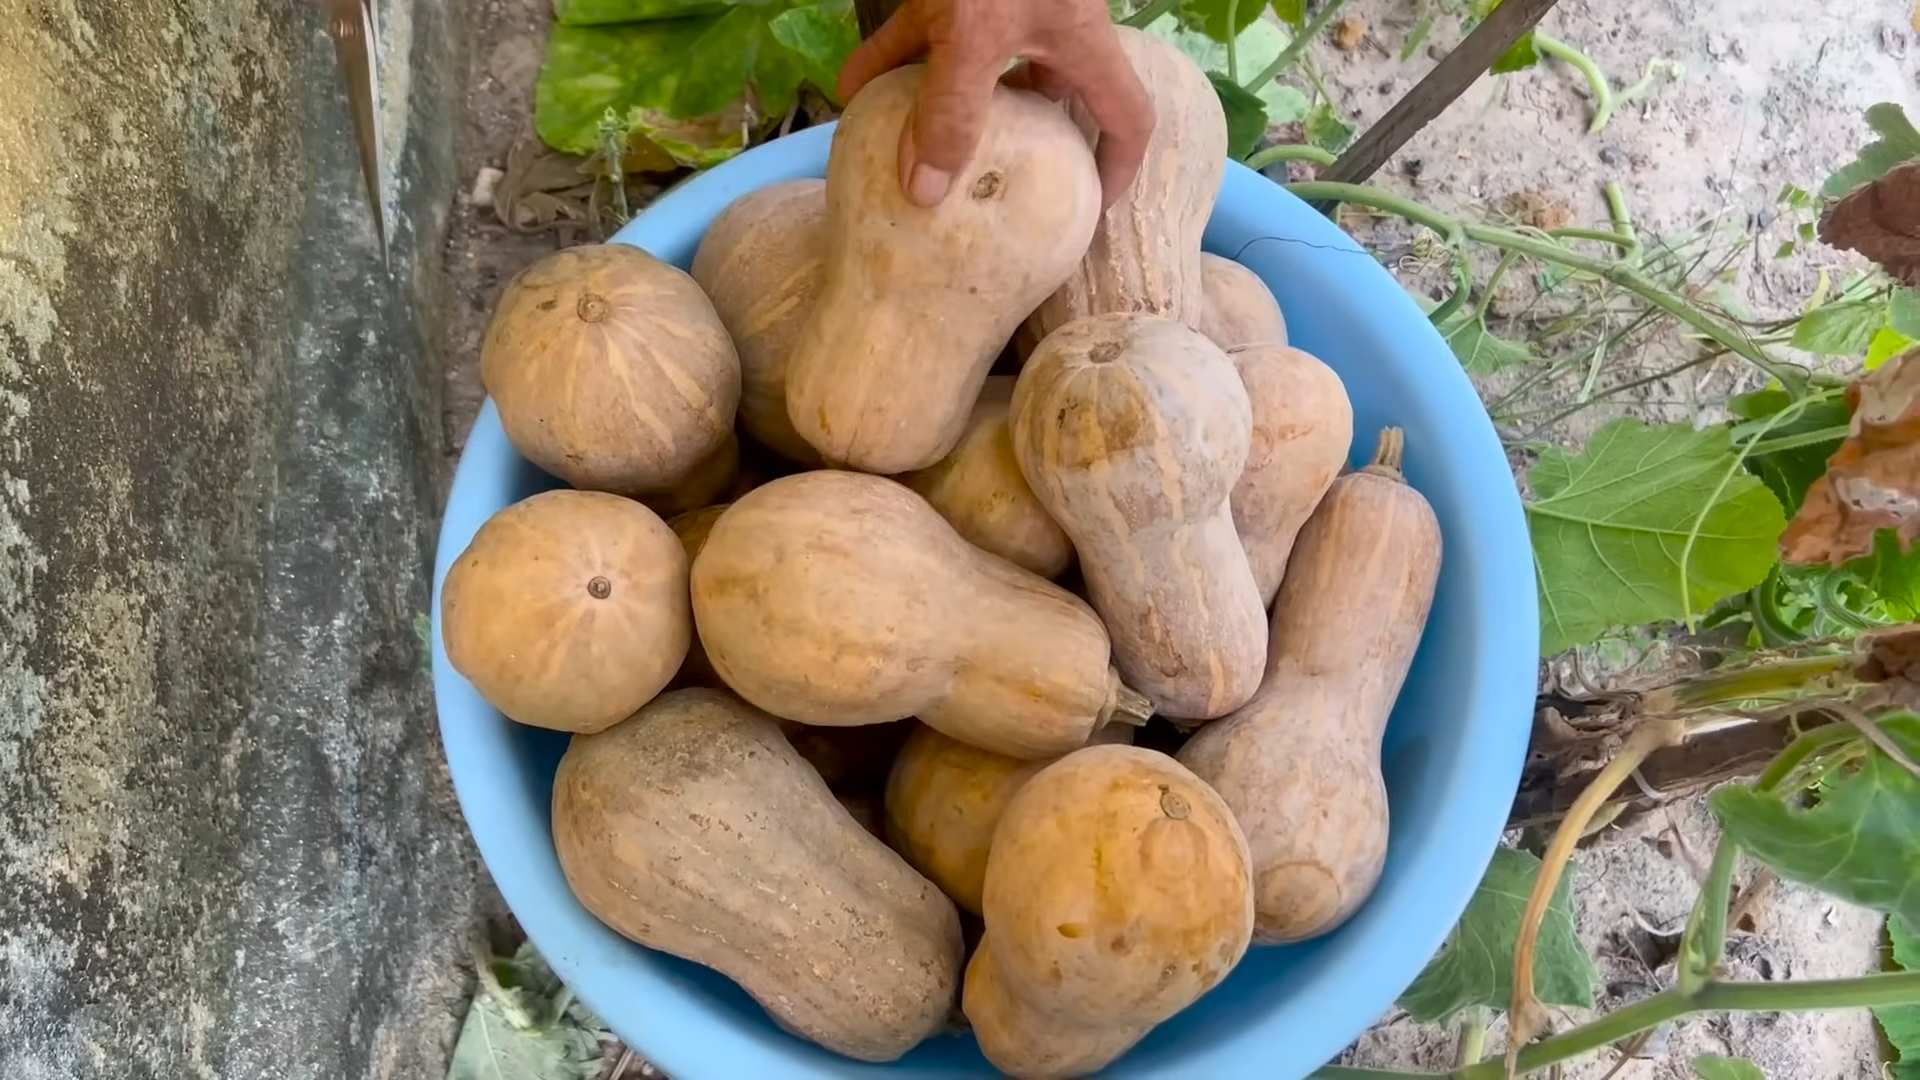
Continuous Pumpkin Harvesting: Your Guide to a Bountiful Fall
Continuous pumpkin harvesting – it sounds almost magical, doesn’t it? Imagine a seemingly endless supply of these vibrant, versatile gourds, stretching from autumn right through to the heart of winter. That’s the promise of mastering the techniques I’m about to share with you in this article. Forget about a single, fleeting pumpkin harvest; we’re talking about a continuous flow of delicious pumpkins for pies, carving, or simply admiring their autumnal beauty.
Growing pumpkins has a rich history, deeply intertwined with harvest festivals and autumnal celebrations across cultures. From ancient civilizations who revered the pumpkin as a symbol of fertility and abundance to modern-day pumpkin spice lattes, this humble fruit holds a special place in our hearts and on our tables. But getting a continuous harvest requires more than just planting a seed; it demands understanding the plant’s lifecycle and employing some clever gardening tricks.
Why You Need These Continuous Pumpkin Harvesting Tricks
Let’s be honest, who doesn’t love the taste of homemade pumpkin pie or the thrill of carving a spooky jack-o’-lantern? But the traditional pumpkin harvest is often a fleeting moment. With the right knowledge and a little elbow grease, you can extend that joy significantly. This article will equip you with the continuous pumpkin harvesting techniques you need to maximize your yield and enjoy the fruits (or should I say, vegetables?) of your labor for much longer. Learning these DIY methods means less reliance on commercially grown pumpkins, allowing you to savor the freshest, most flavorful pumpkins all season long. You’ll be amazed at how simple these techniques are to implement, and the rewards are truly bountiful.
So, let’s dive in and unlock the secrets to continuous pumpkin harvesting! I’ll guide you through everything from choosing the right varieties to proper care and harvesting techniques, ensuring you have a plentiful supply of pumpkins well into the fall and beyond.
Growing Watermelons Like a Pro: A DIY Guide
Watermelons! Juicy, sweet, and perfect for summer. Growing your own can be incredibly rewarding, and it’s easier than you think. Follow these steps, and you’ll be enjoying homegrown watermelon in no time.
Phase 1: Planning and Preparation
- Choose the right variety: Consider your climate and growing season. Smaller varieties are great for beginners and limited space. Check seed packets for days to maturity – this will help you plan your planting schedule.
- Select your location: Watermelons need at least six to eight hours of direct sunlight daily. Choose a sunny spot with well-drained soil. They need plenty of space to sprawl, so aim for at least 2-3 feet between plants.
- Prepare the soil: Watermelons thrive in rich, fertile soil. Amend your soil with compost or well-rotted manure to improve drainage and nutrient content. A soil test can help determine if you need additional amendments like lime or fertilizer.
- Gather your supplies: You’ll need watermelon seeds, gardening gloves, a trowel or small shovel, a watering can, and possibly some plant supports (depending on the variety).
Phase 2: Planting Your Watermelon Seeds
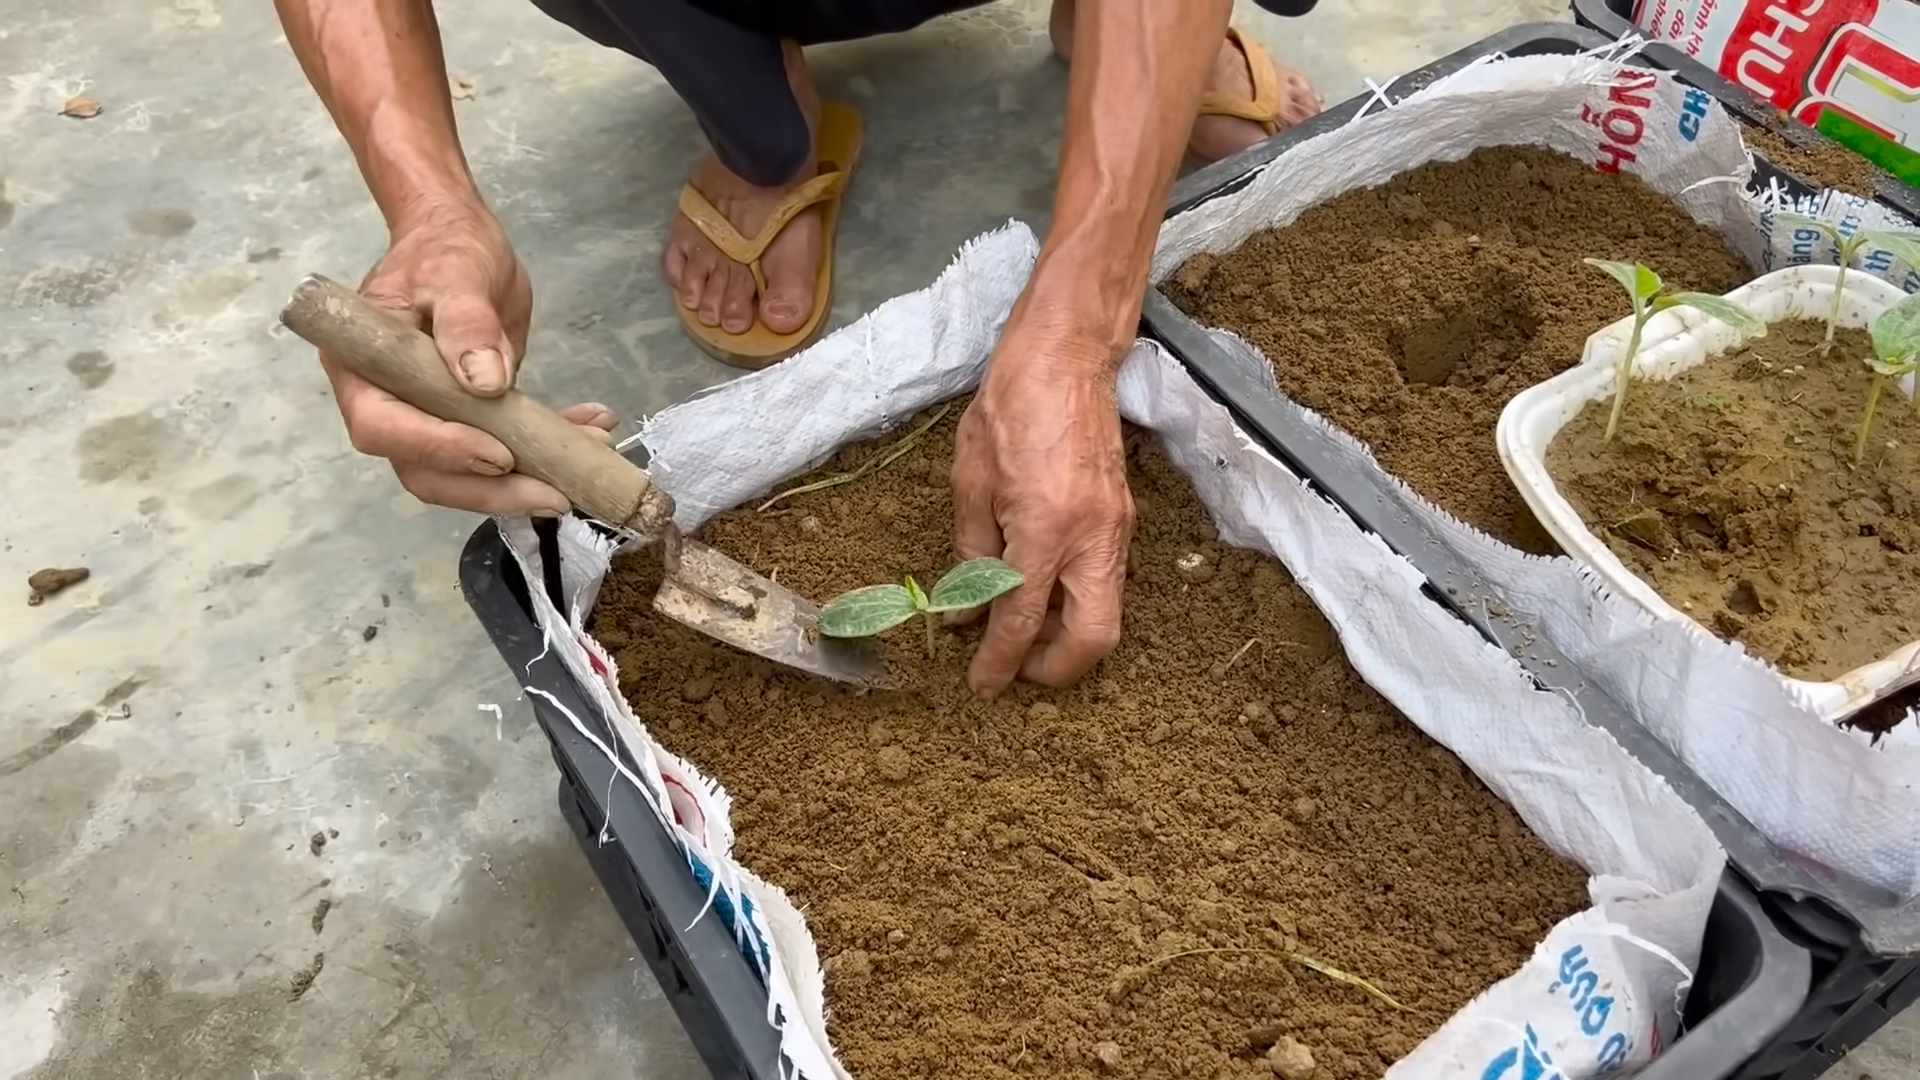
- Start seeds indoors (optional): For an earlier harvest, start seeds indoors 2-3 weeks before the last expected frost. Use small pots or seed trays filled with seed-starting mix. Plant seeds about an inch deep and keep the soil moist.
- Direct sowing: Alternatively, you can sow seeds directly into the garden after the last frost. Plant seeds 1-2 inches deep and 2-3 feet apart. Plant several seeds per hill to increase your chances of successful germination.
- Thinning: Once seedlings emerge, thin them to one or two of the strongest plants per hill. This gives the remaining plants more space to grow.
- Watering: Water regularly, especially during dry spells. Water deeply and less frequently to encourage deep root growth. Avoid overhead watering, which can lead to fungal diseases.
Phase 3: Nurturing Your Watermelon Plants
- Fertilizing: After the plants have established themselves, you can apply a balanced fertilizer. Follow the instructions on the fertilizer package carefully. Over-fertilizing can be detrimental.
- Weed control: Regularly weed around your watermelon plants to prevent competition for nutrients and water. Mulching can help suppress weeds and retain soil moisture.
- Pest and disease control: Keep an eye out for common watermelon pests like aphids, squash bugs, and cucumber beetles. Use organic pest control methods if necessary. Good air circulation can help prevent fungal diseases.
- Pollination: Watermelons are typically pollinated by bees. If you have few bees in your area, you may need to hand-pollinate by transferring pollen from the male flowers (smaller flowers with no developing fruit) to the female flowers (flowers with a small fruit behind them). This is best done in the morning when the pollen is most viable.
- Supporting the vines (optional): Depending on the variety, you may need to provide support for the vines to prevent them from rotting on the ground. You can use stakes, trellises, or even lay down straw or other mulch to keep the fruit off the ground.
Phase 4: Harvesting Your Delicious Watermelons
- Monitoring fruit development: As the watermelons grow, keep an eye on their size and color. They’ll typically change color as they ripen.
- Checking for ripeness: A ripe watermelon will have a dull, not shiny, skin. The tendrils near the stem will turn brown and dry. When you thump the watermelon, it should have a deep, hollow sound.
- Harvesting: Once the watermelon is ripe, carefully cut it from the vine using a sharp knife. Avoid damaging the fruit.
- Curing: Allow the harvested watermelons to cure for a few days in a cool, dry place. This helps improve their flavor and shelf life.
- Enjoy! Once cured, your homegrown watermelons are ready to enjoy. Slice them up, make a refreshing salad, or simply savor their sweetness.
Troubleshooting Common Problems
Yellowing Leaves:
This could indicate nutrient deficiencies, overwatering, or underwatering. Check your watering schedule and consider adding fertilizer.
Wilting Plants:
This could be due to underwatering, pest infestation, or disease. Check the soil moisture and look for signs of pests or diseases.
Small or misshapen fruit:
This could be due to poor pollination, lack of nutrients, or insufficient water. Ensure proper pollination and provide adequate nutrients and water.
Remember:
Patience is key! Growing watermelons takes time and effort, but the reward of enjoying your own juicy, sweet watermelon is well worth it. Don’t be discouraged if your first attempt isn’t perfect – learn from your experience and try again next year!
Conclusion
This continuous pumpkin harvesting method is a game-changer for any home gardener, offering a significantly extended harvest season and a bountiful yield. By understanding the plant’s growth cycle and employing simple, yet effective techniques, you can enjoy fresh, homegrown pumpkins well beyond the traditional harvest time. This DIY trick isn’t just about maximizing your pumpkin production; it’s about extending the joy of harvesting and savoring the fruits (or should we say, vegetables!) of your labor. The satisfaction of pulling a ripe, orange pumpkin from your vine throughout the fall and even into early winter is unparalleled. It’s a testament to your gardening skills and a delicious reward for your efforts. The continuous pumpkin harvesting method allows you to avoid the overwhelming rush of a single harvest period, providing a more manageable and enjoyable experience. You’ll have pumpkins for pies, soups, carving, and decorating throughout the season, ensuring a constant supply of this versatile autumn staple.
Beyond the core technique, there’s plenty of room for experimentation and personalization. Consider varying the timing of your initial harvest to fine-tune your continuous yield. For example, you might try harvesting slightly earlier or later to see how it impacts subsequent pumpkin growth. You can also experiment with different pumpkin varieties, noting which ones respond best to this continuous harvesting approach. Some varieties might be more suited to this method than others, offering a longer period of consistent production. Furthermore, you can adapt this method to other types of squash and gourds, extending the benefits of continuous harvesting to your entire autumn garden. Remember to always prioritize the health of your plants; if you notice any signs of stress, adjust your harvesting schedule accordingly.
We strongly encourage you to try this continuous pumpkin harvesting method and share your experiences with us! Whether you’re a seasoned gardener or a complete beginner, this technique is accessible and rewarding. Document your progress, share your photos, and let us know what varieties worked best for you. Your feedback will help other gardeners learn and improve their own continuous pumpkin harvesting techniques. Join our online community and connect with fellow pumpkin enthusiasts to exchange tips, tricks, and delicious pumpkin recipes. Let’s build a vibrant network of gardeners who are passionate about extending the harvest season and maximizing their pumpkin yields. Embrace the challenge, enjoy the process, and savor the delicious rewards of a continuous pumpkin harvest!
Frequently Asked Questions (FAQs)
What are the potential drawbacks of continuous pumpkin harvesting?
While continuous pumpkin harvesting offers many advantages, it’s important to be aware of potential drawbacks. Over-harvesting can stress the plant, potentially reducing the overall yield in the long run. Careful observation and a balanced approach are key. It also requires more frequent monitoring of your plants to identify ripe pumpkins and prevent over-ripening or rotting. Finally, this method might not be suitable for all pumpkin varieties; some might not respond well to continuous harvesting.
How often should I harvest pumpkins using this method?
The frequency of harvesting depends on the variety of pumpkin and the growing conditions. Generally, you should aim to harvest pumpkins every 7-10 days, checking for ripeness by examining the color, stem, and sound of the pumpkin. Avoid harvesting pumpkins that are too small or immature. Regular inspection is crucial to ensure you’re harvesting at the optimal time.
Can I use this method with other types of squash or gourds?
Yes, the principles of continuous harvesting can be applied to other types of squash and gourds, although the specific timing and techniques might need adjustment based on the particular variety. Experimentation is key to finding the optimal harvesting schedule for different plants. Always research the specific needs of the squash or gourd you are growing.
What should I do if my pumpkin plant shows signs of stress after continuous harvesting?
If your pumpkin plant shows signs of stress, such as wilting leaves or reduced fruit production, immediately reduce the frequency of harvesting or stop altogether. Provide adequate water and nutrients to help the plant recover. Consider adjusting your harvesting schedule to allow the plant more time to replenish its energy reserves. Observe the plant closely and adjust your approach accordingly.
Is continuous pumpkin harvesting suitable for all climates?
While continuous pumpkin harvesting can be successful in a wide range of climates, the length of the extended harvest season will vary depending on local weather conditions. In colder climates, the harvest season might be shorter, while in warmer climates, you might be able to extend the harvest for a longer period. Always consider your local climate and adjust your approach accordingly. Protecting your plants from frost is crucial for extending the harvest season in colder regions.
What are the best pumpkin varieties for continuous harvesting?
While many pumpkin varieties can be used for continuous harvesting, some are better suited than others. Look for varieties known for their prolific fruiting and relatively long growing seasons. Experimentation is key to finding the varieties that perform best in your specific growing conditions. Consult with local nurseries or experienced gardeners for recommendations on varieties well-suited to your area. Online resources and seed catalogs can also provide valuable information on pumpkin varieties and their characteristics.
Where can I find more information on continuous pumpkin harvesting techniques?
Beyond this article, you can find additional information on continuous pumpkin harvesting techniques through online gardening forums, gardening blogs, and books on vegetable gardening. Search for terms like “successive planting pumpkins” or “extended pumpkin harvest” to find relevant resources. Connecting with experienced gardeners in your local community can also provide valuable insights and advice tailored to your specific region and growing conditions. Remember to always cross-reference information from multiple sources to ensure accuracy and reliability.

Leave a Comment