

Fast growing container spinach – sounds like a dream, right? I know I used to think so! Imagine fresh, vibrant spinach leaves ready to harvest right outside your door, adding a burst of flavor and nutrients to your meals. No more sad, wilted spinach from the grocery store! But how do you achieve this leafy green paradise, especially if you’re short on space?
Spinach, a nutritional powerhouse, has been cultivated for centuries, with roots tracing back to ancient Persia. It gradually made its way across the globe, becoming a staple in cuisines worldwide. From Popeye’s legendary strength to countless healthy recipes, spinach has earned its place as a beloved and beneficial vegetable.
But let’s face it, growing your own food can seem daunting. That’s where these DIY tricks come in! I’m going to share some simple yet effective hacks to help you cultivate fast growing container spinach, even if you’re a complete beginner. We’ll cover everything from choosing the right container and soil to mastering watering and harvesting techniques. With a little know-how, you can enjoy a continuous supply of fresh spinach, save money, and experience the joy of growing your own food. So, grab your gardening gloves, and let’s get started!

Grow Spinach Like a Pro: A DIY Container Gardening Guide
Hey there, fellow gardening enthusiasts! I’m so excited to share my secrets for growing a bountiful spinach crop right in your own backyard (or balcony!) using containers. Spinach is a nutritional powerhouse, and nothing beats the taste of freshly harvested, homegrown leaves. Plus, container gardening makes it super accessible, even if you’re short on space. Let’s dive in!
Choosing the Right Container and Location
Before we get our hands dirty, let’s talk about the essentials. The right container and location are crucial for happy, thriving spinach plants.
* Container Size: Spinach doesn’t need a super deep container, but it does need space to spread its roots. I recommend a container that’s at least 6-8 inches deep and 12 inches in diameter. This will give your spinach plants enough room to grow without feeling cramped. You can also use a long rectangular planter to grow multiple plants in a row.
* Drainage: This is non-negotiable! Make sure your container has drainage holes. Spinach hates sitting in soggy soil, which can lead to root rot. If your container doesn’t have drainage holes, you can drill some yourself.
* Material: Plastic, terracotta, or even repurposed containers will work just fine. Just make sure the container is clean and free of any harmful chemicals. I personally love using terracotta pots because they allow the soil to breathe, but plastic is a more budget-friendly option.
* Location: Spinach thrives in cool weather and needs at least 4-6 hours of sunlight per day. However, in hotter climates, it’s best to provide some afternoon shade to prevent the leaves from wilting. A spot that gets morning sun and afternoon shade is ideal. If you’re growing spinach indoors, you’ll need to supplement with grow lights.
Preparing the Perfect Soil Mix
Spinach needs well-draining, nutrient-rich soil to flourish. Here’s my go-to recipe for a container-friendly soil mix:
* Potting Mix: This forms the base of our soil mix. Choose a high-quality potting mix that’s specifically designed for containers. Avoid using garden soil, as it can be too heavy and compact for container gardening.
* Compost: Compost is black gold for gardeners! It adds essential nutrients to the soil and improves drainage. I like to use a mix of homemade compost and store-bought compost.
* Perlite or Vermiculite: These help to improve drainage and aeration. Perlite is a volcanic glass that’s lightweight and porous, while vermiculite is a mineral that helps to retain moisture. I usually use a combination of both.
* Slow-Release Fertilizer: This provides a steady stream of nutrients to your spinach plants over time. Choose a fertilizer that’s specifically formulated for leafy greens.
Mixing the Soil:
1. In a large container or wheelbarrow, combine equal parts potting mix, compost, and perlite/vermiculite.
2. Add the slow-release fertilizer according to the package directions.
3. Mix everything together thoroughly until it’s well combined.
Planting Your Spinach Seeds
Now for the fun part! Let’s get those spinach seeds in the ground.
* Choosing Spinach Varieties: There are many different spinach varieties to choose from, each with its own unique characteristics. Some popular varieties for container gardening include ‘Baby’s Leaf Hybrid,’ ‘Bloomsdale Long Standing,’ and ‘Tyee.’ I personally love ‘Baby’s Leaf Hybrid’ because it’s fast-growing and produces tender, delicious leaves.
* Sowing Seeds: Spinach seeds can be sown directly into the container.
1. Fill your container with the prepared soil mix, leaving about an inch of space at the top.
2. Moisten the soil thoroughly.
3. Sow the seeds about ½ inch deep and 1 inch apart.
4. Cover the seeds with a thin layer of soil.
5. Gently water the soil again.
* Spacing: Proper spacing is important to prevent overcrowding and ensure that your spinach plants have enough room to grow. If you’re using a large container, you can sow the seeds closer together and then thin them out later.
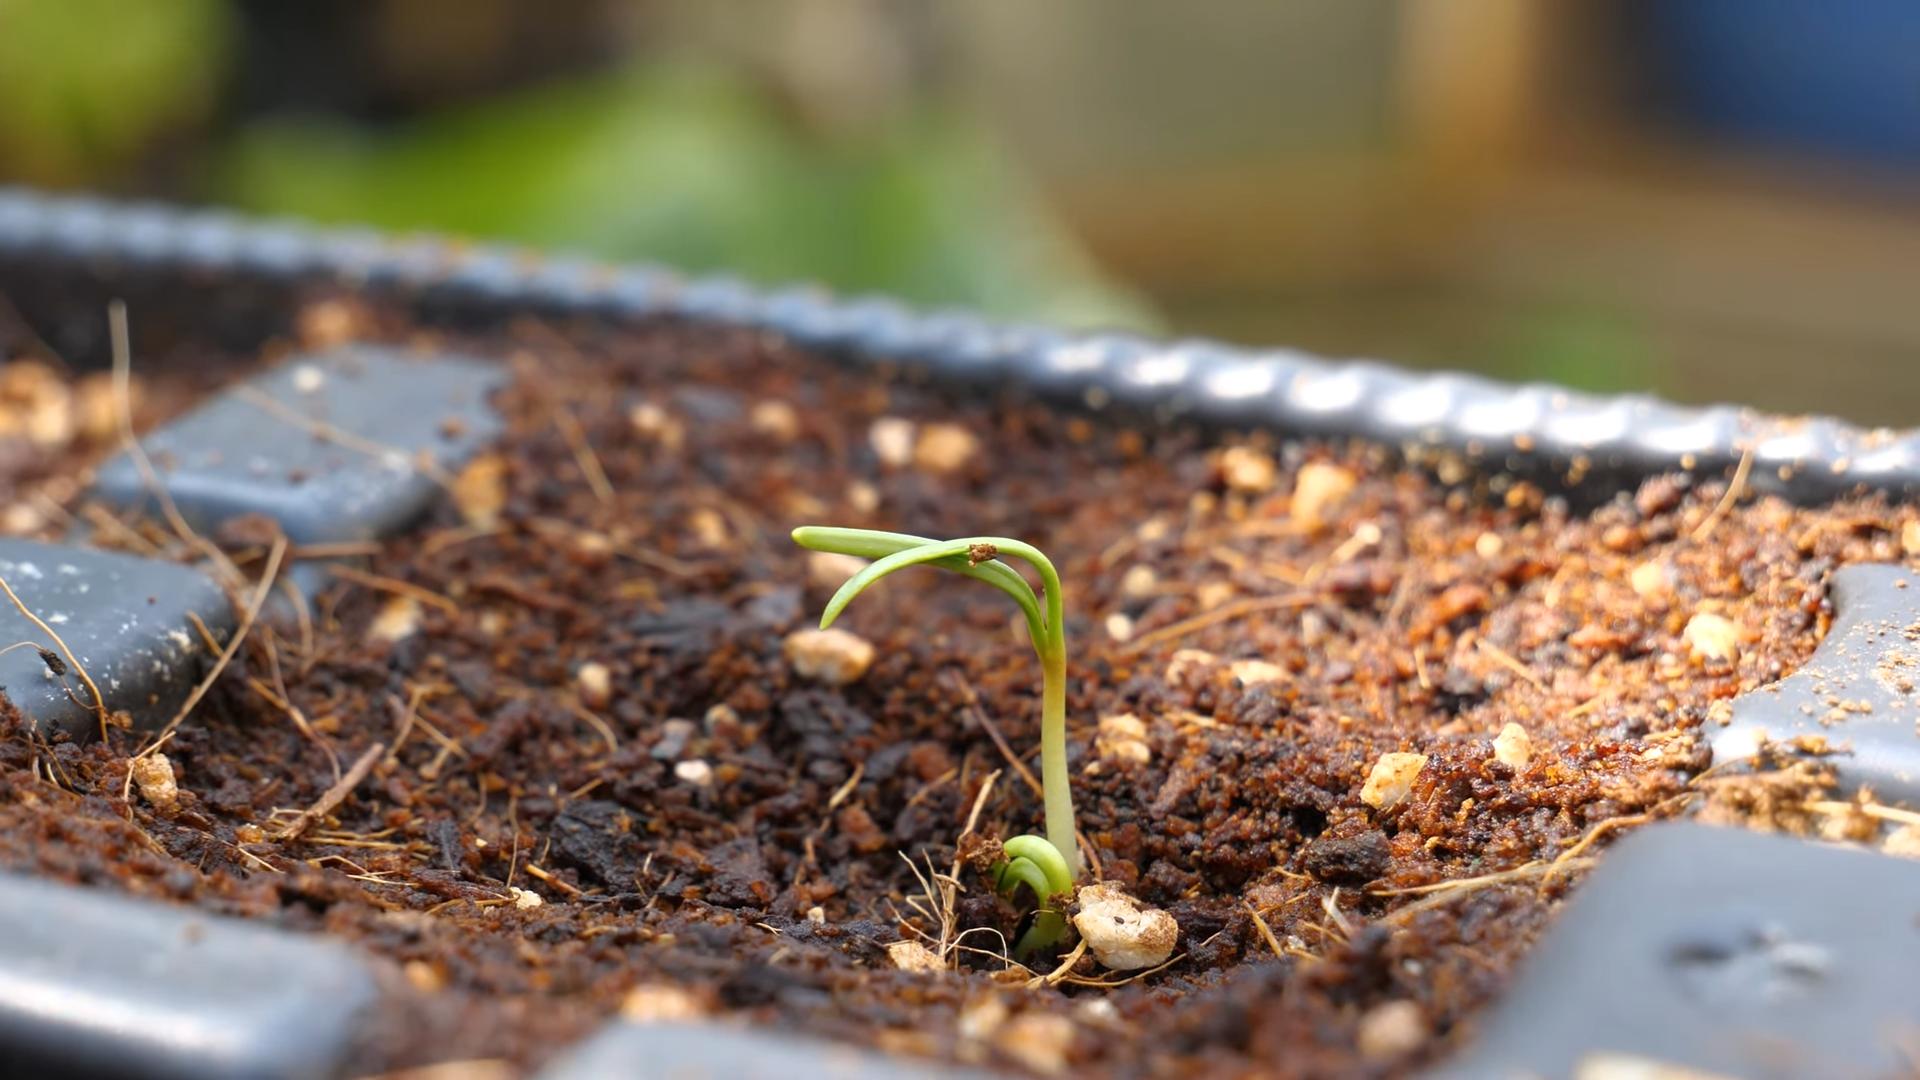
* Germination: Spinach seeds typically germinate in 5-10 days, depending on the temperature. Keep the soil consistently moist during this time.
Caring for Your Spinach Plants
Once your spinach seeds have germinated, it’s time to provide them with the care they need to thrive.
* Watering: Spinach needs consistent moisture to grow well. Water your plants regularly, especially during hot, dry weather. Check the soil moisture by sticking your finger into the soil. If the top inch of soil feels dry, it’s time to water. Avoid overwatering, as this can lead to root rot.
* Fertilizing: Spinach is a heavy feeder, so it needs regular fertilization. In addition to the slow-release fertilizer you added at planting time, you can also supplement with a liquid fertilizer every 2-3 weeks. Choose a fertilizer that’s specifically formulated for leafy greens. I like to use fish emulsion or seaweed extract.
* Thinning: If you sowed your seeds close together, you’ll need to thin them out once they’re a few inches tall. This will give the remaining plants enough room to grow. Simply snip off the weaker seedlings at the soil line. Don’t throw them away! You can add them to salads or smoothies.
* Weeding: Keep your container free of weeds. Weeds compete with your spinach plants for nutrients and water. Hand-pull any weeds that you see.
* Pest Control: Spinach is relatively pest-resistant, but it can be susceptible to aphids, slugs, and snails. Check your plants regularly for pests and take action if you see any. You can use insecticidal soap or neem oil to control aphids. For slugs and snails, you can use beer traps or diatomaceous earth.
* Bolting: Bolting is when spinach plants start to produce flowers and seeds. This usually happens when the weather gets too hot. Once spinach bolts, the leaves become bitter and unpalatable. To prevent bolting, provide your spinach plants with some afternoon shade during hot weather. You can also choose bolt-resistant varieties.
Harvesting Your Spinach
The moment we’ve all been waiting for! Harvesting your homegrown spinach is so rewarding.
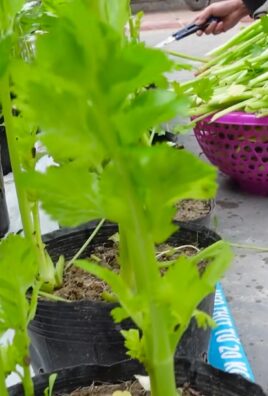
* When to Harvest: You can start harvesting spinach leaves when they’re about 4-6 inches long. The younger leaves are more tender and flavorful.
* How to Harvest: You can harvest spinach leaves by snipping them off with scissors or by gently pulling them off the plant. Avoid pulling the entire plant out of the ground.
* Cut-and-Come-Again: Spinach is a cut-and-come-again crop, which means that you can harvest the outer leaves and the plant will continue to produce new leaves. This allows you to harvest spinach for several weeks.
* Storage: Freshly harvested spinach is best eaten right away. However, you can store it in the refrigerator for up to a week. To store spinach, wash it thoroughly and pat it dry. Then, wrap it in a paper towel and place it in a plastic bag.
Troubleshooting Common Problems
Even with the best care, you might encounter some problems while growing spinach. Here are some common issues and how to fix them:
* Yellowing Leaves: This can be caused by a variety of factors, including nutrient deficiencies, overwatering, or underwatering. Check the soil moisture and fertilize your plants if necessary.
* Wilting Leaves: This is usually caused by underwatering or heat stress. Water your plants more frequently and provide them with some afternoon shade.
* Holes in Leaves: This is usually caused by pests, such as slugs, snails, or caterpillars. Check your plants for pests and take action if you see any.
* Slow Growth: This can be caused by a variety of factors, including poor soil, lack of sunlight, or nutrient deficiencies. Make sure your plants are getting enough sunlight and fertilize them if necessary.
Extending Your Spinach Season
Spinach is a cool-season crop, but you can extend your growing season by using a few simple techniques:
* Succession Planting: Sow new spinach seeds every 2-3 weeks to ensure a continuous harvest.
* Cold Frames or Row Covers: These can protect your spinach plants from frost and extend your growing season into the fall and winter.
* Shade Cloth: This can protect your spinach plants from the hot summer sun and prevent bolting.
Enjoying Your Homegrown Spinach
Now that you’ve harvested your homegrown spinach, it’s time to enjoy it! Spinach is incredibly versatile and can be used in a variety of dishes.
* Salads: Add fresh spinach leaves to your favorite salads.
* Smoothies: Blend spinach into your smoothies for a nutritional boost.
* Sou
Conclusion
So, there you have it! Growing your own fast-growing container spinach isn’t just a gardening project; it’s a gateway to fresher, healthier meals and a deeper connection with the food you eat. We’ve walked through the simple steps, highlighted the key benefits, and hopefully, inspired you to give it a try.
Why is this DIY trick a must-try? Because it puts you in control. You know exactly what’s going into your spinach – no pesticides, no long-distance transportation, just pure, homegrown goodness. Imagine stepping outside your door and harvesting a handful of vibrant, nutrient-packed spinach leaves for your morning smoothie, lunchtime salad, or evening stir-fry. The taste difference alone is worth the effort. Store-bought spinach simply can’t compare to the crisp, fresh flavor of homegrown.
Beyond the taste, consider the convenience. Having a container of spinach readily available means you’re more likely to incorporate it into your diet regularly. It eliminates those last-minute trips to the grocery store and reduces food waste. Plus, it’s incredibly satisfying to nurture something from seed to harvest.
But the benefits don’t stop there. Growing your own spinach is also a fantastic way to teach children about where their food comes from and encourage them to eat healthier. It’s a fun, educational activity that the whole family can enjoy.
Now, let’s talk about variations. While we’ve focused on a basic container setup, feel free to experiment! Try different types of spinach – baby spinach, savoy spinach, or even New Zealand spinach (which is technically not a true spinach but grows similarly and thrives in warmer weather). You can also add companion plants to your container, such as radishes or marigolds, which can help deter pests and improve the overall health of your spinach.
Consider using different types of containers as well. While a standard pot works perfectly fine, you could also use a hanging basket, a window box, or even a repurposed container like an old bucket or tub. Just make sure it has adequate drainage.
Another variation is to experiment with different growing mediums. While a standard potting mix is a good starting point, you can also add compost, worm castings, or other organic amendments to enrich the soil and provide your spinach with extra nutrients.
Don’t be afraid to get creative and personalize your container spinach garden to suit your own needs and preferences.
We truly believe that anyone can successfully grow their own fast-growing container spinach, regardless of their gardening experience. It’s a simple, rewarding project that offers a multitude of benefits.
So, what are you waiting for? Grab a container, some potting mix, and some spinach seeds, and get started today! We’re confident that you’ll be amazed at how easy and rewarding it is to grow your own fresh, delicious spinach.
And most importantly, we want to hear about your experience! Share your photos, tips, and stories with us in the comments below. Let us know what worked for you, what challenges you faced, and any creative variations you tried. Together, we can create a community of spinach-growing enthusiasts and inspire others to embrace the joys of homegrown food. Happy gardening!
Frequently Asked Questions (FAQ)
How long does it really take for container spinach to grow?
The “fast-growing” aspect of container spinach is a major draw, but the exact timeframe depends on a few factors. Generally, you can expect to start harvesting baby spinach leaves in as little as 3-4 weeks after planting. For larger, more mature leaves, you’ll need to wait around 6-8 weeks. However, these are just estimates. The actual growth rate will be influenced by factors such as the variety of spinach you’re growing, the amount of sunlight it receives, the temperature, and the quality of the soil. Consistently watering and providing adequate nutrients will significantly speed up the process.
What kind of container is best for growing spinach?
The ideal container for growing spinach should be at least 6-8 inches deep and wide. This provides enough space for the roots to develop properly. The material of the container isn’t as crucial, but make sure it has good drainage holes to prevent waterlogging. Plastic, terracotta, and even repurposed containers like buckets or tubs can work well. Consider the location where you’ll be placing the container and choose a size that’s manageable to move if needed. Dark-colored containers can heat up quickly in direct sunlight, so opt for lighter colors if you live in a hot climate.
How much sunlight does container spinach need?
Spinach thrives in partial shade, especially in warmer climates. Aim for at least 4-6 hours of sunlight per day. In hotter regions, providing afternoon shade is crucial to prevent the leaves from wilting or bolting (going to seed prematurely). If you’re growing spinach indoors, you may need to supplement with grow lights to ensure it receives enough light. Observe your spinach plants closely and adjust their location as needed based on their growth and appearance. Leggy growth (long, thin stems) indicates insufficient light.
What kind of soil is best for container spinach?
Spinach prefers well-draining, fertile soil with a pH between 6.0 and 7.0. A good quality potting mix is a great starting point. You can further enrich the soil by adding compost, worm castings, or other organic matter. These amendments will provide essential nutrients and improve the soil’s water retention and drainage. Avoid using garden soil in containers, as it can become compacted and doesn’t drain as well.
How often should I water my container spinach?
Spinach needs consistent moisture to thrive, but it doesn’t like to be waterlogged. Water your container spinach whenever the top inch of soil feels dry to the touch. The frequency of watering will depend on the weather, the size of the container, and the type of soil you’re using. In hot, dry weather, you may need to water daily. In cooler, wetter weather, you may only need to water every few days. Check the soil moisture regularly and adjust your watering schedule accordingly.
How do I fertilize my container spinach?
Spinach is a heavy feeder, so it benefits from regular fertilization. You can use a balanced liquid fertilizer diluted to half strength every 2-3 weeks. Alternatively, you can incorporate slow-release fertilizer granules into the soil at planting time. Organic options like compost tea or fish emulsion are also excellent choices. Avoid over-fertilizing, as this can lead to excessive leaf growth and reduced flavor.
What are some common pests and diseases that affect container spinach?
Common pests that can affect container spinach include aphids, spider mites, and slugs. Aphids and spider mites can be controlled with insecticidal soap or neem oil. Slugs can be deterred with beer traps or copper tape. Diseases that can affect spinach include downy mildew and leaf spot. To prevent these diseases, ensure good air circulation around your plants and avoid overhead watering. If you notice any signs of disease, remove the affected leaves immediately.
How do I harvest container spinach?
You can start harvesting spinach leaves as soon as they are large enough to eat. Simply snip off the outer leaves with scissors or a knife, leaving the inner leaves to continue growing. This cut-and-come-again method allows you to harvest spinach continuously over a period of several weeks. Avoid harvesting more than one-third of the plant at a time to ensure it continues to produce new leaves.
What is bolting, and how can I prevent it?
Bolting is when spinach plants prematurely go to seed, which makes the leaves bitter and unpalatable. Bolting is typically triggered by hot weather or long days. To prevent bolting, choose bolt-resistant varieties of spinach, provide afternoon shade, and water regularly to keep the soil cool. You can also mulch around the plants to help retain moisture and regulate soil temperature.
Can I grow container spinach indoors?
Yes, you can grow container spinach indoors, but you’ll need to provide adequate light. Place your spinach plants near a sunny window that receives at least 4-6 hours of direct sunlight per day. If you don’t have enough natural light, you can supplement with grow lights. Keep the temperature between 60-70°F (15-21°C) and provide good air circulation.
What are some good companion plants for container spinach?
Good companion plants for container spinach include radishes, lettuce, carrots, and marigolds. Radishes help to break up the soil and deter pests. Lettuce provides shade for the spinach roots. Carrots attract beneficial insects. Marigolds repel nematodes and other pests. Avoid planting spinach near fennel, as it can inhibit its growth.
How do I store harvested spinach?
To store harvested spinach, wash it thoroughly and pat it dry with a paper towel. Store it in a plastic bag or container in the refrigerator. Spinach is best used within a few days of harvesting.
Is growing fast-growing container spinach worth it?
Absolutely! The fresh taste, convenience, and health benefits make it a worthwhile endeavor for any gardener, beginner or experienced. Plus, it’s a sustainable way to enjoy delicious spinach right from your own home.


Leave a Comment