

Fresh Kitchen Dill Harvest – the very words conjure up images of fragrant sprigs, vibrant green, ready to elevate your culinary creations! But what if I told you that achieving a bountiful fresh kitchen dill harvest, right from your own windowsill, is easier than you think? Forget those sad, wilted bunches from the grocery store; we’re diving into the world of DIY gardening to bring the taste of summer directly to your plate.
Dill, with its delicate feathery leaves, has been cherished for centuries. Ancient Egyptians used it for medicinal purposes, while the Romans believed it brought good fortune. Today, dill remains a staple in cuisines worldwide, adding a distinctive flavor to everything from pickles and dips to fish and salads. But let’s face it, buying fresh dill regularly can be expensive and wasteful. That’s where our DIY magic comes in!
This article is your ultimate guide to cultivating a thriving dill patch indoors. I’ll share my favorite tricks and hacks, from choosing the right container to mastering the art of watering and harvesting. Imagine the satisfaction of snipping off fresh dill whenever you need it, knowing you grew it yourself! Whether you’re a seasoned gardener or a complete beginner, these simple steps will empower you to enjoy a continuous supply of this flavorful herb. So, grab your gardening gloves, and let’s get started on your journey to a delicious and rewarding fresh kitchen dill harvest!
DIY Dill Preservation: From Garden to Gourmet
Hey there, fellow foodies and garden enthusiasts! So, you’ve got a bumper crop of dill, huh? I know the feeling! Fresh dill is amazing, but it wilts faster than you can say “tzatziki.” Don’t worry, I’m here to share my favorite methods for preserving that vibrant, herbaceous goodness so you can enjoy it all year round. We’ll cover everything from freezing to drying to making dill-infused vinegar. Let’s get started!
Freezing Dill: Lock in the Freshness
Freezing is my go-to method for preserving dill because it retains the most flavor and color. It’s super easy, and you can use the frozen dill directly in your cooking without thawing.
What You’ll Need:
* Fresh dill sprigs
* Water
* Clean kitchen towel or salad spinner
* Freezer bags or airtight containers
* Optional: Ice cube trays
Step-by-Step Instructions:
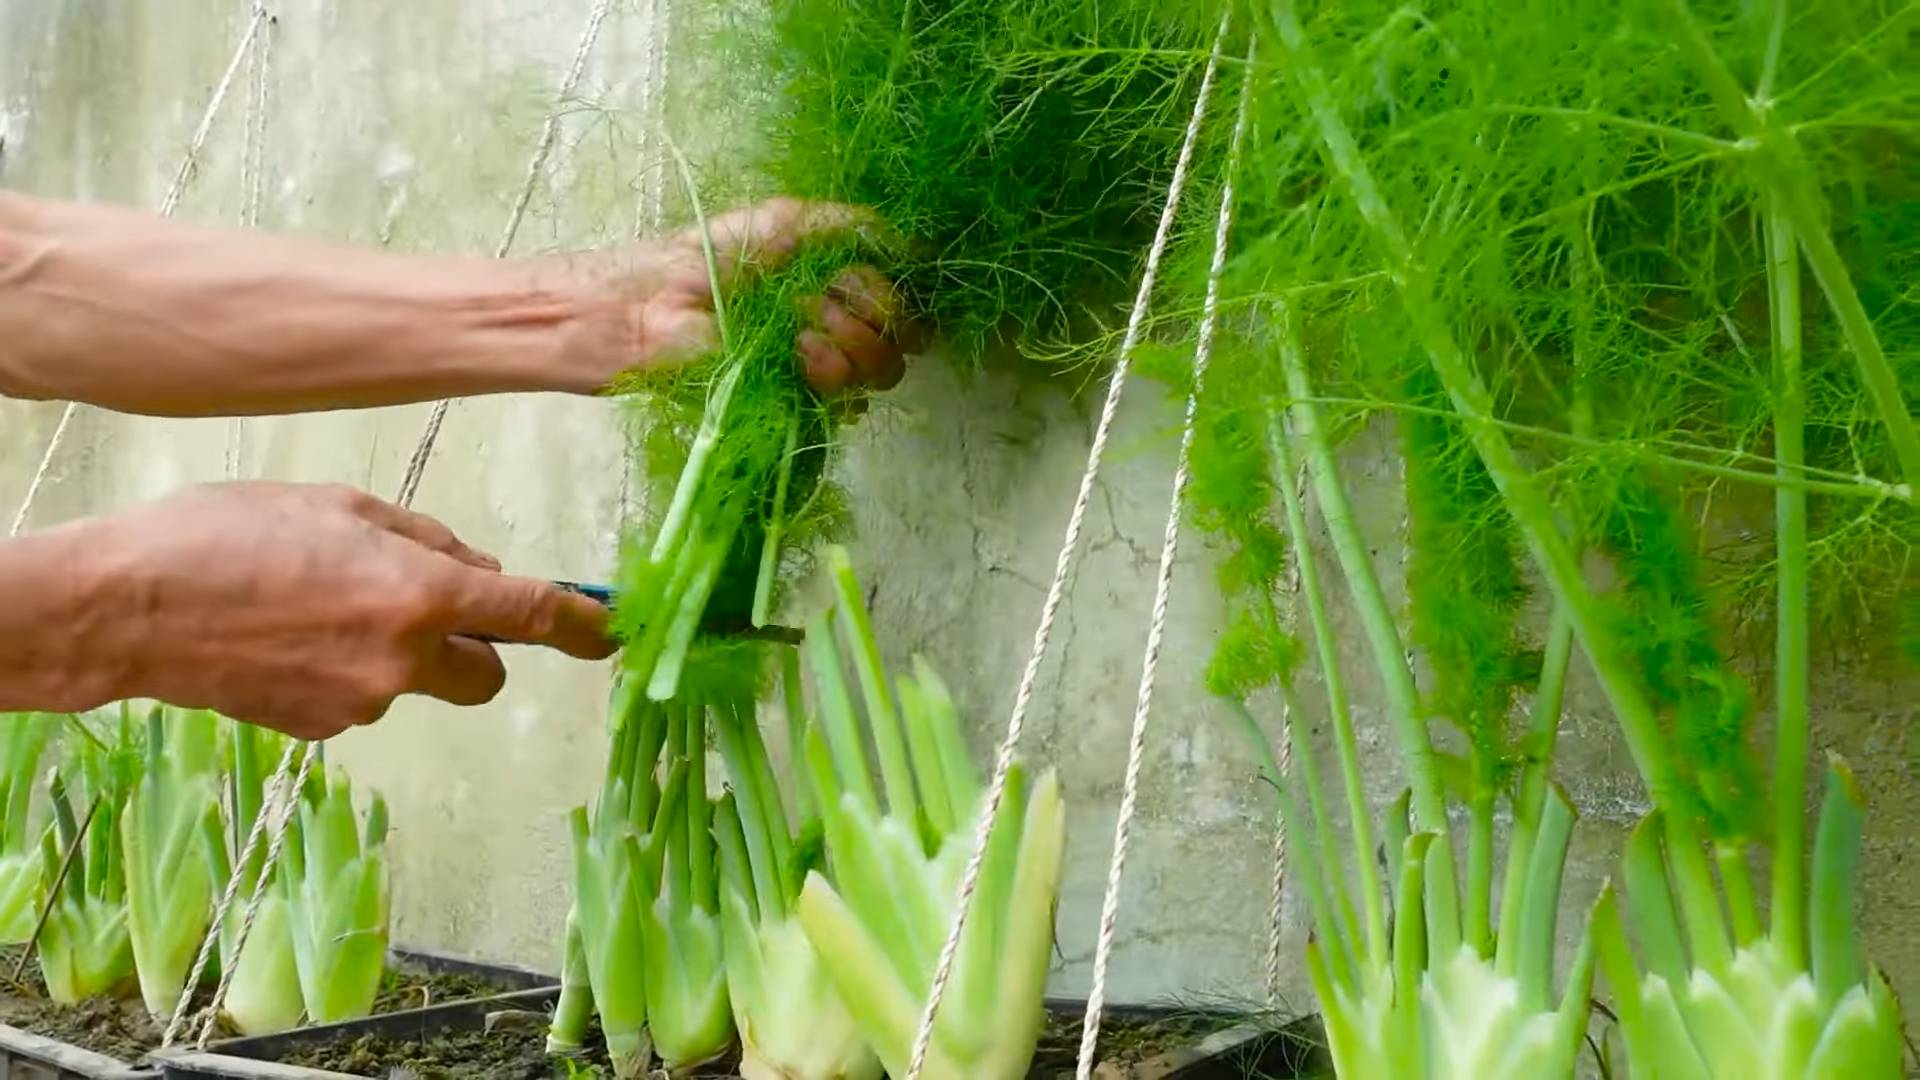
1. Harvest and Wash: Carefully harvest your dill sprigs. Gently wash them under cool running water to remove any dirt or debris. I like to swish them around in a bowl of water first, then rinse them thoroughly.
2. Dry Thoroughly: This is crucial! Excess moisture will cause ice crystals to form, which can affect the texture and flavor of your dill. Use a clean kitchen towel to pat the dill sprigs dry, or spin them in a salad spinner. I usually do both to make sure they’re really dry.
3. Choose Your Freezing Method: You have a couple of options here:
* Freezing Whole Sprigs: This is the easiest method. Simply lay the dried dill sprigs in a single layer on a baking sheet lined with parchment paper. Freeze for about 1-2 hours, or until the sprigs are frozen solid. This prevents them from clumping together in the freezer bag. Once frozen, transfer the sprigs to a freezer bag or airtight container. Label with the date and “Frozen Dill.”
* Freezing Chopped Dill: If you prefer to have chopped dill ready to go, chop the dried dill sprigs into small pieces. Spread the chopped dill on a parchment-lined baking sheet and freeze as described above. Transfer the frozen chopped dill to a freezer bag or container, label, and date.
* Freezing Dill in Ice Cubes: This is perfect for adding dill to soups, stews, or sauces. Chop the dill and pack it into ice cube trays. Fill each cube with water or olive oil. Freeze until solid. Once frozen, pop the dill cubes out of the trays and transfer them to a freezer bag or container. Label and date. I prefer using olive oil because it helps preserve the flavor even better.
4. Seal and Store: Make sure to remove as much air as possible from the freezer bags or containers before sealing. This will help prevent freezer burn. I like to use a straw to suck out the excess air from freezer bags.
5. Use Within 6-12 Months: Frozen dill will retain its flavor and quality for about 6-12 months.
Drying Dill: Concentrated Flavor
Drying dill is another great way to preserve it. Dried dill has a more concentrated flavor than fresh dill, so you’ll need to use less of it in your recipes.
What You’ll Need:
* Fresh dill sprigs
* Clean kitchen towel or salad spinner
* Rubber bands or twine
* Paper bags (optional)
* Dehydrator (optional)
* Oven (optional)
* Airtight containers or jars
Step-by-Step Instructions:
1. Harvest and Wash: Harvest your dill sprigs and wash them thoroughly, just like you did for freezing.
2. Dry Thoroughly: Again, drying is key! Pat the dill sprigs dry with a clean kitchen towel or spin them in a salad spinner.
3. Choose Your Drying Method: You have several options for drying dill:
* Air Drying: This is the most traditional method and requires no special equipment. Gather the dill sprigs into small bunches and tie them together with rubber bands or twine. Hang the bunches upside down in a cool, dark, and well-ventilated place. You can cover the bunches with paper bags to protect them from dust and light. Make sure to poke holes in the bags for ventilation. It usually takes 1-3 weeks for the dill to dry completely. The dill is dry when the leaves are brittle and crumble easily.
* Dehydrator Drying: If you have a dehydrator, this is the fastest and most efficient way to dry dill. Spread the dill sprigs in a single layer on the dehydrator trays. Set the dehydrator to the lowest temperature setting (usually around 95-115°F or 35-46°C) and dry for 2-4 hours, or until the dill is completely dry and brittle.
* Oven Drying: You can also dry dill in the oven, but you need to be very careful not to burn it. Preheat your oven to the lowest possible temperature (usually around 170°F or 77°C). Spread the dill sprigs in a single layer on a baking sheet lined with parchment paper. Place the baking sheet in the oven and prop the oven door open slightly to allow moisture to escape. Dry for 2-4 hours, or until the dill is completely dry and brittle. Check the dill frequently to make sure it’s not burning.
4. Store Properly: Once the dill is completely dry, crumble the leaves and stems into an airtight container or jar. Store in a cool, dark, and dry place.
5. Use Within 1 Year: Dried dill will retain its flavor and quality for about 1 year.
Dill-Infused Vinegar: A Tangy Twist
Dill-infused vinegar is a delicious way to add a tangy dill flavor to salads, marinades, and sauces. It’s also super easy to make!
What You’ll Need:
* Fresh dill sprigs
* White wine vinegar or apple cider vinegar
* Clean glass jar with a lid
Step-by-Step Instructions:
1. Prepare the Dill: Wash the dill sprigs thoroughly and pat them dry.
2. Pack the Jar: Pack the dill sprigs tightly into the clean glass jar. You can use whole sprigs or chop them into smaller pieces. I like to use a combination of both.
3. Add the Vinegar: Pour the vinegar over the dill sprigs, making sure to completely submerge them. Leave about 1/2 inch of headspace at the top of the jar.
4. Seal and Store: Seal the jar tightly with a lid. Store the jar in a cool, dark place for at least 2 weeks. The longer you let it infuse, the stronger the dill flavor will be. I usually let mine infuse for about 4-6 weeks.
5. Strain (Optional): After the infusion period, you can strain the vinegar to remove the dill sprigs. This will give you a clearer vinegar. However, I usually leave the dill sprigs in the vinegar because I like the way they look.
6. Use Within 1 Year: Dill-infused vinegar will last for about 1 year. Store it in a cool, dark place.
Dill Pesto: A Vibrant Green Sauce
Dill pesto is a delicious and versatile sauce that can be used on pasta, sandwiches, grilled meats, and more. It’s a great way to use up a large amount of fresh dill.
What You’ll Need:
* 2 cups fresh dill, roughly chopped
* 1/2 cup pine nuts or walnuts
* 2 cloves garlic, minced
* 1/2 cup grated Parmesan cheese
* 1/2 cup olive oil
* Salt and pepper to taste
* Optional: Lemon juice
Step-by-Step Instructions:
1. Toast the Nuts: Toast the pine nuts or walnuts in a dry skillet over medium heat for about 3-5 minutes, or until they are lightly golden brown and fragrant. Be careful not to burn them!
2. Combine Ingredients: In a food processor, combine the dill, toasted nuts, garlic, and Parmesan cheese. Pulse until finely chopped.
3. Add Olive Oil: With the food processor running, slowly drizzle in the olive oil until the pesto is smooth and creamy.
4. Season to Taste: Season the pesto with salt and pepper to taste. You can also add a squeeze of lemon juice for a brighter flavor.
5. Store Properly: Transfer the pesto to an airtight container. Drizzle a thin layer of olive oil over the top to help prevent oxidation. Store in the refrigerator for up to 1 week, or freeze for up to 3 months.
Dill Oil: Flavorful Infusion
Dill oil is a fantastic way to capture the essence of fresh
Conclusion
So, there you have it! Transforming your abundant fresh kitchen dill harvest into perfectly preserved, flavorful dill cubes is not just a practical solution; it’s a game-changer for your culinary adventures. Forget about limp, lifeless dill from the grocery store – with this simple DIY trick, you’ll have vibrant, aromatic dill at your fingertips whenever inspiration strikes.
Why is this a must-try? Because it’s efficient, cost-effective, and significantly elevates the flavor profile of your dishes. Imagine adding a burst of fresh dill to your winter soups, creamy dips, or even a simple scrambled egg, all thanks to the foresight you took during your dill harvest. The convenience alone is worth the effort. No more wasted herbs, no more last-minute grocery runs – just pure, unadulterated dill goodness ready to enhance your meals.
But the beauty of this method lies not only in its practicality but also in its adaptability. Feel free to experiment with variations to suit your personal preferences. For instance, consider adding a touch of olive oil to the dill before blending for an even smoother consistency and enhanced preservation. You could also incorporate other complementary herbs like parsley or chives for a custom herb blend that perfectly matches your favorite recipes. Another exciting variation is to infuse the olive oil you use with garlic or chili flakes before blending it with the dill, adding an extra layer of flavor to your frozen cubes. Think of the possibilities! Garlic dill cubes for roasted potatoes, or chili-infused dill cubes for a spicy seafood stew.
This DIY dill cube method is more than just a preservation technique; it’s an invitation to get creative in the kitchen. It’s about taking control of your ingredients and ensuring that you always have the freshest, most flavorful herbs on hand.
We wholeheartedly encourage you to try this DIY trick with your next fresh kitchen dill harvest. It’s a simple process that yields incredible results, and we’re confident that you’ll be amazed at the difference it makes in your cooking.
Once you’ve given it a go, we’d absolutely love to hear about your experience! Share your tips, variations, and favorite ways to use your homemade dill cubes in the comments below. Did you try a unique herb blend? Did you discover a particularly delicious dish that was elevated by your preserved dill? Let us know! Your feedback will not only help other readers but also inspire us to continue sharing innovative and practical kitchen tips.
Don’t let your precious dill harvest go to waste. Embrace this simple yet effective method and unlock a world of culinary possibilities. Happy cooking!
Frequently Asked Questions (FAQ)
Q: How long will the dill cubes last in the freezer?
A: When stored properly in an airtight container or freezer bag, dill cubes can last for up to 6-12 months in the freezer. The key is to minimize air exposure to prevent freezer burn and maintain the best possible flavor and texture. Make sure to label the container with the date you made the cubes so you can easily keep track of their freshness. While they may still be safe to eat after 12 months, the flavor and aroma will likely diminish over time.
Q: Can I use dried dill instead of fresh dill for this method?
A: While you can technically use dried dill, the results won’t be the same. Fresh dill has a much more vibrant and nuanced flavor than dried dill. The purpose of this method is to preserve the fresh flavor of your kitchen dill harvest. Dried dill is already preserved, so there’s no need to freeze it in cubes. If you only have dried dill on hand, it’s best to use it directly in your recipes according to the package instructions. Remember that dried herbs are generally more potent than fresh herbs, so you’ll need to use less.
Q: What’s the best way to thaw the dill cubes?
A: The beauty of dill cubes is that you often don’t need to thaw them at all! You can add them directly to soups, stews, sauces, and other cooked dishes. The heat will quickly thaw the dill and release its flavor. If you’re using the dill in a cold dish, such as a salad dressing or dip, you can thaw the cubes in the refrigerator for a few hours or at room temperature for a shorter period. Alternatively, you can microwave them for a few seconds, but be careful not to overheat them.
Q: Can I use water instead of olive oil when blending the dill?
A: While you can use water, olive oil is generally recommended for several reasons. First, olive oil helps to preserve the dill’s flavor and color. Second, it adds a richness and smoothness to the cubes. Third, the fat in the olive oil helps to protect the dill from freezer burn. If you’re concerned about the fat content, you can use a light olive oil or a blend of olive oil and water. However, keep in mind that the cubes may not last as long in the freezer if you use water alone.
Q: My dill cubes turned brown in the freezer. Are they still safe to eat?
A: Browning of dill cubes in the freezer is usually a sign of freezer burn. While they are still safe to eat, the flavor and texture may be compromised. Freezer burn occurs when moisture evaporates from the surface of the food, causing it to dry out and discolor. To prevent freezer burn, make sure to store the dill cubes in an airtight container or freezer bag and remove as much air as possible. You can also try wrapping the cubes in plastic wrap before placing them in the container.
Q: Can I freeze other herbs using this same method?
A: Absolutely! This method works well for preserving a variety of herbs, including parsley, cilantro, basil, chives, and oregano. The key is to choose herbs that are best used fresh. Heartier herbs like rosemary and thyme tend to retain their flavor and texture better when dried. When freezing multiple types of herbs, consider creating custom herb blends that you can use in your favorite recipes.
Q: What if I don’t have an ice cube tray? Can I use something else?
A: If you don’t have an ice cube tray, you can use other small containers, such as mini muffin tins or silicone molds. Just make sure that the containers are freezer-safe and that you can easily remove the frozen dill cubes. You can also spread the blended dill mixture in a thin layer on a baking sheet lined with parchment paper and freeze it. Once frozen, break it into smaller pieces and store them in a freezer bag.
Q: How do I prevent the dill from clumping together when I blend it?
A: To prevent the dill from clumping together, make sure to chop it finely before adding it to the blender or food processor. You can also add a small amount of olive oil to the dill before blending to help it break down more easily. If the dill is still clumping, try pulsing the blender or food processor in short bursts to avoid over-processing.
Q: Can I add lemon juice to the dill cubes for extra flavor and preservation?
A: Yes, adding a small amount of lemon juice (about 1 teaspoon per cup of dill) can enhance the flavor and act as a natural preservative. The acidity in the lemon juice helps to prevent oxidation and maintain the vibrant green color of the dill. Just be mindful that the lemon flavor will be present in your dishes, so use it judiciously depending on the recipe.
Q: Is it necessary to blanch the dill before freezing it?
A: Blanching is not necessary for this method. Blanching is typically used to preserve vegetables by stopping enzyme activity that can cause them to lose color, flavor, and texture. However, dill is a delicate herb that doesn’t require blanching. The olive oil and freezing process are sufficient to preserve its quality. Blanching could actually diminish the flavor and aroma of the dill.


Leave a Comment