

Cupcake Liner Crafts: Unleash Your Creativity with Easy DIY Projects
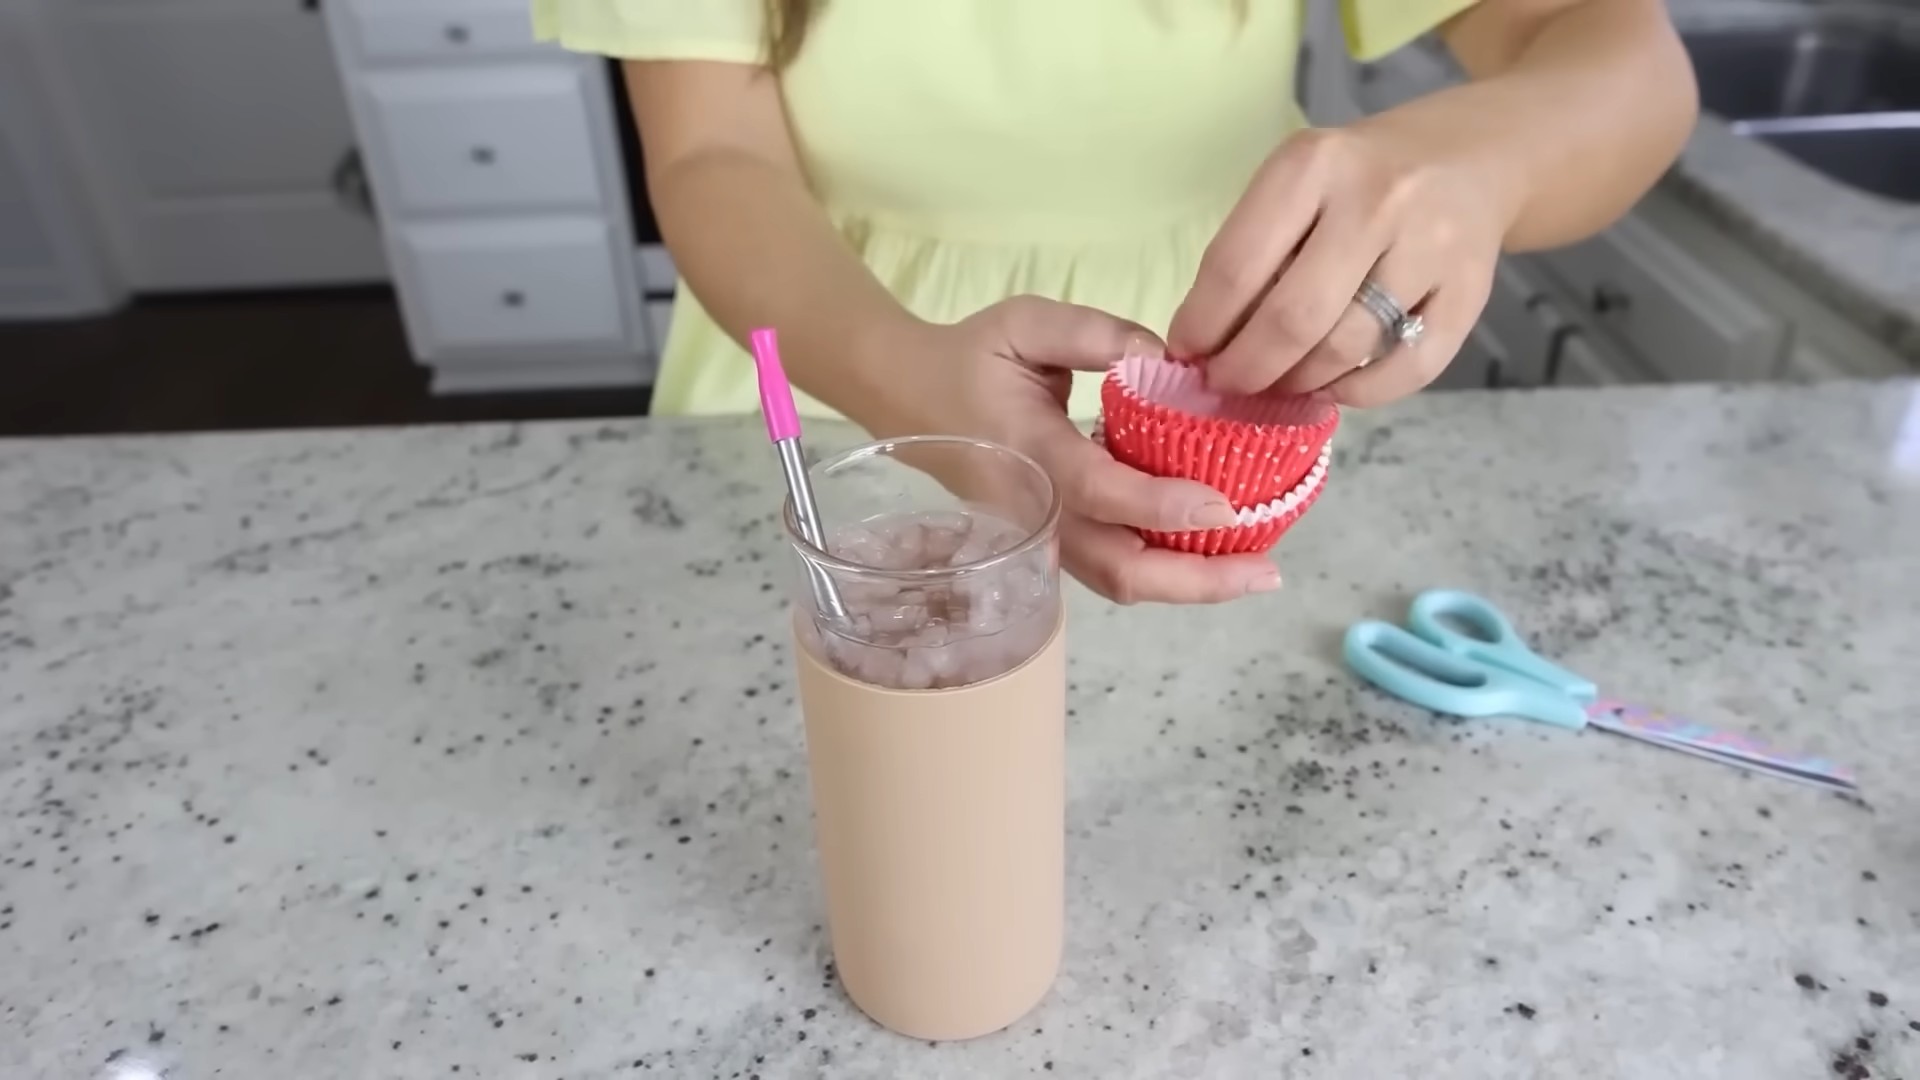
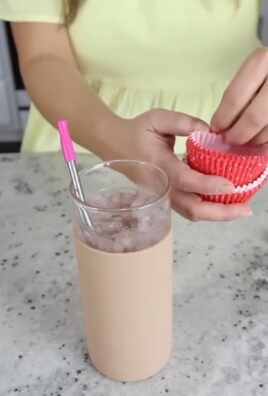
Have you ever stared at a box of colorful cupcake liners, thinking there’s got to be more to them than just baking? Well, you’re absolutely right! This article is all about Cupcake Liner Crafts – a fun, affordable, and surprisingly versatile way to unleash your inner artist and create beautiful, unique items for your home or as thoughtful gifts. I’ve always loved finding creative uses for everyday objects, and cupcake liners are a perfect example of something readily available that can be transformed into something truly special.
While the humble cupcake liner might seem insignificant, its history is surprisingly intertwined with the evolution of baking itself. From simple paper cups to the vibrantly colored and patterned options we have today, these little discs have played a role in countless kitchen adventures across cultures and generations. But their usefulness extends far beyond the oven!
Why should you dive into the world of Cupcake Liner Crafts? Because it’s a fantastic way to recycle, reduce waste, and get creative without breaking the bank. These simple DIY projects are perfect for all skill levels, from beginners looking for a fun afternoon activity to seasoned crafters seeking a new challenge. Whether you’re looking to create festive decorations, charming gift wrap, or even unique home décor, cupcake liners offer a wealth of possibilities. You’ll be amazed at what you can achieve with a little imagination and these readily available materials!
Get Ready to be Inspired!
In the following sections, I’ll share some of my favorite and easiest Cupcake Liner Crafts, complete with step-by-step instructions and helpful tips. Let’s transform those ordinary cupcake liners into extraordinary creations!
Building a Custom Bookshelf from Reclaimed Wood
I love the look of reclaimed wood, and I’ve always wanted a unique bookshelf. So, I decided to build my own! This project took a bit of time, but the result is a beautiful, one-of-a-kind piece I’m incredibly proud of. Here’s how I did it:
Gathering Your Materials
- Reclaimed wood planks (I used about 10, varying in width and length – the rustic look is part of the charm!). Make sure the wood is clean and relatively dry.
- Wood glue
- Wood screws (various lengths depending on plank thickness)
- Wood filler
- Sandpaper (various grits – I used 80, 120, and 220)
- Wood stain (your choice of color – I went with a dark walnut)
- Polyurethane sealant (clear)
- Measuring tape
- Level
- Drill with various drill bits
- Safety glasses
- Work gloves
- Clamps (lots of them!)
- Putty knife
- Paintbrushes (for stain and sealant)
- Rag or clean cloths
Preparing the Wood
1. Clean the wood: Before starting, I thoroughly cleaned each plank using a stiff brush and a damp cloth to remove any dirt, debris, or loose bits of wood. Let them dry completely.
2. Assess and cut: I laid out my planks to visualize the overall design of my bookshelf. I wanted a slightly asymmetrical look, so I didn’t worry about making them all perfectly uniform. I used a saw (a circular saw worked best for me) to cut some planks to the desired lengths for the shelves and sides. Remember to measure twice, cut once!
3. Sanding: This is where the elbow grease comes in. I started with 80-grit sandpaper to smooth out any rough spots or splinters. Then, I moved to 120-grit and finally 220-grit for a super smooth finish. Sanding in the direction of the wood grain is crucial to avoid scratches.
Assembling the Bookshelf
1. Applying glue: I applied a generous amount of wood glue to the ends of the planks that would form the vertical supports (the sides of the bookshelf).
2. Clamping: This is important! I clamped the vertical supports together, ensuring they were perfectly aligned and square. I used several clamps to apply even pressure. Let the glue set for at least 30 minutes, or according to the manufacturer’s instructions.
3. Pre-drilling pilot holes: Before screwing in the shelves, I pre-drilled pilot holes to prevent the wood from splitting. This is especially important with reclaimed wood, as it can be more brittle than new lumber.
4. Attaching the shelves: I carefully positioned each shelf between the vertical supports and secured them using wood screws. I made sure the shelves were level using my level. Don’t overtighten the screws, or you risk stripping the wood.
5. Filling gaps: Even with careful measuring and cutting, there might be small gaps between the planks. I filled these gaps with wood filler, using a putty knife to smooth it out. Let the wood filler dry completely before sanding.
6. Sanding again: Once the wood filler was dry, I sanded the entire bookshelf again, using the same grits of sandpaper as before, to ensure a smooth surface.
Finishing Touches
1. Applying stain: I applied the wood stain using a brush, following the direction of the wood grain. I let it sit for the recommended time before wiping off any excess stain with a clean rag. Make sure to work in a well-ventilated area.
2. Applying sealant: After the stain had dried completely, I applied two coats of polyurethane sealant, allowing each coat to dry thoroughly before applying the next. This protects the wood and enhances its beauty. Again, work in a well-ventilated area.
Final Steps
1. Clean up: Once everything is dry, I cleaned up any excess stain or sealant with a clean rag.
2. Placement: I carefully placed my beautiful, custom-built bookshelf in its new home. Admire your handiwork!
Building this bookshelf was a rewarding experience. It was challenging at times, but seeing the finished product makes it all worthwhile. Remember to take your time, be patient, and most importantly, have fun!

Conclusion
So there you have it! A whirlwind tour of the amazing world of cupcake liner crafts. From whimsical flowers to charming animals, the possibilities are truly endless when you unleash your creativity with these humble little paper cups. This DIY trick isn’t just about crafting; it’s about unlocking a playful side, embracing resourcefulness, and experiencing the satisfaction of transforming something ordinary into something extraordinary. The beauty of cupcake liner crafts lies in their accessibility. They require minimal materials, are incredibly budget-friendly, and are perfect for all skill levels, from seasoned crafters to enthusiastic beginners. Whether you’re looking for a fun weekend project, a creative outlet to relieve stress, or a unique way to engage children in a hands-on activity, cupcake liner crafts deliver on all fronts.
Beyond the projects we’ve explored, the possibilities for customization are vast. Experiment with different colors and patterns of cupcake liners to achieve unique visual effects. Consider adding embellishments like glitter, sequins, or small beads to elevate your creations. For a more rustic look, try using natural materials like twine or dried flowers. You can even incorporate cupcake liner crafts into other projects – imagine using them as decorative elements in gift wrapping, scrapbooking, or even as unique lampshades! The only limit is your imagination.
We strongly encourage you to try your hand at these simple yet rewarding cupcake liner crafts. The process is incredibly therapeutic, and the results are guaranteed to impress. Share your creations with us on social media – we’d love to see what you come up with! Use the hashtag #CupcakeLinerCrafts to connect with other enthusiasts and inspire others to embark on their own crafting adventures. Don’t be afraid to experiment, to make mistakes, and to learn from the process. The joy of crafting lies not just in the finished product, but in the journey itself. So gather your supplies, unleash your inner artist, and discover the magic of cupcake liner crafts. You might be surprised at what you can create!
Frequently Asked Questions
What types of cupcake liners are best for crafting?
While you can use almost any type of cupcake liner, paper liners are generally preferred for crafting. Avoid using foil liners, as they are less pliable and more difficult to work with. For intricate designs, consider using liners with a slightly thicker paper stock for better durability. Experiment with different colors, patterns, and sizes to find what works best for your projects.
Are cupcake liner crafts suitable for children?
Absolutely! Cupcake liner crafts are a fantastic activity for children of all ages. They are simple enough for younger children to participate in with adult supervision, while offering enough complexity to keep older children engaged. It’s a great way to foster creativity, fine motor skills, and problem-solving abilities. Just ensure adult supervision, especially with younger children, to prevent any potential choking hazards from small embellishments.
How can I preserve my cupcake liner crafts?
The longevity of your cupcake liner crafts will depend on the materials used and the environment they are stored in. For simple crafts, you may not need any special preservation methods. However, if you’re using delicate embellishments or want to protect your creations from dust and damage, consider displaying them under glass or in a protective case. Avoid exposing them to direct sunlight or moisture, which can cause fading or damage.
What if I don’t have all the materials listed in the instructions?
Don’t worry! The beauty of cupcake liner crafts is their adaptability. If you don’t have a specific material listed, feel free to substitute it with something similar. Get creative and explore different materials to see what works best for you. The most important thing is to have fun and let your creativity flow. You can often find alternative materials around your house, reducing waste and embracing a sustainable approach to crafting.
Where can I find cupcake liners?
Cupcake liners are readily available at most grocery stores, supermarkets, and even dollar stores. You can find a wide variety of colors, patterns, and sizes to suit your crafting needs. Online retailers also offer a vast selection, often at competitive prices. Consider buying in bulk if you plan on doing a lot of cupcake liner crafts, as this can save you money in the long run.
Can I use cupcake liners for other crafts besides the ones mentioned?
Absolutely! The versatility of cupcake liners makes them suitable for a wide range of crafts. Think beyond flowers and animals – use them to create decorative elements for gift wrapping, scrapbooking, party decorations, or even as unique embellishments for clothing or accessories. Let your imagination run wild and explore the endless possibilities of this simple yet versatile crafting material. The only limit is your creativity!
What are some tips for beginners working with cupcake liners?
For beginners, start with simpler projects to build confidence and familiarity with the material. Don’t be afraid to experiment and make mistakes – it’s all part of the learning process. Watch tutorials online for visual guidance and inspiration. Gather all your materials before you begin to avoid interruptions. Most importantly, have fun and enjoy the creative process! Remember, there’s no right or wrong way to do cupcake liner crafts – just let your creativity shine.

Leave a Comment