

Grow Arugula Indoors Easily? Absolutely! Imagine fresh, peppery arugula gracing your salads and sandwiches, even when the snow is falling outside. Forget those sad, wilted greens from the grocery store – we’re talking vibrant, flavorful arugula grown right in your own home. For centuries, cultivating greens indoors has been a way for people to extend the growing season and enjoy fresh produce year-round. From ancient Roman orangeries to modern-day hydroponics, the desire for fresh herbs and vegetables has driven innovation in indoor gardening.
But why should you learn to grow arugula indoors easily? Well, beyond the obvious benefit of having delicious, fresh greens at your fingertips, it’s also incredibly rewarding. It’s a fantastic way to connect with nature, even in a small apartment. Plus, you’ll know exactly what’s going into your food – no pesticides or mystery ingredients here! I’m going to share some simple, effective DIY tricks and hacks that will have you harvesting your own arugula in no time. Get ready to ditch the store-bought stuff and embrace the joy of homegrown goodness!
Grow Arugula Indoors: A Simple Guide for Fresh Greens All Year Round
Hey there, fellow plant enthusiasts! Craving that peppery bite of fresh arugula but don’t have a garden? No problem! I’m going to walk you through how to grow arugula indoors, easily and successfully. It’s a fantastic way to have fresh greens at your fingertips, no matter the season. Trust me, it’s easier than you think!
What You’ll Need
Before we dive in, let’s gather our supplies. Here’s what you’ll need to get started:
* Arugula Seeds: Choose a variety that you like. I personally prefer ‘Astro’ arugula for its quick growth and robust flavor.
* Containers: You can use pots, trays, or even repurposed containers like yogurt cups or plastic takeout containers. Just make sure they have drainage holes! I usually start with smaller containers and then transplant to larger ones as the arugula grows.
* Potting Mix: Use a high-quality potting mix that’s well-draining. Avoid using garden soil, as it can compact and not provide adequate drainage for indoor growing. I like to use a mix specifically formulated for seedlings.
* Grow Lights (Optional but Recommended): While arugula can grow near a sunny window, grow lights will provide consistent light and result in faster, bushier growth. I use LED grow lights, which are energy-efficient and don’t produce too much heat.
* Watering Can or Spray Bottle: For gentle watering.
* Spray Bottle with Water: For misting the seedlings.
* Small Shovel or Spoon: For handling the potting mix and seedlings.
* Labels and a Marker: To keep track of what you’re growing.
Getting Started: Sowing Your Arugula Seeds
Okay, let’s get our hands dirty! This is where the magic begins.
1. Prepare Your Containers: Fill your chosen containers with potting mix, leaving about an inch of space at the top. Gently pat down the soil to create a level surface.
2. Sow the Seeds: Sprinkle the arugula seeds evenly over the surface of the soil. Arugula seeds are tiny, so don’t overcrowd them. I usually aim for about 5-10 seeds per small container.
3. Cover the Seeds: Lightly cover the seeds with a thin layer of potting mix, about 1/4 inch deep.
4. Water Gently: Use a watering can or spray bottle to gently moisten the soil. Be careful not to dislodge the seeds. The soil should be damp but not soggy.
5. Label Your Containers: Don’t forget to label your containers with the date and type of seed you planted. This will help you keep track of your progress.
6. Provide Light: Place your containers in a location that receives at least 6 hours of sunlight per day, or under grow lights. If using grow lights, position them a few inches above the soil surface.
7. Maintain Moisture: Keep the soil consistently moist but not waterlogged. Check the soil moisture daily and water as needed. I like to use a spray bottle to mist the seedlings, especially in the early stages.
Caring for Your Arugula Seedlings
Now that your arugula seeds have sprouted, it’s time to nurture them into healthy, vibrant plants.
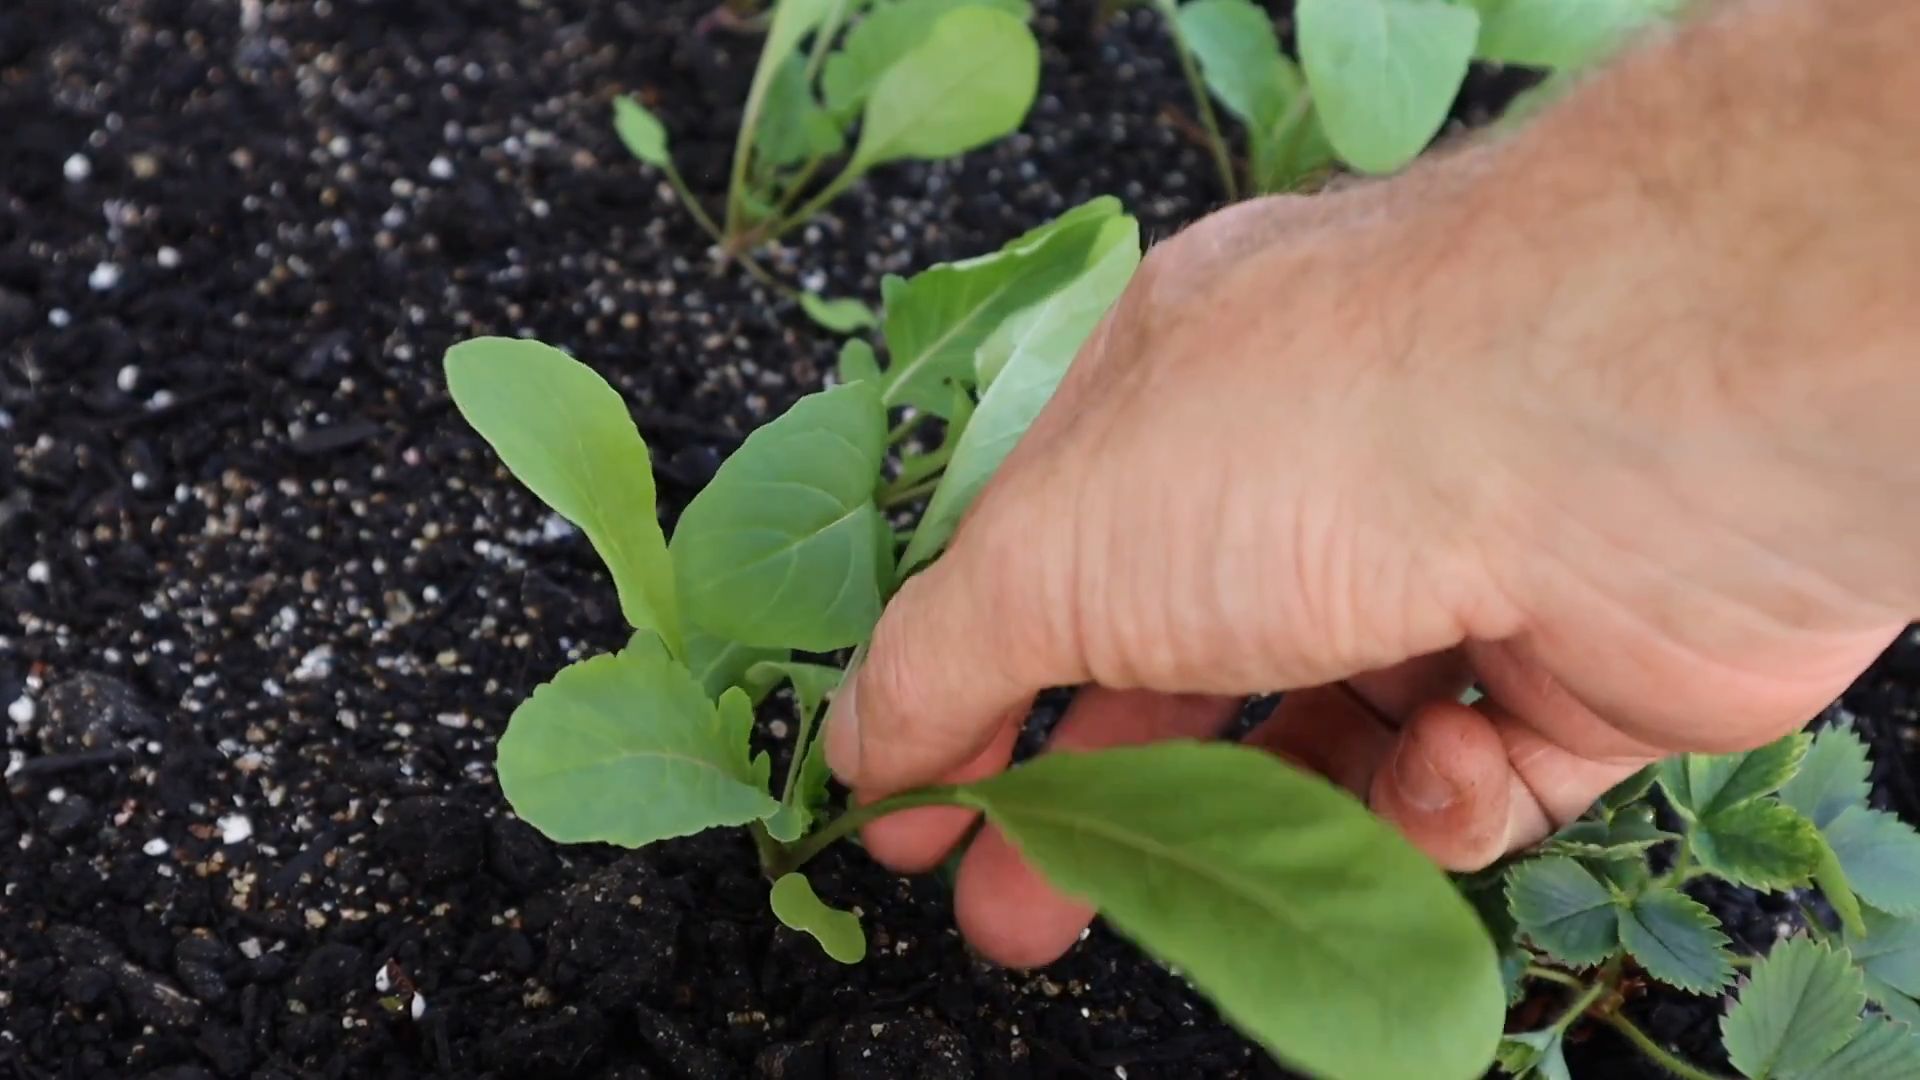
1. Thinning (If Necessary): Once your seedlings have developed their first true leaves (the second set of leaves that appear after the initial seed leaves), you may need to thin them out. This means removing some of the seedlings to give the remaining ones more space to grow. Choose the strongest-looking seedlings and gently snip off the weaker ones at the soil level. I know it feels harsh, but it’s essential for healthy growth!
2. Watering: Continue to water your arugula seedlings regularly, keeping the soil consistently moist. Avoid overwatering, as this can lead to root rot. I usually water when the top inch of soil feels dry to the touch.
3. Light: Ensure your arugula seedlings receive adequate light. If you’re using grow lights, adjust the height as the plants grow to maintain a distance of a few inches between the lights and the foliage.
4. Fertilizing (Optional): Arugula doesn’t require heavy fertilization, but you can give it a boost by feeding it with a diluted liquid fertilizer every few weeks. I like to use a balanced organic fertilizer.
5. Air Circulation: Good air circulation is important for preventing fungal diseases. Make sure your plants have enough space around them and avoid overcrowding. You can also use a small fan to improve air circulation.
Harvesting Your Arugula
The best part! Harvesting your own homegrown arugula is incredibly rewarding.
1. When to Harvest: You can start harvesting arugula leaves when they are about 2-3 inches long. The younger leaves will have a milder flavor, while the older leaves will be more peppery.
2. How to Harvest: Use scissors or your fingers to snip off the outer leaves, leaving the inner leaves to continue growing. This is known as a “cut-and-come-again” harvesting method, which allows you to harvest multiple times from the same plant.
3. Harvest Regularly: Harvesting regularly will encourage your arugula plants to produce more leaves.
4. Enjoy Your Harvest: Wash your harvested arugula leaves thoroughly and enjoy them in salads, sandwiches, pesto, or as a garnish.
Troubleshooting
Even with the best care, you might encounter a few challenges along the way. Here are some common problems and how to address them:
* Leggy Seedlings: If your seedlings are tall and spindly, they’re likely not getting enough light. Move them to a brighter location or use grow lights.
* Yellowing Leaves: Yellowing leaves can be a sign of overwatering, underwatering, or nutrient deficiency. Check the soil moisture and adjust your watering accordingly. If you suspect a nutrient deficiency, try fertilizing with a diluted liquid fertilizer.
* Pests: Arugula can be susceptible to pests like aphids and flea beetles. Inspect your plants regularly and take action if you notice any pests. You can try washing them off with a strong stream of water or using an insecticidal soap.
* Fungal Diseases: Fungal diseases can be a problem in humid environments. Ensure good air circulation and avoid overwatering. If you notice any signs of fungal disease, such as white powdery mildew, remove the affected leaves and treat the plants with a fungicide.
Extending Your Harvest
Want to keep that fresh arugula coming? Here are a few tips for extending your harvest:
* Succession Planting: Sow new seeds every few weeks to ensure a continuous supply of arugula.
* Cool Temperatures: Arugula prefers cool temperatures. If your indoor environment is too warm, the plants may bolt (go to seed) prematurely. Try to keep the temperature between 60-70°F (15-21°C).
* Prevent Bolting: If your arugula plants start to bolt, you can try pinching off the flower buds to prolong the harvest. However, once the plants have bolted, the leaves will become bitter.
* Overwintering: In some climates, you can overwinter arugula indoors. Cut back the plants in the fall and provide them with adequate light and water throughout the winter. They should start producing new growth in the spring.
Choosing the Right Container
Selecting the right container is crucial for successful indoor arugula growing. Here’s a breakdown of container options and considerations:
* Size Matters: Arugula doesn’t need a super deep container, as its roots aren’t extensive. A container that’s at least 6 inches deep is generally sufficient. The width and length will depend on how much arugula you want to grow.
* Drainage is Key: This is non-negotiable! Your container *must* have drainage holes. Excess water can lead to root rot, which is a death sentence for your arugula. If you’re using a container without drainage holes, you’ll need to drill some.
* Material Options:
* Plastic: Lightweight, inexpensive, and readily available. Just make sure it’s food-grade plastic if you’re repurposing containers.
* Terracotta: Porous, allowing for good air circulation and drainage. However, terracotta pots can dry out quickly, so you’ll need to monitor the soil moisture more closely.
* Ceramic: Similar to terracotta, but often glazed, which can reduce its porosity.
* Fabric Pots: These are breathable and allow for excellent drainage. They can also help prevent root circling.
* Repurposed Containers: Yogurt cups, plastic takeout containers, and even old coffee cans can be used as containers, as long as they have drainage holes. Get creative!
Understanding Arugula Varieties
While all arugula shares that signature peppery flavor, there are subtle differences between varieties. Knowing these differences can help you choose the right arugula for

Conclusion
So, there you have it! Growing arugula indoors easily is not just a possibility; it’s a delicious reality waiting to happen in your own home. We’ve walked you through the simple steps, from selecting the right container and soil to harvesting your peppery greens. But why should you bother with this DIY project?
First and foremost, imagine the convenience of having fresh, organic arugula at your fingertips whenever you need it. No more last-minute trips to the grocery store or settling for wilted, pre-packaged greens. The vibrant flavor and nutritional benefits of homegrown arugula are simply unmatched. Plus, you have complete control over the growing process, ensuring that your arugula is free from harmful pesticides and chemicals.
Beyond the practical advantages, growing arugula indoors is a deeply rewarding experience. It’s a chance to connect with nature, even in the heart of the city. Watching those tiny seeds sprout and transform into leafy greens is a small miracle that can bring joy and a sense of accomplishment to your daily life. It’s also a fantastic way to introduce children to the wonders of gardening and teach them about where their food comes from.
But the possibilities don’t stop there! Feel free to experiment with different varieties of arugula. Some are spicier than others, while some have a milder, more delicate flavor. You can also try growing arugula in different types of containers, from repurposed yogurt cups to stylish ceramic pots. Consider adding companion plants like basil or chives to your indoor garden for added flavor and visual appeal.
For a continuous harvest, try succession planting. Sow a new batch of seeds every two weeks to ensure a steady supply of fresh arugula throughout the year. You can also adjust the amount of light and water to influence the flavor of your arugula. More light and less water will result in a spicier, more intense flavor, while less light and more water will produce a milder, more tender arugula.
Don’t be afraid to get creative with your arugula! Add it to salads, sandwiches, pizzas, or even smoothies for a peppery kick. Use it as a garnish for soups and stews, or blend it into pesto for a unique and flavorful twist. The possibilities are endless!
We truly believe that anyone can successfully grow arugula indoors easily, regardless of their gardening experience. All it takes is a little bit of patience, a few simple supplies, and a willingness to learn. So, what are you waiting for? Grab a packet of arugula seeds, find a sunny spot in your home, and get started today!
We’re confident that you’ll be amazed by the results. And once you’ve harvested your first batch of homegrown arugula, we’d love to hear about your experience. Share your photos, tips, and recipes with us in the comments below. Let’s create a community of indoor arugula growers and inspire others to discover the joys of homegrown food! Happy growing!
Frequently Asked Questions (FAQ)
What kind of soil is best for growing arugula indoors?
Arugula thrives in well-draining soil that is rich in organic matter. A good option is a potting mix specifically formulated for vegetables or herbs. You can also create your own mix by combining equal parts of potting soil, compost, and perlite or vermiculite. The compost will provide essential nutrients, while the perlite or vermiculite will improve drainage and aeration. Avoid using garden soil, as it can be too heavy and may contain pests or diseases. Make sure the soil is slightly acidic to neutral, with a pH between 6.0 and 7.0. You can test the pH of your soil using a soil testing kit available at most garden centers.
How much sunlight does arugula need when grown indoors?
Arugula needs at least six hours of direct sunlight per day to thrive. If you don’t have a sunny window, you can supplement with artificial light. A grow light specifically designed for plants is ideal, but you can also use fluorescent or LED lights. Position the lights a few inches above the plants and keep them on for 12-14 hours per day. Rotate your arugula plants regularly to ensure that all sides receive adequate light. Insufficient light can lead to leggy growth and a less flavorful harvest.
How often should I water my indoor arugula plants?
Water your arugula plants when the top inch of soil feels dry to the touch. Avoid overwatering, as this can lead to root rot. Water deeply, until the water drains out of the bottom of the container. Empty the saucer beneath the container to prevent the plants from sitting in water. The frequency of watering will depend on factors such as the size of the container, the type of soil, and the temperature and humidity of your home. Check the soil moisture regularly and adjust your watering schedule accordingly.
When can I harvest my indoor arugula?
You can start harvesting arugula leaves when they are about 2-3 inches long. Simply snip off the outer leaves with scissors, leaving the inner leaves to continue growing. This cut-and-come-again method will allow you to harvest arugula continuously for several weeks. The flavor of arugula becomes more intense as the leaves mature, so harvest them when they are at your preferred level of spiciness. Avoid harvesting more than one-third of the plant at a time, as this can stress the plant and reduce its yield.
What are some common problems when growing arugula indoors and how can I fix them?
Some common problems when growing arugula indoors include aphids, whiteflies, and fungal diseases. Aphids and whiteflies can be controlled with insecticidal soap or neem oil. Fungal diseases can be prevented by ensuring good air circulation and avoiding overwatering. If you notice any signs of disease, remove the affected leaves immediately. Another common problem is bolting, which occurs when the plant starts to produce flowers and the leaves become bitter. Bolting is often caused by high temperatures or insufficient water. To prevent bolting, keep your arugula plants cool and well-watered. If your arugula does bolt, you can still harvest the flowers and use them in salads or as a garnish.
Can I grow arugula indoors year-round?
Yes, you can grow arugula indoors year-round, provided you have adequate light and temperature control. Arugula prefers cooler temperatures, so try to keep the room temperature between 60-70°F (15-21°C). If your home is too warm, you can place your arugula plants in a cooler location, such as a basement or garage. You may also need to adjust your watering schedule during the winter months, as the plants will require less water when the humidity is higher. With a little bit of care, you can enjoy fresh, homegrown arugula all year long.
What are some creative ways to use my homegrown arugula?
Beyond salads, arugula is incredibly versatile. Try adding it to homemade pizzas after baking for a fresh, peppery bite. Blend it into pesto for a unique twist on the classic sauce. Arugula also adds a delicious kick to sandwiches and wraps. You can even incorporate it into smoothies for a nutritional boost. Experiment with different combinations and discover your favorite ways to enjoy your homegrown arugula. Don’t forget that arugula flowers are also edible and make a beautiful and flavorful garnish for salads and other dishes.


Leave a Comment