

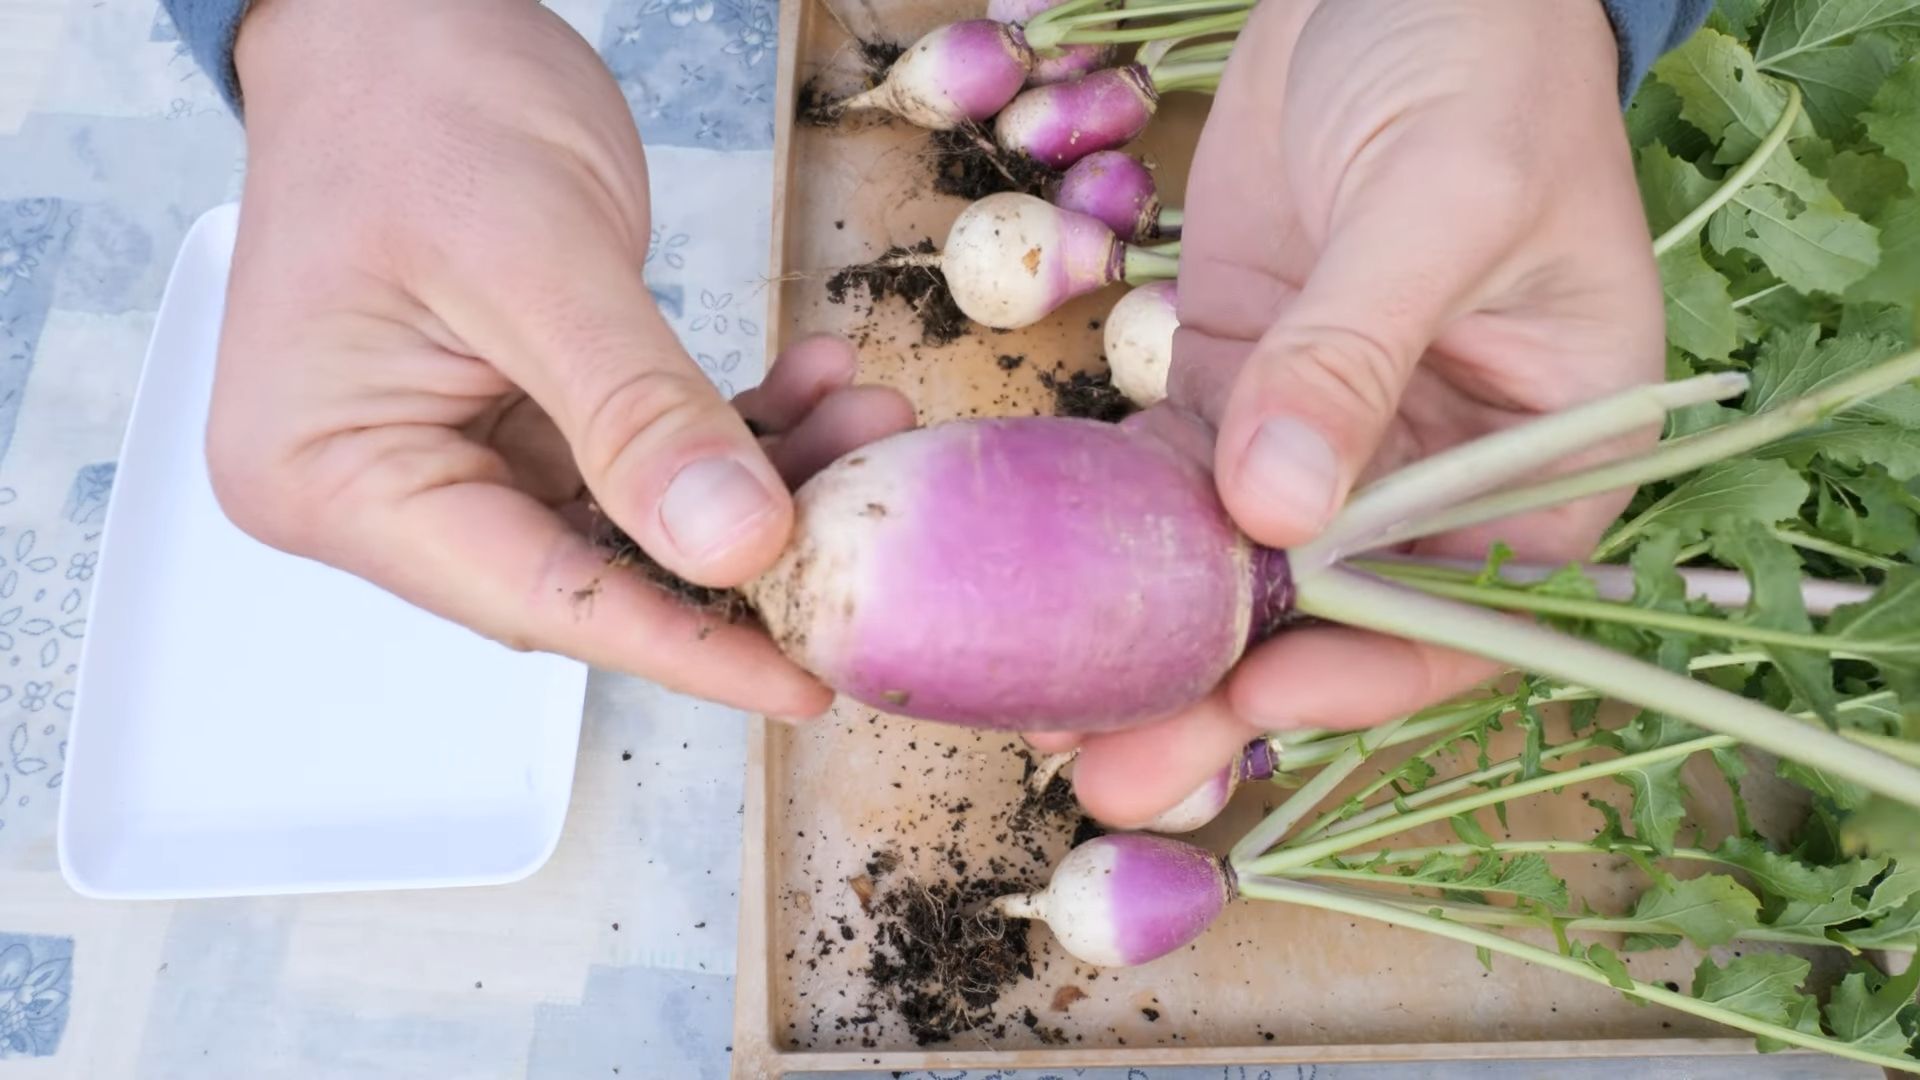
Grow Turnips Backyard – sounds like a dream, right? Imagine stepping outside your back door and harvesting fresh, crisp turnips for your next meal. It’s more achievable than you think, and I’m here to show you how! For centuries, root vegetables like turnips have been a staple in diets across the globe, providing essential nutrients and sustenance, especially during colder months. From ancient Rome to medieval Europe, turnips were a vital food source, and now, you can bring that historical connection right to your own backyard.
But why should you bother learning to grow turnips backyard? Well, store-bought turnips often lack the vibrant flavor and freshness of homegrown ones. Plus, knowing exactly where your food comes from and how it’s grown is incredibly rewarding. This DIY guide is packed with simple, effective tricks and hacks that will transform even the most novice gardener into a turnip-growing pro. Whether you have a sprawling garden or just a small patio, I’ll share tips on soil preparation, planting techniques, pest control, and harvesting, ensuring you enjoy a bountiful turnip harvest. Get ready to roll up your sleeves and discover the joy of growing your own delicious turnips!
Growing Artichokes: A DIY Guide to Bountiful Blooms and Delicious Hearts
Hey there, fellow garden enthusiasts! I’m so excited to share my experience with growing artichokes at home. These architectural beauties aren’t just stunning to look at; they also produce the most delicious, tender hearts. Don’t be intimidated – with a little patience and the right know-how, you can enjoy homegrown artichokes too!
Choosing Your Artichoke Variety
Before we dive into the nitty-gritty, let’s talk varieties. Different artichokes thrive in different climates, so picking the right one is crucial.
* Green Globe: This is the most common variety, known for its large, round, green buds. It’s a reliable producer and relatively easy to grow.
* Violetta: If you’re looking for something a little different, Violetta artichokes have beautiful purple buds and a slightly sweeter flavor.
* Imperial Star: This variety is known for its early maturity, making it a good choice for shorter growing seasons.
* Big Heart: As the name suggests, this variety boasts a large, meaty heart with fewer prickly chokes.
I personally started with Green Globe because it’s readily available and a proven winner. Do some research to see which variety is best suited for your local climate and growing conditions.
Getting Started: From Seed or Transplant?
You have two main options for starting your artichoke journey: seeds or transplants.
* Seeds: Starting from seed requires more patience, as artichokes can take a while to mature. However, it’s a more economical option.
* Transplants: Buying transplants gives you a head start and reduces the time it takes to harvest your first artichokes. This is the route I took, and I highly recommend it for beginners.
If you choose to start from seed, you’ll need to begin the process indoors about 8-10 weeks before the last expected frost.
Preparing the Soil: Artichokes Love Richness
Artichokes are heavy feeders, meaning they need nutrient-rich soil to thrive. Proper soil preparation is key to a successful harvest.
* Sunlight: Artichokes need at least 6-8 hours of direct sunlight per day. Choose a location in your garden that receives plenty of sunshine.
* Soil Type: They prefer well-drained soil that is rich in organic matter. Amend your soil with compost, aged manure, or other organic materials to improve its fertility and drainage.
* pH Level: Artichokes prefer a slightly acidic to neutral soil pH, ideally between 6.0 and 7.0. You can test your soil pH with a soil testing kit and amend it accordingly.
I amended my garden bed with a generous amount of compost and aged manure a few weeks before planting. This gave the soil plenty of time to break down and release its nutrients.
Planting Your Artichokes: Giving Them Room to Grow
Artichokes are large plants, so they need plenty of space to spread out.
* Spacing: Space your artichoke plants at least 4-6 feet apart. This will allow them to grow to their full size without overcrowding each other.
* Planting Depth: Dig a hole that is slightly larger than the root ball of your transplant. Gently remove the transplant from its container and loosen the roots. Place the transplant in the hole and backfill with soil, making sure the top of the root ball is level with the surrounding soil.
* Watering: Water thoroughly after planting.
I made sure to give my artichokes plenty of room to grow, and they rewarded me with abundant harvests.
Caring for Your Artichokes: Watering, Fertilizing, and Pruning
Once your artichokes are planted, it’s important to provide them with the care they need to thrive.
Watering
* Regular Watering: Artichokes need consistent moisture, especially during hot, dry weather. Water deeply and regularly, making sure the soil stays moist but not waterlogged.
* Drip Irrigation: Consider using drip irrigation to deliver water directly to the roots of your plants. This will help conserve water and prevent fungal diseases.
I found that watering deeply every few days, especially during the summer months, kept my artichokes happy and healthy.
Fertilizing
* Regular Feeding: Artichokes are heavy feeders and benefit from regular fertilization.
* Balanced Fertilizer: Use a balanced fertilizer with equal amounts of nitrogen, phosphorus, and potassium.
* Application: Apply fertilizer every 4-6 weeks during the growing season.
I used a slow-release fertilizer specifically formulated for vegetables, and it worked wonders.
Pruning
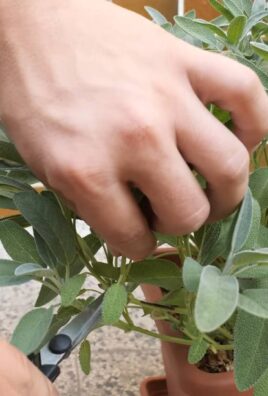
* Removing Suckers: Artichokes produce suckers, which are small shoots that grow from the base of the plant. Remove these suckers regularly to encourage the plant to focus its energy on producing buds.
* Deadheading: After harvesting the main bud, you can encourage the plant to produce smaller side buds by cutting back the stem.
* Winter Pruning: In colder climates, you’ll need to protect your artichokes from frost. After the first frost, cut back the plant to about 12 inches above the ground and cover it with a thick layer of mulch.
I was diligent about removing suckers and deadheading, and it definitely paid off in terms of bud production.
Dealing with Pests and Diseases: Keeping Your Artichokes Healthy
Artichokes can be susceptible to certain pests and diseases. Here’s how to protect your plants:
* Aphids: These tiny insects can suck the sap from your plants, causing them to weaken. Control aphids with insecticidal soap or neem oil.
* Slugs and Snails: These pests can damage the leaves and buds of your artichokes. Use slug and snail bait or handpick them off the plants.
* Artichoke Plume Moth: The larvae of this moth can bore into the buds, causing them to rot. Use pheromone traps to monitor for the moth and apply Bacillus thuringiensis (Bt) to control the larvae.
* Root Rot: This fungal disease can occur in poorly drained soil. Improve drainage by amending the soil with organic matter and avoid overwatering.
I had a minor aphid infestation one year, but a few applications of insecticidal soap took care of it.
Harvesting Your Artichokes: The Moment You’ve Been Waiting For!
Harvesting artichokes is the most rewarding part of the process.
* Timing: Harvest artichokes when the buds are still tight and firm, but before the bracts (the outer leaves) begin to open.
* Size: The size of the bud will vary depending on the variety, but generally, you should harvest when the bud is about 3-4 inches in diameter.
* Cutting: Cut the stem about 2-3 inches below the bud using a sharp knife.
I always felt a sense of accomplishment when I harvested my first artichokes of the season.
Storing Your Artichokes: Keeping Them Fresh
Artichokes are best eaten fresh, but you can store them for a few days in the refrigerator.
* Refrigeration: Wrap the artichokes in a damp paper towel and store them in a plastic bag in the refrigerator.
* Storage Time: They will keep for about 5-7 days.
I usually cooked my artichokes within a few days of harvesting them to enjoy their peak flavor.
Enjoying Your Harvest: Delicious Artichoke Recipes
Now for the best part: enjoying the fruits (or rather, the buds) of your labor! There are countless ways to prepare artichokes.
* Steamed Artichokes: This is the classic way to enjoy artichokes. Simply steam them until the bracts are tender and the heart is easily pierced with a fork. Serve with melted butter or your favorite dipping sauce.
* Grilled Artichokes: Grilling artichokes gives them a smoky flavor that is absolutely delicious.
* Artichoke Hearts: Artichoke hearts can be used in a variety of dishes, such as salads, pasta, and dips.
My personal favorite is steamed artichokes with garlic aioli. It’s simple, yet incredibly satisfying.
Troubleshooting: Common Artichoke Growing Problems
Even with the best care, you may encounter some problems while growing artichokes. Here are some common issues and how to address them:
* Buds Not Forming: This can be caused by a lack of sunlight, poor soil fertility, or insufficient watering. Make sure your artichokes are getting enough sunlight, fertilize them regularly, and water them deeply.
* Small Buds: Small buds can be a sign of stress, such as heat stress or water stress. Provide your artichokes with shade during the hottest part of the day and water them regularly.
* Prickly Bracts: Some artichoke varieties have pricklier bracts than others. Wear gloves when harvesting to protect your hands.
I had a year where my artichokes produced smaller buds than usual,
Conclusion
So, there you have it! Growing turnips in your backyard is not only achievable, but it’s also a remarkably rewarding experience. We’ve walked you through the process, highlighting the ease and accessibility of cultivating these versatile root vegetables right outside your door. Forget those bland, store-bought turnips – imagine the vibrant flavor and satisfying crunch of freshly harvested, homegrown turnips gracing your table.
This DIY trick is a must-try for several compelling reasons. First and foremost, you gain complete control over the growing process. You know exactly what goes into your turnips, ensuring they are free from harmful pesticides and chemicals. This translates to healthier, more nutritious produce for you and your family. Secondly, growing your own turnips is incredibly cost-effective. A single packet of turnip seeds can yield a bountiful harvest, saving you money on grocery bills and providing a sustainable source of fresh vegetables. Finally, and perhaps most importantly, it’s incredibly satisfying to nurture a plant from seed to table. There’s a unique sense of accomplishment that comes with harvesting your own food, and growing turnips is a fantastic way to connect with nature and appreciate the origins of your meals.
But the fun doesn’t stop there! Feel free to experiment with different varieties of turnips to discover your favorites. Consider adding companion plants like marigolds or nasturtiums to deter pests and attract beneficial insects. For a spicier twist, try growing Japanese turnips, known for their peppery flavor. You can also adjust the planting schedule to extend your harvest season, ensuring a steady supply of fresh turnips throughout the year. If you have limited space, consider growing turnips in containers on your patio or balcony. The possibilities are endless!
Growing turnips in your backyard is more than just a gardening project; it’s an investment in your health, your wallet, and your connection to the natural world. It’s a chance to experience the joy of homegrown produce and savor the unique flavors of freshly harvested vegetables.
We wholeheartedly encourage you to give this DIY trick a try. Don’t be intimidated by the prospect of gardening – growing turnips is surprisingly easy, even for beginners. With a little planning and effort, you can enjoy a bountiful harvest of delicious, homegrown turnips in no time.
And most importantly, we want to hear about your experience! Share your tips, tricks, and triumphs in the comments below. Let us know what varieties you’ve tried, what challenges you’ve faced, and what delicious recipes you’ve created with your homegrown turnips. Your feedback will not only help other aspiring gardeners but also inspire us to continue sharing valuable gardening tips and tricks. So, grab your seeds, get your hands dirty, and embark on the rewarding journey of growing turnips in your backyard. Happy gardening!
Frequently Asked Questions (FAQ)
What is the best time of year to plant turnips?
Turnips are a cool-season crop, meaning they thrive in cooler temperatures. The best time to plant turnips is typically in the spring or fall. For a spring crop, sow seeds 2-3 weeks before the last expected frost. For a fall crop, plant seeds 6-8 weeks before the first expected frost. This timing allows the turnips to mature in cool weather, resulting in sweeter and more tender roots. In warmer climates, you may be able to grow turnips throughout the winter.
How much sunlight do turnips need?
Turnips require at least 6 hours of direct sunlight per day to thrive. Choose a planting location that receives ample sunlight throughout the day. If you are growing turnips in containers, make sure to place them in a sunny spot. Insufficient sunlight can result in leggy growth and smaller, less flavorful roots.
What type of soil is best for growing turnips?
Turnips prefer well-drained, fertile soil with a pH between 6.0 and 6.8. Amend the soil with compost or other organic matter to improve drainage and fertility. Avoid planting turnips in heavy clay soil, as this can lead to root rot. If your soil is compacted, consider tilling or loosening it before planting.
How often should I water turnips?
Turnips need consistent moisture to grow properly. Water them regularly, especially during dry periods. Aim to keep the soil consistently moist but not waterlogged. Overwatering can lead to root rot, while underwatering can stunt growth. A good rule of thumb is to water when the top inch of soil feels dry to the touch.
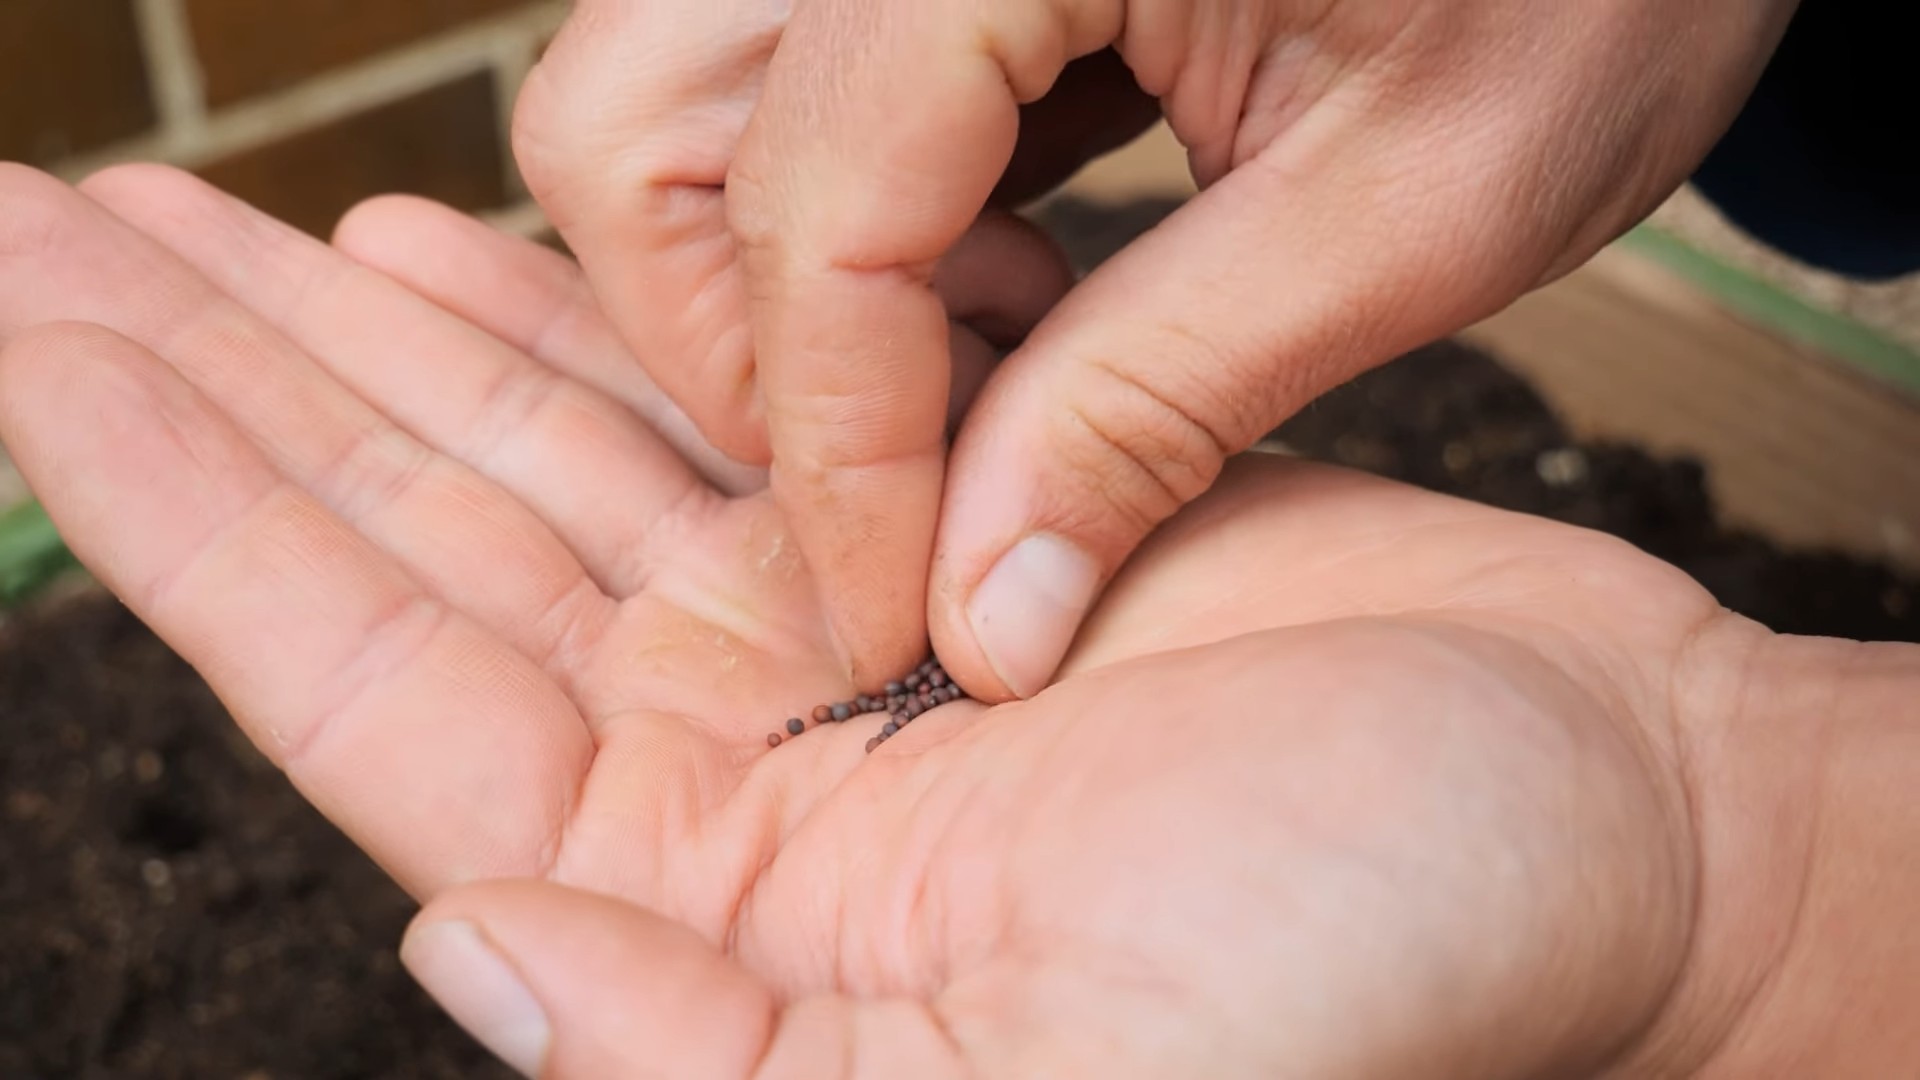
How far apart should I plant turnip seeds?
Sow turnip seeds about ½ inch deep and 1 inch apart in rows that are 12-18 inches apart. Once the seedlings emerge, thin them to 3-4 inches apart to allow the roots to develop properly. Thinning is essential to prevent overcrowding and ensure that each turnip has enough space to grow.
When are turnips ready to harvest?
Turnips are typically ready to harvest in 50-60 days after planting. The size of the turnip roots will vary depending on the variety, but most are ready to harvest when they are 2-3 inches in diameter. You can harvest the turnip greens at any time, but they are most tender when they are young. To harvest the roots, gently loosen the soil around the turnip and pull it out of the ground.
Can I eat both the turnip roots and the greens?
Yes, both the turnip roots and the greens are edible and nutritious. The roots can be eaten raw, roasted, boiled, or mashed. The greens can be eaten raw in salads or cooked like spinach. Turnip greens are a good source of vitamins A and C, as well as calcium and iron.
What are some common pests and diseases that affect turnips?
Some common pests that affect turnips include aphids, flea beetles, and root maggots. Diseases that can affect turnips include clubroot and powdery mildew. To prevent pests and diseases, practice good garden hygiene, such as removing weeds and debris. You can also use organic pest control methods, such as insecticidal soap or neem oil.
How do I store turnips after harvesting?
To store turnips, remove the greens and wash the roots thoroughly. Store the turnips in a cool, dark, and humid place, such as a root cellar or refrigerator. Turnips can be stored for several months under the right conditions. The greens should be stored separately in the refrigerator and used within a few days.
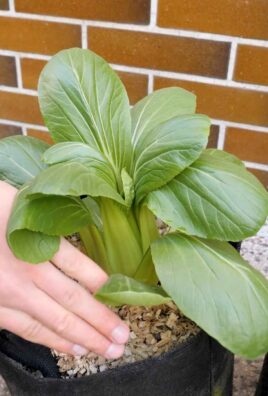
Can I grow turnips in containers?
Yes, you can grow turnips in containers. Choose a container that is at least 12 inches deep and wide to allow the roots to develop properly. Use a well-draining potting mix and water regularly. Place the container in a sunny location that receives at least 6 hours of direct sunlight per day. Container-grown turnips may require more frequent watering and fertilization than those grown in the ground.
Leave a Comment