

Grow Basil at Home – and unlock a world of fresh, fragrant flavor right at your fingertips! Have you ever dreamt of snipping fresh basil leaves straight from your own garden to sprinkle on your pizza or stir into your pasta sauce? Well, dream no more! This DIY guide is your passport to becoming a basil-growing pro, even if you think you have a black thumb.
Basil, with its rich history stretching back thousands of years, isn’t just a culinary delight; it’s a symbol of good luck and love in many cultures. From ancient India, where it was revered as a sacred herb, to the sun-drenched hills of Italy, where it’s a kitchen staple, basil has always held a special place in our hearts and our cuisines.
But let’s be honest, buying fresh basil from the store can be expensive, and it often wilts before you even get a chance to use it all. That’s where the magic of grow basil at home comes in! Imagine having a constant supply of this aromatic herb, ready to elevate your dishes whenever you desire. This DIY guide will provide you with simple, effective tricks and hacks to cultivate thriving basil plants, regardless of your gardening experience. I’m here to show you that growing your own basil is easier than you think, and the rewards are incredibly delicious. Let’s get started!
Grow Your Own Delicious Basil: A DIY Guide
Hey there, fellow plant enthusiast! I’m so excited to share my tried-and-true method for growing vibrant, fragrant basil right in your own home. Forget those wilted, overpriced bunches at the grocery store – with a little love and these simple steps, you’ll be snipping fresh basil for your pasta, pesto, and pizzas in no time!
Choosing Your Basil Variety
First things first, let’s talk basil varieties. There’s more to basil than just the standard Genovese! Here are a few of my favorites:
* Genovese Basil: The classic! Perfect for pesto and Italian dishes. It has large, glossy leaves and a strong, sweet flavor.
* Thai Basil: Anise-flavored and slightly spicy, Thai basil is fantastic in Southeast Asian cuisine. Its leaves are smaller and more pointed than Genovese.
* Lemon Basil: As the name suggests, this basil has a delightful lemony aroma and flavor. It’s great in salads, teas, and even desserts!
* Purple Basil: Adds a beautiful pop of color to your garden and dishes. Its flavor is similar to Genovese, but with a slightly spicier kick.
You can find seeds or starter plants for these varieties at most garden centers or online. I personally prefer starting from seeds – it’s so rewarding to watch them sprout and grow!
Materials You’ll Need
Before we dive in, let’s gather our supplies. Here’s what you’ll need to get started:
* Basil Seeds or Starter Plants: Choose your favorite variety (or a few!).
* Potting Mix: Use a high-quality potting mix that drains well. Avoid using garden soil, as it can compact and suffocate the roots.
* Pots: Choose pots that are at least 6 inches in diameter. Make sure they have drainage holes!
* Watering Can or Spray Bottle: For gentle watering.
* Grow Lights (Optional): If you don’t have a sunny windowsill, grow lights can provide the necessary light for your basil to thrive.
* Seed Starting Tray (If starting from seeds): A tray with individual cells for starting seeds.
* Heat Mat (Optional, If starting from seeds): Helps to speed up germination.
* Small Scissors or Pruning Shears: For harvesting and pruning.
* Fertilizer (Optional): A balanced liquid fertilizer can help boost growth.
Starting from Seeds: A Step-by-Step Guide
If you’re starting from seeds, here’s how to do it:
1. Prepare Your Seed Starting Tray: Fill the cells of your seed starting tray with potting mix. Gently press down on the soil to compact it slightly.
2. Sow the Seeds: Sprinkle 2-3 basil seeds into each cell. Cover the seeds with a thin layer of potting mix.
3. Water Gently: Use a spray bottle to mist the soil until it’s evenly moist. Be careful not to overwater!
4. Provide Warmth: Place the seed starting tray on a heat mat (if using) or in a warm location. Basil seeds germinate best at temperatures between 70-80°F (21-27°C).
5. Cover with a Humidity Dome (Optional): Covering the tray with a humidity dome will help to retain moisture and speed up germination.
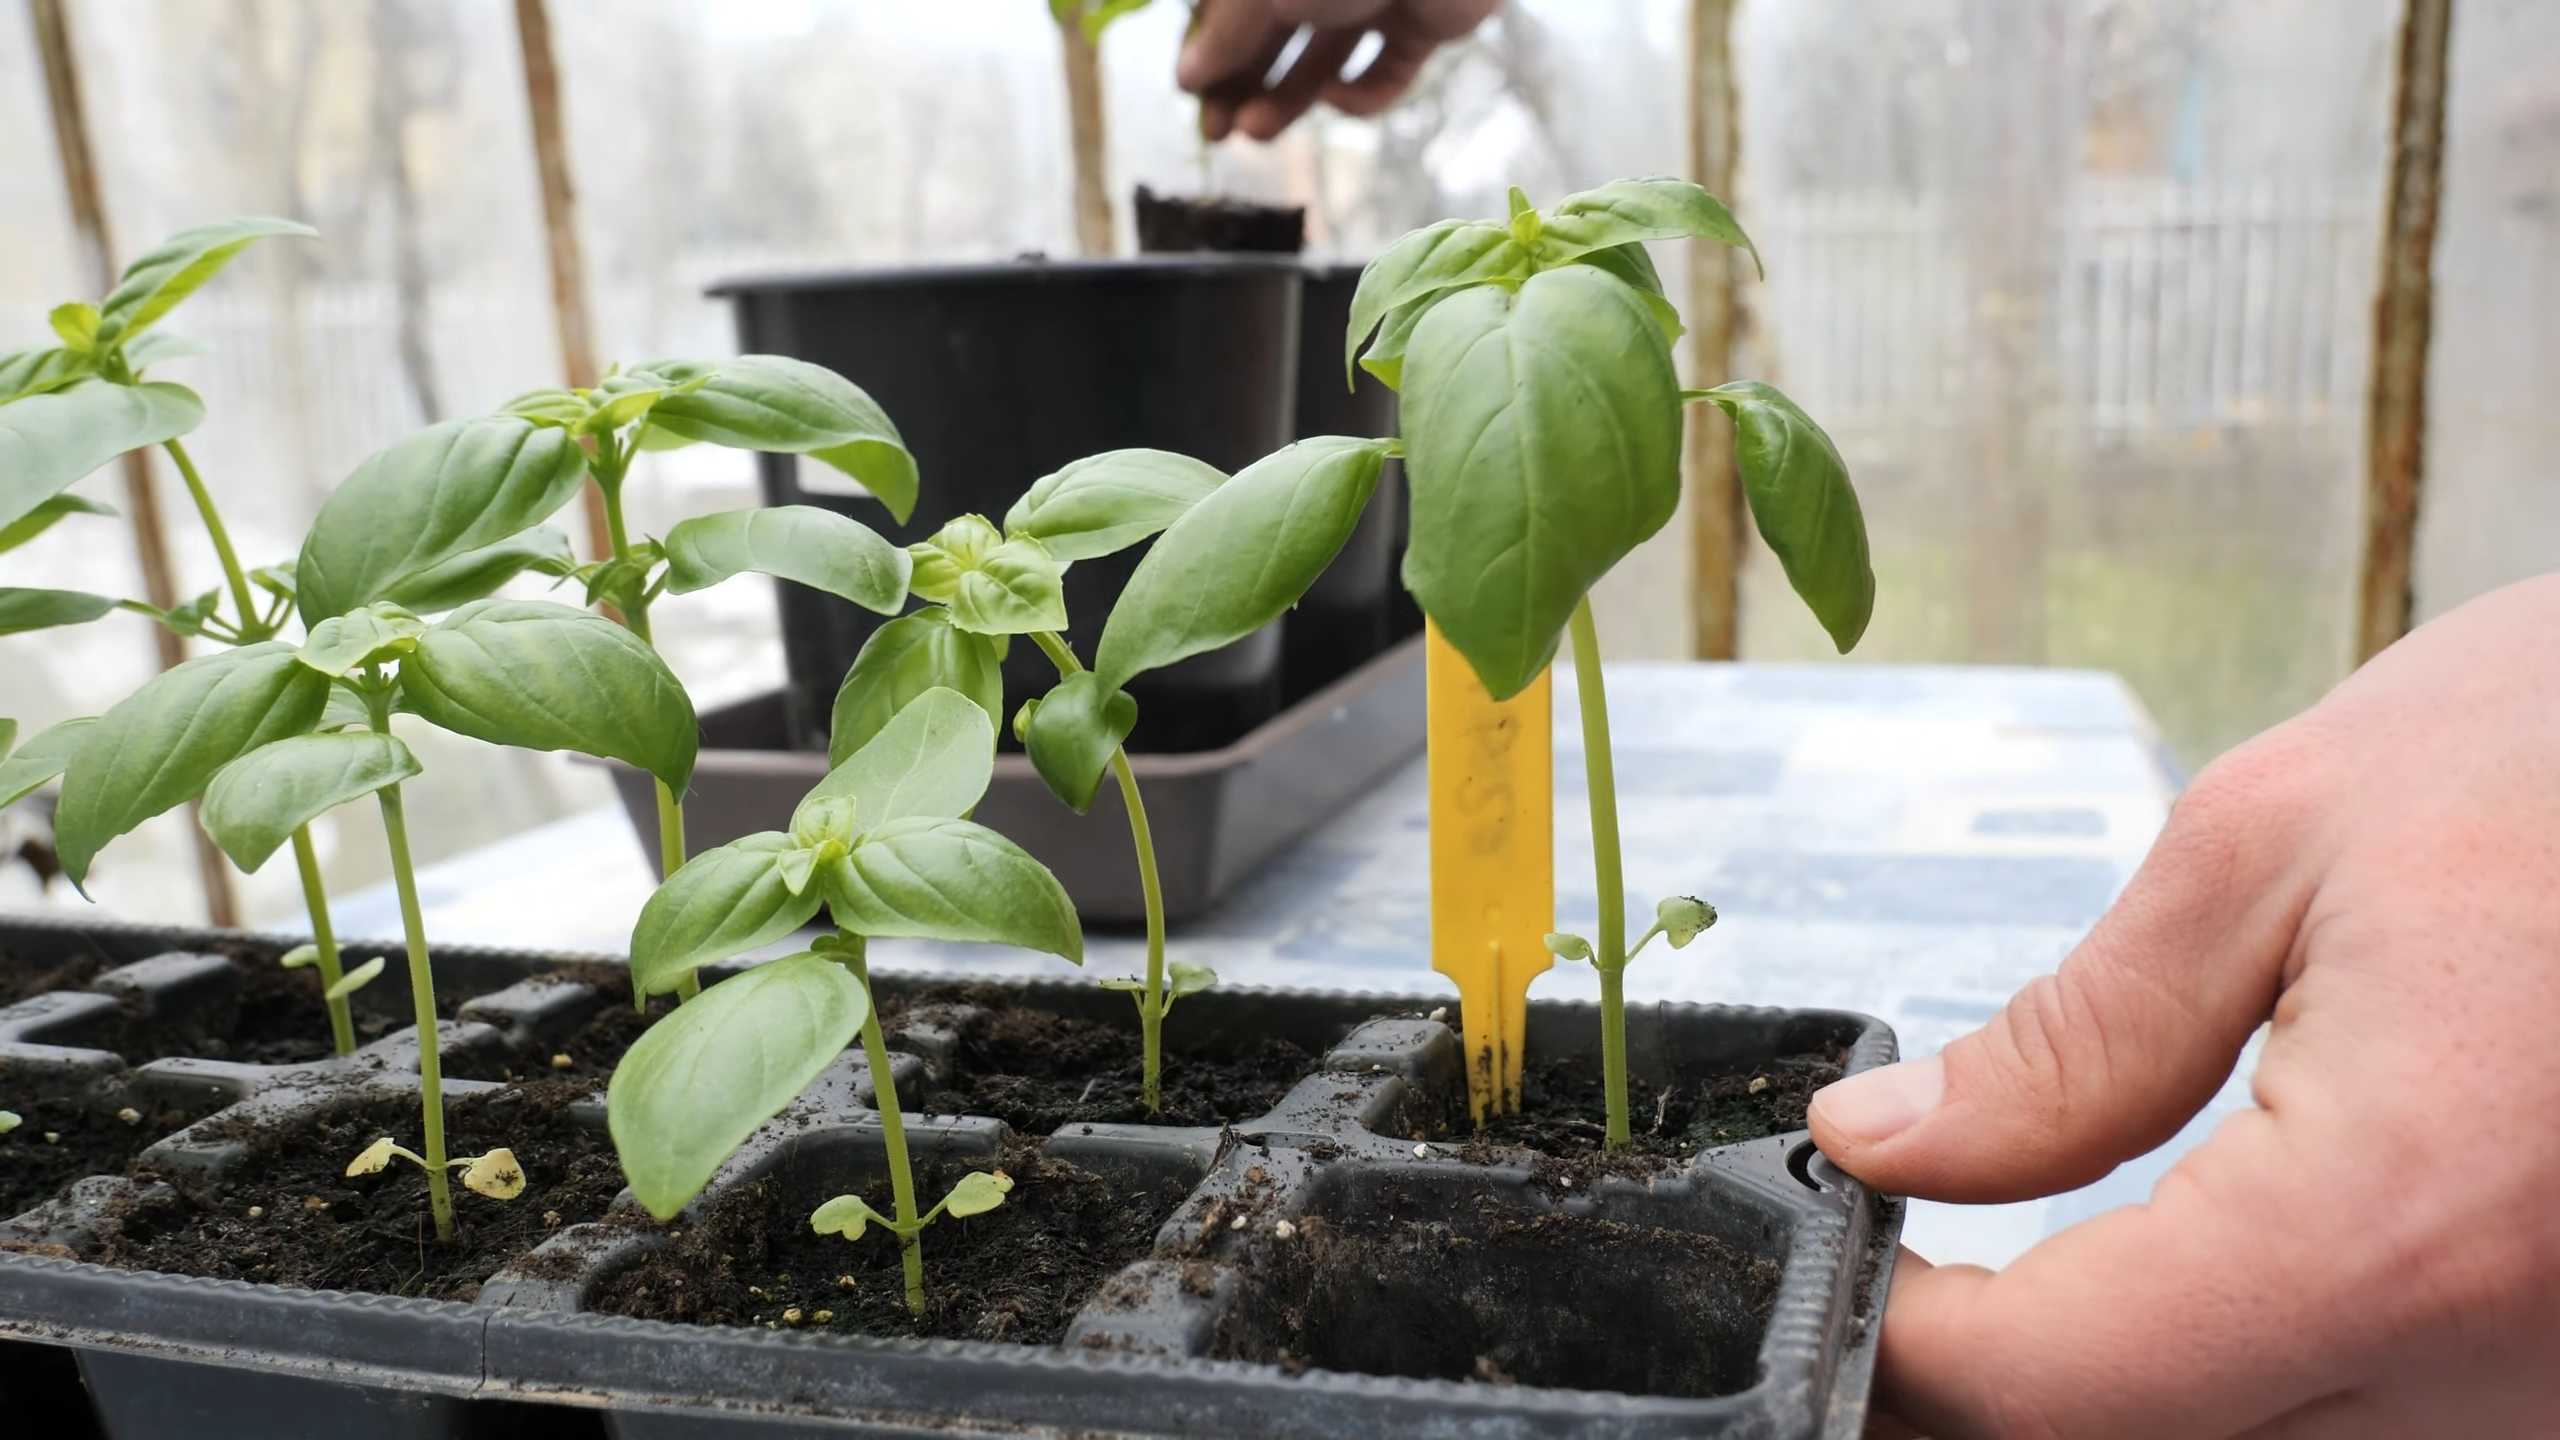
6. Wait for Germination: Basil seeds typically germinate within 5-10 days. Keep the soil consistently moist during this time.
7. Provide Light: Once the seedlings emerge, remove the humidity dome and place the tray under grow lights or in a sunny windowsill.
8. Thin the Seedlings: Once the seedlings have their first set of true leaves (the leaves that look like basil leaves, not the initial seed leaves), thin them to one seedling per cell. Choose the strongest seedling and snip off the others at the soil line.
9. Transplant to Pots: Once the seedlings are a few inches tall and have a few sets of true leaves, they’re ready to be transplanted to their permanent pots.
Transplanting Seedlings or Planting Starter Plants
Whether you’re transplanting seedlings you started yourself or planting starter plants from the store, the process is similar:
1. Prepare Your Pots: Fill your pots with potting mix, leaving about an inch of space at the top.
2. Create a Hole: Dig a hole in the center of the pot that’s large enough to accommodate the root ball of the seedling or starter plant.
3. Gently Remove the Plant: Carefully remove the seedling from its cell or the starter plant from its container. Gently loosen the roots if they’re tightly packed.
4. Place the Plant in the Hole: Place the plant in the hole, making sure the top of the root ball is level with the surrounding soil.
5. Fill with Soil: Fill in the hole with potting mix, gently pressing down to secure the plant.
6. Water Thoroughly: Water the plant thoroughly until water drains out of the drainage holes.
Caring for Your Basil Plants
Now that your basil plants are potted, it’s time to provide them with the care they need to thrive.
1. Sunlight: Basil loves sunlight! Aim for at least 6-8 hours of direct sunlight per day. If you don’t have a sunny windowsill, use grow lights.
2. Watering: Water your basil plants when the top inch of soil feels dry to the touch. Avoid overwatering, as this can lead to root rot. Water deeply, until water drains out of the drainage holes.
3. Fertilizing (Optional): Fertilize your basil plants every 2-3 weeks with a balanced liquid fertilizer. Follow the instructions on the fertilizer label.
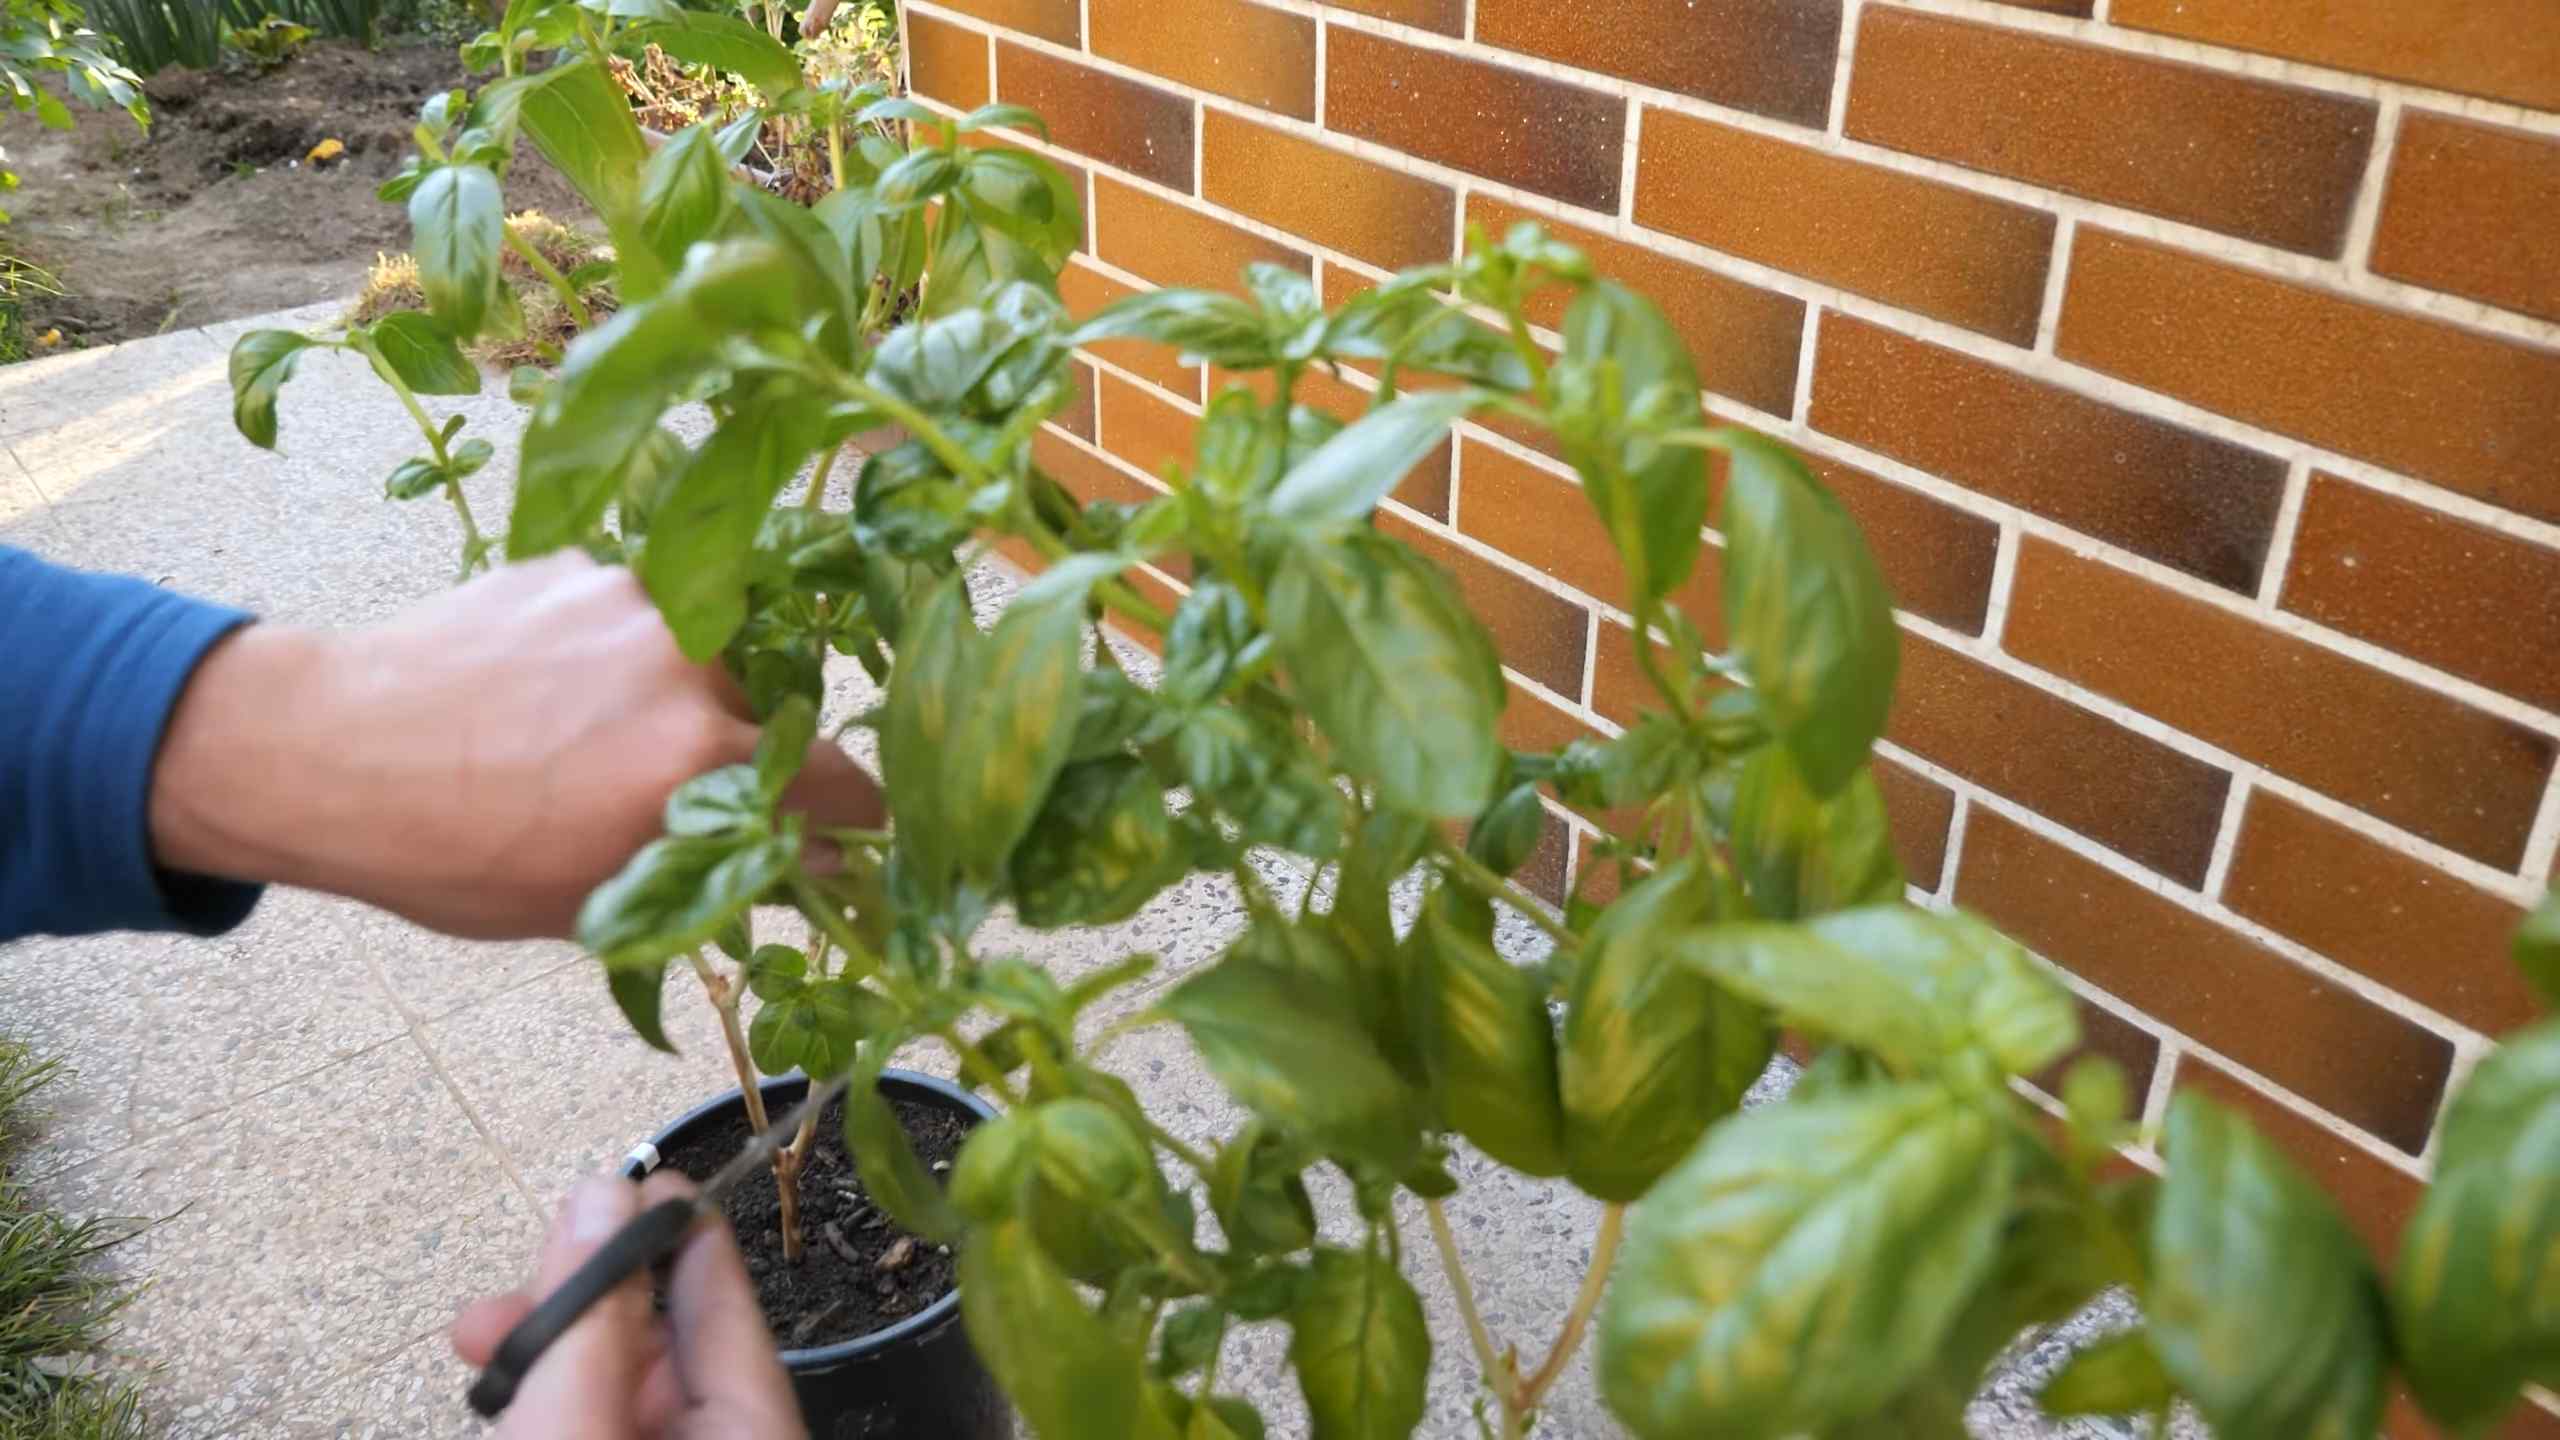
4. Pruning: Pruning is essential for encouraging bushy growth and preventing your basil plants from flowering. When you see a flower bud forming, pinch it off just above a set of leaves. This will encourage the plant to produce more leaves instead of flowers.
5. Pinching: Pinch off the top sets of leaves regularly to encourage the plant to branch out and become bushier.
6. Harvesting: You can start harvesting basil leaves once the plant is about 6-8 inches tall. Simply snip off the leaves you need with scissors or pruning shears. Harvest regularly to encourage continued growth.
7. Pest Control: Keep an eye out for pests like aphids and spider mites. If you spot any pests, you can try spraying the plants with insecticidal soap or neem oil.
8. Temperature: Basil prefers warm temperatures between 60-80°F (15-27°C). Protect your plants from frost.
Troubleshooting
Even with the best care, you might encounter a few challenges along the way. Here are some common problems and how to fix them:
* Yellowing Leaves: This could be a sign of overwatering, underwatering, or nutrient deficiency. Check the soil moisture and adjust your watering accordingly. If the soil is dry, water thoroughly. If the soil is soggy, let it dry out before watering again. You can also try fertilizing your plants with a balanced liquid fertilizer.
* Leggy Growth: This is usually caused by insufficient light. Move your plants to a sunnier location or provide them with grow lights. Remember to pinch off the top sets of leaves to encourage bushier growth.
* Wilting Leaves: This could be a sign of underwatering or root rot. Check the soil moisture and adjust your watering accordingly. If the soil is dry, water thoroughly. If the soil is soggy, let it dry out before watering again. If you suspect root rot, you may need to repot your plants in fresh potting mix.
* Pests: Keep an eye out for pests like aphids and spider mites. If you spot any pests, you can try spraying the plants with insecticidal soap or neem oil.
Harvesting and Using Your Basil
The best part about growing your own basil is, of course, enjoying the fresh, flavorful leaves! Here are a few tips for harvesting and using your basil:
* Harvest in the Morning: The best time to harvest basil is in the morning, after the dew has dried but before the sun gets too hot. This is when the leaves are at their most flavorful.
* Harvest Regularly: Harvesting regularly will encourage your basil plants to produce more leaves. Don’t be afraid to snip off a generous amount!
* Store Properly: Fresh basil leaves can be stored in the refrigerator for a few days. Wrap them in a damp paper towel and place them in a plastic bag. You can also freeze basil leaves for longer storage.
* Use in Your Favorite Recipes: Basil is a versatile herb that can be used in a variety of dishes. Add it to pasta sauces, pizzas, salads, soups, and more! It’s also a
Conclusion
So, there you have it! Growing basil at home, especially using this simple and effective DIY trick, is not just a fun project; it’s a gateway to fresher, more flavorful meals and a more sustainable lifestyle. Forget those wilted, overpriced bunches from the grocery store. Imagine stepping into your kitchen and snipping off vibrant, fragrant basil leaves whenever you need them. The difference in taste is truly remarkable – a burst of peppery sweetness that elevates everything from a simple Caprese salad to a complex pesto.
This method, focusing on propagating basil cuttings, is particularly appealing because it’s incredibly cost-effective and reduces waste. Instead of constantly buying new plants, you can essentially create an endless supply of basil from a single, healthy mother plant or even from those grocery store stems that are starting to look a little sad. Think of it as basil alchemy!
But the benefits extend beyond just convenience and cost. Nurturing your own basil plants connects you to the natural world in a small but meaningful way. It’s a therapeutic activity that can reduce stress and bring a sense of accomplishment. Plus, you’ll be contributing to a greener planet by reducing your reliance on commercially grown produce, which often involves long-distance transportation and potentially harmful pesticides.
Ready to take your basil game to the next level? Consider experimenting with different varieties of basil. Sweet basil is the classic choice, but lemon basil, Thai basil, and purple basil each offer unique flavors and aromas that can add exciting dimensions to your cooking. You can also try different potting mixes to see which one your basil thrives in. Some gardeners swear by a mix of compost, perlite, and vermiculite, while others prefer a simpler blend of potting soil and peat moss.
Don’t be afraid to get creative with your basil plants! You can grow them in pots on your windowsill, in a raised garden bed, or even in a hydroponic system. The possibilities are endless. And remember, regular pruning is key to encouraging bushy growth and preventing your basil from flowering too early. Pinch off the top sets of leaves whenever you see flower buds forming.
We’re confident that once you try this DIY trick for growing basil at home, you’ll be hooked. It’s a simple, rewarding, and delicious way to enhance your culinary creations and connect with nature. So, grab some basil stems, a glass of water, and get ready to experience the joy of homegrown herbs.
We’d love to hear about your experiences! Share your photos, tips, and questions in the comments below. Let’s build a community of basil-loving gardeners and inspire each other to grow the freshest, most flavorful herbs possible. Happy growing!
Frequently Asked Questions (FAQ)
Q: How long does it take for basil cuttings to root in water?
A: Generally, you should start to see roots emerging from your basil cuttings within 7-14 days. The exact time can vary depending on factors like the temperature of the water, the humidity in your environment, and the health of the original basil plant. Make sure to change the water every 1-2 days to keep it fresh and oxygenated, which will encourage faster root growth. If you notice any signs of algae growth in the water, change it immediately.
Q: What kind of water should I use for rooting basil cuttings?
A: Tap water is generally fine for rooting basil cuttings, but it’s best to let it sit out for 24 hours to allow any chlorine or other chemicals to dissipate. Alternatively, you can use filtered water or rainwater. Avoid using distilled water, as it lacks the minerals that plants need to thrive.
Q: How do I know when the basil cuttings are ready to be planted in soil?
A: Your basil cuttings are ready to be planted in soil when the roots are at least 1-2 inches long. The roots should be healthy and white, not brown or mushy. Gently remove the cuttings from the water and plant them in a well-draining potting mix. Be careful not to damage the delicate roots during the transplanting process.
Q: What kind of soil is best for growing basil?
A: Basil thrives in well-draining soil that is rich in organic matter. A good potting mix for basil would include a combination of compost, perlite, and vermiculite. You can also add some slow-release fertilizer to provide your basil plants with the nutrients they need to grow. Avoid using heavy clay soil, as it can retain too much moisture and lead to root rot.
Q: How much sunlight does basil need?
A: Basil needs at least 6-8 hours of sunlight per day to thrive. If you’re growing basil indoors, place it near a sunny window or use a grow light. If you’re growing basil outdoors, choose a location that receives full sun. However, in very hot climates, basil may benefit from some afternoon shade to prevent the leaves from scorching.
Q: How often should I water my basil plants?
A: Water your basil plants regularly, keeping the soil consistently moist but not waterlogged. Check the soil moisture by sticking your finger into the soil. If the top inch of soil feels dry, it’s time to water. Avoid overwatering, as this can lead to root rot. During hot weather, you may need to water your basil plants more frequently.
Q: How do I prevent my basil from flowering?
A: Basil plants will eventually flower, but you can delay the flowering process by regularly pinching off the top sets of leaves. This encourages the plant to produce more leaves and become bushier. Once your basil plant starts to flower, the leaves may become bitter. You can still use the flowers in salads or as a garnish, but the flavor will be different.
Q: Can I grow basil indoors year-round?
A: Yes, you can grow basil indoors year-round, provided you give it enough sunlight and water. Place your basil plant near a sunny window or use a grow light. Make sure to water it regularly and fertilize it every few weeks. You may also need to provide your basil plant with some extra humidity, especially during the winter months when the air is dry.
Q: What are some common pests and diseases that affect basil?
A: Some common pests that affect basil include aphids, spider mites, and whiteflies. You can control these pests by spraying your basil plants with insecticidal soap or neem oil. Common diseases that affect basil include fungal diseases like powdery mildew and downy mildew. You can prevent these diseases by providing good air circulation and avoiding overwatering. If your basil plant does develop a fungal disease, you can treat it with a fungicide.
Q: Can I use this method to propagate other herbs?
A: Yes, this method of propagating cuttings in water works well for many other herbs, including mint, rosemary, oregano, and thyme. The process is generally the same: take a cutting from a healthy plant, remove the lower leaves, and place the cutting in a glass of water. Change the water every 1-2 days and wait for roots to develop. Once the roots are long enough, plant the cutting in soil.
Leave a Comment