

Grow Microgreens at Home – ever dreamt of having a tiny, vibrant garden bursting with flavor right on your kitchen counter? Imagine snipping fresh, nutrient-packed greens just moments before adding them to your salad, smoothie, or sandwich. It’s not just a dream; it’s an incredibly achievable reality with microgreens!
For centuries, various cultures have recognized the power of sprouts and young greens. From ancient Chinese medicinal practices to modern-day health food trends, the appreciation for these nutritional powerhouses has endured. Now, you can easily tap into this tradition and cultivate your own miniature edible garden.
Why should you learn to grow microgreens at home? Well, for starters, they’re packed with vitamins and minerals, often exceeding the nutritional value of their mature counterparts. Plus, store-bought microgreens can be pricey and have a limited shelf life. By growing your own, you control the quality, freshness, and cost. I’m going to show you how to bypass all of that!
This DIY guide will walk you through everything you need to know, from selecting the right seeds to harvesting your first crop. Get ready to unleash your inner gardener and enjoy the delicious rewards of homegrown microgreens!
Growing Butternut Squash: A Beginner’s Guide to a Bountiful Harvest
Hey there, fellow gardening enthusiasts! I’m so excited to share my experience growing butternut squash at home. It’s surprisingly easy, incredibly rewarding, and nothing beats the taste of homegrown squash in your favorite fall recipes. This guide will walk you through every step, from seed to table, ensuring you have a successful and delicious harvest.
Choosing the Right Butternut Squash Variety
Before we dive into the nitty-gritty, let’s talk about varieties. While most butternut squash are pretty similar, there are some subtle differences.
* Waltham Butternut: This is a classic, reliable variety known for its consistent shape, smooth skin, and excellent flavor. It’s a great choice for beginners.
* Butterscotch PMR: If you’re short on space, this compact variety is perfect. It’s also resistant to powdery mildew, a common squash problem.
* Early Butternut: As the name suggests, this variety matures earlier than others, making it ideal for shorter growing seasons.
I personally prefer Waltham Butternut because it’s readily available and consistently produces delicious squash. But feel free to experiment and find your favorite!
Getting Started: Planting Your Butternut Squash
Butternut squash needs a long growing season (around 90-100 days), so starting seeds indoors is often the best approach, especially if you live in a cooler climate.
Starting Seeds Indoors (Optional but Recommended)
1. Gather Your Supplies: You’ll need seed starting trays or small pots (I prefer peat pots because they’re biodegradable), seed starting mix, butternut squash seeds, a spray bottle, and a warm, sunny location or a grow light.
2. Prepare the Seed Starting Mix: Moisten the seed starting mix with water until it’s damp but not soggy.
3. Sow the Seeds: Plant two seeds per pot, about 1 inch deep.
4. Water Gently: Use a spray bottle to gently water the seeds. Avoid overwatering, which can lead to rot.
5. Provide Warmth and Light: Place the trays in a warm location (around 70-75°F) and provide plenty of light. A sunny windowsill works, but a grow light will give you more consistent results.
6. Thin Seedlings: Once the seedlings emerge (usually within a week), thin them to one plant per pot by snipping off the weaker seedling at the soil line.
7. Harden Off Seedlings: About a week before transplanting, gradually acclimate the seedlings to outdoor conditions. Start by placing them outside for an hour or two each day, increasing the time each day. This helps them adjust to the sun, wind, and temperature changes.
Direct Sowing (If You Have a Long Growing Season)
If you live in a warm climate with a long growing season, you can direct sow butternut squash seeds directly into the garden.
1. Prepare the Soil: Choose a sunny location with well-drained soil. Amend the soil with compost or aged manure to improve fertility and drainage. Butternut squash are heavy feeders!
2. Create Mounds: Form small mounds of soil, about 1-2 feet in diameter and a few inches high. This helps with drainage and warms the soil.
3. Sow the Seeds: Plant 3-4 seeds per mound, about 1 inch deep.
4. Water Gently: Water the seeds gently to avoid washing them away.
5. Thin Seedlings: Once the seedlings emerge, thin them to the strongest 1-2 plants per mound.
Transplanting Your Butternut Squash Seedlings
Once the danger of frost has passed and the soil has warmed up (ideally above 60°F), it’s time to transplant your butternut squash seedlings into the garden.
1. Prepare the Planting Site: Choose a sunny location with well-drained soil. Butternut squash needs at least 6-8 hours of sunlight per day. Amend the soil with compost or aged manure.
2. Dig Holes: Dig holes that are slightly larger than the root balls of the seedlings. Space the holes about 2-3 feet apart. Butternut squash vines can get quite large, so give them plenty of room to spread out.
3. Carefully Remove Seedlings: Gently remove the seedlings from their pots, being careful not to damage the roots. If you used peat pots, you can plant the entire pot directly into the ground.
4. Plant the Seedlings: Place the seedlings in the holes and backfill with soil. Gently firm the soil around the base of the plants.
5. Water Thoroughly: Water the seedlings thoroughly after planting.
6. Mulch: Apply a layer of mulch around the plants to help retain moisture, suppress weeds, and regulate soil temperature. I like to use straw or shredded leaves.
Caring for Your Butternut Squash Plants
Now that your butternut squash plants are in the ground, it’s time to provide them with the care they need to thrive.
1. Watering: Butternut squash needs consistent watering, especially during dry periods. Water deeply and regularly, aiming for about 1 inch of water per week. Avoid overhead watering, which can lead to fungal diseases. Drip irrigation or soaker hoses are ideal.
2. Fertilizing: Butternut squash are heavy feeders, so fertilize them regularly throughout the growing season. Use a balanced fertilizer or a fertilizer specifically formulated for vegetables. Follow the instructions on the fertilizer label. I like to side-dress my plants with compost tea every few weeks.
3. Weeding: Keep the area around your butternut squash plants free of weeds. Weeds compete with the plants for water and nutrients.
4. Pest Control: Butternut squash can be susceptible to various pests, including squash bugs, squash vine borers, and aphids. Inspect your plants regularly for signs of pests and take action promptly.
* Squash Bugs: Handpick squash bugs and their eggs (which are usually found on the undersides of leaves). You can also use insecticidal soap.
* Squash Vine Borers: These pests can be devastating. Look for small holes in the stems near the base of the plant. If you find them, you can try to remove the borers manually by slitting the stem and extracting them. You can also wrap the base of the stems with aluminum foil to prevent the borers from laying their eggs.
* Aphids: These small, sap-sucking insects can weaken your plants. Blast them off with a strong stream of water or use insecticidal soap.
5. Pollination: Butternut squash plants have separate male and female flowers. The female flowers need to be pollinated in order to produce fruit. Bees are the primary pollinators, but if you’re not seeing a lot of bee activity, you can hand-pollinate the flowers.
* Hand-Pollination: In the early morning, use a small paintbrush to transfer pollen from the male flower to the female flower. The female flower has a small, immature squash at its base.
Harvesting Your Butternut Squash
The moment you’ve been waiting for! Knowing when to harvest your butternut squash is crucial for optimal flavor and storage.
1. Check for Maturity: Butternut squash is typically ready to harvest about 90-100 days after planting. Look for these signs of maturity:
* Hard Rind: The rind should be hard and resistant to scratching.
* Deep Tan Color: The squash should be a deep tan color.
* Dry Stem: The stem should be dry and starting to turn brown.
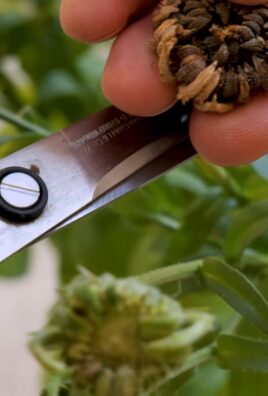
2. Harvest Carefully: Use a sharp knife or pruning shears to cut the squash from the vine, leaving about 2-3 inches of stem attached. This helps prevent rot.
3. Handle with Care: Butternut squash bruises easily, so handle them with care.
4. Curing: Curing the squash helps to harden the rind and improve its storage life. Place the squash in a warm, dry, well-ventilated location for about 1-2 weeks.
Storing Your Butternut Squash
Proper storage is essential for enjoying your butternut squash throughout the winter.
1. Choose a Cool, Dry Place: Store your cured butternut squash in a cool, dry, well-ventilated location, such as a basement or pantry. The ideal temperature is around 50-60°F.
2. Avoid Bruising: Handle the squash carefully to avoid bruising.
3. Don’t Stack: Avoid stacking the squash on top of each other, as this can lead to bruising and rot.
4. Check Regularly: Check the squash regularly for signs of rot or spoilage. Discard any squash that are damaged or showing signs of decay.
With proper storage, your butternut squash can last for several months, providing you with a delicious and
Conclusion
So, there you have it! Growing microgreens at home is not only incredibly simple and cost-effective, but it’s also a fantastic way to boost your nutrient intake and add a burst of fresh flavor to your meals. Forget those expensive, pre-packaged containers from the grocery store. With just a few readily available supplies and a little bit of patience, you can cultivate your own thriving microgreen garden right on your windowsill.
The beauty of this DIY project lies in its versatility. Feel free to experiment with different types of seeds to discover your favorite flavor profiles. Radish microgreens offer a peppery kick, while broccoli microgreens are mild and slightly sweet. Sunflower microgreens provide a nutty crunch, and pea shoots bring a delicate, grassy flavor. The possibilities are truly endless!
Consider variations like using different growing mediums. While soil is a classic choice, you can also explore soilless options like coconut coir or hydroponic mats. Each medium offers its own unique benefits and can influence the growth rate and flavor of your microgreens. You can even try stacking multiple trays to create a vertical microgreen farm, maximizing your space and yield.
Another fun variation is to experiment with different lighting conditions. While a sunny windowsill is often sufficient, you can supplement with grow lights, especially during the darker winter months. This can help ensure consistent growth and prevent your microgreens from becoming leggy.
Why is this a must-try? Because you’re taking control of your food source, ensuring freshness and quality while saving money. You’re also engaging in a rewarding and educational activity that connects you with nature. Plus, the vibrant colors and textures of microgreens are a feast for the eyes, adding a touch of beauty to your home.
We strongly encourage you to give this DIY microgreen growing method a try. It’s a simple, rewarding, and delicious way to enhance your diet and connect with the natural world. Once you experience the satisfaction of harvesting your own homegrown microgreens, you’ll never want to go back to store-bought again.
Don’t be afraid to experiment, adapt, and personalize the process to suit your own preferences and resources. And most importantly, don’t forget to share your experiences with us! We’d love to hear about your successes, challenges, and favorite microgreen varieties. Share your photos and tips in the comments below, and let’s build a community of passionate home microgreen growers! Let us know what you think about this method to grow microgreens at home.
Frequently Asked Questions (FAQ)
What exactly are microgreens?
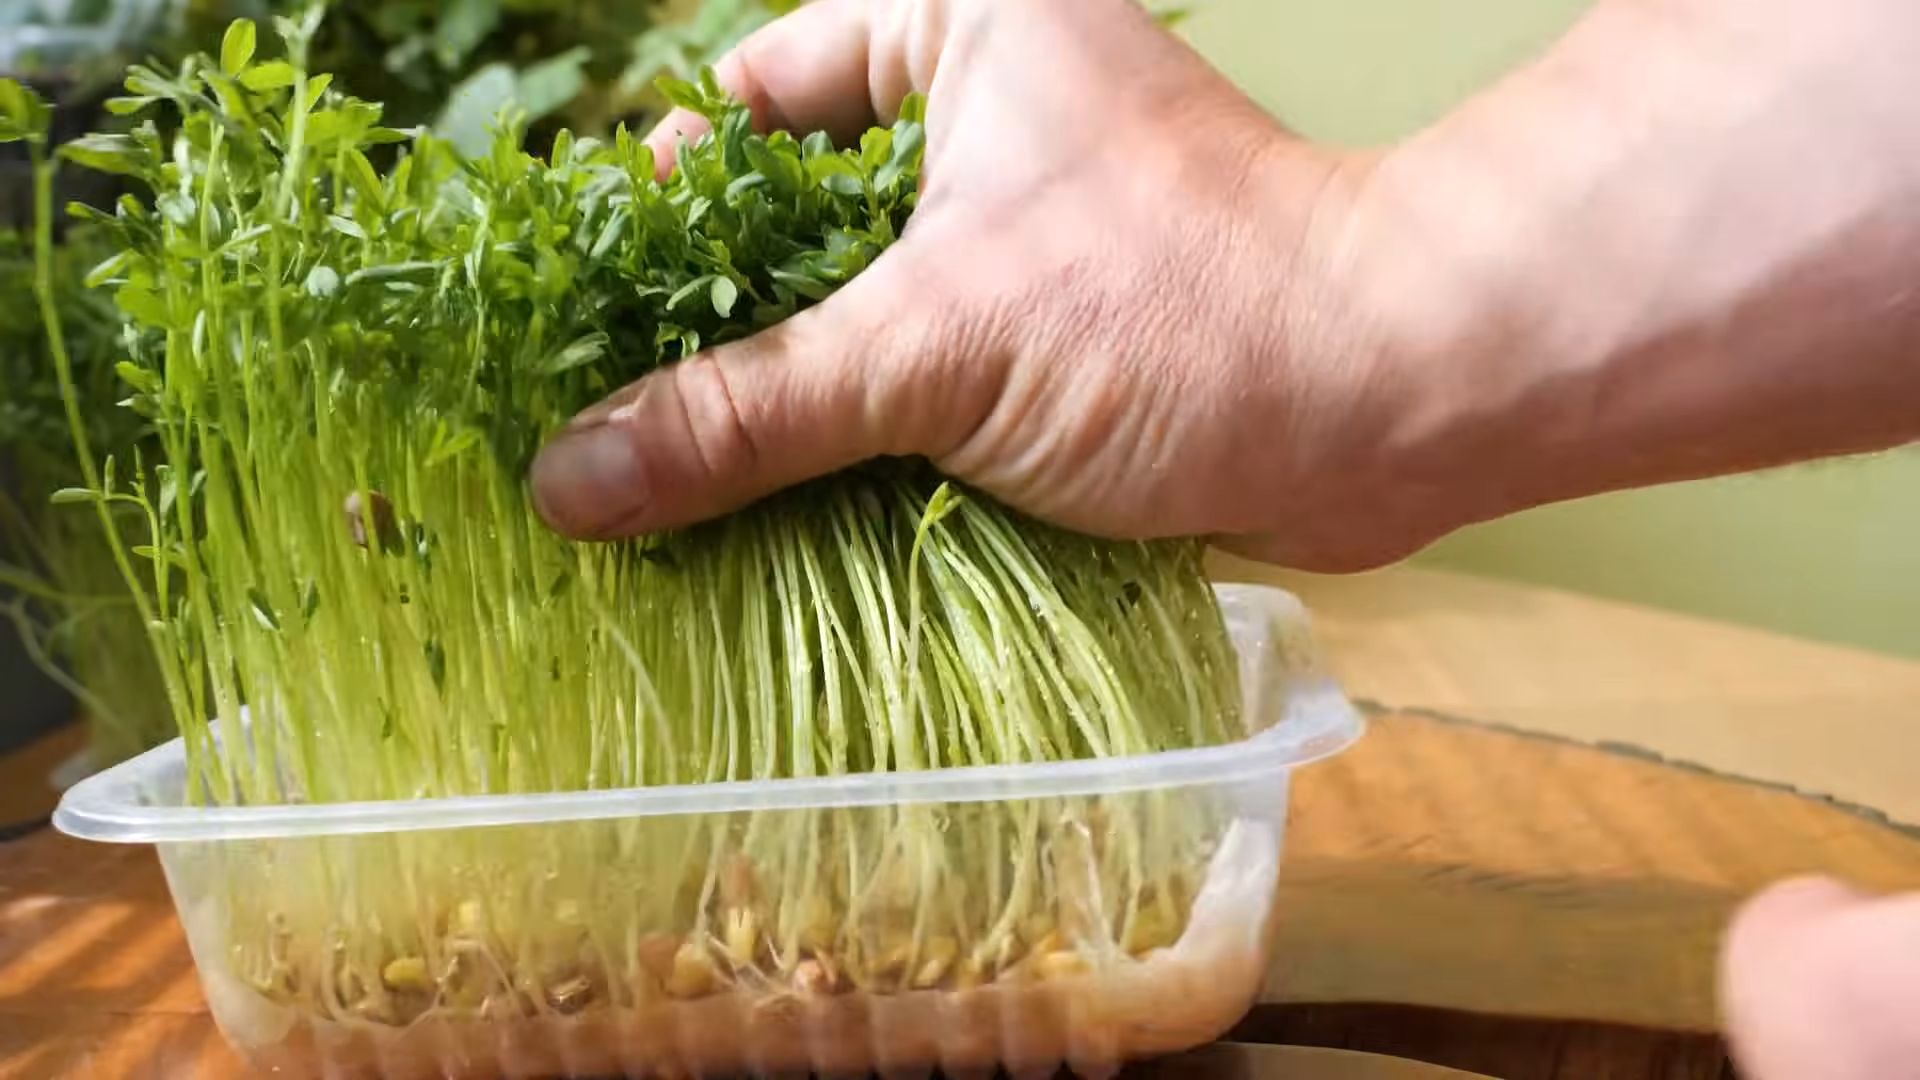
Microgreens are young vegetable greens that are typically harvested 7-14 days after germination, when the first true leaves have emerged. They are essentially baby versions of mature vegetables and herbs, packed with concentrated nutrients and intense flavors. They are different from sprouts, which are germinated seeds eaten whole, including the root, stem, and seed. Microgreens are cut above the soil line, leaving the roots and seed behind.
What types of seeds can I use to grow microgreens?
The possibilities are vast! Some popular choices include:
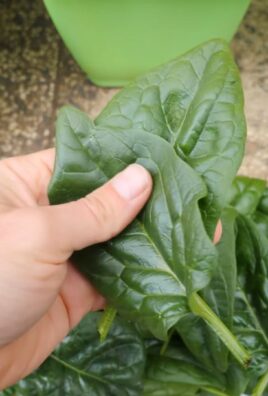
* **Brassicas:** Broccoli, kale, radish, cabbage, arugula, mustard
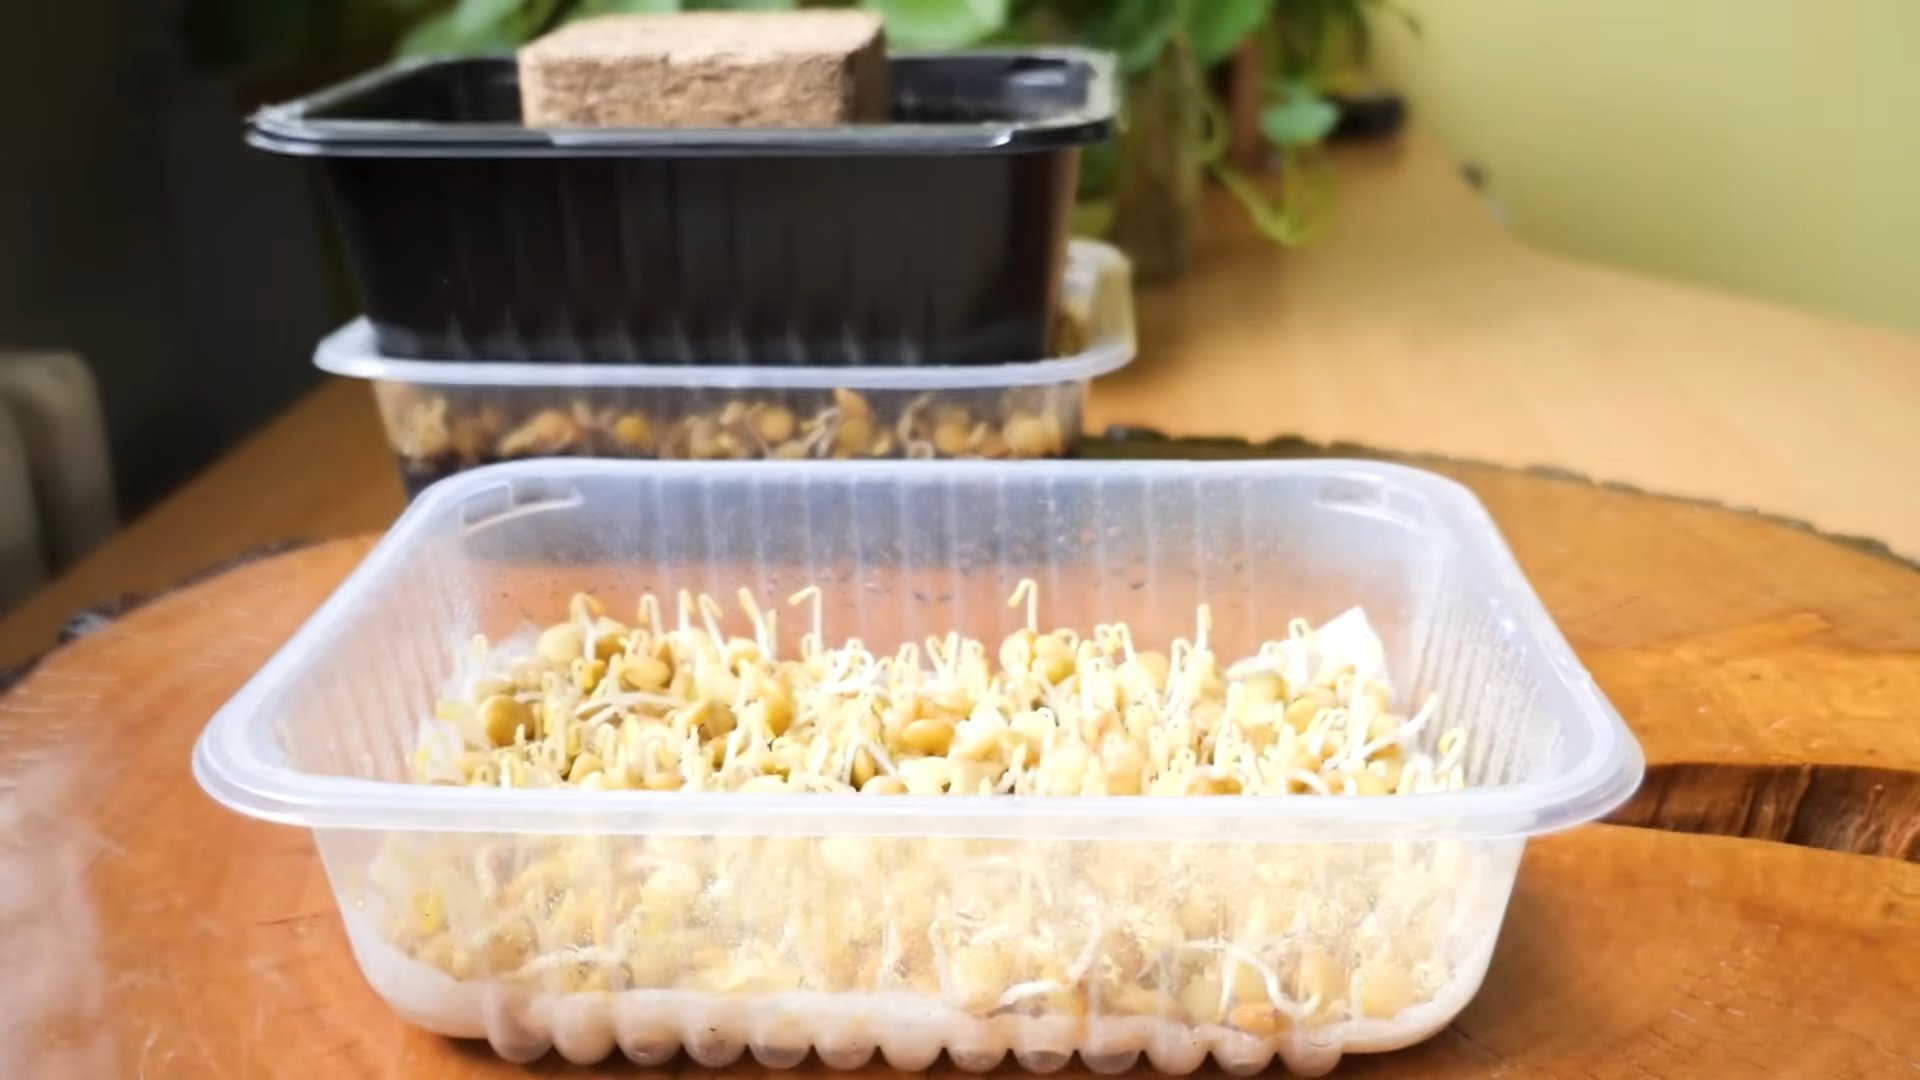
* **Legumes:** Peas, lentils, chickpeas
* **Cereals:** Wheatgrass, barley, oats
* **Amaranthaceae:** Amaranth, quinoa
* **Asteraceae:** Sunflower, lettuce, endive
* **Apiaceae:** Carrot, celery, dill, fennel
However, it’s crucial to use seeds specifically intended for sprouting or microgreen production. Avoid using seeds that have been treated with fungicides or other chemicals, as these can be harmful to consume.
How much light do microgreens need?
Microgreens need adequate light to thrive. A sunny windowsill that receives at least 4-6 hours of direct sunlight per day is ideal. However, if you don’t have access to sufficient natural light, you can supplement with grow lights. LED grow lights are a great option as they are energy-efficient and provide the full spectrum of light that plants need. Position the grow lights a few inches above the microgreens to prevent them from burning.
How often should I water my microgreens?
Maintaining consistent moisture is essential for successful microgreen growth. Water your microgreens at least once a day, or even twice a day in warmer climates. The goal is to keep the soil or growing medium consistently moist but not waterlogged. Overwatering can lead to mold growth, while underwatering can cause the microgreens to dry out and wilt. A spray bottle is a great way to gently mist the microgreens without disturbing the delicate seedlings.
How do I prevent mold growth on my microgreens?
Mold growth is a common concern when growing microgreens, but it can be prevented with proper care. Here are some tips:
* **Use clean containers and growing medium:** Sterilize your containers before planting to eliminate any potential mold spores.
* **Ensure good air circulation:** Provide adequate ventilation to prevent moisture buildup. A small fan can help improve air circulation.
* **Avoid overwatering:** As mentioned earlier, overwatering creates a favorable environment for mold growth.
* **Use hydrogen peroxide:** A diluted solution of hydrogen peroxide (3% concentration) can be sprayed on the microgreens to kill mold spores. Mix 1 tablespoon of hydrogen peroxide with 1 cup of water.
* **Remove affected areas:** If you spot any mold, carefully remove the affected areas to prevent it from spreading.
When are microgreens ready to harvest?
Microgreens are typically ready to harvest 7-14 days after germination, when the first true leaves have emerged. The true leaves are the second set of leaves that appear after the initial seed leaves (cotyledons). The microgreens should be about 1-3 inches tall, depending on the variety.
How do I harvest microgreens?
Harvesting microgreens is simple. Use a sharp pair of scissors or a knife to cut the stems just above the soil line. Gently wash the microgreens in cool water to remove any soil or debris. Pat them dry with a paper towel or salad spinner.
How long do microgreens last after harvesting?
Microgreens are best consumed fresh, but they can be stored in the refrigerator for up to a week. To store them, wrap them in a paper towel and place them in a sealed container or plastic bag. This will help absorb excess moisture and prevent them from wilting.
Can I regrow microgreens after harvesting?
Unfortunately, microgreens cannot be regrown after harvesting. Once you cut the stems, the plants will not regenerate. However, you can easily start a new batch of microgreens by planting more seeds.
Are there any microgreens I should avoid growing?
Yes, some plants are toxic and should not be grown as microgreens. Avoid growing microgreens from the nightshade family (Solanaceae), which includes tomatoes, potatoes, eggplants, and peppers. These plants contain solanine, a toxic compound that can cause digestive upset. Also, avoid growing rhubarb leaves as microgreens, as they contain oxalic acid, which is also toxic. Always research the safety of a plant before growing it as a microgreen.
Leave a Comment