

Fast Growing Potatoes: Your Guide to a Bountiful Harvest
Have you ever dreamed of enjoying fresh, homegrown potatoes just weeks after planting? Well, dream no more! This article is your ultimate guide to the secrets of Fast Growing Potatoes, revealing simple yet effective DIY tricks and hacks that will transform your gardening experience. I’ve always loved the satisfaction of harvesting my own food, and nothing beats the taste of a potato freshly pulled from the earth. But let’s be honest, sometimes the wait can feel long. That’s why I’m so excited to share these techniques for accelerating the growth of your potato plants, ensuring a quicker and more abundant harvest.
The history of potato cultivation is fascinating, stretching back centuries to the Andes Mountains. For generations, people have relied on potatoes as a staple crop, a testament to their nutritional value and adaptability. But modern life often leaves us with limited time and space. That’s where these Fast Growing Potatoes techniques come in handy. They’re designed for busy individuals and small-space gardeners alike, maximizing yield and minimizing effort.
Why You Need These Fast Growing Potato Hacks
In today’s fast-paced world, we all crave efficiency. These DIY tricks aren’t just about speed; they’re about optimizing your resources and getting the most out of your gardening efforts. Whether you’re a seasoned gardener or a complete beginner, learning how to cultivate fast-growing potatoes will save you time, increase your yield, and ultimately, enhance your enjoyment of home gardening. Imagine the joy of serving up delicious, homegrown potatoes, knowing you’ve nurtured them from seed to plate in record time! Let’s get started and unlock the secrets to a bountiful harvest of fast-growing potatoes.
Growing Your Own Vegetables at Home: A Complete Guide
I’ve always loved fresh vegetables, but grocery store prices can be a real killer. That’s why I decided to take the plunge and start growing my own. It’s been a rewarding experience, and I’m excited to share my process with you. This guide will walk you through everything from planning to harvest, so let’s get started!
Phase 1: Planning Your Vegetable Garden
- Choose your vegetables: Consider your climate, the amount of space you have, and your personal preferences. Start small! Don’t overwhelm yourself with too many varieties in your first attempt. Easy-to-grow options include lettuce, radishes, zucchini, and beans.
- Select a location: Most vegetables need at least six hours of sunlight per day. Choose a spot in your yard that gets plenty of sun. Also, consider proximity to a water source for easy watering.
- Assess your soil: Healthy soil is crucial for healthy plants. Get a soil testing kit to determine the pH level and nutrient content. Amend your soil with compost or other organic matter to improve its structure and fertility. This is a really important step, don’t skip it!
- Decide on your gardening method: You can grow vegetables in raised beds, containers, or directly in the ground. Raised beds offer excellent drainage and soil control, while containers are perfect for small spaces or areas with poor soil. Direct sowing in the ground is the most traditional method.
- Gather your supplies: You’ll need seeds or seedlings, gardening gloves, hand tools (shovel, trowel, hoe), watering can or hose, and fertilizer (if needed). Consider getting some knee pads too – your knees will thank you!
Phase 2: Preparing Your Garden Beds
- Clear the area: Remove any weeds, rocks, or debris from the chosen location. A clean slate is essential for a successful garden.
- Prepare the soil: If you’re using raised beds, fill them with a good quality potting mix. If planting directly in the ground, loosen the soil with a shovel or tiller to a depth of about 12 inches. Mix in compost or other organic matter to improve soil fertility.
- Create rows or individual planting holes: Depending on the type of vegetables you’re planting, create rows or individual holes according to the spacing recommendations on the seed packet or plant tag. Proper spacing is key to prevent overcrowding and ensure good air circulation.
- Water thoroughly: Before planting, water the soil deeply to ensure it’s moist. This will help the seeds or seedlings establish themselves more easily.
Phase 3: Planting Your Vegetables
- Plant seeds or seedlings: Follow the instructions on the seed packet or plant tag for planting depth and spacing. Gently press the seeds or seedlings into the soil and cover them with soil. Water gently after planting.
- Label your plants: Use plant markers to label each row or plant with the name and planting date. This will help you keep track of your progress and harvest times.
- Mulch (optional): Applying a layer of mulch, such as straw or shredded leaves, can help retain moisture, suppress weeds, and regulate soil temperature. This is especially helpful during hot and dry periods.
Phase 4: Caring for Your Vegetable Garden
- Watering: Water regularly, especially during dry periods. The frequency will depend on your climate and the type of vegetables you’re growing. Aim to keep the soil consistently moist but not waterlogged.
- Weeding: Regularly remove weeds to prevent them from competing with your vegetables for water and nutrients. Hand weeding is the most effective method for small gardens.
- Fertilizing: Depending on your soil test results, you may need to fertilize your vegetables throughout the growing season. Use a balanced fertilizer according to the package instructions.
- Pest and disease control: Regularly inspect your plants for pests and diseases. Take appropriate action if you find any problems. Organic pest control methods are often preferred.
- Support structures (if needed): Some vegetables, such as tomatoes and cucumbers, require support structures like stakes or trellises to keep them upright and prevent them from sprawling on the ground.
Phase 5: Harvesting Your Vegetables
- Harvest at the right time: Harvest your vegetables when they are ripe and at their peak flavor. Check the seed packet or plant tag for harvesting guidelines. Harvesting at the right time ensures the best quality and taste.
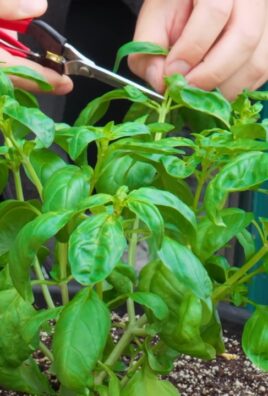
- Proper harvesting techniques: Use sharp scissors or a knife to harvest vegetables to avoid damaging the plants. For example, gently twist off ripe tomatoes instead of pulling them.
- Enjoy your harvest: Once you’ve harvested your vegetables, enjoy the fruits (or vegetables!) of your labor. You can eat them fresh, preserve them, or share them with friends and family.
Tips for Success:
Don’t be afraid to experiment. Gardening is a learning process, and there’s always something new to discover. Start with a few easy-to-grow vegetables and gradually expand your garden as you gain experience. And most importantly, have fun!
Troubleshooting Common Problems:
If you encounter problems with pests or diseases, consult a local gardening expert or search online for solutions. Many resources are available to help you troubleshoot common gardening issues.
Conclusion
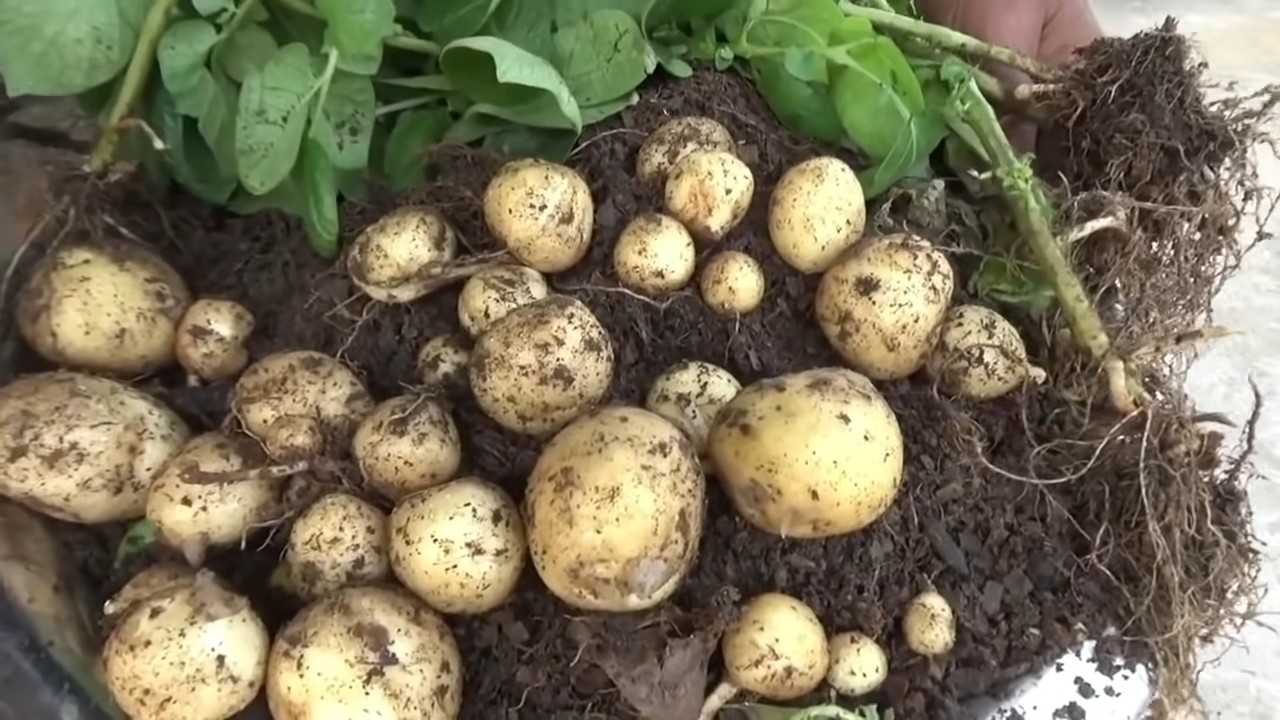
This DIY method for growing fast-growing potatoes is a game-changer for home gardeners, offering a rewarding experience with minimal effort and maximum yield. The ease of this technique, combined with the impressive speed at which you’ll see results, makes it a must-try for both seasoned gardeners and complete beginners. You’ll be amazed at how quickly you can cultivate a bountiful harvest of delicious, homegrown potatoes, all from the comfort of your own backyard or even a sunny balcony. The satisfaction of harvesting your own potatoes, knowing exactly how they were grown, is unparalleled. Beyond the speed and simplicity, this method allows for greater control over the growing process, minimizing the risk of pests and diseases often associated with traditional planting methods. This translates to healthier plants and, ultimately, a more abundant harvest. Don’t be afraid to experiment with different potato varieties; the results are consistently impressive regardless of your choice.
We encourage you to try this fast-growing potatoes method and share your experience with us! Post your photos on social media using #FastGrowingPotatoes and tag us – we’d love to see your flourishing potato plants and hear about your successful harvest. Remember to adapt the technique to your specific climate and conditions, and don’t hesitate to experiment with different containers and growing mediums. The possibilities are endless! You can even try growing different varieties simultaneously to compare growth rates and yields. Perhaps you’ll discover your new favorite potato variety through this exciting DIY project. The joy of homegrown food is a truly rewarding experience, and this fast-growing potatoes method makes it easier than ever to achieve. So, grab your potatoes, get planting, and get ready to enjoy the fruits (or rather, the tubers!) of your labor.
Variations and Suggestions
While the core method remains simple and effective, there are several ways you can adapt it to suit your needs and preferences:
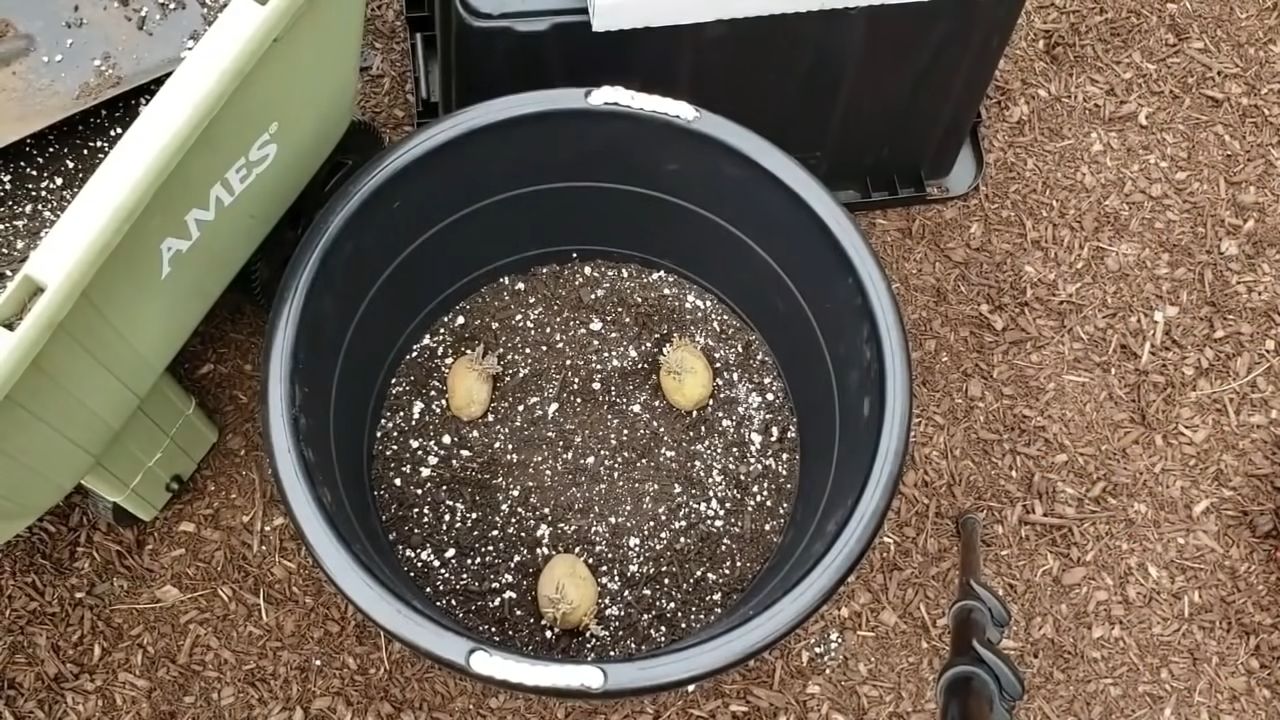
- Container Size and Material: Experiment with different container sizes and materials. Larger containers generally allow for larger potato plants and a greater yield, but smaller containers are ideal for limited space. Consider using recycled containers like buckets or grow bags to be environmentally friendly.
- Soil Type: While well-draining soil is crucial, you can amend your soil with compost or other organic matter to improve its fertility and water retention. This will contribute to healthier and more productive potato plants.
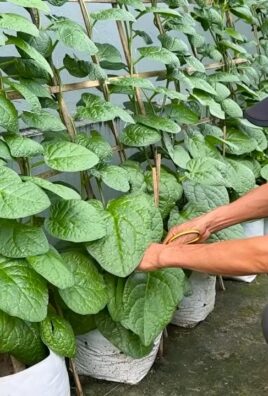
- Sunlight Exposure: Potatoes thrive in full sun, so choose a location that receives at least six hours of direct sunlight per day. If you have limited sunlight, consider supplementing with grow lights.
- Watering: Consistent watering is essential, especially during dry periods. Avoid overwatering, which can lead to root rot. Check the soil moisture regularly and water when the top inch feels dry.
- Fertilizing: While not strictly necessary, you can enhance growth and yield by applying a balanced fertilizer according to package instructions. Organic fertilizers are a great option for promoting healthy soil and plant growth.
Frequently Asked Questions
What type of potatoes are best for this method?
Early-season potato varieties are generally best suited for this fast-growing method, as they mature more quickly. Look for varieties specifically labeled as “early” or “early-season” at your local garden center or nursery. However, many varieties will work well with this technique. Experiment to find your favorites!
How often should I water my potatoes?
The frequency of watering depends on several factors, including the climate, container size, and soil type. As a general rule, water when the top inch of soil feels dry to the touch. Avoid overwatering, which can lead to root rot. Consistent moisture is key, but soggy soil is detrimental.
Can I use this method indoors?
Yes, you can absolutely use this method indoors, provided you have a sunny location with sufficient light. A south-facing window is ideal. You may need to supplement with grow lights, especially during winter months, to ensure adequate light exposure for optimal growth.
What should I do if my potato plants show signs of disease or pests?
Regularly inspect your potato plants for any signs of disease or pests. If you notice any problems, take immediate action. This might involve removing affected leaves or stems, treating with an appropriate organic pesticide, or improving air circulation around the plants. Early detection and intervention are crucial for preventing widespread damage.
When can I harvest my potatoes?
The harvest time depends on the potato variety and growing conditions. Early-season varieties are typically ready for harvest in as little as 60-80 days. You can start checking for readiness by gently feeling the soil around the base of the plants. Once the plants start to flower and the foliage begins to yellow, it’s a good indication that the potatoes are nearing maturity. You can carefully dig up a few potatoes to check their size and firmness. Once they are the desired size and feel firm, you can harvest the entire crop.
Can I reuse the same container and soil next year?
While you can reuse the container, it’s generally recommended to replace the soil each year. This helps to prevent the buildup of diseases and pests that can affect future potato crops. Proper soil preparation is crucial for healthy plant growth, and using fresh soil ensures optimal conditions for your potatoes.
What are the benefits of growing potatoes this way compared to traditional methods?
This method offers several advantages over traditional planting methods. It’s significantly faster, resulting in a quicker harvest. It requires less space, making it ideal for smaller gardens or containers. It also offers greater control over the growing environment, minimizing the risk of pests and diseases. Finally, it’s a highly rewarding and satisfying way to grow your own food.
Leave a Comment