

Grow Summer Squash in Pots? Absolutely! Imagine stepping onto your patio and harvesting fresh, vibrant summer squash, all from the comfort of your own container garden. It’s easier than you think, and I’m here to show you how! For centuries, container gardening has allowed people, even those without sprawling yards, to connect with nature and cultivate their own food. From ancient rooftop gardens in Babylon to modern urban balconies, the desire to nurture plants in limited spaces is deeply rooted in human history.
But why should you learn to grow summer squash in pots? Well, maybe you’re short on space, dealing with poor soil, or simply want the convenience of having fresh produce right at your doorstep. Perhaps you’re tired of bland, store-bought squash and crave the superior flavor of homegrown goodness. Whatever your reason, this DIY guide is packed with simple, effective tricks and hacks to help you successfully cultivate a bountiful summer squash harvest, even in the smallest of spaces. Get ready to roll up your sleeves and discover the joy of growing your own delicious, healthy summer squash!
Growing Summer Squash in Pots: A Comprehensive DIY Guide
Hey there, fellow gardening enthusiasts! I’m so excited to share my tried-and-true method for growing bountiful summer squash right in containers. Forget needing a huge garden – with a little know-how, you can enjoy fresh, homegrown squash even on a small balcony or patio. Let’s dive in!
Choosing the Right Squash Variety
Not all squash varieties are created equal when it comes to container gardening. Bush varieties are your best bet, as they stay compact and don’t require sprawling vines. Here are a few of my favorites:
* Zucchini: Look for compact varieties like ‘Bush Baby II’, ‘Spacemiser’, or ‘Astia’. These are prolific producers and perfect for smaller spaces.
* Yellow Squash: ‘Early Crookneck’ and ‘Sunburst’ are excellent choices. They offer that classic yellow squash flavor and manageable growth habits.
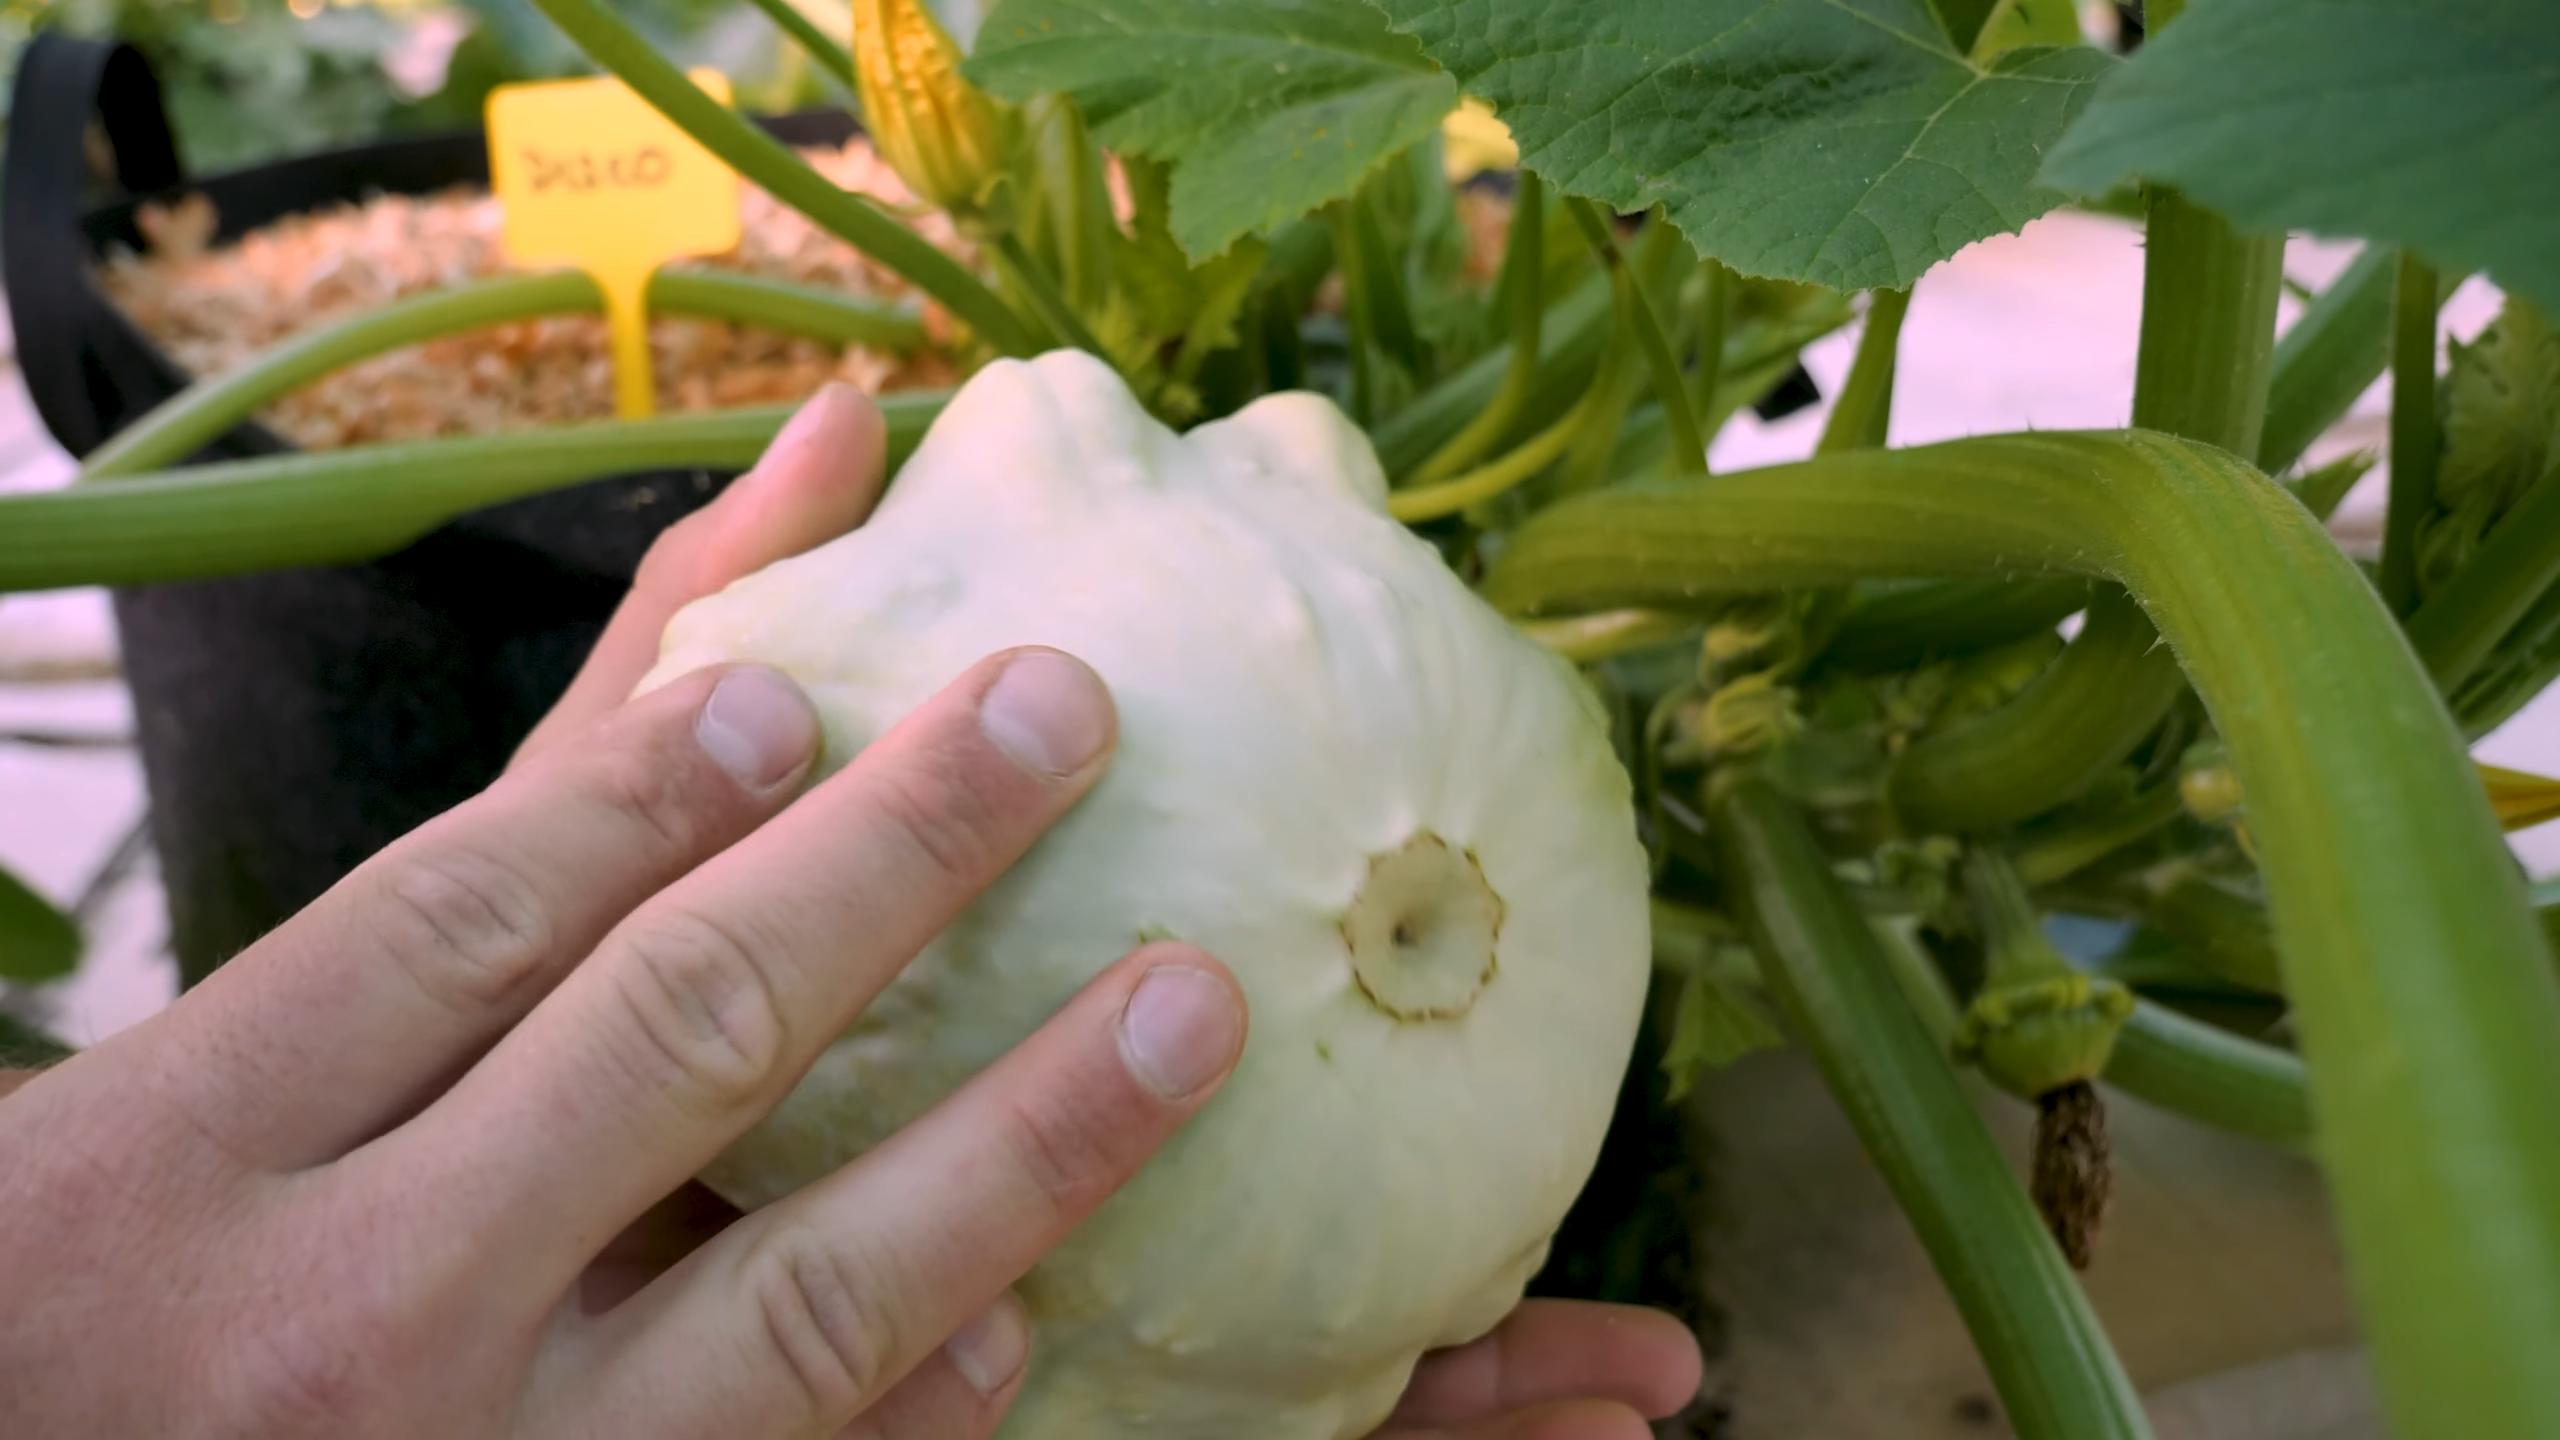
* Patty Pan Squash: ‘Scallopini’ and ‘Peter Pan’ are adorable and delicious. Their unique shape adds a fun touch to your garden.
Gathering Your Supplies
Before we get our hands dirty, let’s make sure we have everything we need. This will make the whole process smoother and more enjoyable.
* Large Containers: This is crucial! Squash plants need plenty of room for their roots to grow. I recommend a container that’s at least 24 inches in diameter and 24 inches deep. The bigger, the better, honestly.
* High-Quality Potting Mix: Don’t skimp on this! Use a well-draining potting mix specifically formulated for containers. Avoid using garden soil, as it can compact and hinder drainage. I like to add some compost to my potting mix for extra nutrients.
* Squash Seeds or Seedlings: Choose your desired variety and source high-quality seeds or healthy seedlings from a reputable nursery.
* Slow-Release Fertilizer: This will provide your squash plants with a steady supply of nutrients throughout the growing season.
* Watering Can or Hose: Essential for keeping your plants hydrated.
* Trowel or Shovel: For planting and transplanting.
* Optional:
* Tomato Cage or Stake: While bush varieties are compact, they can still benefit from some support, especially when loaded with fruit.
* Mulch: Helps retain moisture and suppress weeds.
* Gardening Gloves: To keep your hands clean and protected.
Planting Your Squash
Now for the fun part! Let’s get those squash plants in their new homes.
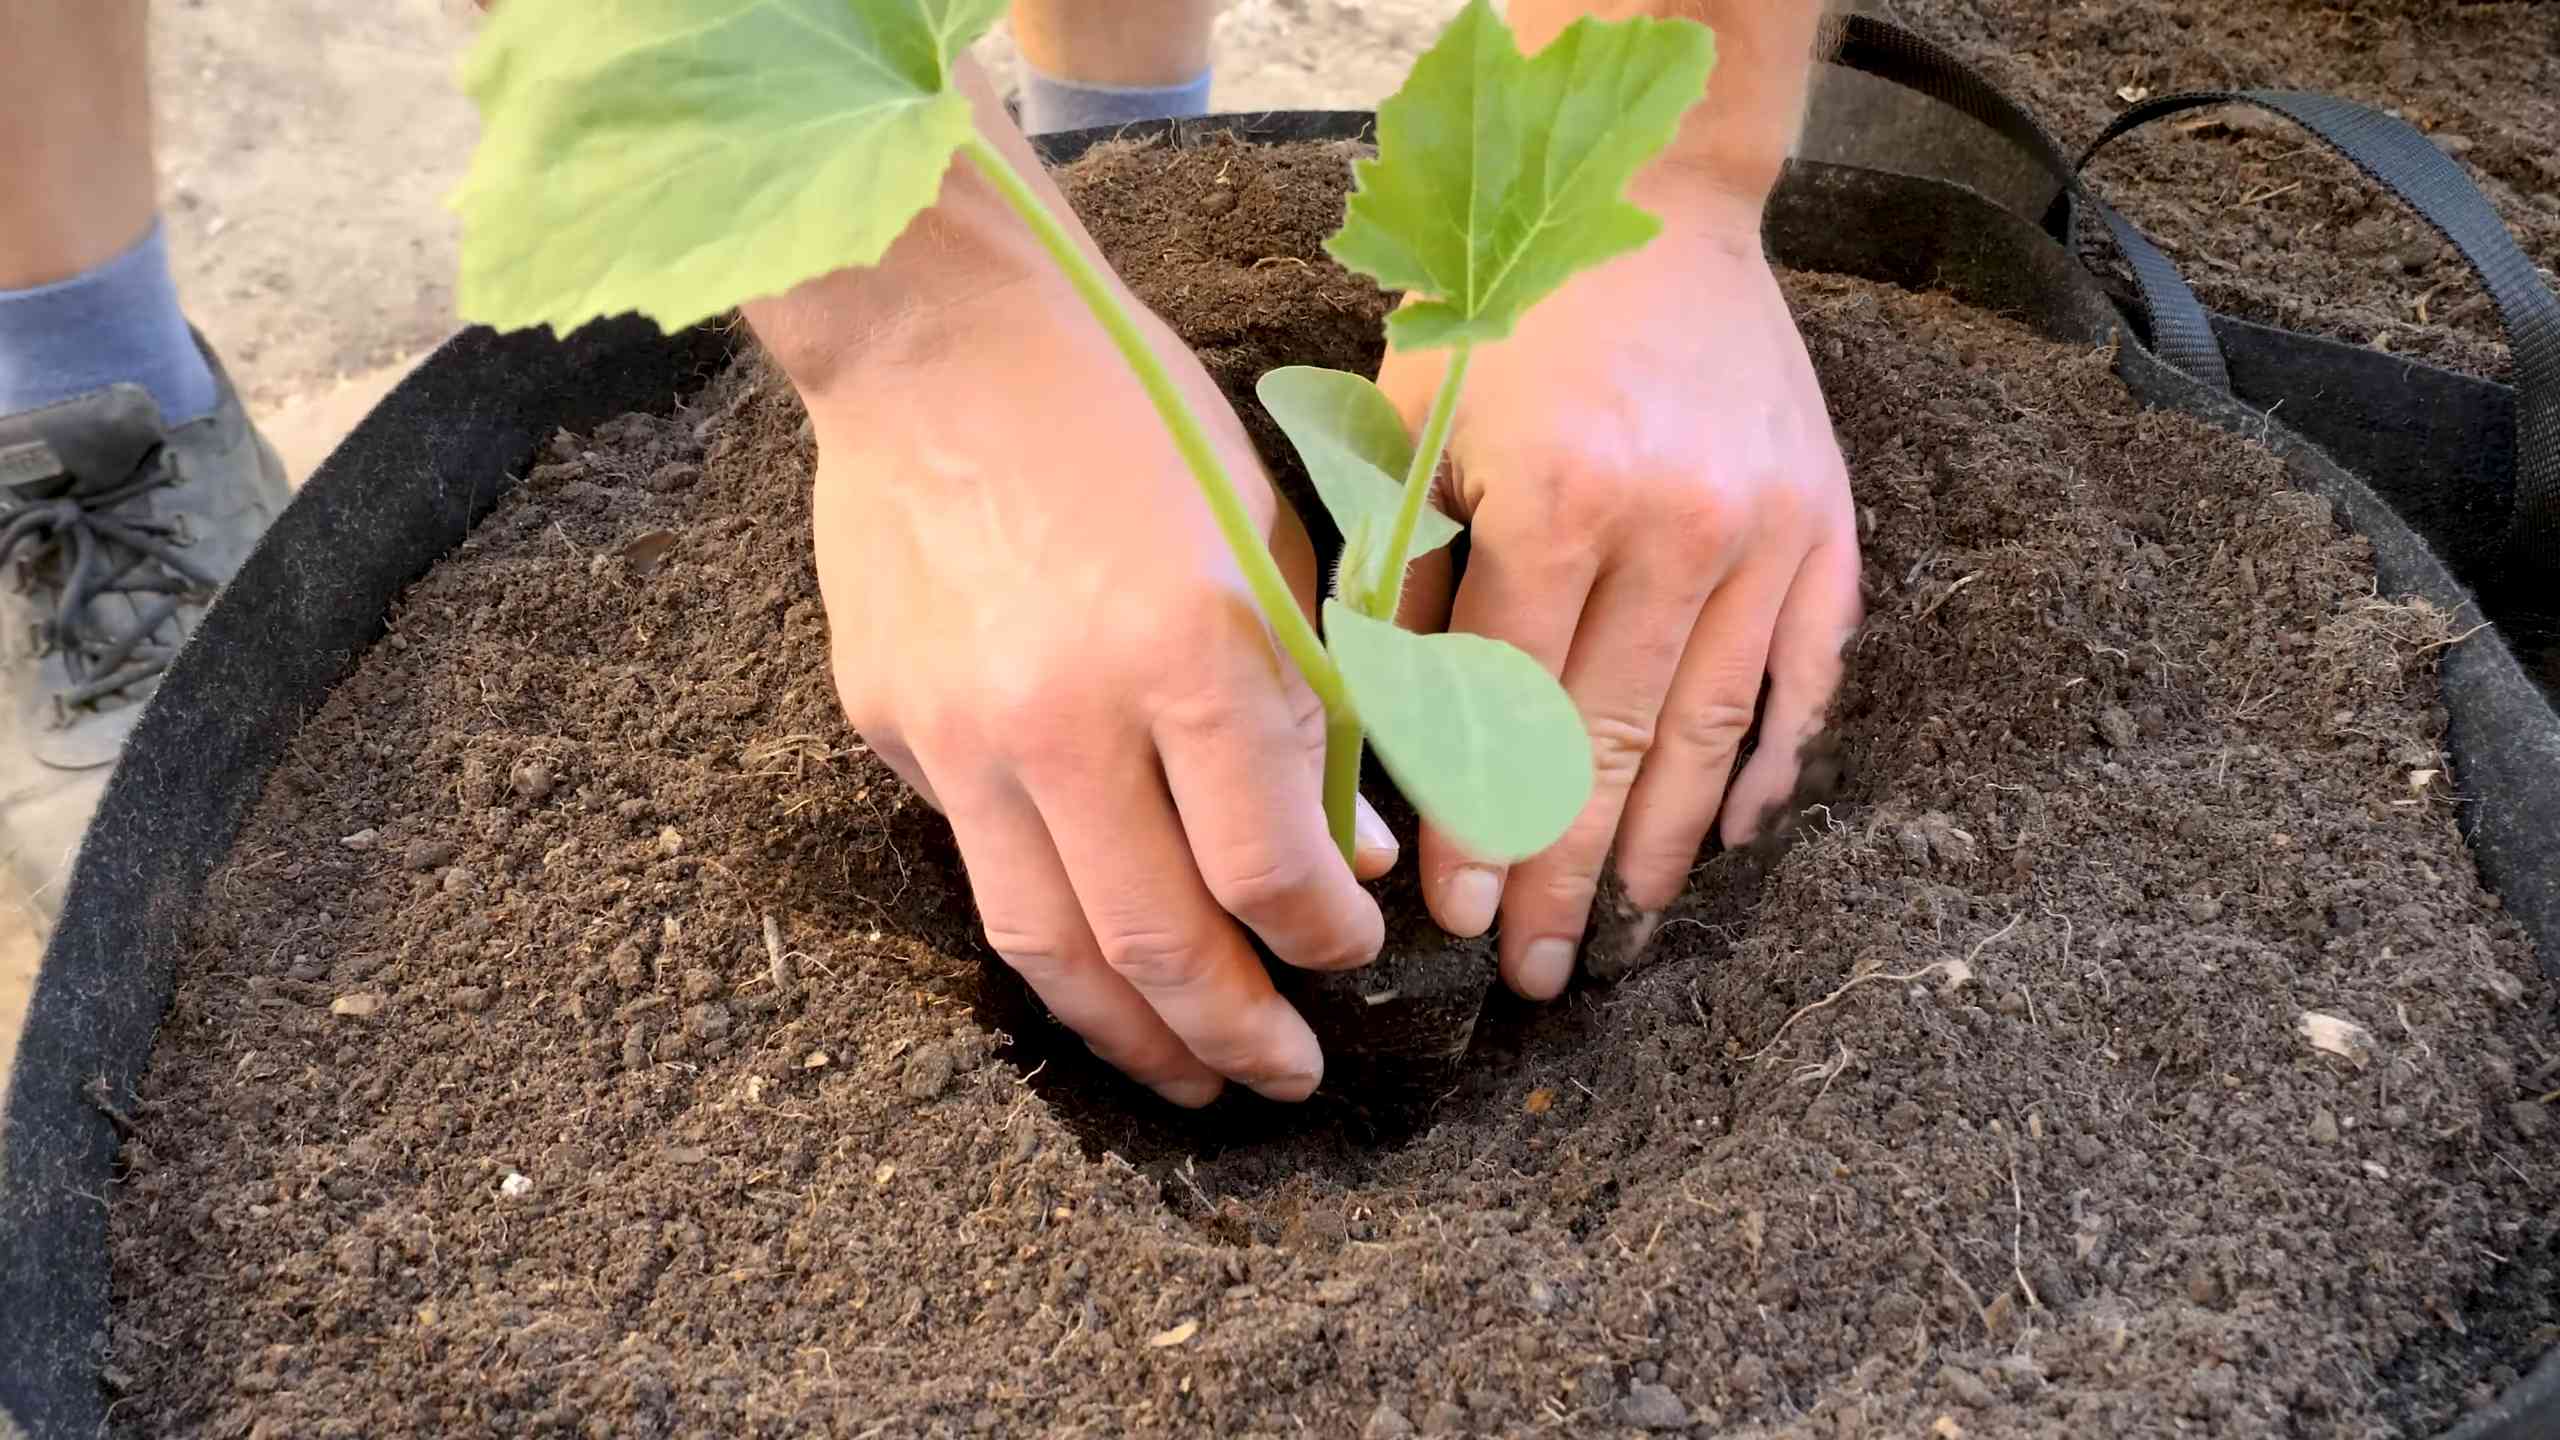
1. Prepare the Container: Fill your container with potting mix, leaving a few inches of space at the top.
2. Sowing Seeds (Direct Sowing): If you’re starting from seeds, sow 2-3 seeds per container, about 1 inch deep. Space them a few inches apart. Once the seedlings emerge, thin them to the strongest one.
3. Transplanting Seedlings: If you’re using seedlings, gently remove them from their nursery pots. Loosen the roots slightly.
4. Planting: Dig a hole in the potting mix large enough to accommodate the root ball. Place the seedling in the hole, ensuring the top of the root ball is level with the surrounding soil.
5. Backfill and Water: Fill in the hole with potting mix and gently pat it down. Water thoroughly until the water drains out of the bottom of the container.
6. Add Fertilizer: Sprinkle a slow-release fertilizer around the base of the plant, following the package instructions.
7. Mulch (Optional): Apply a layer of mulch around the base of the plant to help retain moisture and suppress weeds.
Caring for Your Squash Plants
Consistent care is key to a successful squash harvest. Here’s what you need to do:
* Watering: Squash plants need consistent moisture, especially during hot weather. Water deeply whenever the top inch of soil feels dry to the touch. Avoid overhead watering, as this can lead to fungal diseases. I prefer to water at the base of the plant.
* Fertilizing: In addition to the slow-release fertilizer, you can supplement with a liquid fertilizer every 2-3 weeks. Look for a fertilizer that’s high in phosphorus and potassium, which are essential for fruit production.
* Sunlight: Squash plants need at least 6-8 hours of direct sunlight per day. Choose a sunny location for your containers.
* Pollination: Squash plants have separate male and female flowers. Bees are the primary pollinators. If you’re not seeing much bee activity, you may need to hand-pollinate. To do this, use a small paintbrush to transfer pollen from the male flower to the female flower. The female flowers have a small fruit (the squash) at the base of the flower.
* Pest and Disease Control: Keep an eye out for common squash pests like squash bugs, squash vine borers, and aphids. You can use insecticidal soap or neem oil to control these pests. Fungal diseases like powdery mildew can also be a problem. Ensure good air circulation and avoid overhead watering to prevent these diseases. If you spot any signs of disease, treat with a fungicide.
* Support (Optional): As your squash plants grow and produce fruit, they may need some support. A tomato cage or stake can help prevent the plants from sprawling and breaking.
Harvesting Your Squash
The moment we’ve all been waiting for! Harvesting your homegrown squash is incredibly rewarding.
* Timing: Harvest your squash when it’s young and tender. The size will depend on the variety, but generally, zucchini and yellow squash are best harvested when they’re about 6-8 inches long. Patty pan squash can be harvested when they’re about 3-4 inches in diameter.
* Technique: Use a sharp knife or pruning shears to cut the squash from the plant. Leave a short stem attached.
* Frequency: Harvest your squash regularly to encourage continued production. The more you harvest, the more the plant will produce!
Troubleshooting Common Problems
Even with the best care, you might encounter a few challenges along the way. Here are some common problems and how to address them:
* Yellowing Leaves: This could be a sign of overwatering, underwatering, nutrient deficiency, or pest infestation. Check the soil moisture, fertilize if needed, and inspect for pests.
* Lack of Fruit Production: This could be due to poor pollination, insufficient sunlight, or nutrient deficiency. Hand-pollinate if necessary, ensure adequate sunlight, and fertilize with a balanced fertilizer.
* Powdery Mildew: This fungal disease appears as a white, powdery coating on the leaves. Improve air circulation, avoid overhead watering, and treat with a fungicide.
* Squash Bugs: These pests can suck the sap from your plants and cause them to wilt and die. Handpick them off the plants or use insecticidal soap.
* Squash Vine Borers: These pests bore into the stems of your plants and can cause them to collapse. Look for small holes in the stems and remove any borers you find. You can also wrap the stems with aluminum foil to prevent borers from entering.
Extra Tips for Success
Here are a few extra tips that I’ve learned over the years that can help you maximize your squash harvest:
* Succession Planting: Plant new squash seeds or seedlings every few weeks to extend your harvest season.
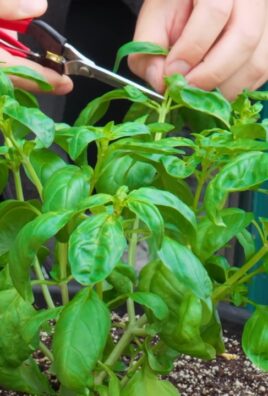
* Companion Planting: Plant squash alongside beneficial companion plants like marigolds, nasturtiums, and basil. These plants can help deter pests and attract pollinators.
* Rotate Your Crops: Avoid planting squash in the same container year after year. This can help prevent soilborne diseases.
* Enjoy Your Harvest! Don’t forget to savor the fruits (or vegetables!) of your labor. Summer squash is delicious grilled, sautéed, roasted, or used in soups and stews.
Section: Dealing with Blossom End Rot
Blossom end rot is a common problem in squash, especially in container gardens. It’s characterized by a dark, sunken spot on the blossom end of the fruit. It’s not a disease, but rather a calcium deficiency caused by inconsistent watering.
1. Consistent Watering: The most important thing is to maintain consistent soil moisture. Avoid letting the soil dry out completely, and don’t overwater either.
2. Calcium Supplement: You can add a calcium supplement to the soil. Bone meal or crushed eggshells are good organic options. You can also use a commercial calcium supplement.
3. Foliar Spray: A foliar spray of calcium chloride can also help. Follow the instructions on the product label.
4. Remove Affected Fruit: Remove any fruit that is affected by blossom end rot. This will allow the plant to focus its energy on producing healthy fruit.
Section: Maximizing Pollination in Urban Environments
If you live in an urban environment with limited
Conclusion
So, there you have it! Growing summer squash in pots is not only achievable, but it’s a rewarding experience that brings the bounty of the garden right to your doorstep, balcony, or patio. We’ve walked through the essential steps, from selecting the right variety and pot size to nurturing your plants with proper sunlight, watering, and fertilization.
Why is this DIY trick a must-try? Because it democratizes gardening. It removes the barrier of needing a large, sprawling garden to enjoy fresh, homegrown summer squash. Whether you’re a seasoned gardener with limited space or a beginner eager to dip your toes into the world of cultivation, growing summer squash in pots offers a manageable and satisfying project. Imagine the pride of harvesting your own zucchini, yellow squash, or pattypan squash, knowing you nurtured it from seed to table, all within the confines of a container.
Beyond the sheer convenience, growing summer squash in pots allows for greater control over the growing environment. You can easily move your plants to chase the sun, protect them from unexpected frosts, or shield them from harsh winds. This level of control can lead to healthier, more productive plants and a more abundant harvest.
But the benefits don’t stop there. Container gardening is also a fantastic way to deter pests and diseases. By keeping your plants elevated and isolated, you reduce their exposure to soil-borne pathogens and crawling insects. Plus, you can easily monitor your plants for any signs of trouble and take swift action to prevent problems from escalating.
Ready to take your container gardening to the next level? Consider these variations:
* Vertical Gardening: Train your summer squash vines to climb a trellis or support structure attached to your pot. This not only saves space but also adds a beautiful vertical element to your garden.
* Companion Planting: Plant companion herbs like basil, marigolds, or nasturtiums in the same pot as your summer squash. These herbs can help deter pests, attract beneficial insects, and even improve the flavor of your squash.
* Succession Planting: Stagger your planting dates to ensure a continuous harvest throughout the summer. Plant a new batch of seeds every few weeks to keep the squash coming.
* Experiment with Varieties: Don’t limit yourself to just one type of summer squash. Try growing different varieties, such as ‘Black Beauty’ zucchini, ‘Early Crookneck’ yellow squash, or ‘Sunburst’ pattypan squash, to discover your favorites.
We are confident that you’ll find growing summer squash in pots to be a fulfilling and delicious endeavor. So, grab your pots, seeds, and potting mix, and get ready to embark on this exciting gardening adventure. We encourage you to try this DIY trick and share your experiences with us! Post photos of your potted squash plants on social media using #PottedSquashSuccess and let us know what varieties you’re growing and any tips or tricks you’ve discovered along the way. We can’t wait to see your container gardens flourish! Happy gardening!
Frequently Asked Questions (FAQ)
What is the best size pot for growing summer squash?
The ideal pot size for growing summer squash is at least 24 inches in diameter and 12 inches deep. Summer squash plants have extensive root systems and need ample space to grow and thrive. A larger pot will also provide better drainage and prevent the soil from drying out too quickly. If you’re growing a bush variety, you might get away with a slightly smaller pot, but it’s always better to err on the side of larger. Remember, the bigger the pot, the more room for the roots to spread, and the more squash you’re likely to harvest.
How often should I water my potted summer squash plants?
Watering frequency depends on several factors, including the weather, the size of your pot, and the type of potting mix you’re using. In general, you should water your summer squash plants deeply whenever the top inch of soil feels dry to the touch. During hot, sunny weather, you may need to water them daily, or even twice a day. Be sure to water at the base of the plant to avoid wetting the foliage, which can lead to fungal diseases. A good rule of thumb is to water until you see water draining out of the bottom of the pot. This ensures that the entire root ball is thoroughly moistened.
What kind of fertilizer should I use for my potted summer squash?
Summer squash plants are heavy feeders and require regular fertilization to produce a bountiful harvest. Start by incorporating a slow-release fertilizer into your potting mix at planting time. Then, supplement with a liquid fertilizer every two to three weeks throughout the growing season. Choose a fertilizer that is high in phosphorus and potassium, which are essential for fruit development. You can also use a balanced fertilizer, such as 10-10-10, but be sure to dilute it to half strength to avoid burning the roots. Organic options like compost tea or fish emulsion are also excellent choices.
How much sunlight do summer squash plants need?
Summer squash plants need at least six to eight hours of direct sunlight per day to thrive. Choose a location for your pots that receives plenty of sunshine throughout the day. If you live in a particularly hot climate, you may need to provide some afternoon shade to prevent the plants from overheating. If you don’t have a sunny spot, you can supplement with grow lights.
What are some common pests and diseases that affect summer squash?
Common pests that affect summer squash include squash bugs, squash vine borers, aphids, and cucumber beetles. Diseases include powdery mildew, downy mildew, and blossom end rot. Regularly inspect your plants for signs of pests or diseases and take action promptly. You can use organic pest control methods, such as insecticidal soap or neem oil, to control pests. To prevent diseases, ensure good air circulation around your plants, avoid wetting the foliage when watering, and remove any infected leaves promptly. Blossom end rot is often caused by calcium deficiency, so make sure your soil is rich in calcium or supplement with a calcium-rich fertilizer.
How do I harvest summer squash?
Harvest summer squash when the fruits are young and tender, typically when they are about six to eight inches long. Use a sharp knife or pruners to cut the squash from the vine, leaving a short stem attached. Regular harvesting encourages the plant to produce more fruits. Overripe squash can become tough and seedy, so it’s best to harvest them frequently.
Can I grow different varieties of summer squash in the same pot?
While it’s technically possible to grow different varieties of summer squash in the same large pot, it’s generally not recommended. Different varieties may have different growth habits and nutrient requirements, which can make it difficult to provide optimal care for all of them. It’s best to stick to one variety per pot to ensure that each plant gets the attention it needs.
How do I prevent blossom end rot in my potted summer squash?
Blossom end rot is a common problem in summer squash, characterized by a dark, sunken spot on the blossom end of the fruit. It’s typically caused by a calcium deficiency, which can be exacerbated by inconsistent watering. To prevent blossom end rot, ensure that your soil is rich in calcium and water your plants regularly and deeply. You can also add a calcium supplement to your soil or spray your plants with a calcium solution. Avoid letting the soil dry out completely, as this can interfere with calcium uptake.
Can I save seeds from my potted summer squash to plant next year?
Yes, you can save seeds from your potted summer squash, but keep in mind that if you’re growing hybrid varieties, the seeds may not produce plants that are true to type. Open-pollinated varieties are more likely to produce plants that resemble the parent plant. To save seeds, allow a few fruits to mature fully on the vine. Then, scoop out the seeds, rinse them thoroughly, and dry them completely before storing them in an airtight container in a cool, dark place.
Leave a Comment