

Grow Sweet Melons right in your backyard! Imagine biting into a juicy, sun-ripened melon that you nurtured from seed to fruit. Sounds delicious, right? For centuries, cultivating melons has been a cherished tradition, dating back to ancient Egypt and beyond, where they were symbols of prosperity and sweetness. Today, you don’t need to be a pharaoh to enjoy this delightful treat.
But let’s be honest, growing melons can sometimes feel like a gamble. Pests, diseases, and unpredictable weather can all threaten your harvest. That’s where our DIY tricks and hacks come in! I’m here to share simple, effective techniques that will help you grow sweet melons successfully, even if you’re a beginner gardener.
This article is packed with practical tips to overcome common challenges and maximize your melon yield. From choosing the right varieties for your climate to creating the perfect soil conditions and warding off unwanted critters, we’ve got you covered. So, ditch the store-bought melons and get ready to experience the unparalleled flavor of homegrown goodness. Let’s get started!
Growing Sweet Melons: A DIY Guide to Juicy Success
Hey there, fellow gardening enthusiasts! I’m so excited to share my secrets to growing the most delicious, sweet melons you’ve ever tasted. Forget those bland, watery grocery store melons – we’re talking about homegrown, sun-ripened perfection. It might seem daunting, but trust me, with a little planning and effort, you can be enjoying your own melon harvest in no time. Let’s dive in!
Choosing the Right Melon Variety
First things first, you need to decide what kind of melon you want to grow. There are so many options, and each has its own unique flavor and growing requirements. Here are a few of my favorites:
* **Cantaloupe:** A classic choice, known for its orange flesh and sweet, musky aroma.
* **Honeydew:** This melon has a smooth, pale green rind and sweet, juicy flesh.
* **Watermelon:** The quintessential summer fruit! There are tons of watermelon varieties, from the classic red-fleshed to yellow and even seedless options.
* **Galia:** A cross between a cantaloupe and a honeydew, offering a unique flavor profile.
When choosing your variety, consider your local climate and growing season. Some melons require a longer growing season than others, so make sure you pick one that will thrive in your area. Also, think about the size of your garden. Watermelons, in particular, can take up a lot of space!
Preparing Your Garden Bed
Melons are heavy feeders, meaning they need a lot of nutrients to grow and produce those sweet fruits. So, preparing your garden bed is crucial for success. Here’s what I do:
* **Sunlight:** Melons need at least 6-8 hours of direct sunlight per day. Choose a location in your garden that gets plenty of sun.
* **Soil:** Melons prefer well-drained soil that is rich in organic matter. If your soil is heavy clay or sandy, amend it with compost or well-rotted manure.
* **Soil pH:** The ideal soil pH for melons is between 6.0 and 6.8. You can test your soil pH with a home testing kit or by sending a sample to your local agricultural extension office.
* **Fertilizer:** Before planting, incorporate a slow-release fertilizer into the soil. I like to use a fertilizer that is specifically formulated for vegetables.
Starting Your Melon Seeds
You can either start your melon seeds indoors or direct sow them in your garden. Starting them indoors gives you a head start, especially if you live in a cooler climate with a shorter growing season.
* **Starting Indoors:**
* Start your seeds about 4-6 weeks before the last expected frost.
* Use seed starting trays or small pots filled with seed starting mix.
* Sow the seeds about ½ inch deep.
* Keep the soil moist but not soggy.
* Place the trays or pots in a warm location, such as on a heat mat or near a sunny window.
* Once the seedlings emerge, provide them with plenty of light. You can use a grow light if needed.
* Harden off the seedlings before transplanting them into the garden. This means gradually exposing them to outdoor conditions over a period of about a week.
* **Direct Sowing:**
* Wait until the soil has warmed up to at least 70°F (21°C).
* Sow the seeds about 1 inch deep.
* Space the seeds according to the instructions on the seed packet.
* Keep the soil moist until the seeds germinate.
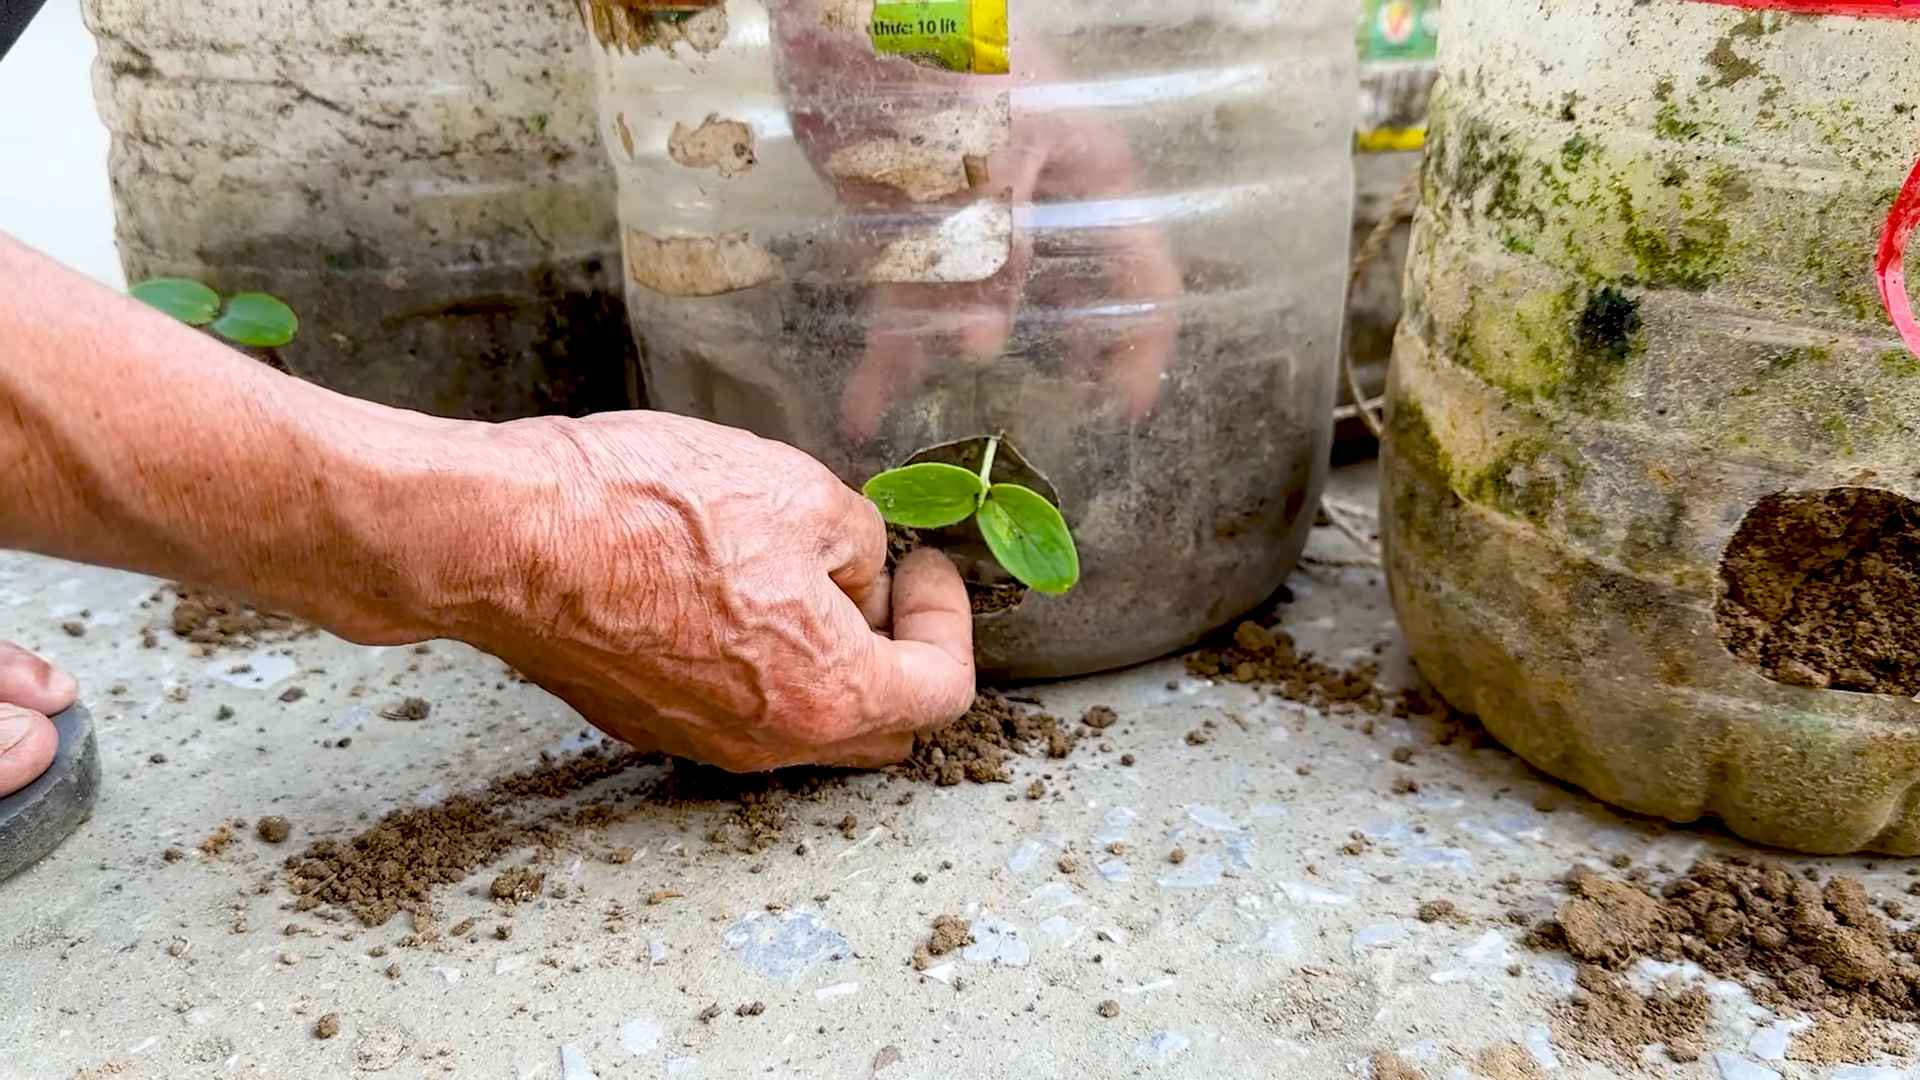
Transplanting Your Melon Seedlings
Once your seedlings are ready to be transplanted into the garden, choose a day that is cloudy or overcast to minimize stress on the plants.
1. **Prepare the planting holes:** Dig holes that are slightly larger than the root balls of the seedlings.
2. **Add compost:** Add a handful of compost to each hole.
3. **Gently remove the seedlings:** Carefully remove the seedlings from their trays or pots, being careful not to damage the roots.
4. **Place the seedlings in the holes:** Place the seedlings in the holes and gently backfill with soil.
5. **Water thoroughly:** Water the seedlings thoroughly after planting.
6. **Mulch:** Apply a layer of mulch around the plants to help retain moisture and suppress weeds. I like to use straw or shredded leaves.
Caring for Your Melon Plants
Now that your melon plants are in the ground, it’s important to provide them with the care they need to thrive.
* **Watering:** Melons need consistent watering, especially during hot, dry weather. Water deeply and regularly, aiming for about 1-2 inches of water per week. Avoid overhead watering, as this can lead to fungal diseases. Drip irrigation is a great option for melons.
* **Fertilizing:** Fertilize your melon plants every 2-3 weeks with a balanced fertilizer. You can also side-dress them with compost or well-rotted manure.
* **Weeding:** Keep your garden bed free of weeds, as they can compete with your melon plants for nutrients and water.
* **Pest Control:** Keep an eye out for pests such as aphids, squash bugs, and cucumber beetles. You can control these pests with insecticidal soap, neem oil, or by hand-picking them off the plants.
* **Disease Control:** Melons are susceptible to fungal diseases such as powdery mildew and downy mildew. To prevent these diseases, provide good air circulation around the plants and avoid overhead watering. If you notice signs of disease, treat the plants with a fungicide.
* **Pruning:** Some people like to prune their melon plants to encourage larger fruits. You can prune off any suckers (small shoots that grow from the base of the plant) and any excess foliage. However, pruning is not essential, and you can still get a good harvest without it.
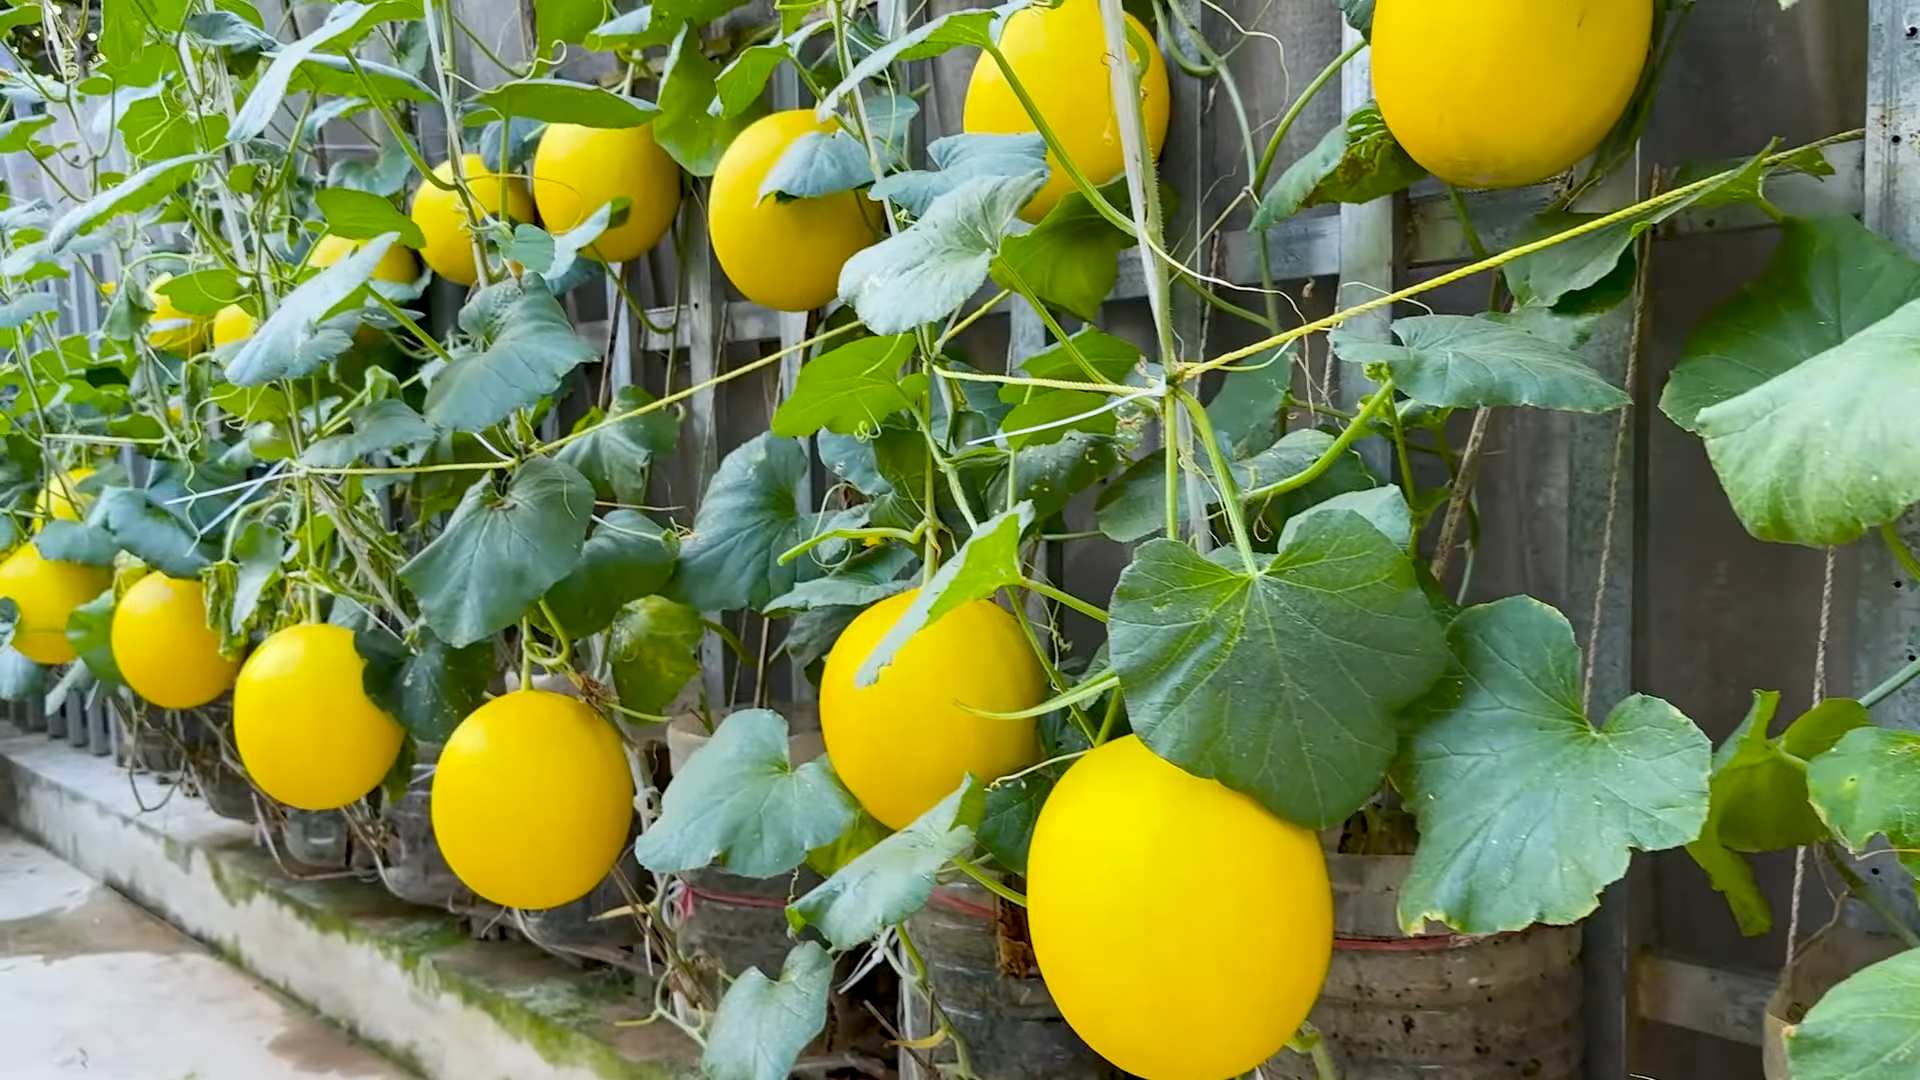
* **Supporting the Fruits:** As your melons grow, they may need some support to prevent them from rotting on the ground. You can use melon cradles, which are small plastic supports that you place under the fruits. You can also use straw or wood chips to elevate the melons off the ground. For smaller melons, you can even train them to grow on a trellis.
Pollination
Melons need to be pollinated in order to produce fruit. If you don’t see any bees or other pollinators in your garden, you may need to hand-pollinate your melon flowers.
1. **Identify the male and female flowers:** Male flowers have a long, thin stem, while female flowers have a small, immature fruit at the base of the flower.
2. **Collect pollen from the male flower:** Use a small paintbrush or cotton swab to collect pollen from the male flower.
3. **Transfer the pollen to the female flower:** Gently brush the pollen onto the stigma (the sticky part in the center) of the female flower.
4. **Repeat:** Repeat this process for all of the female flowers that you want to pollinate.
Harvesting Your Melons
The moment we’ve all been waiting for! Knowing when to harvest your melons is key to getting that perfect sweetness. Each type of melon has its own indicators of ripeness.
* **Cantaloupe:** Look for a change in color from green to tan or yellow. The stem should also slip easily from the fruit when gently tugged. The aroma should be sweet and musky.
* **Honeydew:** The rind should turn from a pale green to a creamy yellow. The blossom end (the opposite end from the stem) should be slightly soft and yielding to pressure.
* **Watermelon:** Thump the melon. A ripe watermelon will sound hollow. The tendril closest to the melon should be brown and dry. The spot where the melon rests on the ground (the ground spot) should be yellow or cream-colored.
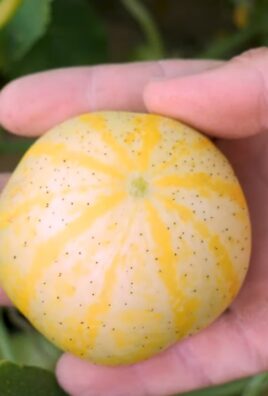
* **Galia:** The rind will turn from green to a golden yellow. The aroma will be sweet and fragrant.
Once you’ve determined that your melon is ripe, use a sharp knife to cut it from the vine. Handle the melon carefully to avoid bruising it.
Enjoying Your Homegrown Melons
Congratulations! You’ve successfully grown your own sweet melons. Now it’s time to enjoy the fruits of your labor.
* **Chill your melons:** Place your melons in the refrigerator for a few hours before serving. This will enhance their sweetness and flavor.
* **Cut and serve:** Cut your melons into wedges or cubes and serve them as a refreshing snack or dessert.
* **Get creative:** Use your melons in salads, smoothies, or even grilled dishes.
Troubleshooting
Even with the best planning, sometimes things don’t go exactly as expected. Here are a few common problems you might encounter and how to deal with them:
* **Melons not setting fruit:** This could be due to poor pollination. Make sure there are plenty of pollinators in your garden, or hand-pollinate the flowers yourself.
* **Melons cracking:** This is often caused by inconsistent watering. Water
Conclusion
So, there you have it! Growing sweet melons at home, bursting with flavor and sunshine, is absolutely within your reach. This DIY trick, focusing on [Specific aspect of the trick, e.g., soil preparation, watering technique, pollination method], is a game-changer for anyone who’s ever dreamed of biting into a perfectly ripe, homegrown melon. Forget those bland, store-bought disappointments – with a little effort and this simple technique, you’ll be harvesting melons that are sweeter, juicier, and more satisfying than anything you can buy.
Why is this a must-try? Because it addresses the core needs of melon plants in a way that maximizes their potential. It’s about creating the ideal environment for them to thrive, from the roots up. It’s about giving them the nutrients they crave, the water they need, and the support they deserve. And the best part? It’s all achievable with readily available materials and a little bit of know-how.
But don’t just take our word for it. We encourage you to experiment and adapt this DIY trick to your own garden and climate. For example, if you live in a particularly hot climate, consider providing some afternoon shade for your melon plants to prevent sunscald. If your soil is heavy clay, amend it generously with compost and other organic matter to improve drainage. You could even try different varieties of melons to see which ones perform best in your area. Watermelons, cantaloupes, honeydews – the possibilities are endless!
Consider using companion planting to further enhance your melon patch. Marigolds can deter pests, while basil can improve the flavor of your melons. Climbing beans can provide shade and support. The key is to observe your plants closely and adjust your approach as needed.
This isn’t just about growing melons; it’s about connecting with nature, learning new skills, and enjoying the fruits (literally!) of your labor. It’s about experiencing the satisfaction of nurturing a plant from seed to harvest and sharing the bounty with friends and family.
We’re confident that this DIY trick will transform your melon-growing experience. So, grab your gardening gloves, gather your supplies, and get ready to grow the sweetest melons you’ve ever tasted. And most importantly, don’t forget to share your results with us! We’d love to hear about your successes, your challenges, and any variations you’ve tried. Share your photos and stories in the comments below – let’s build a community of melon-growing enthusiasts! Let us know if you have any questions about how to **grow sweet melons**!
Frequently Asked Questions (FAQ)
Q: What kind of soil is best for growing melons?
A: Melons thrive in well-drained, fertile soil that is rich in organic matter. A sandy loam is ideal, but you can amend heavier soils with compost, aged manure, and other organic materials to improve drainage and aeration. The soil pH should be between 6.0 and 7.5. Before planting, consider getting a soil test to determine any nutrient deficiencies and amend accordingly. Adding a slow-release fertilizer at planting time can also provide a boost.
Q: How much sunlight do melons need?
A: Melons are sun-loving plants and require at least 6-8 hours of direct sunlight per day to produce sweet, flavorful fruit. Choose a planting location that receives full sun throughout the growing season. If you live in a particularly hot climate, providing some afternoon shade can help prevent sunscald, especially on young plants.
Q: How often should I water my melon plants?
A: Melons need consistent moisture, especially during fruit development. Water deeply and regularly, aiming to keep the soil consistently moist but not waterlogged. Avoid overhead watering, as this can promote fungal diseases. Drip irrigation or soaker hoses are excellent options for delivering water directly to the roots. As the melons ripen, you can reduce watering slightly to concentrate the sugars and enhance the flavor.
Q: When should I harvest my melons?
A: Determining when a melon is ripe can be tricky, but there are several indicators to look for. For watermelons, check the underside where it rests on the ground; it should be creamy yellow. Also, the tendril closest to the fruit should be brown and dry. Thumping the melon can also provide clues; a ripe watermelon will sound dull and hollow. For cantaloupes, the stem should slip easily from the fruit with gentle pressure. The melon should also have a fragrant aroma. Honeydews are ripe when the skin turns a creamy yellow color and the blossom end is slightly soft.
Q: What are some common pests and diseases that affect melons?
A: Common pests that can affect melons include aphids, squash bugs, cucumber beetles, and vine borers. Diseases include powdery mildew, fusarium wilt, and anthracnose. Regularly inspect your plants for signs of pests or diseases and take action promptly. Organic pest control methods, such as insecticidal soap or neem oil, can be effective for controlling aphids and other pests. Proper watering and good air circulation can help prevent fungal diseases. Crop rotation and using disease-resistant varieties can also help minimize problems.
Q: Can I grow melons in containers?
A: Yes, you can grow melons in containers, but you’ll need to choose a large container (at least 20 gallons) and select a compact or bush variety. Make sure the container has good drainage. Use a high-quality potting mix and provide regular fertilization. Container-grown melons may require more frequent watering than those grown in the ground. You may also need to provide support for the vines as they grow.
Q: How can I improve pollination for my melon plants?
A: Melons require pollination to set fruit. If you’re not seeing many bees or other pollinators in your garden, you may need to hand-pollinate your melon flowers. To do this, use a small paintbrush to transfer pollen from the male flowers (which have a long, thin stem) to the female flowers (which have a small, immature melon behind the flower). The best time to hand-pollinate is in the morning, when the flowers are open.
Q: What are some good companion plants for melons?
A: Several plants can benefit melons when planted nearby. Marigolds deter pests, basil improves flavor, and nasturtiums attract beneficial insects. Avoid planting melons near potatoes or other members of the nightshade family, as they can compete for nutrients.
Q: How do I store my harvested melons?
A: Whole, uncut melons can be stored at room temperature for several days. Once cut, store melon pieces in the refrigerator in an airtight container. Cut melons are best consumed within a few days.
Q: What if my melons crack or split open?
A: Melon cracking or splitting is often caused by inconsistent watering, especially after a period of drought. The sudden influx of water causes the melon to expand rapidly, leading to cracks. To prevent this, water your melon plants consistently and avoid letting the soil dry out completely. Mulching around the plants can also help retain moisture.

Leave a Comment