

Growing Okra in Containers: Imagine stepping onto your balcony or into your small backyard and harvesting fresh, vibrant okra, ready to be transformed into a delicious gumbo or a crispy, Southern-fried delight. Sounds dreamy, right? Well, it doesn’t have to be just a dream! For centuries, okra has been a staple in cuisines across the globe, from its African origins to its prominent place in Southern American cooking. Its unique flavor and nutritional benefits have made it a beloved vegetable for generations.
But what if you don’t have acres of land to dedicate to a sprawling okra patch? That’s where the magic of container gardening comes in! I’m here to tell you that growing okra in containers is not only possible, but it’s also surprisingly easy and rewarding. In this article, I’m going to share my favorite DIY tricks and hacks that will have you harvesting a bountiful crop of okra, even in the smallest of spaces.
Let’s face it, fresh produce from the grocery store can be expensive and sometimes lacks the vibrant flavor of homegrown vegetables. Plus, there’s something incredibly satisfying about nurturing a plant from seed to harvest. So, if you’re ready to ditch the store-bought okra and embrace the joy of homegrown goodness, keep reading! I’ll guide you through everything you need to know to successfully grow okra in containers, from choosing the right pot and soil to providing the perfect amount of sunlight and water. Get ready to unleash your inner gardener and enjoy the taste of fresh, homegrown okra!
Growing Asparagus: A Beginner’s Guide to a Delicious Home Harvest
Asparagus, that springtime delicacy, might seem intimidating to grow at home, but trust me, it’s totally achievable! With a little patience and the right approach, you can enjoy fresh, homegrown asparagus for years to come. I’m going to walk you through everything you need to know, from choosing the right spot to harvesting your first spears. Let’s get started!
Choosing the Right Asparagus Variety
First things first, you need to decide which type of asparagus you want to grow. There are male and female varieties, and understanding the difference is key.
* **Male Varieties:** These are generally preferred because they produce more spears and don’t waste energy on seed production. Popular male varieties include ‘Jersey Knight,’ ‘Jersey Giant,’ and ‘Millennium.’
* **Female Varieties:** These produce seeds, which can lead to volunteer asparagus plants popping up everywhere. While some people don’t mind this, it can become a bit of a nuisance. ‘Mary Washington’ is a classic female variety.
I personally recommend going with a male variety like ‘Jersey Knight’ for the best yield and easiest maintenance.
Preparing Your Asparagus Bed
Asparagus is a perennial, meaning it will come back year after year. So, choosing the right location and preparing the soil properly is crucial. This is a long-term investment, so put in the effort now!
* **Sunlight:** Asparagus needs at least 6-8 hours of sunlight per day. Choose a sunny spot in your garden.
* **Soil:** Asparagus prefers well-drained, sandy loam soil with a pH between 6.5 and 7.0. Heavy clay soil can lead to root rot.
* **Drainage:** Excellent drainage is essential. If your soil is heavy clay, amend it with plenty of organic matter like compost, well-rotted manure, or peat moss.
* **Space:** Asparagus plants need room to spread. Allow at least 18 inches between plants and 4-5 feet between rows.
Step-by-Step Planting Guide
Okay, now for the fun part – planting! You can start asparagus from seed, but I highly recommend buying asparagus crowns (one-year-old plants) for a quicker harvest.
1. **Timing:** The best time to plant asparagus crowns is in early spring, as soon as the soil can be worked.
2. **Dig a Trench:** Dig a trench that is about 12 inches wide and 6-8 inches deep.
3. **Mound the Soil:** Create a small mound of soil down the center of the trench. This will support the crown and allow the roots to spread out.
4. **Place the Crowns:** Place the asparagus crowns on top of the mounds, spacing them about 18 inches apart. Make sure the buds (the pointy parts) are facing upwards.
5. **Spread the Roots:** Gently spread the roots out around the mound.
6. **Cover with Soil:** Cover the crowns with about 2 inches of soil.
7. **Water Thoroughly:** Water the newly planted crowns thoroughly.
8. **Gradual Filling:** As the asparagus spears begin to grow, gradually fill in the trench with soil. This will encourage the plants to develop a strong root system. Over the course of the first growing season, you’ll fill the trench completely.
9. **Mulch:** Apply a layer of mulch around the plants to help retain moisture, suppress weeds, and regulate soil temperature. I like to use straw or wood chips.
First Year Care: Patience is Key!
This is where the patience comes in. Resist the urge to harvest any spears during the first year. This allows the plants to establish a strong root system, which is essential for future harvests.
* **Watering:** Water regularly, especially during dry periods. Asparagus needs consistent moisture to thrive.
* **Weeding:** Keep the asparagus bed free of weeds. Weeds compete with the asparagus for nutrients and water.
* **Fertilizing:** Fertilize in early spring with a balanced fertilizer (e.g., 10-10-10). Follow the instructions on the fertilizer package. You can also side-dress with compost or well-rotted manure.
* **Fern Growth:** Let the asparagus ferns grow and mature. These ferns are essential for photosynthesis and storing energy in the roots for the following year.
Second Year: Almost There!
You’re almost there! In the second year, you can harvest a few spears, but don’t go overboard.
* **Limited Harvest:** Harvest spears that are at least 6-8 inches tall and about as thick as your finger.
* **Harvesting Technique:** Snap the spears off at ground level.
* **Harvest Period:** Limit the harvest period to about 2-3 weeks.
* **Continued Care:** Continue watering, weeding, and fertilizing as in the first year.
Third Year and Beyond: Enjoy Your Harvest!
Finally, in the third year and beyond, you can enjoy a full asparagus harvest!
* **Harvest Period:** Harvest spears for 6-8 weeks in the spring.
* **Harvesting Technique:** Harvest spears that are 6-8 inches tall and about as thick as your finger. Snap them off at ground level.
* **Stop Harvesting:** Stop harvesting when the spears become thin and spindly. This indicates that the plants are starting to put their energy into fern growth.
* **Post-Harvest Care:** After the harvest period, allow the ferns to grow and mature.
* **Fertilizing:** Fertilize in early spring and again after the harvest period.
* **Mulching:** Maintain a layer of mulch around the plants.
* **Fall Cleanup:** In the fall, after the ferns have turned brown, cut them back to about 2 inches above the ground. This helps to prevent disease and pests.
Dealing with Common Asparagus Problems
Even with the best care, you might encounter some problems. Here are a few common issues and how to deal with them:
* **Asparagus Beetles:** These beetles can damage the spears and ferns. Handpick them off the plants or use an insecticidal soap.
* **Asparagus Rust:** This fungal disease can cause orange spots on the ferns. Improve air circulation by spacing the plants properly and removing weeds. You can also use a fungicide if necessary.
* **Crown Rot:** This is a fungal disease that can cause the crowns to rot. Ensure good drainage and avoid overwatering.
* **Weeds:** Keep the asparagus bed free of weeds. Weeds compete with the asparagus for nutrients and water.
Extending Your Asparagus Season
Want to enjoy asparagus for a longer period? Here are a few tips:
* **Succession Planting:** Plant different varieties of asparagus that mature at different times.
* **Cold Frames:** Use cold frames to protect the plants from frost and extend the growing season.
* **Forcing:** You can force asparagus spears to grow indoors during the winter. This involves digging up established crowns in the fall and replanting them in containers in a cool, dark place.
Harvesting and Storing Asparagus
* **Harvesting:** Harvest asparagus spears in the morning when they are cool and crisp.
* **Storing:** Asparagus is best eaten fresh, but it can be stored in the refrigerator for a few days. Wrap the spears in a damp paper towel and store them in a plastic bag. You can also stand the spears upright in a jar of water.
Enjoying Your Homegrown Asparagus
Now for the best part – enjoying your homegrown asparagus! There are so many ways to prepare it:
* **Steamed:** Steaming is a simple and healthy way to cook asparagus.
* **Roasted:** Roasting asparagus brings out its natural sweetness.
* **Grilled:** Grilled asparagus is a delicious addition to any barbecue.
* **Sautéed:** Sautéed asparagus is a quick and easy side dish.
* **In Soups and Salads:** Asparagus adds a delicious flavor and texture to soups and salads.
I hope this guide has inspired you to grow your own asparagus. It takes a little patience, but the reward of fresh, homegrown asparagus is well worth the effort. Happy gardening!

Conclusion
So, there you have it! Growing okra in containers is not only achievable but also incredibly rewarding. This DIY trick transforms even the smallest balcony or patio into a thriving mini-farm, providing you with a steady supply of fresh, delicious okra right at your fingertips. Forget those bland, overpriced okra pods from the grocery store; with a little effort and the right setup, you can enjoy okra bursting with flavor and grown with your own loving care.
The beauty of this method lies in its accessibility. You don’t need acres of land or specialized equipment. Just a few large containers, some quality potting mix, and a sunny spot are all you need to embark on your okra-growing adventure. The satisfaction of harvesting your own vegetables is unparalleled, and knowing exactly where your food comes from adds an extra layer of enjoyment to every meal.
But the benefits extend beyond just fresh produce. Container gardening is a fantastic way to connect with nature, relieve stress, and learn new skills. It’s a hobby that can be enjoyed by people of all ages and abilities, and it’s a great way to get kids involved in gardening and healthy eating.
Ready to take your okra game to the next level? Consider experimenting with different okra varieties. Clemson Spineless is a classic choice, but there are also red okra varieties like Burgundy that add a pop of color to your garden and your plate. For a more compact plant, try dwarf varieties specifically bred for container growing.
Don’t be afraid to get creative with your container setup. Use decorative pots to add visual appeal to your garden, or try vertical gardening techniques to maximize space. Companion planting can also enhance your okra’s growth and deter pests. Marigolds, for example, are known to repel nematodes, while basil can attract beneficial insects.
The key to success with growing okra in containers is consistent care. Regular watering, fertilization, and pest control are essential for healthy plants and abundant harvests. But don’t let that intimidate you. With a little practice, you’ll quickly learn what your okra plants need to thrive.
We are confident that you will find this DIY trick to be a game-changer for your gardening endeavors. It’s a simple, effective, and enjoyable way to grow your own okra, no matter where you live. So, grab your containers, potting mix, and okra seeds, and get ready to experience the joy of homegrown okra.
We encourage you to try this DIY trick and share your experience with us! Let us know what varieties you grow, what challenges you face, and what successes you achieve. Share your photos and tips on social media using [Your Hashtag Here], and let’s build a community of container okra growers! We can’t wait to see your thriving okra gardens. Happy growing!
Frequently Asked Questions (FAQ)
What size container is best for growing okra?
The ideal container size for growing okra is at least 10-15 gallons. Okra plants have deep taproots, and they need ample space to grow and develop properly. A smaller container may restrict root growth, leading to stunted plants and reduced yields. Choose a container that is wide and deep enough to accommodate the mature size of the okra variety you are growing. Ensure the container has drainage holes to prevent waterlogging, which can lead to root rot.
What type of potting mix should I use for okra?
Use a high-quality, well-draining potting mix specifically formulated for vegetables. Avoid using garden soil, as it can be too heavy and compacted for container gardening. A good potting mix will provide adequate aeration and drainage, allowing the roots to breathe and absorb nutrients effectively. You can also amend your potting mix with compost or other organic matter to improve its fertility and water-holding capacity. Look for a potting mix that contains ingredients like peat moss, perlite, vermiculite, and composted bark.
How often should I water my okra plants in containers?
Water your okra plants regularly, especially during hot, dry weather. The frequency of watering will depend on factors such as the size of the container, the type of potting mix, and the weather conditions. Check the soil moisture regularly by sticking your finger into the soil. If the top inch of soil feels dry, it’s time to water. Water deeply, until water drains out of the drainage holes. Avoid overwatering, as this can lead to root rot. In general, you may need to water your okra plants daily or every other day during the peak growing season.
How much sunlight do okra plants need?
Okra plants need at least 6-8 hours of direct sunlight per day to thrive. Choose a sunny location for your containers where the plants will receive ample sunlight throughout the day. If you live in a particularly hot climate, you may need to provide some afternoon shade to prevent the plants from overheating. Insufficient sunlight can lead to leggy plants, reduced flowering, and poor fruit production.
What kind of fertilizer should I use for okra?
Fertilize your okra plants regularly with a balanced fertilizer, such as a 10-10-10 or 14-14-14 formula. You can also use a fertilizer specifically formulated for vegetables. Apply the fertilizer according to the package directions. Avoid over-fertilizing, as this can lead to excessive vegetative growth and reduced fruit production. You can also supplement with organic fertilizers like compost tea or fish emulsion.
How do I control pests and diseases on my okra plants?
Monitor your okra plants regularly for pests and diseases. Common pests that can affect okra include aphids, spider mites, and okra worms. You can control these pests with insecticidal soap, neem oil, or other organic pesticides. Diseases that can affect okra include powdery mildew and root rot. Prevent these diseases by providing good air circulation, avoiding overwatering, and using disease-resistant varieties.
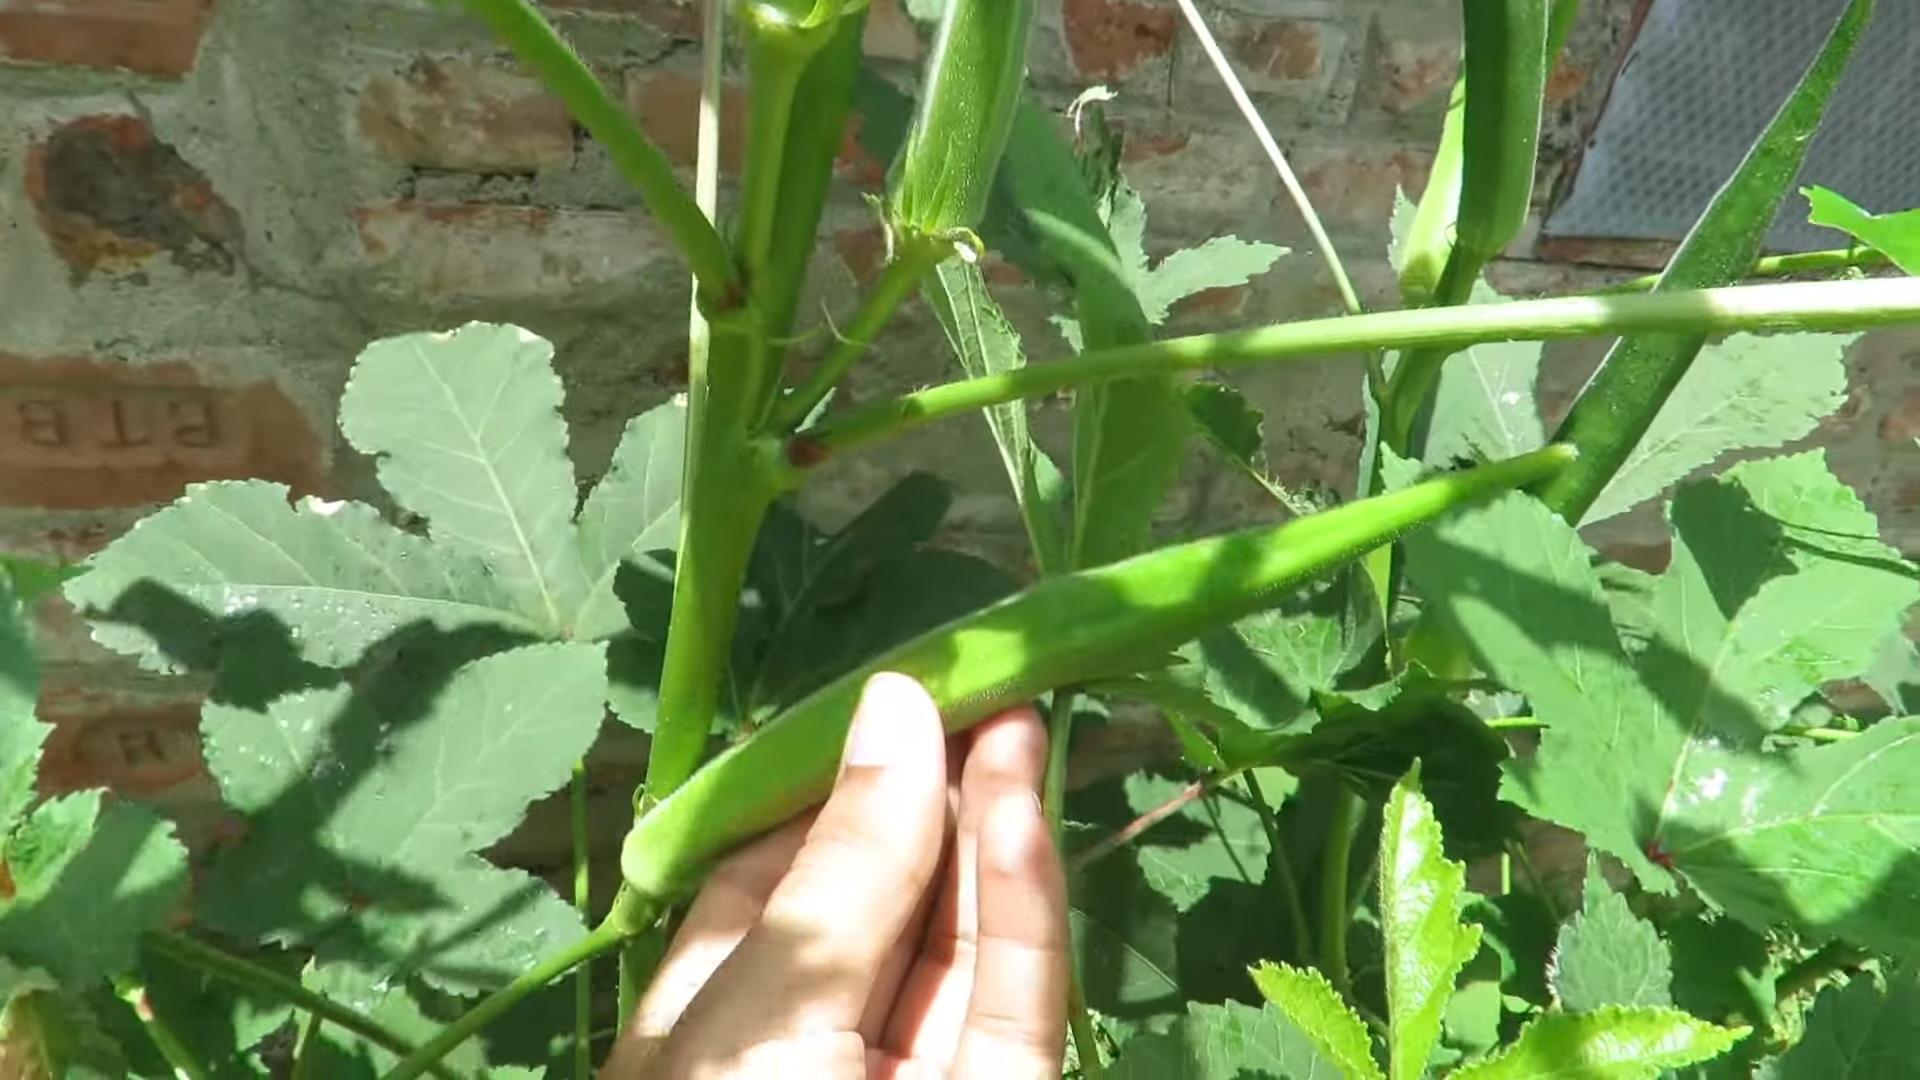
When is the best time to harvest okra?
Harvest okra pods when they are young and tender, typically 2-4 inches long. Overripe okra pods can become tough and fibrous. Harvest regularly to encourage continued production. Use a sharp knife or pruning shears to cut the pods from the plant. Wear gloves to protect your hands from the prickly spines on the pods.
Can I grow okra indoors?
While it’s possible to grow okra indoors, it can be challenging. Okra plants need a lot of sunlight, and it can be difficult to provide enough light indoors, even with grow lights. If you want to try growing okra indoors, choose a sunny window or use grow lights to supplement the natural light. Make sure the plants have adequate air circulation and are protected from drafts.
What are some companion plants for okra?
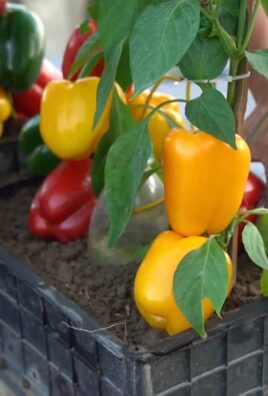
Companion planting can benefit okra by attracting beneficial insects, repelling pests, and improving soil health. Some good companion plants for okra include basil, marigolds, peppers, and tomatoes. Avoid planting okra near fennel, as it can inhibit its growth.
How long does it take for okra to mature?
Okra typically takes 50-65 days to mature from seed to harvest. The exact time will depend on the variety, the growing conditions, and the climate. You can start harvesting okra pods when they are young and tender, typically 2-4 inches long.
Leave a Comment