

Grow Celery from Seed: Your Guide to a Fresh, Homegrown Harvest
Have you ever dreamt of biting into a crisp, juicy stalk of celery, knowing you grew it yourself, from a tiny seed? That dream is closer than you think! This article is your complete guide to Grow Celery from Seed, revealing simple yet effective techniques to cultivate this versatile vegetable right in your own backyard or even on a sunny windowsill.
For centuries, celery has held a significant place in culinary traditions worldwide, evolving from a humble wild plant to a staple in countless dishes. From ancient Roman times, where it was prized for its medicinal properties, to its modern-day use as a healthy snack and key ingredient in soups and stews, celery’s journey is fascinating. But growing your own celery offers more than just a historical connection; it’s a rewarding experience that connects you directly to your food source.
Why Grow Your Own Celery?
Let’s be honest, store-bought celery can sometimes be limp, lacking flavor, and treated with pesticides. By learning how to grow celery from seed, you gain control over the entire process, ensuring a consistently fresh, flavorful, and pesticide-free crop. You’ll also save money in the long run, and the satisfaction of harvesting your own celery is unparalleled. Plus, it’s a fantastic project for families, teaching children about the wonders of nature and the importance of sustainable living.
This article will walk you through every step, from selecting the right seeds and preparing your soil to harvesting your delicious homegrown celery. Get ready to embark on this exciting gardening adventure and discover the joy of growing your own celery from seed!
Container Chili Gardening: A Spicy DIY Project
Growing your own chilies is incredibly rewarding, and you don’t need a sprawling garden to do it! Container gardening is perfect for chilies, offering flexibility and control over your plants’ environment. Here’s my step-by-step guide to help you get started.
Choosing Your Chili Plants and Containers
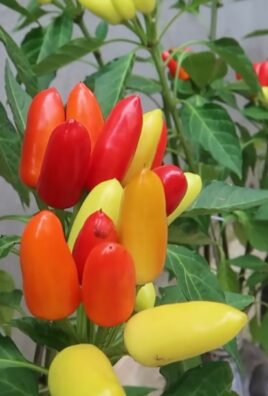
- Select your chili varieties: Research different chili pepper types. Consider factors like heat level (Scoville units), plant size, and growing season. I love experimenting with a variety of colors and heat levels – it’s part of the fun! Some beginner-friendly options include jalapeños, poblanos, and Anaheim peppers.
- Choose the right containers: Chilies need at least 5 gallons of space per plant, but larger is better. I prefer pots that are at least 12 inches in diameter and deep. Make sure your containers have drainage holes to prevent root rot. You can use anything from terracotta pots to repurposed buckets – just ensure they’re clean and free of any harmful residues.
- Consider your location: Think about where you’ll place your containers. Chilies need at least 6-8 hours of direct sunlight daily. A sunny patio, balcony, or even a sunny spot in your yard will work perfectly. Remember to check the weather forecast – extreme heat or cold can damage your plants.
Preparing Your Containers and Soil
- Clean your containers: If you’re using repurposed containers, thoroughly clean them with soap and water. A light scrub with a brush will help remove any stubborn dirt or debris. Let them dry completely before planting.
- Choose the right potting mix: Don’t use garden soil directly in your containers. Chili peppers thrive in well-draining soil that’s rich in organic matter. I recommend using a high-quality potting mix specifically formulated for vegetables or herbs. You can also add some compost to improve the soil’s fertility.
- Fill your containers: Fill your containers with the potting mix, leaving about an inch of space from the top. This allows for easy watering and prevents overflow.
Planting Your Chili Peppers
- Prepare your seedlings: If you’re starting from seedlings (which I recommend for easier success), gently remove them from their original containers, being careful not to damage the roots. Gently loosen the roots if they appear tightly bound.
- Dig planting holes: Create a hole in the potting mix that’s slightly larger than the root ball of your seedling. The depth should be the same as the depth of the seedling in its original container.
- Plant your seedlings: Place the seedling in the hole, ensuring the top of the root ball is level with the soil surface. Gently fill the hole with potting mix, firming it around the base of the plant.
- Water thoroughly: After planting, water your chili peppers deeply to settle the soil and help the roots establish themselves. Avoid overwatering, which can lead to root rot.
Ongoing Care and Maintenance
- Watering: Water your chili plants regularly, keeping the soil consistently moist but not soggy. The frequency of watering will depend on your climate, the size of your containers, and the type of soil you’re using. Check the soil moisture by sticking your finger a couple of inches into the soil. If it feels dry, it’s time to water.
- Fertilizing: Chilies are heavy feeders. Start fertilizing your plants about a month after planting, using a balanced liquid fertilizer diluted to half strength. Follow the instructions on the fertilizer label. I usually fertilize every two weeks throughout the growing season.
- Pest and disease control: Regularly inspect your plants for pests and diseases. Common chili pests include aphids, spider mites, and whiteflies. Treat any infestations promptly using appropriate organic pest control methods. Good air circulation can help prevent fungal diseases.
- Staking and support: As your chili plants grow, they may need support, especially if they’re producing a lot of fruit. Use stakes or cages to prevent the plants from falling over. This is especially important for taller varieties.
- Harvesting: Harvest your chilies when they reach their mature size and color. The timing will vary depending on the variety. Generally, chilies are ready for harvest when they are firm and have their characteristic color.
Troubleshooting Common Problems
Yellowing Leaves:
Yellowing leaves can indicate several problems, including nutrient deficiencies, overwatering, or underwatering. Check your watering schedule and consider adding a balanced fertilizer.
Flower Drop:
Flower drop can be caused by stress, such as temperature fluctuations, inconsistent watering, or nutrient deficiencies. Ensure your plants are getting enough sunlight and water, and consider adding fertilizer.
Blossom-End Rot:
Blossom-end rot is a common problem characterized by dark, leathery spots at the blossom end of the fruit. It’s often caused by inconsistent watering, leading to calcium deficiency. Maintain consistent soil moisture to prevent this.
Pest Infestations:
Regularly inspect your plants for pests. Use appropriate organic pest control methods to address any infestations promptly. Introducing beneficial insects like ladybugs can help control pest populations naturally.
Extending Your Growing Season
To extend your chili harvest, you can start seeds indoors several weeks before the last expected frost. This gives your plants a head start and allows for a longer growing season. You can also bring your containers indoors during colder months to protect them from frost.
Remember: Container gardening requires more attention than in-ground gardening, especially regarding watering and fertilization. But the rewards of fresh, homegrown chilies are well worth the effort!
Conclusion
So there you have it – a comprehensive guide to growing celery from seed! This DIY trick isn’t just about saving money on grocery bills; it’s about experiencing the profound satisfaction of nurturing a plant from its tiny seed to a crisp, flavorful stalk on your dinner plate. Growing celery from seed offers a unique connection to your food, a deeper appreciation for the growing process, and the undeniable joy of harvesting your own homegrown produce. The entire process, while requiring patience, is surprisingly straightforward and rewarding, even for beginner gardeners. The vibrant green shoots emerging from the soil, the steady growth, and the ultimate harvest are all incredibly fulfilling aspects of this endeavor. You’ll be amazed at the quality and taste of celery grown in your own garden, far surpassing anything you can find in the supermarket. This method allows for complete control over the growing environment, ensuring pesticide-free, healthy celery for your family. Beyond the delicious results, growing your own celery is a fantastic educational experience, especially for children, teaching them about the life cycle of plants and the importance of sustainable food practices.
Beyond the basic method outlined, there are numerous ways to personalize your celery-growing journey. Experiment with different types of celery seeds – there are variations in color, size, and even flavor profiles. Consider starting your seeds indoors under grow lights for an earlier harvest, especially in colder climates. You can also explore different growing mediums, such as coco coir or a well-draining soil mix enriched with compost. For those with limited space, consider vertical gardening techniques or growing celery in containers on a balcony or patio. Don’t be afraid to get creative! The possibilities are endless, and each experiment will add to your understanding and enjoyment of this rewarding process. Remember to document your progress – take photos, keep a journal, and share your experiences with fellow gardening enthusiasts.
We strongly encourage you to try this simple yet effective method of growing celery from seed. It’s a fantastic way to connect with nature, enhance your culinary skills, and enjoy the freshest, most flavorful celery you’ve ever tasted. Share your successes (and even your challenges!) with us and the wider gardening community. Let us know what varieties you choose, what techniques you employ, and most importantly, how delicious your homegrown celery turns out! Your feedback and experiences will inspire others to embark on their own celery-growing adventures. Join the growing community of home gardeners who are rediscovering the simple pleasures and immense rewards of growing their own food. Don’t just buy celery – grow it!
Frequently Asked Questions
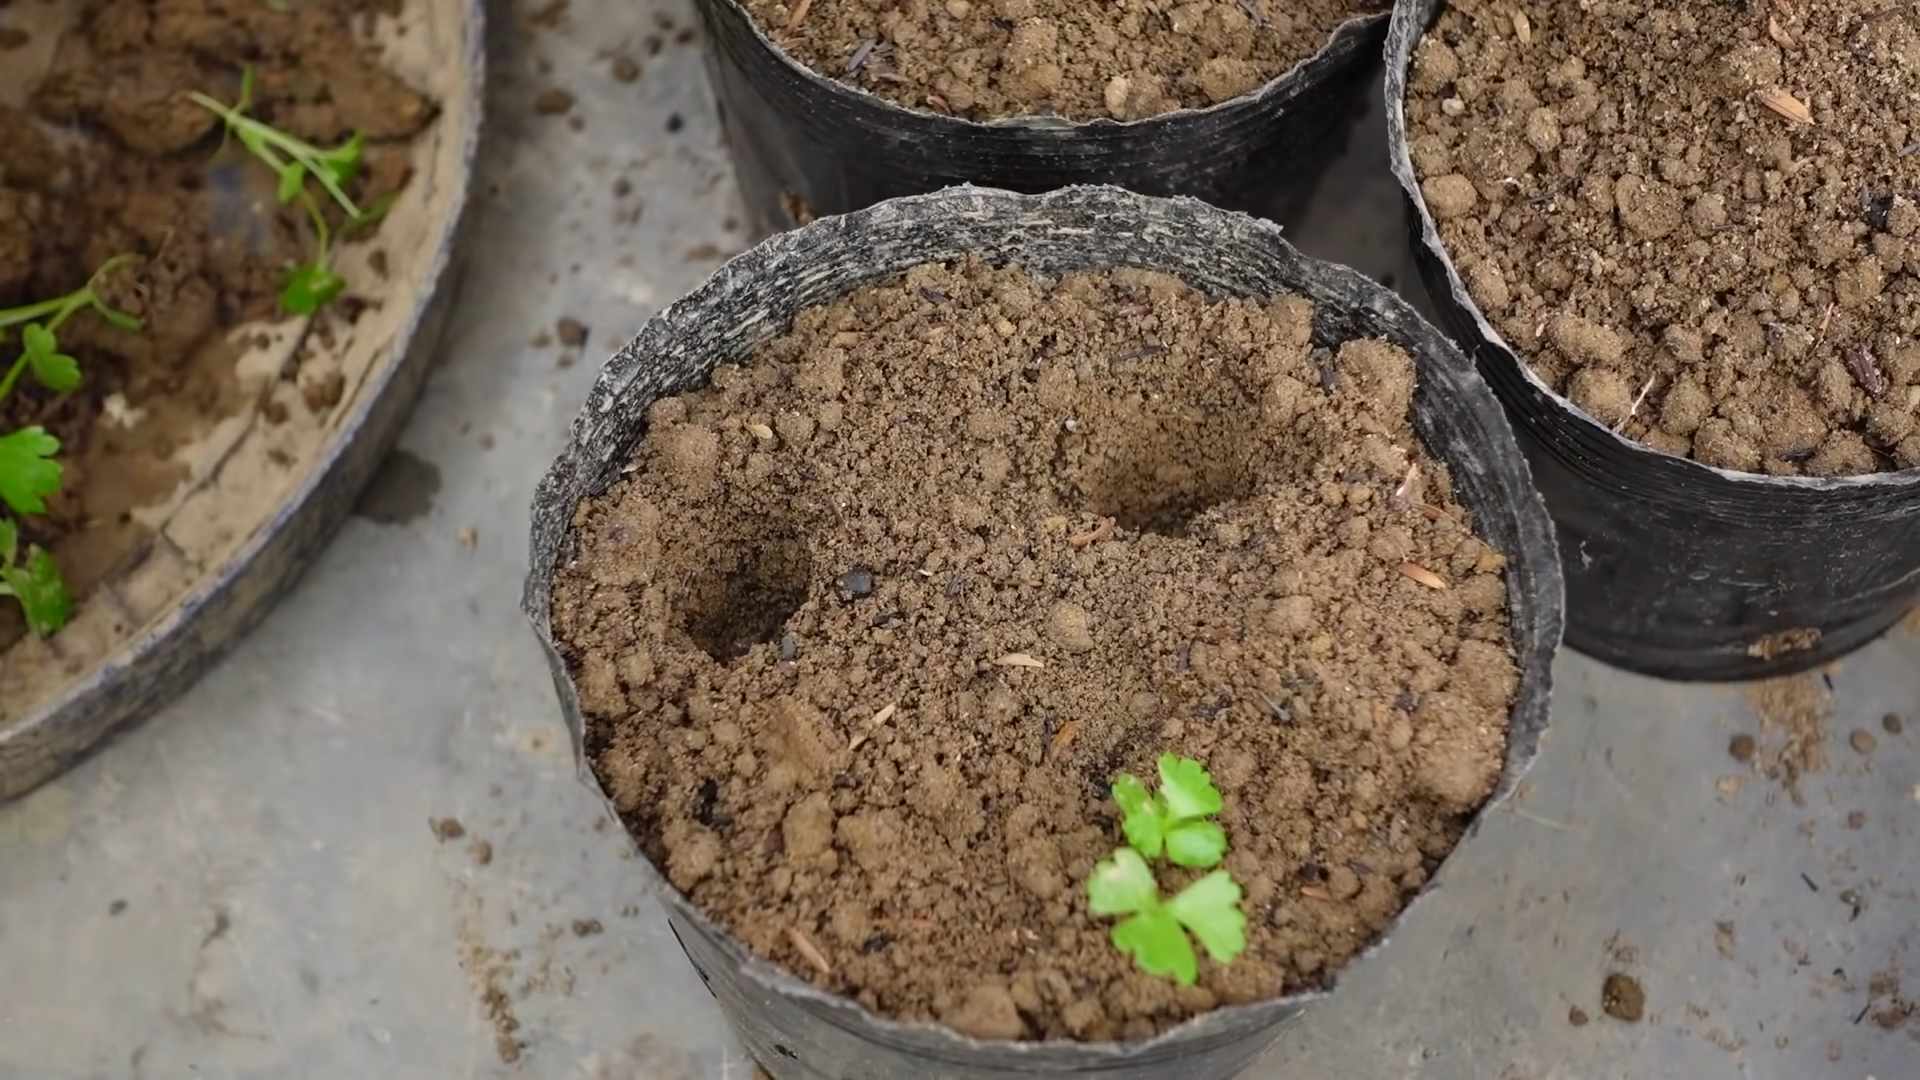
What type of soil is best for growing celery from seed?
Celery thrives in loose, well-draining soil rich in organic matter. A good soil mix would be a combination of potting soil, peat moss, and perlite or vermiculite to ensure proper drainage and aeration. Avoid heavy clay soils that can retain too much water, leading to root rot.
How much sunlight does celery need?
Celery requires at least six hours of sunlight per day. However, during the hottest part of the day, some shade might be beneficial, especially in warmer climates, to prevent wilting. A location with morning sun and afternoon shade is ideal.
How long does it take to grow celery from seed?
The time it takes to harvest celery from seed can vary depending on the variety and growing conditions. Generally, it takes around 70-80 days from sowing the seeds to harvesting mature stalks. Starting seeds indoors can shorten the overall growing time.
What are the common problems encountered when growing celery?
Some common issues include pests like aphids and slugs, fungal diseases like leaf spot and blight, and insufficient watering or overwatering. Regular monitoring, proper watering techniques, and the use of organic pest control methods can help prevent these problems.
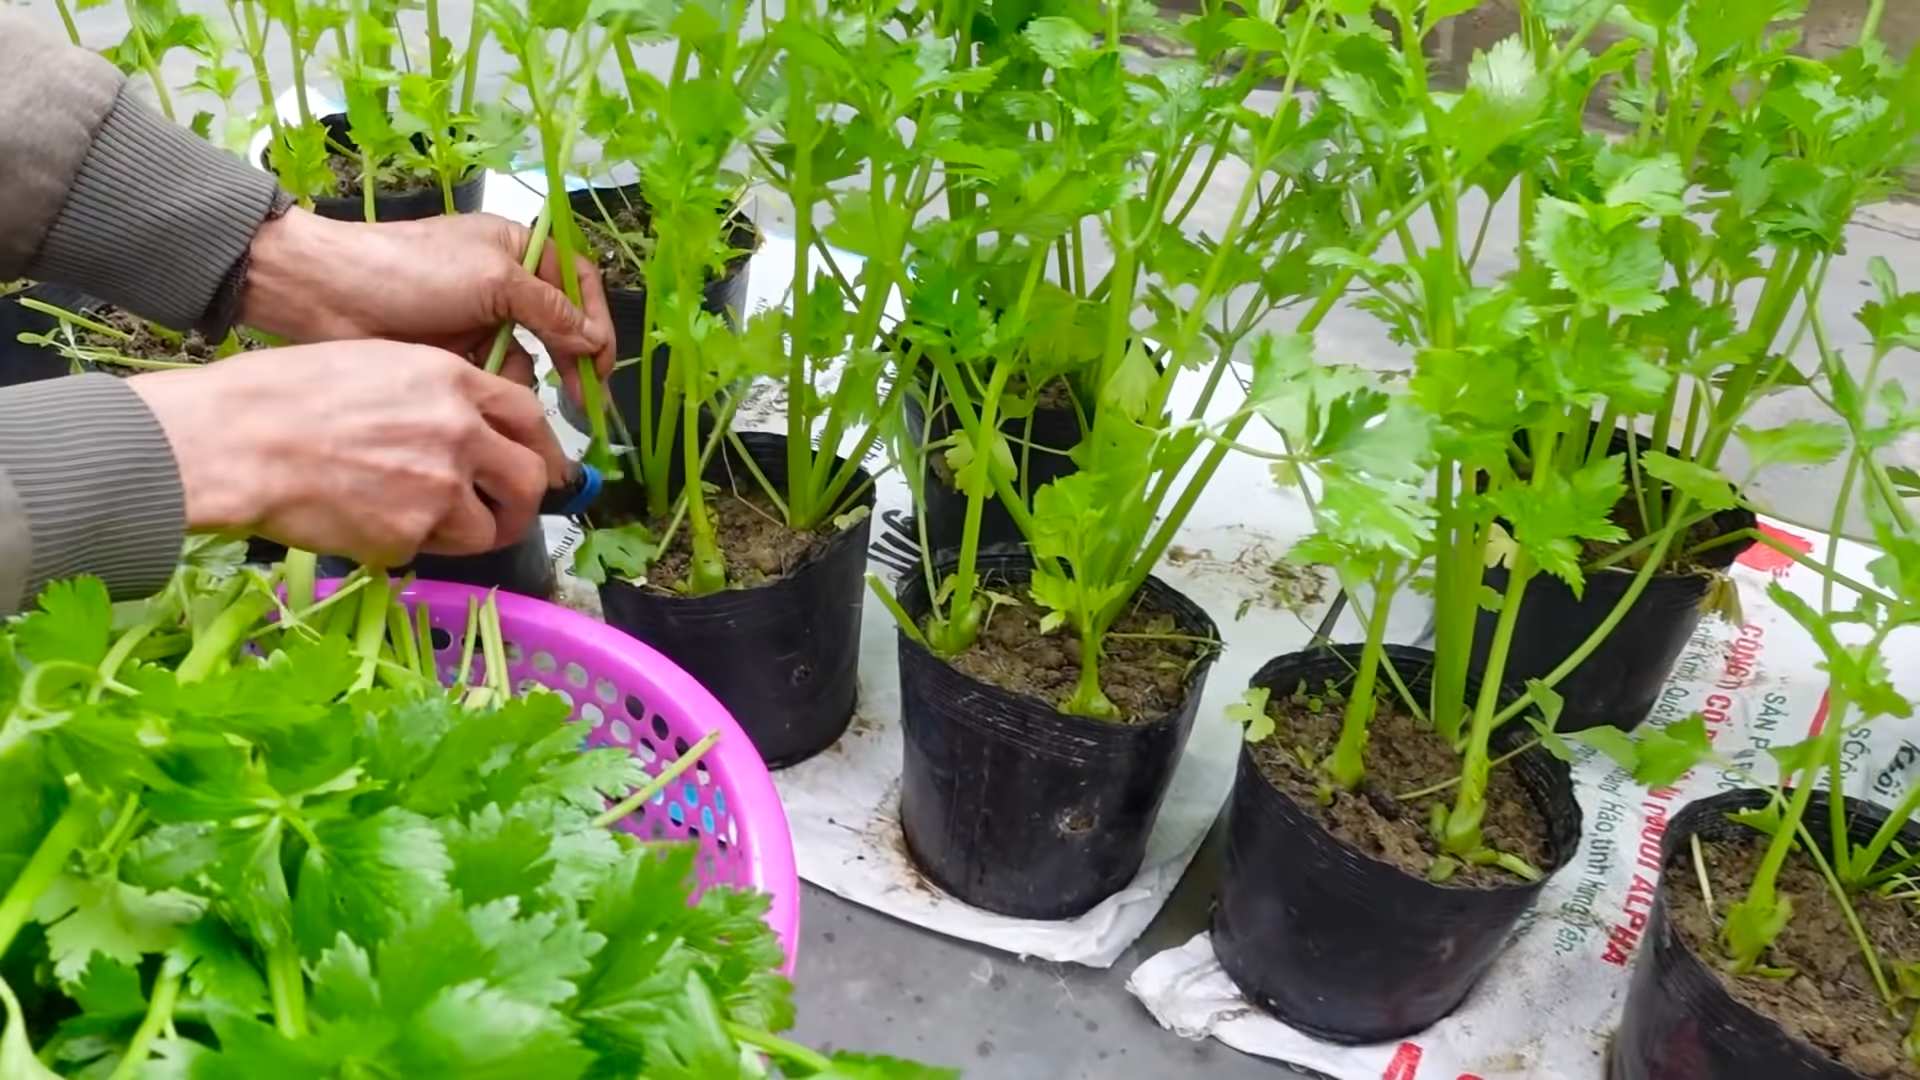
Can I grow celery in containers?
Absolutely! Celery can be successfully grown in containers, provided they are deep enough (at least 12 inches) to accommodate the taproot. Choose containers with drainage holes to prevent waterlogging.
What should I do if my celery plants are bolting?
Bolting, where the plant sends up a flower stalk instead of producing more leaves, is often caused by stress, such as heat or drought. Ensure consistent watering and provide some shade during the hottest parts of the day to mitigate bolting.
How do I harvest celery?
Celery is ready for harvest when the stalks are firm and fully developed. You can harvest individual stalks as needed, or cut the entire plant at the base once it reaches maturity. Always use a sharp knife to ensure a clean cut.
Can I save seeds from my homegrown celery?
While you can try saving seeds from your celery plants, it’s important to note that celery is a biennial plant, meaning it takes two years to complete its life cycle. The seeds you collect from your first-year plants may not be viable for planting the following year. It’s generally easier and more reliable to purchase fresh celery seeds.
What are the benefits of growing my own celery?
Growing your own celery offers numerous benefits, including access to fresh, pesticide-free produce, a deeper connection to your food source, the satisfaction of nurturing a plant from seed to harvest, and the potential for cost savings over time. It’s also a great educational experience for all ages.
Where can I buy celery seeds?
Celery seeds are readily available online from various seed suppliers and at many garden centers and nurseries. Choose reputable sources to ensure high-quality seeds for optimal germination and growth.
Leave a Comment