

Carrot Gardening at Home: Ever dream of plucking a vibrant, crunchy carrot straight from your own backyard? Imagine the satisfaction of serving a salad bursting with homegrown goodness, knowing exactly where your food came from and how it was grown. It’s not just a dream; it’s an achievable reality, even if you’re a complete beginner!
For centuries, carrots have been a staple in diets around the world, with their cultivation dating back to ancient times. From their humble beginnings as wild, spindly roots to the vibrant orange powerhouses we know today, carrots have nourished and delighted generations. But you don’t need to be a seasoned farmer to enjoy the fruits (or rather, roots!) of your labor.
In today’s fast-paced world, knowing where your food comes from is more important than ever. Store-bought produce can be laden with pesticides and travel long distances, losing valuable nutrients along the way. That’s where the magic of carrot gardening at home comes in! I’m here to share some simple, effective DIY tricks and hacks that will empower you to grow your own delicious carrots, no matter the size of your garden or your level of experience. Get ready to dig in and discover the joy of homegrown carrots!
Grow Your Own Delicious French Beans: A Beginner’s Guide
Hey there, fellow gardening enthusiasts! I’m so excited to share my experience with growing French beans at home. It’s surprisingly easy, incredibly rewarding, and nothing beats the taste of fresh, homegrown veggies. This guide will walk you through every step, from choosing the right beans to harvesting your bounty. Let’s get started!
Choosing Your French Bean Variety
First things first, you need to decide which type of French bean you want to grow. There are two main types: bush beans and pole beans.
* Bush Beans: These are compact and don’t require any support. They’re perfect for smaller gardens or containers. They produce a large harvest all at once, making them ideal for canning or freezing. Some popular bush bean varieties include ‘Blue Lake Bush’, ‘Contender’, and ‘Provider’.
* Pole Beans: These beans are climbers and need a trellis or other support to grow. They produce beans over a longer period, which is great if you want a continuous supply. Some popular pole bean varieties include ‘Kentucky Wonder’, ‘Romano’, and ‘Blue Lake Pole’.
I personally love growing both! Bush beans for a quick harvest and pole beans for a steady supply throughout the season.
Preparing Your Planting Area
French beans thrive in well-drained soil that’s rich in organic matter. Here’s how to get your planting area ready:
* Sunlight: French beans need at least 6-8 hours of sunlight per day. Choose a spot in your garden that gets plenty of sunshine.
* Soil: Test your soil’s pH. French beans prefer a pH between 6.0 and 7.0. You can buy a soil testing kit at most garden centers. Amend your soil as needed to achieve the ideal pH.
* Amendments: Add plenty of compost or well-rotted manure to your soil. This will improve drainage, add nutrients, and help retain moisture. I usually add a generous layer of compost a few weeks before planting.
* Tilling/Digging: Loosen the soil to a depth of about 12 inches. This will make it easier for the bean roots to grow. Remove any rocks, weeds, or debris.
Planting Your French Beans
Now for the fun part – planting!
1. Timing: French beans are warm-season crops, so you need to wait until the danger of frost has passed before planting. The soil temperature should be at least 60°F (15°C). I usually plant mine a couple of weeks after the last expected frost.
2. Direct Sowing: French beans are best direct-sown, meaning you plant the seeds directly into the ground. They don’t transplant well.
3. Spacing:
* Bush Beans: Plant seeds 1-2 inches deep and 2-4 inches apart in rows that are 18-24 inches apart.
* Pole Beans: Plant seeds 1-2 inches deep and 4-6 inches apart at the base of your trellis or support structure.
4. Watering: Water the soil thoroughly after planting. Keep the soil consistently moist until the seeds germinate.
5. Germination: French bean seeds usually germinate in 5-10 days, depending on the soil temperature and moisture levels.
Providing Support for Pole Beans
If you’re growing pole beans, you’ll need to provide them with a trellis or other support structure. Here are a few options:
* Trellis: You can buy a pre-made trellis at a garden center, or you can build your own using wood, bamboo, or metal.
* Teepee: A teepee is a fun and easy way to support pole beans. Simply arrange several poles in a teepee shape and tie them together at the top.
* Fence: If you have a fence, you can train your pole beans to climb it.
I personally love using a teepee because it adds a whimsical touch to my garden.
Caring for Your French Beans
Once your French beans have sprouted, it’s important to provide them with proper care to ensure a bountiful harvest.
1. Watering: Water your French beans regularly, especially during dry periods. Aim to keep the soil consistently moist, but not waterlogged. I usually water deeply once or twice a week, depending on the weather.
2. Weeding: Keep your bean patch free of weeds. Weeds compete with your beans for nutrients and water. I like to hand-pull weeds regularly.
3. Fertilizing: French beans don’t need a lot of fertilizer, but you can give them a boost with a side dressing of compost or a balanced fertilizer a few weeks after they emerge. Avoid fertilizers that are high in nitrogen, as this can promote leafy growth at the expense of bean production.
4. Pest Control: Keep an eye out for pests such as aphids, bean beetles, and slugs. You can control these pests with organic methods such as hand-picking, insecticidal soap, or diatomaceous earth. I’ve found that companion planting with marigolds helps deter many pests.
5. Disease Prevention: French beans can be susceptible to diseases such as powdery mildew and bean rust. To prevent these diseases, make sure your plants have good air circulation and avoid overhead watering. If you notice any signs of disease, remove the affected leaves immediately.
Harvesting Your French Beans
The moment you’ve been waiting for! Harvesting your French beans is the most rewarding part of the process.
1. Timing: French beans are usually ready to harvest about 50-60 days after planting. The pods should be firm, tender, and about the size of your finger.
2. Harvesting Technique: Gently snap the beans off the plant, being careful not to damage the stems. Harvest regularly to encourage continued production.
3. Storage: Freshly harvested French beans are best eaten right away. You can store them in the refrigerator for a few days, but they will lose their flavor and texture over time. For longer storage, you can blanch and freeze them.
Troubleshooting Common Problems
Even with the best care, you might encounter some problems while growing French beans. Here are a few common issues and how to address them:
* Poor Germination: If your bean seeds aren’t germinating, it could be due to cold soil, poor soil drainage, or old seeds. Make sure the soil temperature is at least 60°F (15°C) before planting. Improve soil drainage by adding compost or other organic matter. Use fresh seeds for best results.
* Yellowing Leaves: Yellowing leaves can be a sign of nutrient deficiency, overwatering, or disease. Check your soil’s pH and nutrient levels. Make sure your plants have good drainage. If you suspect disease, remove the affected leaves and treat with an appropriate fungicide.
* Lack of Bean Production: If your bean plants are growing well but not producing beans, it could be due to lack of pollination, high temperatures, or too much nitrogen fertilizer. Make sure your plants are getting enough sunlight and water. Avoid fertilizers that are high in nitrogen. You can also try hand-pollinating the flowers.
* Pest Infestations: As mentioned earlier, keep an eye out for pests such as aphids, bean beetles, and slugs. Control these pests with organic methods such as hand-picking, insecticidal soap, or diatomaceous earth.
Enjoying Your Harvest
Now that you’ve harvested your delicious French beans, it’s time to enjoy them! Here are a few of my favorite ways to prepare them:
* Steamed: Steamed French beans are a simple and healthy side dish.
* Sautéed: Sautéed French beans with garlic and olive oil are a classic and flavorful dish.
* Roasted: Roasted French beans are a delicious and easy way to add some veggies to your meal.
* Salads: Add French beans to your favorite salads for a boost of flavor and nutrition.
* Casseroles: French beans are a great addition to casseroles.
Growing French beans at home is a rewarding experience that anyone can enjoy. With a little bit of planning and care, you can have a bountiful harvest of fresh, delicious beans. Happy gardening!
Conclusion
So, there you have it! Transforming your kitchen scraps into a thriving carrot patch is not only incredibly rewarding but also surprisingly simple. This DIY carrot gardening trick is a must-try for anyone looking to reduce waste, connect with nature, and enjoy the unparalleled flavor of homegrown vegetables. Forget those bland, store-bought carrots; imagine the vibrant color and sweetness of carrots you nurtured from tiny tops!
This isn’t just about saving money; it’s about experiencing the magic of propagation and understanding the life cycle of the food we consume. It’s a fantastic project for families, a calming activity for individuals, and a conversation starter for anyone interested in sustainable living.
But the fun doesn’t stop there! Experiment with different carrot varieties. Try planting the tops in various soil types to see which yields the best results. Consider companion planting – basil, rosemary, and marigolds are known to deter pests and enhance the growth of carrots. You can even try growing them in containers on your balcony or patio if you lack a traditional garden space. The possibilities are endless!
Don’t be afraid to get your hands dirty and embrace the learning process. Not every carrot top will sprout, and that’s perfectly okay. The key is to observe, adjust, and keep experimenting. Each attempt will bring you closer to mastering this simple yet effective technique.
We wholeheartedly encourage you to give this DIY carrot gardening trick a try. It’s a small step towards a more sustainable lifestyle, a fun and educational activity, and a delicious way to enjoy fresh, homegrown carrots. Once you’ve harvested your first batch, we’d love to hear about your experience! Share your photos, tips, and challenges in the comments below. Let’s build a community of carrot-loving gardeners and inspire others to embrace the joy of growing their own food. Happy gardening!
Frequently Asked Questions (FAQs)
What exactly is this “DIY carrot gardening trick” all about?
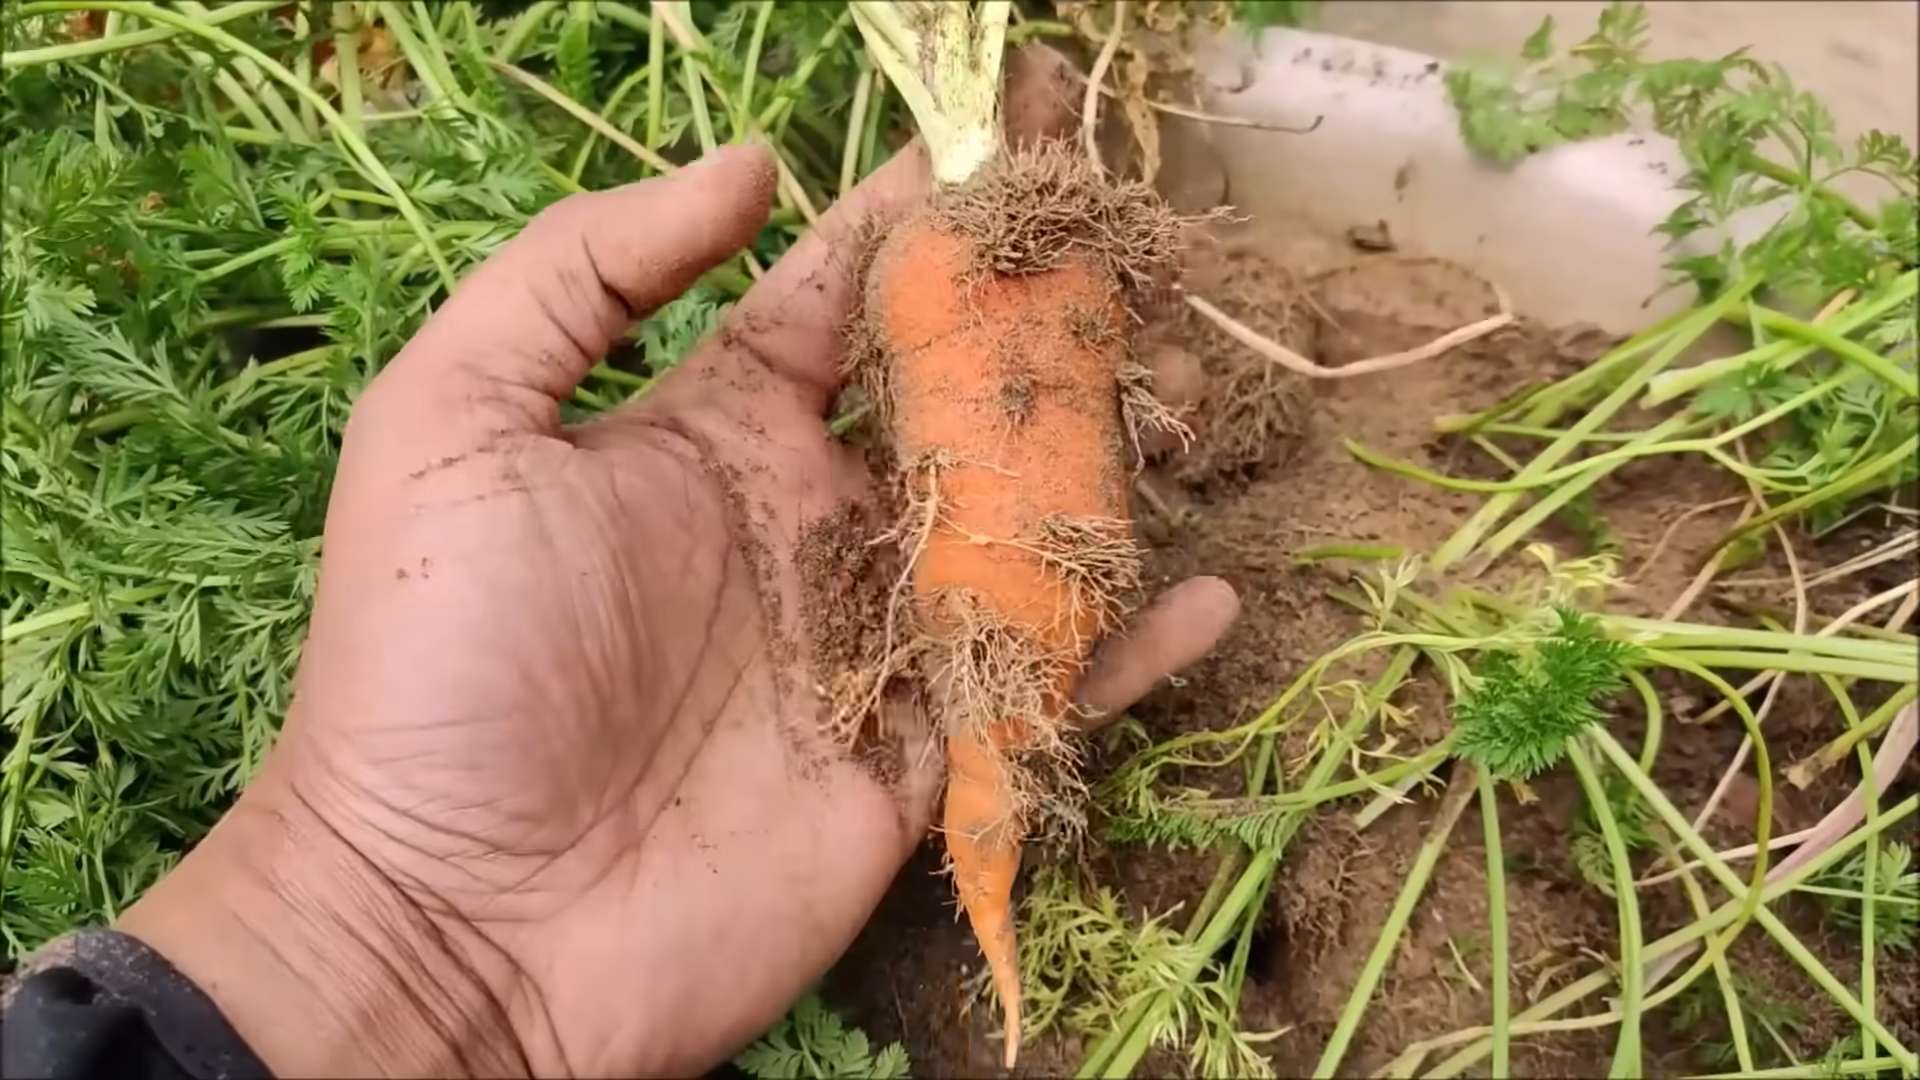
This trick involves regrowing carrots from the tops you’d normally discard after cooking or preparing them. Instead of throwing them away, you can place the carrot tops in water, allow them to sprout roots, and then plant them in soil to potentially grow new carrots. While you won’t get a full-sized carrot identical to the original, you can often harvest new, smaller carrots and enjoy the fresh carrot greens.
Will I get a full-sized carrot just like the one I bought from the store?
This is a common misconception. Regrowing carrots from tops primarily focuses on growing the carrot greens. While you might get some small, underdeveloped carrots, don’t expect a large, fully formed carrot like the original. The primary benefit is the fresh, flavorful greens, which can be used in salads, soups, and other dishes. The success of growing actual carrots depends on various factors, including the carrot variety, soil conditions, and climate.
What kind of carrots work best for this method?
Generally, organic carrots are recommended because they are less likely to be treated with chemicals that might inhibit growth. However, you can try with any carrot. The key is to ensure the carrot top has a healthy, undamaged crown. Carrots with a visible ring of growth buds are more likely to sprout.
How do I prepare the carrot tops for regrowing?
Cut the top off the carrot, leaving about an inch or two of the orange carrot attached. Place the carrot top in a shallow dish or container filled with water, ensuring that the cut end is submerged. Place the container in a bright, sunny location, but avoid direct sunlight, which can scorch the leaves. Change the water every day or two to prevent bacterial growth.
How long does it take for the carrot tops to sprout roots?
You should start to see roots forming within a few days to a week. Once the roots are about an inch long, you can transplant the carrot top into soil.
What kind of soil should I use for planting the carrot tops?
Use well-draining soil that is rich in organic matter. A mixture of potting soil, compost, and perlite is ideal. Ensure the soil is loose and not compacted to allow for proper root growth.
How often should I water the planted carrot tops?
Keep the soil consistently moist, but not waterlogged. Water when the top inch of soil feels dry to the touch. Avoid overwatering, as this can lead to root rot.
What kind of sunlight do the carrot tops need after planting?
Carrots need at least six hours of sunlight per day. Choose a sunny location in your garden or on your balcony. If you’re growing them indoors, place them near a sunny window or use a grow light.
Can I grow carrot tops indoors?
Yes, you can grow carrot tops indoors, especially if you don’t have access to an outdoor garden. Just make sure they receive enough sunlight or use a grow light to supplement.
What are some common problems I might encounter when regrowing carrot tops?
Some common problems include:
* **Root rot:** Caused by overwatering. Ensure the soil is well-draining and avoid letting the carrot tops sit in standing water.
* **Lack of sunlight:** Can result in weak, leggy growth. Provide adequate sunlight or use a grow light.
* **Pests:** Aphids and other pests can sometimes attack carrot greens. Inspect your plants regularly and treat with organic pest control methods if necessary.
* **Failure to sprout:** Not all carrot tops will sprout. This could be due to the carrot variety, the health of the carrot top, or environmental factors.
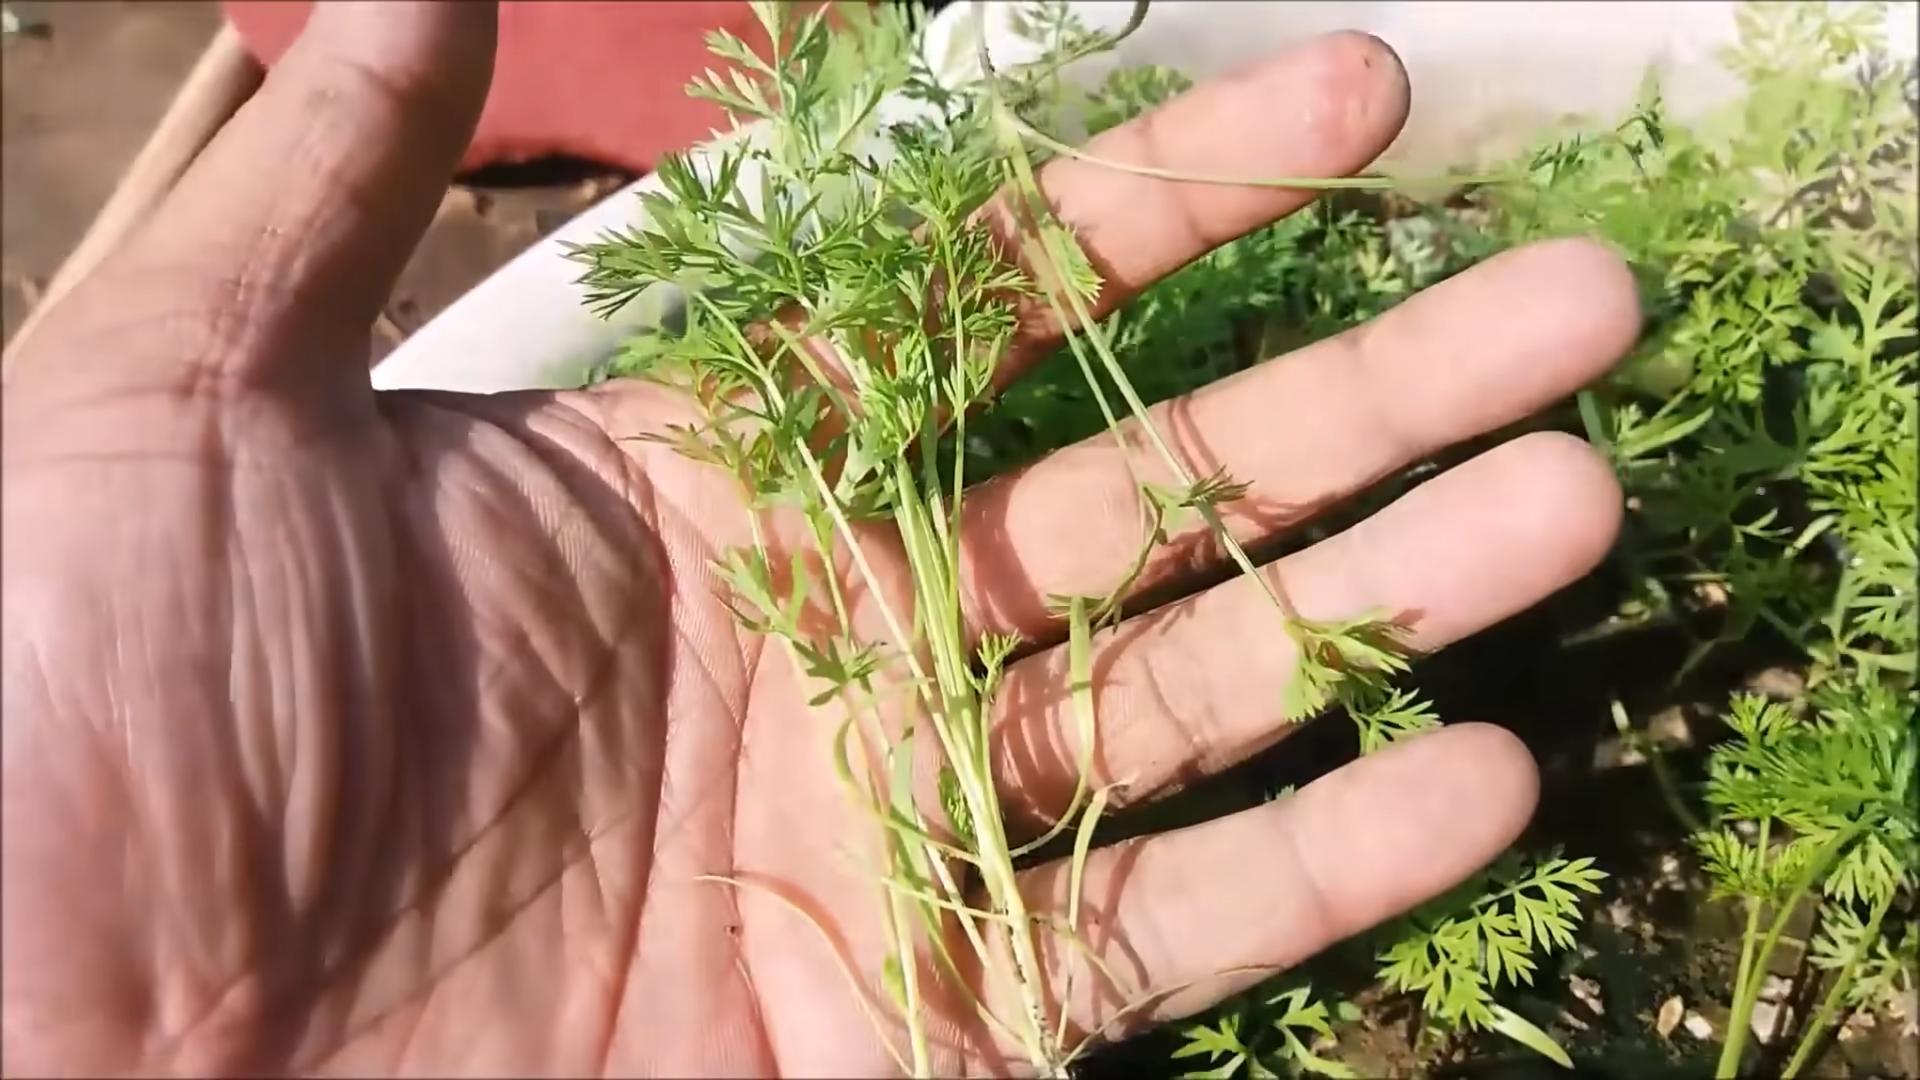
What can I do with the carrot greens once they grow?
Carrot greens are edible and nutritious! They have a slightly bitter, earthy flavor that can add a unique touch to various dishes. You can use them in:
* **Salads:** Chop them finely and add them to your favorite salad mix.
* **Soups and stews:** Add them towards the end of cooking for a fresh, herbaceous flavor.
* **Pesto:** Blend them with nuts, garlic, cheese, and olive oil to make a delicious pesto.
* **Smoothies:** Add a handful to your smoothie for a boost of vitamins and minerals.
* **Juices:** Juice them along with other vegetables and fruits for a healthy and refreshing drink.
How long does it take to harvest the carrot greens?
You can start harvesting the carrot greens once they are a few inches tall. Simply snip off the outer leaves, leaving the inner leaves to continue growing.
Is this DIY carrot gardening trick worth the effort?
Absolutely! While you might not get a bounty of full-sized carrots, this trick is a fantastic way to reduce waste, enjoy fresh carrot greens, and connect with nature. It’s a simple and rewarding project that can be enjoyed by gardeners of all levels. Plus, it’s a great way to teach children about the life cycle of plants and the importance of sustainability. So, grab those carrot tops and get growing!
Leave a Comment